D-Series Whirlpool User Manual with Bluetooth D-Series Whirlpool User Manual with Bluetooth
Before Installation:
1. Ensure electrical connections, water supply lines and waste connections are both compatible with this product and their installation
completed the before installation of this product. Reference the technical specifications listed on the product and the individual
components themselves, also review the specifications within the documentation supplied. If there are any further questions
contact your place of purchase. The (optional) drain hose size is 40mm (1.5-inches); the water inlet connections with (optional)
hoses are ½-inch National Pipe Thread (NPT/FIP/MIP).
2. Before connecting the water supply lines, briefly flush the water lines to free any loose particles that may have built up throughout
the years, or may have fallen in during new construction.
3. Ensure the water supply lines for this product has its own dedicated water shutoff valves installed in an accessible location.
4. Ensure there is enough space to connect, adjust or fasten the various supply lines, waste line and other components.
5. After extracting the product and parts from the packaging, check that all parts are complete and that there are no visible errors,
missing parts, or damages. Any damages are required to be reported within 72-hours of delivery.
6. Bathtubs are already leak tested from the factory, but should always be leak tested again after shipping.
7. Computerized systems and electrical components are already function tested from the factory, but should always be tested again
before installation.
Faucet Operation:
Installation Instructions:
1. Be sure to check each installation step with this manual to ensure the product is installed correctly. The product must be
installed with all the feet or supportive legs touching the floor before any use. Leveling the product is an important procedure
and must be completed on-site, on the final installation surface and position.
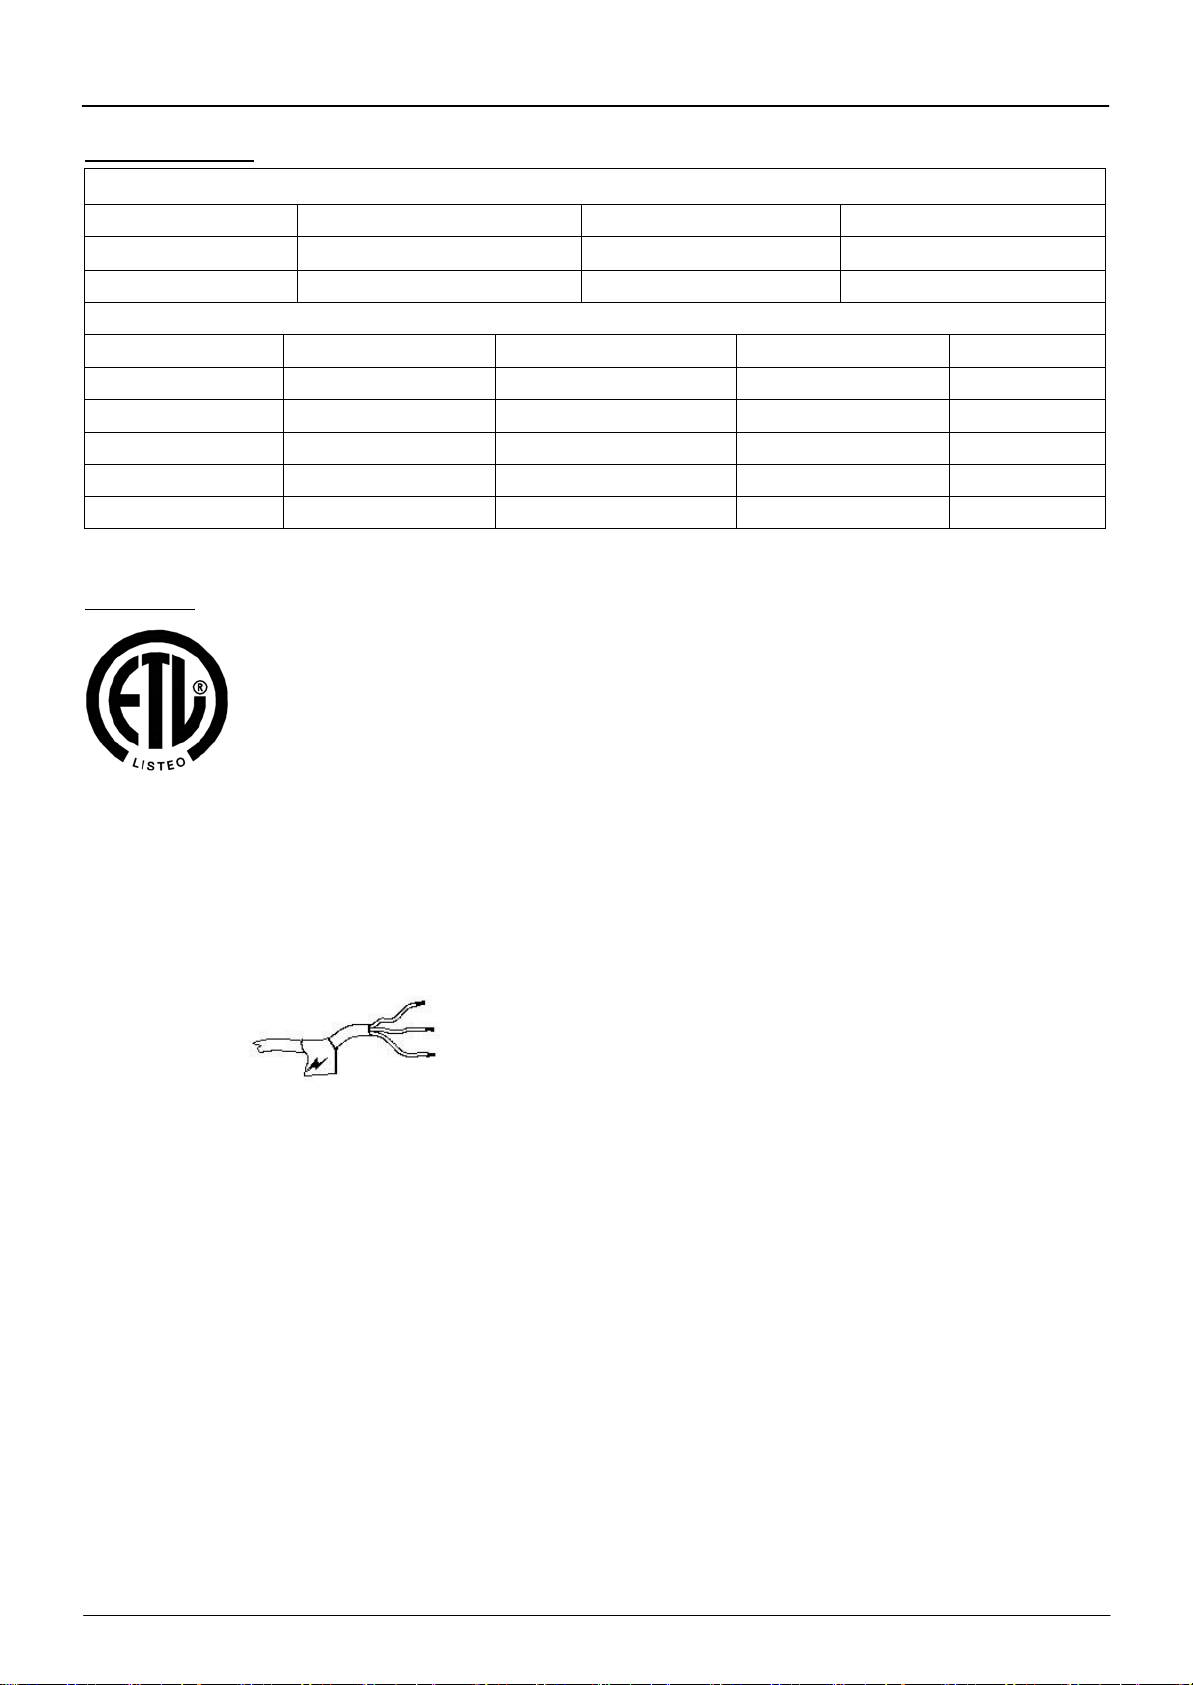
2. Only a professional electrician is recommended to work on the electrical portions of installation and testing.
3. Electrical service must meet the requirements listed on the components of the product, listed within this manual, or otherwise
advised based on a thorough analysis of any special circumstances.
4. An electrical protection device for short-circuits, power overloads or incorrect voltage must be installed and used in
conjunction with this product.
5. Do not cut or extend electrical wires or power-cord of the product without the approval of a professional electrician and
warranty service representative.
6. Do not disassemble the control panel or computer controller as it is not designed for disassembly. Defects, damages or shock
caused by such removal cannot be the responsibility of the supplier or its distributors.
A: Selector Valve (clock-wise)
OFF-position
Waterfall faucet
Handheld shower wand
Jet-plumbing
B: Temperature Valve
H = Hotter. Rotate in the direction of the arrow.
C = Colder. Rotate in the direction of the arrow.
7. Local standards and codes must be followed and cannot be the responsibility of the supplier or its distributors.
8. The motor must be grounded with wire not less than 1.63mm-diameter (14awg) or otherwise required in accordance to local
codes.
9. Appliances or components with ground or “earth” connections must be installed and used in conjunction with the product, and
connected in accordance to local codes.
10. Other electrical components, except the remote control device (optional), should be kept, located or affixed away from the
product, so they cannot fall into the bath, while in use.
11. This product or any appliance used near this product must be used in conjunction with a Ground Fault Circuit Interrupter
(“G.F.C.I.” or “G.F.I.”) or Residual Current Device (“R.C.D.”) with a trip current of not greater than 30mA or otherwise required
in accordance to local codes.
12. Always double-check all connections to ensure for proper installation, tension, and connection, including parts, plugs, hoses,
nuts, screws, wires, etc.
13. Check local and national requirements before installing or purchasing this product.
14. “H” hot (red) and “C” cold (blue) water supply connections are critical to proper function of this product.
15. Ensure the (optional) “H” hot (red) and “C” cold (blue) water hoses will not touch the floor when this product is fully installed,
as it may cause rusting and possibly weakening of those hoses.
16. Harsh chemicals such as acetone, ammonia or gasoline can possibly dissolve or damage portions of this product – do not
use such chemicals for cleaning or installing this product.
17. Do not stack anything on top of this product, use it for support, or apply any extreme pressure to critical areas that may cause
misalignment or damage; take special care when moving this product.
18. Maintain good ventilation in the space this product is installed into, as excess standing moisture or vapor may cause damage
to that space.
Maintenance:
The drain can be clogged by hair or soap scum and should be cleaned regularly.
Poor maintenance, infrequent, or irregular cleaning can cause damage to the faucets or jets.
When cleaning the chrome parts, do not use cleaning compounds or instruments with abrasives or harsh chemicals. Do not try to remove
stains with hard objects, such as blades or screwdrivers.
When cleaning the acrylic surfaces of the bathtub, use a soft sponge and a detergent without ammonia, acetone or other harsh chemicals,
to prevent surfaces from getting dulled or damaged.
Dulled surfaces can be refinished with an acrylic polishing compound (follow instructions of polishing compound); first test on a non-visible
surface area.
Consider cleaning the whirlpool features monthly with a whirlpool cleaning solution from your local hardware store. Follow the instructions
of the whirlpool cleaning solution. If not cleaned regularly you may notice black flakes in the bath – if this happens you should clean the
whirlpool system. Consider cleaning the whirlpool system with whirlpool cleaning solution repeatedly until the black flakes disappear. Soap
scum, hair, dead skin, skin care products, oil, grease and/or bacteria can contaminate your whirlpool system, it is important to clean
regularly.
Consider cleaning the whirlpool system using a cup of chlorine bleach (sodium hypochlorite) and the minimum amount of warm or hot water
to activate the (water-level sensor) whirlpool system, in between regular cleanings with whirlpool cleaning solution. Thoroughly flush and
rinse the bathtub and whirlpool system before use. (This is not meant as a substitute for whirlpool cleaning solution)
Warning: the use of cleaning materials other than those recommended by the manufacturer can result in damage to the bathtub, whirlpool
apparatus, or other hardware.
Warning: Any service, adjustment or repair is only recommended by an experienced professional. Only consider a licensed professional for all
installation, servicing or repair work.
Page 3 / 9 Page 8 / 9
Air Bubble Regulator Valve:
This valve is used to control the amount of air bubbles in the Water Jet feature.