Whirlwind H7 User manual

Whirlwind - H7 – User Manual – P. 1
!!
!
!! !
H7 Manual
!

Whirlwind - H7 – User Manual – P. 2
Table of Contents
1.!Principle to Self-Balancing HoverKart!.............................................................................................!3!
2. Assembly Instructions!...........................................................................................................................!4!
3. How to Use!...............................................................................................................................................!10!
4. Technical Parameters!..........................................................................................................................!15!
!
!

Whirlwind - H7 – User Manual – P. 3
1. Principle to Self-Balancing HoverKart
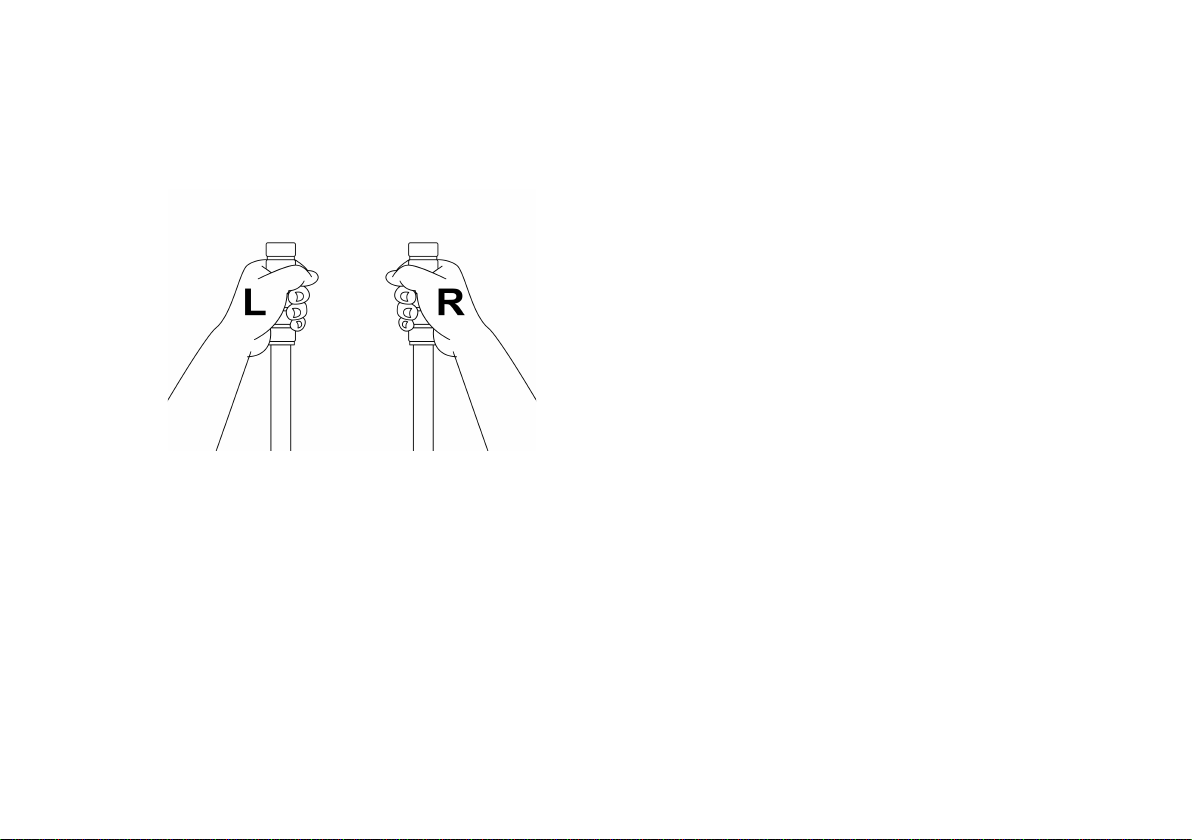
!
The Hoverkart combines the traditional Hoverboard with a metal frame seat component, enabling users to race
around on their Hoverboard as if in a Go-Kart. It needs to be treated as a fast-moving electric vehicle and first
time users must use it with caution until they feel comfortable operating it.
***WARNING***
THE PRODUCT MUST BE USED WITH CAUTION AND IN AN OPEN SPACE TO PREVENT CAUSING
DAMAGE TO YOURSELF AND OTHERS.
YOU MUST WEAR A HELMET, ELBOW PADS AND KNEE PADS WHEN USING.
ONLY USE ON PRIVATE LAND.
IT IS A FAST-ACCELARATING PRODUCT AND SHOULD BE USED RESPONSIBLY.
WE WILL NOT BE LIABLE TO ANY INJURIES OR ACCIDENTS CAUSED THROUGH THE USE OF THE
HOVERKART H7.
***WARNING***
Follow the User Manual to drive the HoverKart safely. We highly advise you to read the Manual carefully at the
first time. Before driving, make sure that the tires are in good condition and there are no loose parts. Please use
the product sensibly otherwise you risk personal injury and property loss. Please do not modify its components
by yourself.

Whirlwind - H7 – User Manual – P. 4
2. Assembly Instructions
2.1 Parts:
1 X Allen Key
1 X Spanner
5 X 45mm Bolts
9 X Anti-Slip Nut
4 X Screws
2 X Velcro Straps
(Use image as a reference only –
quantities are different from image
shown)
1 X HoverBoard
! !

Whirlwind - H7 – User Manual – P. 5
1 X Seat
1 X Front Panel
1 X Wheel
1 X Nob
2 X Handle
1 X Main Frame
2 X HoverBoard
Bracket

Whirlwind - H7 – User Manual – P. 6
1 X Rear
Stabilizer Wheel

Whirlwind - H7 – User Manual – P. 7
2.2 Assembly
1. Connect each Handle’s to the HoverBoard
Bracket on the Main Frame.
a) To do this, use 2 X 45mm Bolt and 2 X Anti-
Slip Nut for each Handle.
b) Align the 2 holes located on the bottom of the
Handle with the corresponding 2 holes found on
the HoverBoard Bracket and insert the 2 X
45mm Bolt and fasten with the 2 X Anti-Slip Nut
using an Allen Key.
c) Repeat this process for the other Handle.
2. Connect the Rear Stabilizer Wheel to the
Main Frame
a) To do this, insert the Rear Stabilizer Wheel
onto the rear tube of the Main Frame.
b) Make sure both parts are aligned so that you
can insert the large black 44mm Bolt through the
hole of the tube and tighten with an Anti-Slip nut
using an Allen Key.

Whirlwind - H7 – User Manual – P. 8
! !
3. Connect the Seat to the Main Frame
a) To do this, use 4 X Screw and 4 X Anti-Slip
Nut
b) Align each Screw with the corresponding hole
in the Seat.
c) Using an Allen Key, reach under the Seat to
fasten each Screw with an Anti-Slip Nut.
4. Connect the Front Panel to the Main Frame
a) To do this, use 1 X Nob
b) Insert 1 X Nob into the hole in the Main Panel
and tighten it by turning it to the Right.
c) Align the Front Panel tube and the Main Panel
tube and while pulling the Nob upwards, slide the
Front Panel Tube into the Main Panel Tube.
d) Release the Nob into a selected hole – the
hole chosen will determine the Length of the
HoverKart and this can be adjusted by selecting
any of the other holes in the Front Panel.

Whirlwind - H7 – User Manual – P. 9
5. Connect the Main Frame to the
HoverBoard.
a) To do this, use the Velcro Straps supplied.
b) Place the Main Frame (now connected to the
Front Panel) on the HoverBoard, so that you
align the HoverBoard Bracket with the width of
the HoverBoard.
c) Once the above is aligned correctly, tighten
the bolts on the HoverBoard Bracket to ensure
that the HoverBoard does not move from side to
side.
d) Lastly, attach the Straps by feeding each
Strap through the corresponding hole in the
HoverBoard Bracket, passing underneath the
HoverBoard and tighten using the Velcro on
each Strap.
6. Make sure all parts are secured tightly and
are not going to move around during use
a) Make sure you test each part is secured
before use.

Whirlwind - H7 – User Manual – P. 10
3. How to Use
3.1 Starting
To start using the HoverKart, simply sit down onto the seat
and place both feet on the footrest at the end of the Front
Panel.
Lift both handle’s to the Neutral centre position as shown
before starting the HoverKart.
We recommend Turning on the HoverKart when sitting
down to make it easier to maintain control.
The device will ‘self-adjust’ – meaning that it will make
sure that both foot panels on the HoverBoard are level
before giving control to the user.
Try to keep both handles as still as possible on your first
attempt to avoid any sudden movements from the
HoverKart.
Remember that the more relaxed your body is; the easier it will be. Please avoid drastic shakes or an abrupt shift in
your centre of gravity. Stay still and make slow and gradual movements until you feel more confident.

Whirlwind - H7 – User Manual – P. 11
3.2 Accelerating And Braking
Moving in a Straight Line:
To go forward, very slowly push both handles in a
forward motion.
Make sure to use very stable and gentle movements, as
the HoverKart is sensitive to sudden movements and will
accelerate quickly.
Practice slowly moving forwards and stopping in a small
space until you feel comfortable moving to more
advanced steps.
Similarly, to brake and reverse gently pull both handles
back towards you.
To brake the HoverKart, simply pull or push the handles
back to their neutral center position. Be careful not to
brake too suddenly as your momentum will shift our
center of gravity and can disrupt your control of the Kart.
Make sure you evaluate your surroundings and
determine whether or not it is safe for you to reverse
before doing so.
Always look behind you when reversing so that you can
see where you are going and avoid accidents.

Whirlwind - H7 – User Manual – P. 12
3.3 Turning
Turning on one spot:
To turn on the spot to the right, keep the left handle stable
and still and push the right handle forward slowly.
To turn to the right while moving forwards, slowly start
pushing the left handle forwards whilst continuing to keep
the right handle slightly further ahead.
The angle of rotation depends on how much further ahead
the right handle is compared to the left handle.
Similarly, to turn on the spot going left, keep the right
handle stable and still and push the left handle forward
slowly.
To turn left while moving forwards, use the same theory
as above but swap the right and left handle around.
Slowly and gently practice going in small circles until you
become confident – while making sure you don’t become
to disorientated to avoid an accident.

Whirlwind - H7 – User Manual – P. 13
Turning while reversing:
To turn to the right when reversing, pull the right handle
slowly towards yourself. This will cause the HoverKart to
spin on one spot until you restore both handles to the
neutral central position.
The faster and further you pull back the handle, the faster
and more responsive the HoverKart will be to turning.
As with al reversing, make sure you look behind you
before attempting the manoeuvre and make sure there
are no obstructions in your way before doing so.
Please proceed with caution.
Make sure you practice turning backwards on one spot
and that you are comfortable doing so, before moving on
to the next step.

Whirlwind - H7 – User Manual – P. 14
Turning faster and while moving:
Occasionally you may need turn sharply de to unexpected
circumstances or if you are travelling at high speeds. To
do this you need to turn using both handles, rather than
just one as previously shown.
By pushing the right handle forward and pulling the left
handle back towards yourself, you will turn sharply to the
left.
Similarly, by pushing the left handle forward and pulling
the right handle back towards yourself, you will turn
sharply to the right.
Please be careful because as mentioned, this will cause
the HoverKart to turn fast and sharply.
Only turn this way if you absolutely have to as it may
cause the HoverKart to slide along the surface and for the
driver to lose control.

Whirlwind - H7 – User Manual – P. 15
4.#Technical#Parameters#
!
Drive mode
HoverBoard Assisted
Weight (kg)
5.2
Max Speed (mph)
N/A
Max Range
N/A
Max Climbing Angle
N/A
Battery Capacity
N/A
Battery Type
N/A
Battery Brand
N/A
Charge time (hours)
N/A
Max Loading
120KG
Size (mm)
(H) 400 x (W) 800 x (D) 440
Working Temperature (°C)
N/A
! !

Whirlwind - H7 – User Manual – P. 16
!
Other manuals for H7
1
Table of contents
Other Whirlwind Scooter manuals