manuals.online logo
Brands
  1. Home
  2. •
  3. Brands
  4. •
  5. WHITECROFT LIGHTING
  6. •
  7. Light Fixture
  8. •
  9. WHITECROFT LIGHTING MSU Surface User manual

WHITECROFT LIGHTING MSU Surface User manual

Whitecroft Lighting Limited
Burlington Street, Ashton-under-Lyne, Lancashire OL7 0AX
Telephone +44 (0)161 330 6811 Facsimile: +44 (0)161 331 5855
Registered No. 3848973 England Registered Office: As above
December 2021 - Rev 1
MSU Surface and
Radial AL
PK-NPD158-IL
GENERAL INFORMATION
1) A qualified electrician, in accordance with IEE wiring regulations should carry out
connection to mains wiring.
2) Oberve ESD precautions during installation.
3) Ensure that the rated voltage and frequency requirements are compatible with the
available mains supply.
4) Cleaning of reflectors and lenses should be carried out using clean, soft and lint
free cloths and anti-static cleaning fluid
5) Do not carry out high voltage insulation test, i.e. 500/1000v this may damage
internal components.
6) The light source within the luminiare shall only be replaced by the manufacturer, or
similar qualified person.
7) Batteries must be replaced by a qualified electrician when they do not meet the
rated duration.
Installation Instruction
TECHNICAL SUPPORT
Telephone: 0161 330 6811
Email: technical@whitecroftlight.com
http://whitecroftlighting.com/
DIMENSIONS
SPECIFICATION
Lamp type LED
Finish RAL 9003(White)
Materials Polycarbonate / Mild Steel
Weight Standard Fitting = Radial 11.5kg Surface 10.8kg
Emin Fitting = Radial 11.8kg Surface 11.1kg
Supply 220-240V AC, 50/60Hz
Output 2200lm / 3400lm
Operating temp 0-30C
v
Connection 1.5mm
²
input terminal block
Ingress protection IP54
MSU Surface
MSU Radial AL
MSU Surface / Radial AL
Whitecroft Lighting Limited
Electrostatic
Sensitive Device
High Voltagle
LED's
Whitecroft Lighting Limited
MSU Surface / Radial AL
Electrostatic
Sensitive Device
High Voltagle
LED's
NEUTRAL
EARTH
SWITCHED LIVE
PERMANENT LIVE
4. Once the fixing method is in place fix the 2 screws that corraspond to the keyhole slots in position
and drop the mains cable through the ceiling/wall cable hole.
Screws supplied by others. This is a two man installation. Install on flat surface.
5. Lift the body into position, thread the mains cable through the mains entry on the body and lift
and slide the body onto the screws through the keyhole slots.
6. Tighten the 2 key hole slot screws and fix the other 8 screws (Cornice) 10 screws (Surface) in
place.
7. Attach the earth lead and lift the reflector to the body and fix the Reflector hooks into the slots on
the side of the reflector.
8. Let the reflector hang and wire up the mains cable to the terminal blocks as below.
9. Cut back the sheath on the cable to 70mm.
NON-EMERGENCY VERSION- EMERGENCY VERSION COMEPS-
EMERGENCY VERSION
AND ROUTE FINDER WIRELESS-
ADDITIONALWIRING FOR COMEPS OPTIONS
Wire DALI coms for self test system to 'DALI EM'
(these are polarity free).
If 'Easytest' self- test is required ignore these cnnections
NEUTRAL
EARTH
LIVE
NEUTRAL
EARTH
SWITCHED LIVE
PERMANENT LIVE
DALI
DALI
DALI
DALI
DALI
DALI
DALI EM
DALI EM
Reflector Hook Slots
PRODUCT INFORMATION
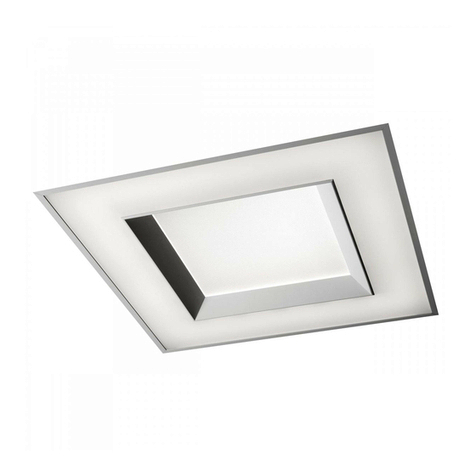
MSU Surface is a ceiling mount luminaire.
Radial AL is a corner mount luminaire.
Available with DALI gear, intergral 3hr maintained emergency and COMEPS inverters EW.
INSTALLATION INSTRUCTION
REMOVE ALL PACKAGING AND ENSURE THERE IS NO DAMAGE TO THE LUMINAIRE
1. Remove the 4 security screws from the diffuser using the HALKEY3 and remove the 6mm P/C
screen, Lumieo Diff and end spacers then place to one side.
2. Remove the 4 screws holding the reflector in place and lift and tilt out of the luminaire body.
Remove the earth lead from the Reflector. Avoid damage to LED,s.
3. Using the body as a template hold the body in position and mark up the 10 (Cornice) 12 (Surface)
mounting holes and the cable entry hole. Shown in red.
145mm
72.5mm
295mm295mm295mm295mm
295mm 295mm 295mm 295mm
120mm
270mm
78mm
22mm
16mm
21mm
21mm
Surface Front View
Radial Side View
43mm

Whitecroft Lighting Limited
MSU Surface / Radial AL
Electrostatic
Sensitive Device
High Voltagle
LED's
13. Slide in the two End Spacers into position under the 6mm P/C and fix in place with the centre
screw.
14. Replace all the other 14 screws. Torqe to 1.2Nm. The anti-tamper screws require a special
allen key (3mm with centre hole) or bit (sold separately - HAL-KEY3) ensure screws are sufficiently
tightened.
15. Remove film on the ouside of the 6mm Screen.
16. Use a suitable anti pick mastik around the base to optain IP54 rating on luminaire.
PLEASE NOTE
If the luminaire is controlled via DALI, then choose one of the options below:
Option 1. If using a fully addressable system i.e. only a single DALI pair is supplied to the fitting then
the DALI & DALI EM terminals need to be linked as shown in the images above.
Option 2. If using a DALI broadcast system i.e. DALI control for the ftting and a seperate DALI EM
coms for self test interrogation , DO NOT ATTACH THE LINK CONNECTIONS.
10. For Emergency versions connect the battery to the inverter.
11. Lift and slide the reflector into position in the body and secure with the 4 refelctor screws.
12. Hold the 6mm P/C screen countersunk side down with the lumieo held matt down in place with
2 screws, lift up to the body and fit the screws in place with the HALKEY3.
Whitecroft Lighting Limited
MSU Surface / Radial AL
Electrostatic
Sensitive Device
High Voltagle
LED's

This manual suits for next models

1

Other WHITECROFT LIGHTING Light Fixture manuals

WHITECROFT LIGHTING Marine LF Manual

WHITECROFT LIGHTING

WHITECROFT LIGHTING Marine LF Manual

WHITECROFT LIGHTING Marine SD Manual

WHITECROFT LIGHTING

WHITECROFT LIGHTING Marine SD Manual

WHITECROFT LIGHTING FOIL single optic User manual

WHITECROFT LIGHTING

WHITECROFT LIGHTING FOIL single optic User manual

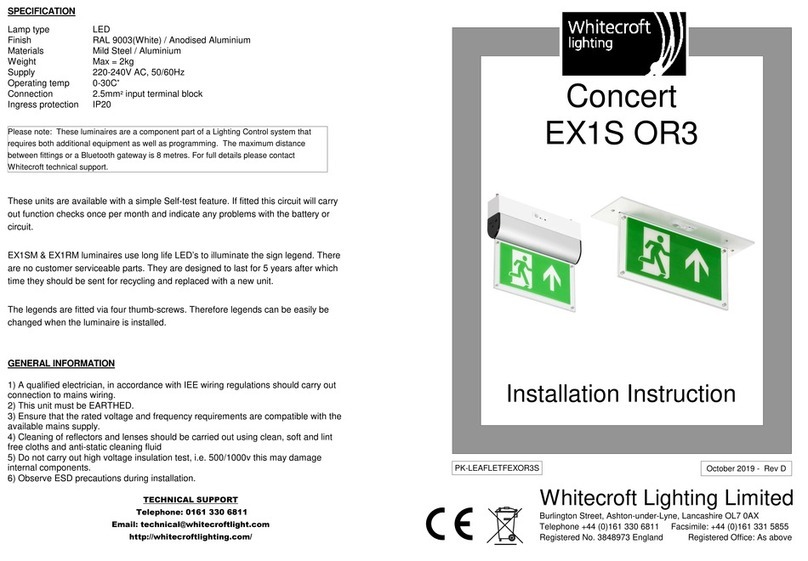
WHITECROFT LIGHTING Concert EX1S OR3 User manual

WHITECROFT LIGHTING

WHITECROFT LIGHTING Concert EX1S OR3 User manual

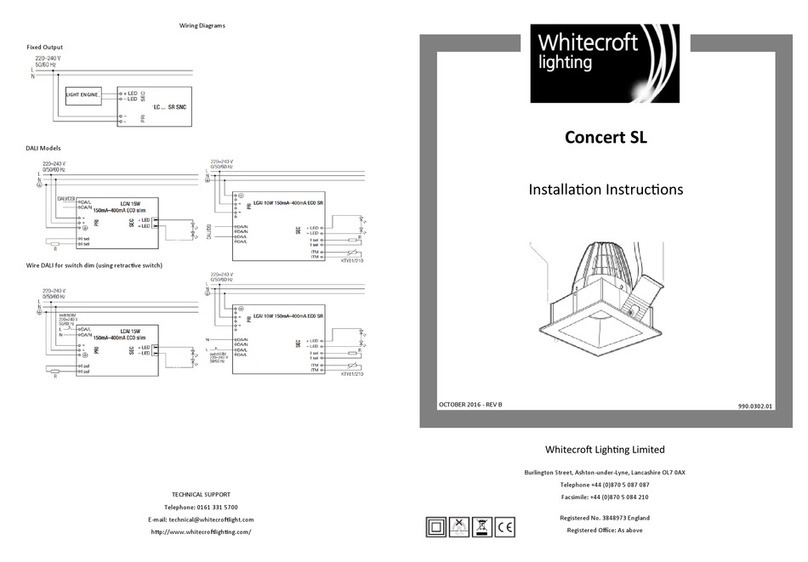
WHITECROFT LIGHTING Concert SL User manual

WHITECROFT LIGHTING

WHITECROFT LIGHTING Concert SL User manual

WHITECROFT LIGHTING Egress Exit Manual

WHITECROFT LIGHTING

WHITECROFT LIGHTING Egress Exit Manual

WHITECROFT LIGHTING Duo 3 Evo User manual

WHITECROFT LIGHTING

WHITECROFT LIGHTING Duo 3 Evo User manual

WHITECROFT LIGHTING Concert EX2S User manual

WHITECROFT LIGHTING

WHITECROFT LIGHTING Concert EX2S User manual

Popular Light Fixture manuals by other brands

Konstsmide 3730 technical information

Konstsmide

Konstsmide 3730 technical information

Gearwrench 83124 user manual

Gearwrench

Gearwrench 83124 user manual

EuroLite TMH XB-200 user manual

EuroLite

EuroLite TMH XB-200 user manual

vonado 42109 manual

vonado

vonado 42109 manual

Triarch 29320/2 Assembly instruction

Triarch

Triarch 29320/2 Assembly instruction

Lind Equipment L61 INSTALLATION INSTRUCTIONS AND REPAIR PARTS LIST

Lind Equipment

Lind Equipment L61 INSTALLATION INSTRUCTIONS AND REPAIR PARTS LIST

OVE cULus HH-S5050X-30-12-Y installation manual

OVE

OVE cULus HH-S5050X-30-12-Y installation manual

Trilux InperlaLP C05 Series Mounting instructions

Trilux

Trilux InperlaLP C05 Series Mounting instructions

Steren MODLED-200/BCO instruction manual

Steren

Steren MODLED-200/BCO instruction manual

TECshow Alfie user manual

TECshow

TECshow Alfie user manual

Lightolier 16FR2X6 specification

Lightolier

Lightolier 16FR2X6 specification

Lightolier Lytecaster 402MRIC9X specification

Lightolier

Lightolier Lytecaster 402MRIC9X specification

ITC elio TPB Install instructions

ITC

ITC elio TPB Install instructions

Godox DE instruction manual

Godox

Godox DE instruction manual

Showco Spot 250 S manual

Showco

Showco Spot 250 S manual

Chauvet LX 5 Quick reference guide

Chauvet

Chauvet LX 5 Quick reference guide

Kandolite KMLSP150W user manual

Kandolite

Kandolite KMLSP150W user manual

Lightmaxx VEGA ZOOM Wash Beam user manual

Lightmaxx

Lightmaxx VEGA ZOOM Wash Beam user manual

manuals.online logo
manuals.online logoBrands
  • About & Mission
  • Contact us
  • Privacy Policy
  • Terms and Conditions

Copyright 2025 Manuals.Online. All Rights Reserved.