manuals.online logo
Brands
  1. Home
  2. •
  3. Brands
  4. •
  5. Whittier Wood
  6. •
  7. Indoor Furnishing
  8. •
  9. Whittier Wood 2168AFCAFd User manual

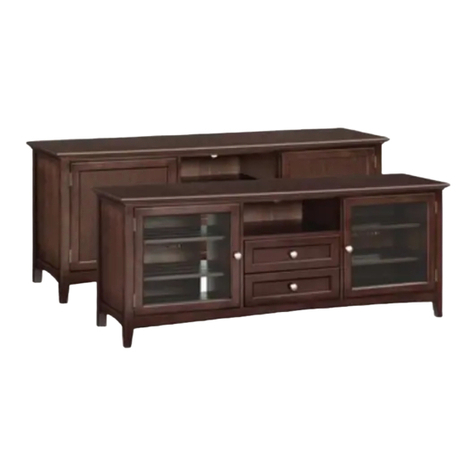
Whittier Wood 2168AFCAFd User manual

This manual suits for next models

3

Other Whittier Wood Indoor Furnishing manuals

Whittier Wood Addison Queen User manual

Whittier Wood

Whittier Wood Addison Queen User manual

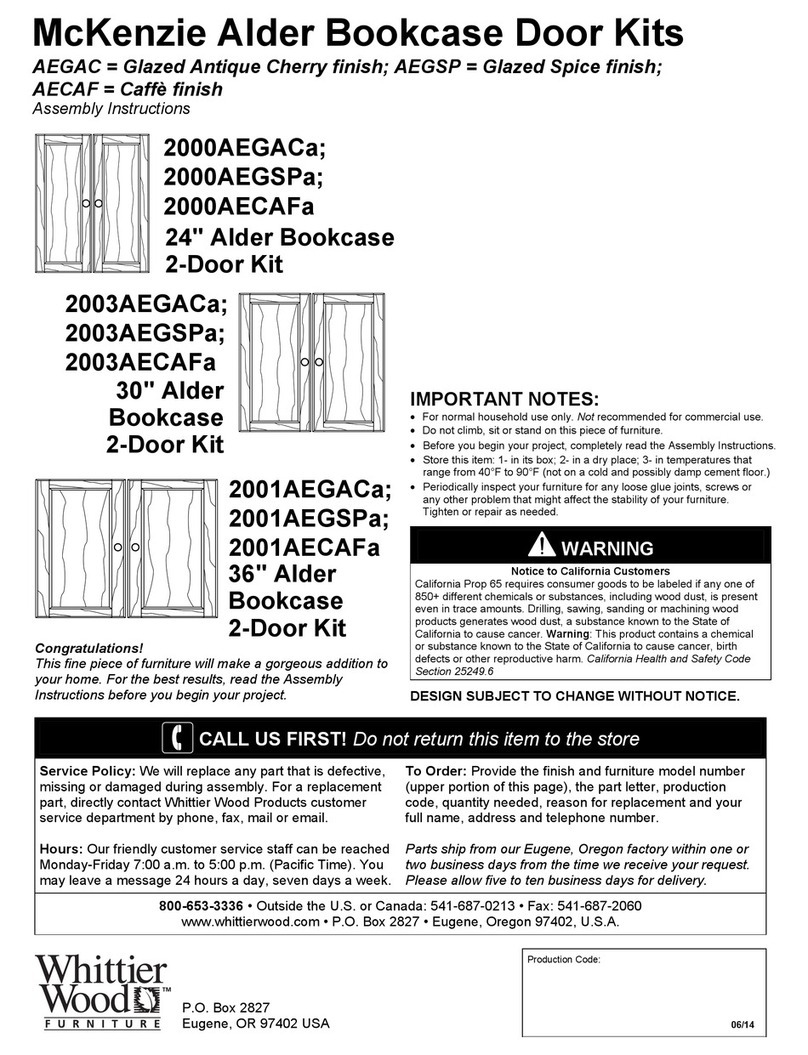
Whittier Wood 2000AEGACa User manual

Whittier Wood

Whittier Wood 2000AEGACa User manual

Whittier Wood 1346GACe User manual

Whittier Wood

Whittier Wood 1346GACe User manual

Whittier Wood 1113AUFa User manual

Whittier Wood

Whittier Wood 1113AUFa User manual

Whittier Wood 2403AFGACb User manual

Whittier Wood

Whittier Wood 2403AFGACb User manual

Whittier Wood 1555AEGSP User manual

Whittier Wood

Whittier Wood 1555AEGSP User manual

Whittier Wood 362KFGACb User manual

Whittier Wood

Whittier Wood 362KFGACb User manual

Whittier Wood 3494GAC User manual

Whittier Wood

Whittier Wood 3494GAC User manual

Whittier Wood 499W User manual

Whittier Wood

Whittier Wood 499W User manual

Whittier Wood 3506AFGACa User manual

Whittier Wood

Whittier Wood 3506AFGACa User manual

Whittier Wood 1506RGB User manual

Whittier Wood

Whittier Wood 1506RGB User manual

Whittier Wood 2319GACc User manual

Whittier Wood

Whittier Wood 2319GACc User manual

Whittier Wood 2658AFGAC User manual

Whittier Wood

Whittier Wood 2658AFGAC User manual

Whittier Wood 1520 User manual

Whittier Wood

Whittier Wood 1520 User manual

Whittier Wood 1137AFGSPd User manual

Whittier Wood

Whittier Wood 1137AFGSPd User manual

Whittier Wood 3535DUET User manual

Whittier Wood

Whittier Wood 3535DUET User manual

Whittier Wood 3810DUET User manual

Whittier Wood

Whittier Wood 3810DUET User manual

Whittier Wood 1504GBCH User manual

Whittier Wood

Whittier Wood 1504GBCH User manual

Whittier Wood 1187RGBc User manual

Whittier Wood

Whittier Wood 1187RGBc User manual

Whittier Wood 5201AFGMS User manual

Whittier Wood

Whittier Wood 5201AFGMS User manual

Whittier Wood 2376FST User manual

Whittier Wood

Whittier Wood 2376FST User manual

Whittier Wood 2901AFGAC User manual

Whittier Wood

Whittier Wood 2901AFGAC User manual

Whittier Wood 1200AFVCL User manual

Whittier Wood

Whittier Wood 1200AFVCL User manual

Whittier Wood Addison 3524DUET User manual

Whittier Wood

Whittier Wood Addison 3524DUET User manual

Popular Indoor Furnishing manuals by other brands

Regency LWMS3015 Assembly instructions

Regency

Regency LWMS3015 Assembly instructions

Furniture of America CM7751C Assembly instructions

Furniture of America

Furniture of America CM7751C Assembly instructions

Safavieh Furniture Estella CNS5731 manual

Safavieh Furniture

Safavieh Furniture Estella CNS5731 manual

PLACES OF STYLE Ovalfuss Assembly instruction

PLACES OF STYLE

PLACES OF STYLE Ovalfuss Assembly instruction

Trasman 1138 Bo1 Assembly manual

Trasman

Trasman 1138 Bo1 Assembly manual

Costway JV10856 manual

Costway

Costway JV10856 manual

moss DESIGN Caisson Credenza Assembly instructions

moss DESIGN

moss DESIGN Caisson Credenza Assembly instructions

Aquaglide FULL DECK 15.0 owner's manual

Aquaglide

Aquaglide FULL DECK 15.0 owner's manual

AREBOS AR-HE-SW30 user manual

AREBOS

AREBOS AR-HE-SW30 user manual

Till-Hilft Fulda 87005.330 Assembly instructions

Till-Hilft

Till-Hilft Fulda 87005.330 Assembly instructions

Twoey Outside 2010 quick start guide

Twoey Outside

Twoey Outside 2010 quick start guide

Hettich Easys 200 operating instructions

Hettich

Hettich Easys 200 operating instructions

The bedboss RELAX 404 Series owner's manual

The bedboss

The bedboss RELAX 404 Series owner's manual

Oeseder Möbelindustrie Bern 991 720 Assembly instructions

Oeseder Möbelindustrie

Oeseder Möbelindustrie Bern 991 720 Assembly instructions

Costway HW68469 user manual

Costway

Costway HW68469 user manual

Next ALIX A27743 Assembly instructions

Next

Next ALIX A27743 Assembly instructions

BROSA Hans Assembly guide

BROSA

BROSA Hans Assembly guide

Prodigg MINIKA PBA015T-FUR installation manual

Prodigg

Prodigg MINIKA PBA015T-FUR installation manual

manuals.online logo
manuals.online logoBrands
  • About & Mission
  • Contact us
  • Privacy Policy
  • Terms and Conditions

Copyright 2025 Manuals.Online. All Rights Reserved.

P.O. Box 2827
Eugene, OR 97402 USA
Production Code:
VN 04/14
McKenzie Media
Consoles
W/Notched Tops
AFGAC = Glazed Antique Cherry finish
AFCAF = Caffè finish
Assembly Instructions
Model #
Congratulations!
This fine piece of furniture will make a gorgeous addition to
your home. For the best results, read the Assembly
Instructions before you begin your project.
IMPORTANT NOTES:
For normal household use only. Not recommended for commercial use.
Do not climb, sit or stand on this piece of furniture.
Do not overload the drawers or shelves.
Unload items before you move this unit.
Before you load or move this unit, tighten all screws and supports.
Handle the glass plates with care. Glass is fragile.
Before you begin your project, completely read the Assembly
Instructions.
Store this item: 1- in its box; 2- in a dry place; 3- in temperatures that
range from 40°F to 90°F (not on a cold and possibly damp cement
floor).
Periodically inspect your furniture for any loose glue joints, screws or
any other problem that might affect the stability of your furniture.
Tighten or repair as needed.
This assembly requires two people.
WARNING
Serious or fatal crushing injuries can occur from furniture tip-over. Use of
tip-over restraints may only reduce but not eliminate the risk of tip-over.
To help prevent tip-over:
Place heaviest items in the bottom drawers.
Unless specifically designed to accommodate, do not set TVs or other
heavy objects on top of this product.
Never allow children to climb or hang on drawers, doors or shelves.
Never open more than one drawer at a time.
Warning: At least one tipping restraint kit was included with your piece of
Whittier Wood Furniture. When you receive your furniture, be sure to find
and properly install the tipping restraint(s). If you cannot locate the
restraint(s), please contact us immediately for replacement.
Notice to California Customers
California Prop 65 requires consumer goods to be labeled if any one of
850+ different chemicals or substances, including wood dust, is present
even in trace amounts. Drilling, sawing, sanding or machining wood
products generates wood dust, a substance known to the State of
California to cause cancer. Warning: This product contains a chemical
or substance known to the State of California to cause cancer, birth
defects or other reproductive harm. California Health and Safety Code
Section 25249.6
DESIGN SUBJECT TO CHANGE WITHOUT NOTICE.
CALL US FIRST! Do not return this item to the store
Service Policy: We will replace any part that is defective,
missing or damaged during assembly. For a replacement
part, directly contact Whittier Wood Products customer
service department by phone, fax, mail or email.
Hours: Our friendly customer service staff can be reached
Monday-Friday 7:00 a.m. to 5:00 p.m. (Pacific Time). You
may leave a message 24 hours a day, seven days a week.
To Order: Provide the finish and furniture model number
(upper portion of this page), the part letter, production
code, quantity needed, reason for replacement and your
full name, address and telephone number.
Parts ship from our Eugene, Oregon factory within one or
two business days from the time we receive your request.
Please allow five to ten business days for delivery.
800-653-3336 •Outside the U.S. or Canada: 541-687-0213 • Fax: 541-687-2060
www.whittierwood.com • P.O. Box 2827 • Eugene, Oregon 97402, U.S.A.
2168AFGACd;
2168AFCAFd
54"W McKenzie
Media Console
W/Notched Top
2169AFGACd;
2169AFCAFd
64"W McKenzie
Media Console
W/Notched Top
2168AFGACd; 2168AFCAFd 54"W McKenzie Media Console W/Notched Top
2169AFGACd; 2169AFCAFd 64"W McKenzie Media Console W/Notched Top
Parts List
2168AFGACd_2168AFCAFd_2169AFGACd_2169AFCAFd —Page 2 —04/14
Please identify the parts and check that quantities received match those on this list.
If you need to replace a part, refer to the following letter and part name.
Part
Description
Quantity
2168AFGACd
2168AFCAFd
2169AFGACd
2169AFCAFd
A
Top Assembly
1
1
B
Adjustable Shelf
2
2
C
Knob (attached)
7
7
Dd
#8 x 1-1/2" Machine Screw Tuscan (installed)
7
7
E
Drawer Face (installed)
6
6
F
Drawer Box (inserted)
6
6
G
Drawer Slides (pre-installed sets)
6
6
H
Door Frame
1
1
I
Door Glass (attached)
1
1
Ja
Case
1
1
L
Shelf Bracket (installed)
8
8
M
#6 x 1/2" Undercut Screw (inserted)
8
8
N
Removable Back (attached)
2
2
O
Door Glass Support Rail (attached)
2
2
P
Door Glass Support Stile (attached)
2
2
Q
#6 x 3/4" Flat Head Screw (inserted)
12
12
S
#6 x 5/8" Philtruss Screw (inserted)
16
16
U
Hinge (attached)
2
2
X
Small Adjustable Glide (installed)
4
4
Yd
#8 x 7/8" Black Lo-Profile Screw (inserted)
24
24
ZA
#8 x 1" Pan Head Screw (inserted)
4
4
ZB
#8 x 1-1/4" Pan Head Screw (inserted)
14
16
ZD
#8 x 1-1/4" Black Screw (inserted)
5
6
2168AFGACd; 2168AFCAFd 54"W McKenzie Media Console W/Notched Top
2169AFGACd; 2169AFCAFd 64"W McKenzie Media Console W/Notched Top
Parts List
2168AFGACd_2168AFCAFd_2169AFGACd_2169AFCAFd —Page 3 —04/14
Part
Description
Quantity
2168AFGACd
2168AFCAFd
2169AFGACd
2169AFCAFd
ZG
Drawer Stop (attached)
4
4
ZH
Turn Button (attached)
4
4
ZI
#6 x 5/8" Undercut Screw ZN (inserted)
0 (AFGAC)
12 (AFCAF)
0 (AFGAC)
12 (AFCAF)
ZJ
#6 x 1/2" Philtruss Screw (inserted)
36
36
ZK
#6 x 3/4" Philtruss Screw (inserted)
36
36
ZS
Insert Nut (inserted)
4
4
ZT
#8 x 1-3/8" Lo-Profile Screw (inserted)
6
6
ZV
Foot Bracket (attached)
1
1
ZW
Adjustable Glide (installed)
1
1
ZX
Tuscan Magnetic Lock & Plate
(pre-installed sets)
2
2
ZY
#6 x 5/8" Undercut Screw AB (inserted)
16 (AFGAC)
4 (AFCAF)
16 (AFGAC)
4 (AFCAF)
ZZ
#10 x 3/4" Pan Head Screw (inserted)
4
4
TS
Media Tipping Restraint (attached)
1 set
1 set
2168 shown in the illustrations.
2168AFGACd; 2168AFCAFd 54"W McKenzie Media Console W/Notched Top
2169AFGACd; 2169AFCAFd 64"W McKenzie Media Console W/Notched Top
Assembly Instructions
2168AFGACd_2168AFCAFd_2169AFGACd_2169AFCAFd —Page 4 —04/14
Tool Required: Phillips Screwdriver, Pencil.
1. Place the console at its final destination. Rotate the Adjustable Glides (X) found at the corners
of the unit and (ZW) at the bottom of the Center Foot until the unit is level. See Figure 1.
2. You may want to remove the Removable Backs (N) so that you can fit your media units into the
console more easily. To do so, unlock the Turn Button (ZH) as shown in Figures 2 and 2b. Slide
the backs away and place them off to the side. To put them back into place, slide the backs
behind the Drawer Stops (ZG) and position the Turn Button so that it is locked. See Figures 2a
and 2b.
ZG
ZH
Locked
Position
Fig. 2
Fig. 2b
Fig. 2a
N
N
ZH
ZG
Unlocked
Position
Fig. 1
ZW
X
X
2168AFGACd; 2168AFCAFd 54"W McKenzie Media Console W/Notched Top
2169AFGACd; 2169AFCAFd 64"W McKenzie Media Console W/Notched Top
Assembly Instructions
2168AFGACd_2168AFCAFd_2169AFGACd_2169AFCAFd —Page 5 —04/14
3. To move the Adjustable Shelves (B), remove the #6 x 1/2" Undercut Screws (M) and the
Shelves (B). Reposition the Shelf Brackets (L) to the desired positions, replace the shelf and
insert the screws. See Figures 3 and 3a.
Continued on Page 6
Fig. 3
M
L
Fig. 3a
B
Door removed for illustration purposes.
2168AFGACd; 2168AFCAFd 54"W McKenzie Media Console W/Notched Top
2169AFGACd; 2169AFCAFd 64"W McKenzie Media Console W/Notched Top
Assembly Instructions
2168AFGACd_2168AFCAFd_2169AFGACd_2169AFCAFd —Page 6 —04/14
Furniture Tipping Restraint Instructions
Before you begin this assembly, identify each part and make sure the quantities received match what is on this
list. If you need to replace a part, contact Whittier Wood Furniture customer service and refer to the following
list for its name and letter code.
Part
Description
Quantity
A
Cam Buckle and Short Strap (installed)
1
B
Plastic Bracket (installed)
1
C
1" x 1000mm Long Strap (installed)
1
D
#8 x 3" Pan Head Screw
2
E
#10 x 1" Oval Head Screw (inserted)
1
F
Washer
1
If you have a stone or tile floor or do not wish to drive screws into the corner of the baseboard
and floor see the instruction included inside the tipping restraint kit for an alternate
installation.
4. Decide where you want to place the piece of furniture in your room. Mark the baseboard with a
pencil mark directly behind the location where the tipping restraint is attached to your item.
Move the item away from the wall far enough to allow you to access the spot where the
baseboard meets the floor. Position the straps and Plastic Bracket (B) as shown in Figures 4
and 4a with the angled corners of the Plastic Bracket (B) firmly placed against the seam of the
baseboard and floor. Attach by driving #8 x 3" Pan Head Screws (D) through the holes in the
Plastic Bracket (B) into the seam below the baseboard where it meets the floor. See Figures 4
and 4a.
Fig. 4
Fig. 4a
Wall
Floor
D
Floor
Baseboard
D
x 2
2168AFGACd; 2168AFCAFd 54"W McKenzie Media Console W/Notched Top
2169AFGACd; 2169AFCAFd 64"W McKenzie Media Console W/Notched Top
Assembly Instructions
2168AFGACd_2168AFCAFd_2169AFGACd_2169AFCAFd —Page 7 —04/14
5. Move the item back into position against the wall and reach underneath the piece of furniture to
grasp the loop in the free end of the strap. Pull the free end of the strap until portion between
the Cam Buckle (A) and the back apron of the item is tight. See Figures 5 and 5a. If you need
to move the piece of furniture reach beneath and locate the buckle which connects the two
sections of the strap and depress the release lever, then pull on the section of strap that is
between the buckle and the back apron of the furniture until there is enough slack to allow you
to pull the item away from the wall.
Fig. 5a
Fig. 5
C
Wall
Floor