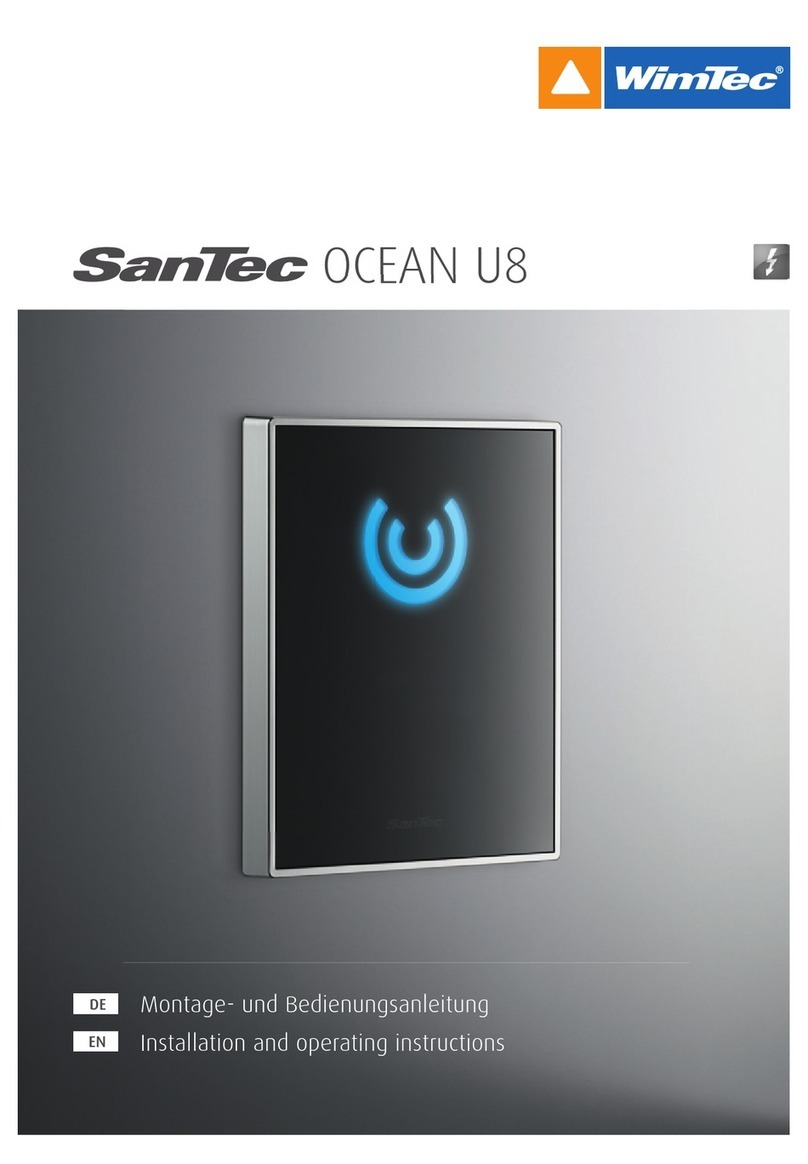
WimTec SanTec OCEAN U2 User manual

Montage- und Bedienungsanleitung
DE
OCEAN U2
Installation and operating instructions
EN

2 Urinal-Druckspüler SanTec OCEAN U2
DE
OCEAN U2
Allgemeine Hinweise
Gratulation zum Kauf Ihres Urinaldrückspüler SanTec OCEAN.
Damit Sie lange Jahre Freude mit dieser hochwertigen Armatur
haben, empfehlen wir Ihnen folgende Punkte bei der Reinigung
und Pflege zu beachten:
milde, seifenhaltige Reinigungsmittel verwenden
keine kratzenden, scheuernden oder säurehaltigen
Reinigungs- oder Desinfektionsmittel verwenden
nur mit weichem Schwamm oder Tuch behandeln
keine Reinigung mit Dampfstrahlgeräten
Diese Anleitung ist gültig für folgende Produkte:
SanTec OCEAN U2
Glas weiß Art.Nr. 112 306
Glas weiß/chrom Art.Nr. 112 290
Glas schwarz Art.Nr. 112 313
Glas schwarz/chrom Art.Nr. 114 560
Kunststoff weiß Art.Nr. 112 450
Kunststoff chrom Art.Nr. 112 467
Edelstahl Art.Nr. 112 665
Lieferumfang:
Frontplatte mit Rahmen, Montagerahmen,
Druckspülerkartusche und Befestigungsmaterial.
Wichtige Installationshinweise:
Die Montage und Installation darf nur durch einen konzessio-
nierten Fachbetrieb, gemäß DIN 1988 erfolgen.
Bei der Planung und Errichtung von Sanitäranlagen sind die
entsprechenden örtlichen, nationalen und internationalen Nor-
men und Vorschriften zu beachten!
Es gelten die „Allgemeinen Installationsbedingungen“ unter
www.wimtec.com.

Urinal-Druckspüler SanTec OCEAN U2 3
DE
OCEAN U2
Technische Daten
Fließdruck: 0,05 - 0,5 MPa (0,5 - 5 bar)
Statischer Druck: max. 0,8 MPa (8 bar)
Durchfluss: 0,3 - 0,7 l/s bei 0,3 MPa (3 bar)
nach EN 12541, reduzierbar
Wasserzulauf: R 1/2“ IG
Wasserablauf: R 1/2“ AG
Abmessungen:
Frontplatte: 120 x 152 mm
Wandeinbaukasten: 127 x 121 x 98-158 mm

4 Urinal-Druckspüler SanTec OCEAN U2
DE
OCEAN U2
Montage
1
4
2
5
3
6
1. Leitung spülen danach Vorabsperrung schließen.
2. Blindstopfen entfernen und Kartusche einsetzen.
3. Betätigungsspindel fliesenbündig einstellen und kontern,
Vorabsperrung öffnen.
4. Rahmen aufschrauben.
5. Frontplatte aufsetzen.
6. Funktionsprüfung: Taste 1 s drücken
ACHTUNG!
Folgende Schritte unbe-
dingt in beschriebener
Reihenfolge ausführen!
!

Urinal-Druckspüler SanTec OCEAN U2 5
DE
OCEAN U2
Störungsbeseitigung
Funktion Ursache Maßnahme Hinweis
Spült nicht - Vorabsperrung geschlossen öffnen Seite 4, Abb. 1
- Betätigungsspindel nicht
fliesenbündig eingestellt einstellen Seite 4, Abb. 3
- Geringe Wassermenge = lange Filter reinigen/
Laufzeit ggfs. Kartusche tauschen Seite 6
Dauerläufer - Betätigungsspindel nicht
fliesenbündig eingestellt einstellen Seite 4, Abb. 3
- Kartuschensieb verschmutzt Filter reinigen/ Seite 6
ggfs. Kartusche tauschen

6 Urinal-Druckspüler SanTec OCEAN U2
DE
OCEAN U2
Servicehinweis und Spülmengeneinstellung
1
4
2
5
3
1. Vorabsperrung schließen
2. Kartusche rausschrauben
3. Filter abspülen, ggf. mit weicher Bürste reinigen
4. Spülmenge einstellen
5. Frontplatte aufsetzen
ACHTUNG!
Folgende Schritte unbe-
dingt in beschriebener
Reihenfolge ausführen!
!

Urinal-Druckspüler SanTec OCEAN U2 7
DE
OCEAN U2
Ersatzteile
Kartusche
Montagerahmen
Glas-Frontplatte weiß
Glas-Frontplatte weiß/chrom
Glas-Frontplatte schwarz
Glas-Frontplatte schwarz/chrom
Kunststoff-Frontplatte weiß
Kunststoff-Frontplatte chrom
Edelstahl-Frontplatte
113 341
113 358
113 303
113 297
113 280
116 090
113 310
113 327
113 334
Bezeichnung
No.:
113 341
113 358
113 303
113 297
113 280
116 090
113 310
113 327
113 334

8 Urinal push button SanTec OCEAN U2
EN
OCEAN U2
General notes
Congratulations on purchasing your urinal push button
SanTec OCEAN.
In order that you will be satisfied with this high-valued ar-
mature for long years, we recommend considering following
points for cleaning and maintenance:
Only use gentle cleaning supplies based on soap.
Don´t use acidic cleaning supplies or disinfectant, which
scrape or rub.
Only clean by using soft sponge or cloth.
Don´t use steam stream equipment.
These instructions are valid for the following products:
SanTec OCEAN U2
Glass white Art.No. 112 306
Glass white/chromium Art.No. 112 290
Glass black Art.No. 112 313
Glass black/chromium Art.No. 114 560
Plastic white Art.No. 112 450
Plastic chromium Art.No. 112 467
Stainless steel Art.No. 112 665
Scope of supply:
Front plate with frame, mounting frame, flushing valve
cartridge and fixing material.
Important installation hints:
Mounting and installation must be performed by licensed
craftsmen to DIN 1988.
When planning and installing sanitary systems, the relevant
local, national and international standards and regulations must
be complied with!
The “general installation conditions” at www.wimtec.com are
valid.

Urinal push button SanTec OCEAN U2 9
EN
OCEAN U2
Technical specifications:
Flow pressure: 0,05 - 0,5 MPa (0,5 - 5 bar)
Static pressure: max. 0,8 MPa (8 bar)
Flow rate: 0,3 – 0,7 l/s. at 0,3 MPa (3 bar)
reducible acc. to EN 12541
Water inlet: 1/2” inside thread
Water outlet: 1/2” outside thread
Dimensions:
Front plate: 120 x 152 mm
In-wall box: 127 x 121 x 98-158 mm
Troubleshooting
Function Reason Action Hint
No flush - shut-off valved closed open it p. 10, Picture 1
- Operation stem not
adjusted flush with tiles. Adjust p. 10, Picture 3
- Little water quantity = Clean the filter/ change
long flushing time cartridge if necessary p. 11
Continuous - Operation stem not
adjusted flush with tiles. Adjust p. 10, Picture 3
- Dirty cartridge filter Clean the filter / change
cartridge if necessary p. 11
flush

10 Urinal push button SanTec OCEAN U2
EN
OCEAN U2
Installation
1
4
2
5
3
6
1. Flush the pipes and close shut-off valve afterwards.
2. Remove blank plug and insert cardridge.
3. Adjust operation stem flush with tiles and secure, open
shut-off valve.
4. Screw frame.
5. Mount front plate.
6. Function test: push the button for 1 s.
ATTENTION!
Following steps must be
done in order as described
necessarily!
!

Urinal push button SanTec OCEAN U2 11
EN
OCEAN U2
Service hint and flushing quantity adjustment
1
4
2
5
3
1. Close shut-off valve
2. Screw cartridge
3. Wash the filter and clean with soft brush if necessary
4. Adjust flushing quantity
5. Mount front plate
ATTENTION!
Following steps must be
done in order as described
necessarily!
!

WIMTEC Elektronische Steuerungs- u. Meßgeräte GmbH
p: A - 3325 Ferschnitz, Freidegg 50, AUSTRIA
t: +43 (0) 7473 5000 f: +43 (0) 7473 5000 - 500
Auflage: 31 03 2011 Art.Nr. 1001231
Cartridge
Mounting frame
Glass-front plate white
Glass-front plate white/chromium
Glass-front plate black
Glass-front plate black/chromium
Plastic-front plate white
Plastic-front plate chromium
Stainless steel front plate
113 341
113 358
113 303
113 297
113 280
116 090
113 310
113 327
113 334
Description
No.:
Spare parts
113 341
113 358
113 303
113 297
113 280
116 090
113 310
113 327
113 334
Table of contents
Languages:
Other WimTec Control Unit manuals
Popular Control Unit manuals by other brands

Flame
Flame CHORD MACHINE 2 manual

M-system
M-system R3Y-DS8N instruction manual

Re
Re ICENI/AI-04 instruction manual

Task Force Tips
Task Force Tips VORTEX 2 ER Instructions for installation, safe operation and maintenance

Telit Wireless Solutions
Telit Wireless Solutions LE910C1-NA Hardware user's guide

FrSky
FrSky R9M Lite Pro instruction manual