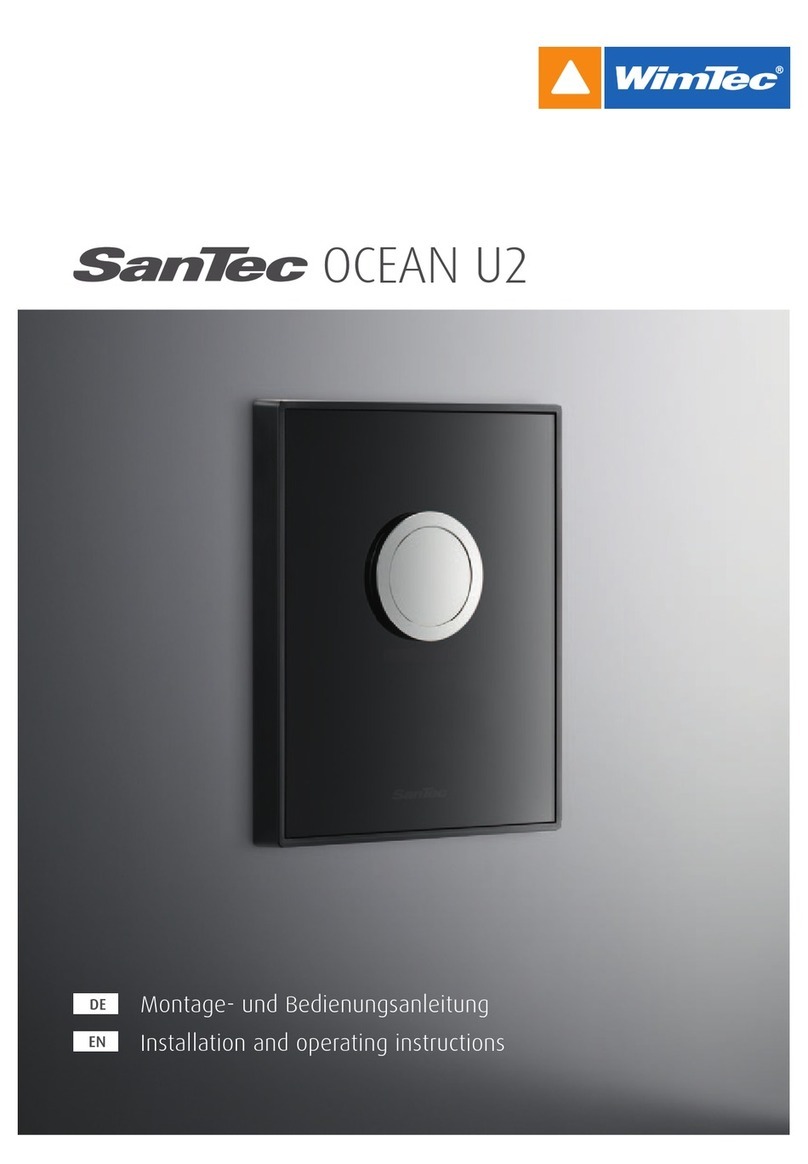
WimTec SanTec Ocean U8 User manual

Montage- und Bedienungsanleitung
DE
OCEAN U8
OCEAN U8
Installation and operating instructions
EN

2 Urinalsteuerung SanTec OCEAN U8
DE
OCEAN U8
Allgemeine Hinweise
Gratulation zum Kauf Ihrer Urinalsteuerung SanTec OCEAN.
Damit Sie lange Jahre Freude mit dieser hochwertigen Armatur
haben, empfehlen wir Ihnen folgende Punkte bei der Reinigung
und Pflege zu beachten:
milde, seifenhaltige Reinigungsmittel verwenden
keine kratzenden, scheuernden, säurehaltigen oder
nano-versiegelnde Reinigungs- oder Desinfektionsmittel
verwenden
nur mit weichem Schwamm oder Tuch behandeln
keine Reinigung mit Dampfstrahlgeräten
Diese Anleitung ist gültig für folgende Produkte:
SanTec OCEAN U8 230 V
Glas weiß Art.Nr. 109 856
Glas schwarz Art.Nr. 114 584
Lieferumfang:
Sicherheitsglas-Frontplatte, Montagerahmen mit integrierter
Elektronik, Netzteil, Magnetventil und Befestigungsmaterial.
Wichtige Installationshinweise:
Die Montage und Installation darf nur durch einen konzessi-
onierten Fachbetrieb, gemäß DIN 1988, ÖVE/ÖNORM E8001
sowie VDE 0100 Teil 701 erfolgen.
Die Netzzuleitung ist über einen 2-poligen Hauptschalter mit
mindestens 3 mm Kontaktöffnung zu führen und mit maximal
6 A abzusichern!
Bei der Planung und Errichtung von Sanitäranlagen sind die
entsprechenden örtlichen, nationalen und internationalen Nor-
men und Vorschriften zu beachten!
Es gelten die „Allgemeinen Installationsbedingungen“ unter
www.wimtec.com.

Urinalsteuerung SanTec OCEAN U8 3
DE
OCEAN U8
Technische Daten
Betriebsspannung: 230 V / 50 Hz
Leistungsaufnahme: ca. 3 VA
Magnetventil: Kartusche 6 V
Ansprechbereich: ca. 50 cm voreingestellt (30 - 70 cm einstellbar)
Vorspülung: 1 s, wenn Urinal länger als 5 min nicht benutzt wurde
Hauptspülung: 5 s voreingestellt (1 - 15 s einstellbar)
Austrocknungsschutz: Automatische Spülung bei 24 h Nichtbenutzung
Fließdruck: 0,08 - 0,5 MPa (0,8 - 5 bar)
Statischer Druck: max. 0,8 MPa (8 bar)
Durchflussmenge: ca. 0,3 - ca. 0,7 l/s bei 0,3 MPa (3 bar) nach EN 12541 reduzierbar
Wasserzulauf: R 1/2“ IG
Wasserablauf: R 1/2“ AG
Geräuschklasse: I
Abmessungen:
Frontplatte: B/H/T: 120 x 152 x 14 mm
Rohbauset: B/H/T: 128 x 122 x 85 mm
Einbaumaße
Maße in cm
51,5
OK-FFB
OK-RFB
10-19 min 100
Höhe Mitte Sensor
100 (im Element
ca. 100-120)
Zulauf
DN 15
65 (Erwachsene)
0 -25
Ablauf
DN 50
115 (Laufen Caprino)
137 (Laufen Taro Nova)
ca. 50 aktiver Bereich

4 Urinalsteuerung SanTec OCEAN U8
DE
OCEAN U8
Montage
ACHTUNG!
Folgende Schritte unbe-
dingt in beschriebener
Reihenfolge ausführen!
!
6
2
5
7
1
4
a b
8
3

Urinalsteuerung SanTec OCEAN U8 5
DE
OCEAN U8
Montage
1. Leitung spülen danach Vorabsperrung schließen.
2. Blindstopfen entfernen.
3. (a) Adapter auf Magnetventil stecken und
(b) Magnetventil einsetzen, nur handfest anziehen!
4. Netzspannung abschalten! Anschlusskabel in den UP-Kasten einziehen
und Verbindungsstecker montieren.
5. Netzteil mit Anschlusskabel verbinden
und Netzteil in den UP-Kasten einschieben.
6. Magnetventil mit Elektronik verbinden.
Auf Steckverbindung achten!
7. Netzteil mit Elektronik verbinden.
Auf Steckverbindung achten!
8. Vorabsperrung öffnen und Netzspannung einschalten.
(Sicherheitsschließimpuls beim Magnetventil erfolgt).

6 Urinalsteuerung SanTec OCEAN U8
DE
OCEAN U8
Inbetriebnahme
1 3
4
2
6
5
7
Generell gilt für alle Regler:
Gegen den Uhrzeiger-
sinn zum Reduzieren.
Im Uhrzeigersinn zum
Erhöhen.
!

Urinalsteuerung SanTec OCEAN U8 7
DE
OCEAN U8
Inbetriebnahme
1. Montagerahmen anschrauben und waagrecht ausrichten.
2. Ggf. Spülzeit einstellen.
Wasser sparen! Spülzeit je nach Fließdruck und Spülmenge einstellen.
(1 - 15 s einstellbar / 5 s voreingestellt)
3. Als Funktionskontrolle nach Inbetriebnahme leuchtet die rote
Led 1 min bei Nutzererkennung.
4. Frontplatte aufsetzen - Funktionsprüfung durchführen.
5. Ggf. Reichweite einstellen (30 - 70 cm einstellbar / 50 cm voreingestellt)
6. Frontplatte aufsetzen und mit Schraube von unten sichern.
7. SanTec OCEAN U8 ist nun betriebsbereit.
Funktion
Mindestverweilzeit:
4 s
Intelligente Vorspülung:
1 s, wenn Urinal länger
als 5 min nicht benutzt
Einstellbare Hauptspülung:
von 1 bis 15 s
Austrocknungsschutz:
Automatische Spülung
bei 24 Stunden
Nichtbenutzung

8 Urinalsteuerung SanTec OCEAN U8
DE
OCEAN U8
Fließdruck
Spülmengen-Übersicht
Spülmenge in l
2,0 3,0 4,0
1 bar 5,5 s 7,0 s 10,0 s
2 bar 4,5 s 5,5 s 7,5 s
3 bar 3,0 s 4,5 s 6,0 s
4 bar 2,5 s 4,0 s 5,5 s
5 bar 2,5 s 4,0 s 5,0 s

Urinalsteuerung SanTec OCEAN U8 9
DE
OCEAN U8
Ersatzteile
SanTec OCEAN Urinal Rohbauset
Magnetventil Adapter
Magnetventil 6 V
Montagerahmen mit Elektronikmodul
Netzteil
Netzstecker
Glas-Frontplatte weiß/chrom
Glas-Frontplatte schwarz/chrom
112 504
113 020
231 205
112 979
231 212
230 611
112 955
115 659
Bezeichnung
No.:
231 205
113 020
112 504
231 212
230 611
112 955
115 659
112 979

10 Urinal control SanTec OCEAN U8
EN
OCEAN U8
Congratulations on purchasing your urinal control
SanTec OCEAN.
In order to ensure that you will be able to enjoy this high-qua-
lity product for many years, please take note of the following
cleaning and maintenance recommendations:
Use mild cleaning agents containing soap
Do not use abrasive, scrubbing, nano sealing or acidic
cleaning agents or disinfectants
Clean the fitting with a soft sponge or cloth only
Do not use steam cleaners
Lime deposits on the glass front panel combined with wetness
can impair the touch-tronic function. To ensure proper operati-
on,
we recommend regular cleaning of the glass panel using a
power cleaner.
This manual is valid for the following products:
SanTec OCEAN U8 230 V
Glass white Art.No 109 856
Glass black Art.No. 115 584
Delivery scope:
Safety glass-front plate with frame, mounting frame with integ-
rated electronics, power supply, magnetic valve and
fixing material.
Important installation notes:
Mounting and installation may only be performed by a quali-
fied service provider in accordance with DIN 1988, ÖVE/ÖNORM
E8001 and VDE 0100 Part 701. When planning and installing
sanitary facilities, all relevant local, national and inter-national
standards and provisions must be observed!
Make the feeder by a 2-pin main switch with minimum 3 mm
connection opening and protect with maximum 6 A!
General notes
The “General installation
terms and conditions”
provided at
www.wimtec.com apply.
!

Urinal control SanTec OCEAN U8 11
EN
OCEAN U8
Operating voltage: 230 V / 50 Hz
Power consumption: approx. 3 VA
Magnetic valve: cartridge 6 V
Active range: Set to 50 cm by default (configurable from 30 - 70 cm)
Pre-flushing: 1 s, if urinal is not used for more than 5 min
Main flushing: set to 5 s by default (configurable from 1 - 15 s)
Dry-out protection: automatic flushing when not in use for 24 h
Flow rate: 0,08 - 0,5 MPa (0,8 - 5 bar)
Static pressure: max. 0,8 MPa (8 bar)
Flow rate: 0.3 - 0.7 l/s at 0.3 MPa (3 bar) acc. to EN 12541, reducible
Water inlet: R 1/2“ IG
Water outlet: R 1/2“ OT
Noise class: I
Dimensions:
Front plate: W/H/D: 120 x 152 x 14 mm
Flush-mount set: W/H/D: 128 x 122 x 85 mm
Installation dimensions
All dimensions in cm
51,5
10-19 min 100
Zulauf
DN 15
0 -25
Ablauf
DN 50
115 (Laufen Caprino)
137 (Laufen Taro Nova)
approx. 50 active area
Technical specifications
Height sensor middle
100 (in element
approx. 100-120)
65 (adults)
A = finished floor level B = structural floor level
A
B

12 Urinal control SanTec OCEAN U8
EN
OCEAN U8
Assembly
ATTENTION!
Perform the following steps
in the order indicated!
!
6
2
5
7
1
4
a b
8
3

Urinal control SanTec OCEAN U8 13
EN
OCEAN U8
Assembly
1. Flush the pipes, close shut-off valve afterwards.
2. Remove blank plug.
3. (a) Connect the adapter with the magnetic valve and
(b) insert magentic valve and tighten by hand!
4. Switch off power! Feed the connection cable into the flush-mount
set and connect plug.
5. Connect the power unit with connection cable and insert power
supply into flush mount set.
6. Connect magnetic valve with the electronics.
Pay attention to the plug connections!
7. Connect power unit with electronics.
Pay attention to the plug connections!
8. Switch on power and open shut-off valve
(causing the safety locking mechanism of the magnetic valve).
Pressure
Overview – flushing quantities
Flush volume in liters
2,0 3,0 4,0
1 bar 5,5 s 7,0 s 10,0 s
2 bar 4,5 s 5,5 s 7,5 s
3 bar 3,0 s 4,5 s 6,0 s
4 bar 2,5 s 4,0 s 5,5 s
5 bar 2,5 s 4,0 s 5,0 s

14 Urinal control SanTec OCEAN U8
EN
OCEAN U8
Commissioning
7
1 3
4
2
6
5
Rule applies to all controls:
Move counterclockwise
to decrease the setting.
Move clockwise to
increase the setting.
!

Urinal control SanTec OCEAN U8 15
EN
OCEAN U8
Commissioning
1. Screw on electronic module.
2. Adjust flushing time if necessary. Save water! Adjust flushing time according to flow
pressure and flushing quantity. (1 – 15 s adjustable / 5 s pre-adjusted)
3. As function control after start of operation the red Led is shining for 1 min at
user recognition.
4. Mount front plate – make function test.
5. Adjust active range if necessary (30 – 70 cm adjustable / 50 cm pre-adjusted)
6. Fix front plate.
7. SanTec OCEAN U8 is ready for operation.
Function
Minimum stay time:
4 s
Intelligent pre-flushing:
1 s, if urinal was not used for
more than 5 min
Adjustable main flushing:
from 1 – 15 s
Dry-out protection:
at 24 h non-use

Auflage: 16 07 2013 Art.Nr. 1001228
WIMTEC Elektronische Steuerungs- u. Meßgeräte GmbH
p: A - 3325 Ferschnitz, Freidegg 50, AUSTRIA
t: +43 (0) 7473 5000 f: +43 (0) 7473 5000 - 500
m: [email protected] i: www.wimtec.com
Replacement parts
SanTec OCEAN urinal wall recess mounted box
Magnetic valve adapter
Magnetic valve 6 V
Mounting frame with electronics module
Power supply
Power plug
Glass front plate white/chromium
Glass front plate black/chromium
112 504
113 020
231 205
112 979
231 212
230 611
112 955
115 659
Description
No.:
231 205
113 020
112504
231 212
230 611
112 955
115 659
112 979
Other manuals for SanTec Ocean U8
1
Table of contents
Languages:
Other WimTec Control Unit manuals
Popular Control Unit manuals by other brands

Wistron NeWeb
Wistron NeWeb DFCN-H1 user manual

Imtex-Controls
Imtex-Controls VSD-IOM-002 Installation, Operating, Maintenance

Electrex
Electrex PFAB401-N2P installation guide

Asco
Asco 8316 Series Installation & maintenance instructions

Pickering
Pickering 40-297A user manual

LG
LG MULTI V EEV KIT AIR installation manual

ASEPCO
ASEPCO PN05 Installation, operating and maintenance manual

Advantech
Advantech PCM-3680 Startup manual

Videotree
Videotree MMK50 Quick Install & Setup Guide

Thorlux Lighting
Thorlux Lighting SmartScan Touch Installation details

Crestron
Crestron FT2A-PWR-UN-1-C14 installation guide

Centroid
Centroid MPU11 Installation