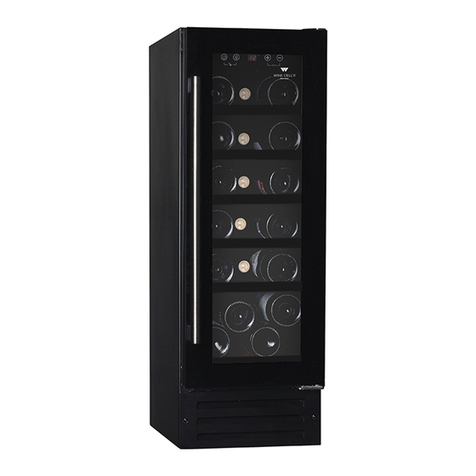
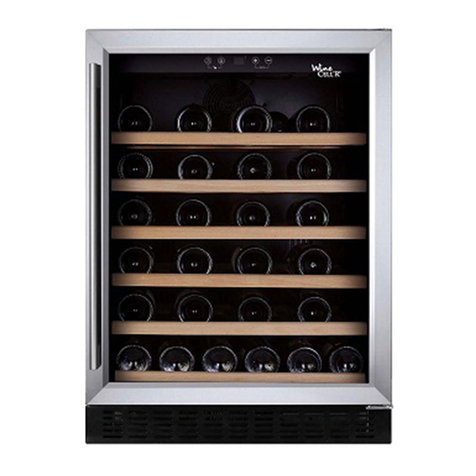
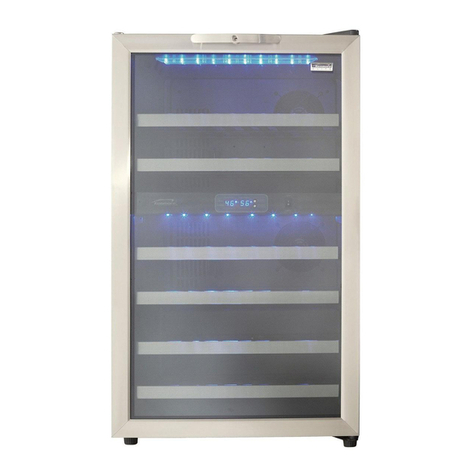
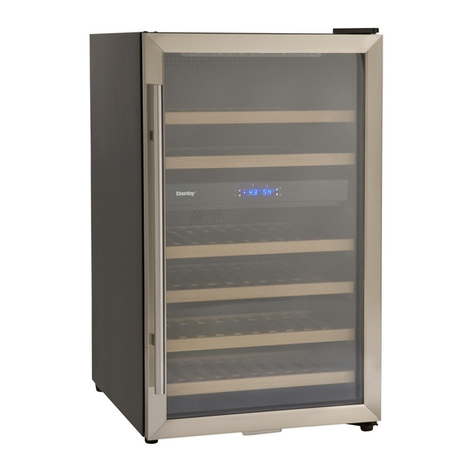
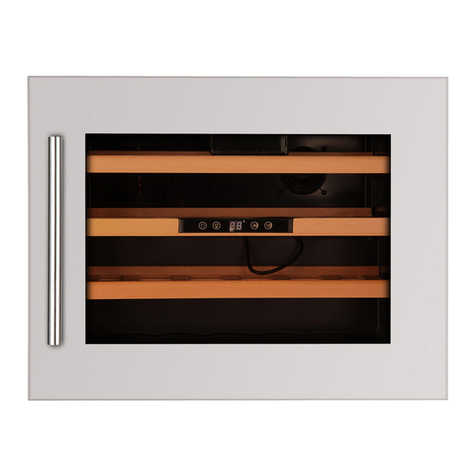
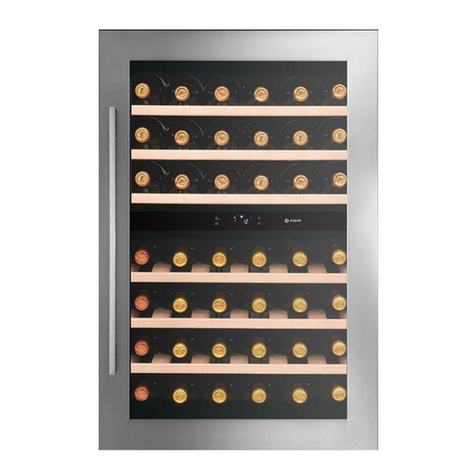
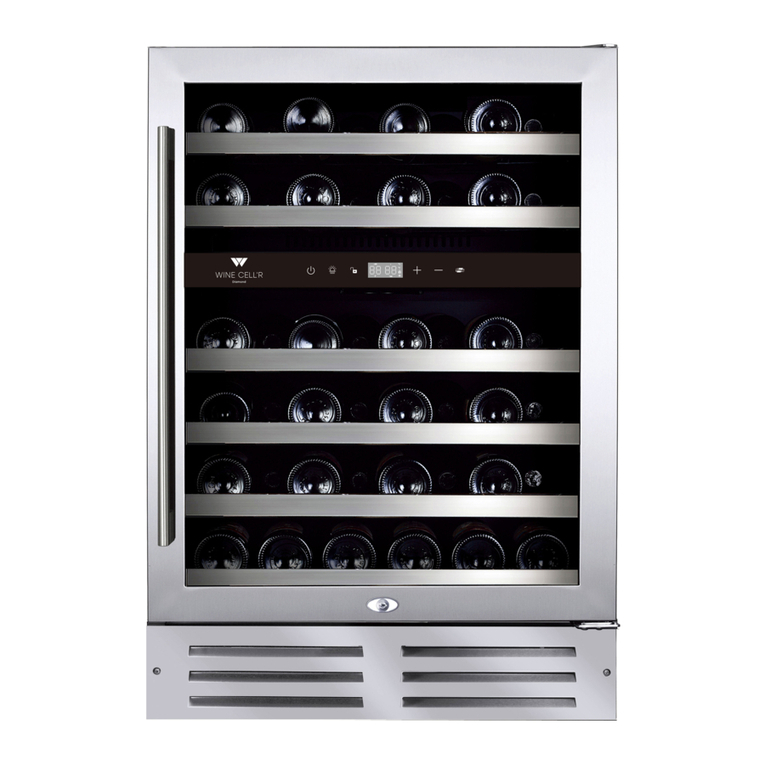
Wine cellr Diamond WC26SSTDZ6 User manual

VERSION FRANÇAISE P. 23
Instruction manual
Models:
WC26SSTDZ6 (2 zones)
WC34SSTSZ6 (1 zone)
WC38SSTBC6 (2 zones wine/beverages)
WC46SSTSZ6 (1 zone)
WC46SSTDZ6 (2 zones)
WC54SSTBC6 (1 zone wine/beverages)
WC166SSDZ6 (2 zones)
WC181SSSZ6 (1 zone)
PLEASE READ THIS MANUAL CAREFULLY BEFORE INSTALLATION AND USE.

2
Table of contents
INFORMATION/SAFETY INSTRUCTIONS 3 to 4
Before using your device 3
Important safety instructions 3
Pre-installation tips 4
INSTALLATION 4 to 11
Measurements and dimensions 4
Installing the handle 7
Reversing the door 8
Bottle layout and storage 11
OPERATION 12 to 16
Wine cabinet operation 12
•Display panel (A) 13
•Before you start (B) 13
•Temperature setting (C) 13
•Locking and unlocking the panel (D) 14
•Light adjustment 14
•Changing the display to Celsius or Fahrenheit 14
•Ideal temperature for serving your wine 14
•Lock 15
•How to remove a telescopic shelf 16
MAINTENANCE 16 to 17
Cleaning the wine cabinet 16
Filter change 17
Power outage 17
Energy Saving Tips 17
TROUBLESHOOTING 18 to 20
YOUR WINE CELL’R WARRANTY 20 to 22
Limited Warranty 20
Terms & Exclusions 21
Contact us 22
Registration card 22
Model and serial number of the unit 22

3
INFORMATION/SAFETY INSTRUCTIONS
Before using your device
•Remove inner and outer packing material.
•Allow the appliance to stand upright for approximately 24 hours before plugging it
in to avoid complications in the cooling system.
•Use a soft cloth with warm water to clean the inside and outside.
Important safety instructions
Before using the appliance, please position and install it properly according to the
specifications in the manual. To avoid the risk of fire, electric shock or injury when using
the unit, please read and follow the precautions suggested in this manual.
•Never clean any part of the unit with flammable liquids that may cause a fire or
explosion hazard.
•Do not store gas or other flammable products near the appliance.
•Do not plug or unplug the appliance when your hands are wet.
•Unplug the appliance or disconnect the power supply before making a service call,
servicing or cleaning the appliance. Failure to do so may result in electric shock or
death.
•Do not attempt to replace or repair any parts on the appliance unless specified in
the manual or refer servicing to a qualified technician.
•The front of the appliance must not be obstructed in any way to ensure adequate
ventilation.
•This appliance is designed and intended for use by persons who are familiar with the
operation of electrical appliances. All other persons (including children) must be
supervised or instructed in advance by a person responsible for their safety.
•Children must be supervised not to play with the appliance.
•Do not use solvent-based or abrasive cleaners inside the appliance, as these may
discolour the interior.
•Do not use this unit for any purpose other than recommended.
•The use of an extension cord is not recommended by the manufacturer and may be
dangerous.
•When disposing of the appliance, be sure to remove the door and leave the shelves
in place to prevent children from climbing inside. Make sure that the cooling and
heating circuit at the bottom rear of the unit is not damaged. The symbol on
the product or on its packaging indicates that this appliance is not a product to be
disposed of in the household waste, but rather should be taken to an appropriate
recycling facility for electrical appliances.
4
Pre-installation tips
This appliance is designed for flush-mounted or freestanding installation
•The appliance is intended to be used exclusively for the storage of wine.
•Place your wine cabinet on a flat floor strong enough to support it when fully loaded.
•It is important that the appliance is level to operate properly (check with a level
from left to right and front to back). You can adjust the feet of the appliance to level
it.
•Make sure that there are enough people to move and install the appliance to prevent
injuries or damage to the appliance. When moving the appliance, do not tilt it more
than 45 degrees.
•The appliance must be installed away from heat sources such as heating system,
radiator, oven. Direct sunlight can affect the acrylic coating and heat sources can
increase the energy use of the wine cabinet. Cold and extreme ambient
temperatures can also cause malfunctions of the appliance.
•Avoid placing the appliance outdoors or/and in a damp location.
•Once in its location, wait 24 hours before plugging in the appliance.
•Make sure that the voltage/current indicated on the label matches your supply
voltage. Plug the appliance into a 3-pin socket, do not remove the grounding pin.
Do not use an adapter and do not use an extension cord.
•It is recommended to plug the wine cabinet into a power bar with surge protector.
•It is recommended to plug your appliance on a dedicated circuit.
•The fuse (or circuit breaker) size should be 15 A or greater.
•Any questions regarding the power supply and/or grounding should be directed to
an electrician or an authorized service center.
INSTALLATION
Measurements and dimensions
The cut-out dimensions shown below allow door clearance and access to the sliding shelves
when the wine cabinet is installed as a flush-mounted appliance.
Your wine cabinet has been manufactured with a zero-clearance door, so no additional
space is required to accommodate door swing when building your cabinets.
These cut-out dimensions indicate the minimum space required for your wine cabinet to
function as intended.
Note that the power cable is at a 90 degrees angle and requires 38 mm of clearance at the
rear when plugged in and the handle is maximum 45 mm deep, depending on the model.

5
WC26SSTDZ6
WC34SSTSZ6

6
WC38SSTBC6 / WC46SSTDZ6 / WC46SSTSZ6 / WC54SSTBC6 / WC152SSBC6
WC166SSDZ6

7
WC181SSSZ6
Installing the handle
1. Move the door seal behind the handle with your finger. In some models, plastic caps
cover the screws; remove them to expose the screws.
2. Insert the screws into the pre-drilled holes in the handle.
3. Install the handle and tighten the screws.
4. Replace the seal and the door caps.

8
Reversing the door (WC26SSTDZ6/ WC34SSTSZ6 / C46SSTDZ6/ WC46SSTSZ6)
Before you start
Make sure the wine cabinet is level. Seal the shelves with tape to prevent movement during
the process. The door of this appliance can be installed to open on the left or right side. To
reverse the movement of your wine cabinet door and open it on the opposite side, please
follow the instructions and diagram below.
1. Open the door and unscrew the screws of the lower hinge.
2. Remove the door from the top hinge, remove the metal pin and remove it.

9
3. Use a small flat head screwdriver to lift and remove the plastic cap on the upper
center (locking hole) of the door and insert it into the lower center hole, rotate the door
180 degrees (counterclockwise) so that the top becomes the bottom.
4. Unscrew the upper and lower hinge.
5. Dislodge the plastic caps on the left side of the cabinet and change them to the right
side.
6. Install on the opposite side the left hinges included as accessories with the instruction
manual.
7. Screw the metal pin under the door, then install the door by retracting it into the upper
hinge and then into the lower hinge. Replace the screws of the support bar at the bottom
to secure the door.

10
Reversing the door (WC166SSDZ6 & WC181SSSZ6)
Before you start
Make sure the wine cabinet is level. Seal the shelves with tape to prevent movement during
the process. The door of this appliance can be installed to open on the left or right side. To
reverse the movement of your wine cabinet door and open it on the opposite side, please
follow the instructions and diagram below.
1. Lift the hinge cover (1) and the
hinge cap (2) with a flathead
screwdriver. Using a Phillips
screwdriver, loosen the hinge
screws (3a) and remove the top
hinge (4). You can now lift the door
(5) from the lower hinge and set it
aside. Be careful not to lose the
washer (11) between the lower
hinge and the door. You will need it
later. Also remove the plug from
the locking hole (6) and the screws
(7) and (8) from the top of the
door. The locking cap can be
removed with a small flathead
screwdriver.
2. Using a Phillips head screwdriver,
loosen the screws (3b) to remove
the metal rod from the hinge (9) at
the bottom of the door. Turn the
door 180° (clockwise) so that the
top is now the bottom and vice
versa. Attach the metal rod of the
bottom hinge (9) to the bottom
corner of the door and secure it with
the screws (3b).
3. Using a flat-head screwdriver, lift
off the lower hinge cover (12). Using
a Phillips head screwdriver, loosen
and remove screws (3c) and (13)
and lower hinge (10)

11
4. Move the lower hinge (10) to the
opposite side and re-insert all screws
(3c) and (8). The lower hinge cover (12)
must fold over the lower hinge (10).
5. Place the washer (11) on the metal hinge pin (9) and
replace the door on the bottom hinge by aligning the
metal hinge pin (9) with the outer hinge hole on the
bottom hinge (10).
6. Replace the upper hinge (4) with the screws (3a).
Insert the locking cap (6), screws (7) and (8) and
attach the hinge cap (2). Replace the hinge cover (1)
and the lower hinge cover (12).
Bottle layout and storage
Your wine cabinet has been designed to safely store a maximum number of
bottles. We recommend that you follow the tips below to optimize loading.
• Remove the tape from the shelves once the appliance is stable and ready for storage.
• Place the bottles evenly to avoid concentrating the weight in one place. Bottles should
not touch the back of the wine cabinet. Your wine cabinet has been designed to store large
bottles such as Pinot Noir and Champagne. These larger bottles reduce the number of
bottles you can place on a shelf. Make sure that not all bottles are grouped together at the
top or bottom of the wine cabinet for optimal cooling.
• Pull out only one telescopic shelf at a time. Never try to pull more than one telescopic
shelf at a time.

12
OPERATION
Wine cabinet operation
Your wine cabinet has a control panel with display on the front of the door. It includes several
functions that allow you to control the temperatures of both the upper and lower zones of your
wine cabinet.
1 zone model
2 zones model (except WC38SSTDZ6)
ON & OFF button
Switches the wine cabinet on or off.
Press and hold for 3 seconds.
Press lightly to activate standby mode.
Light
Switches the interior lighting on and off (5 options, light at 100,75,50,25 or 0%). Except
for the model WC38SSTDZ6 which has ON or Off settings only.
Control Panel (padlock)
Press the PADLOCK icon for 3 seconds to lock or unlock the control panel for all 2-zone
models except WC38SSTDZ6. In the case of the 1 zone model, press the 2 left buttons
simultaneously.
Display window
Displays set and actual temperature as well as operation icons.

13
Temperature increase (+)
Increases the set temperature.
Decrease in temperature (-)
Reduces the set temperature.
Temperature in Celsius or Fahrenheit
By simultaneously pressing the + and - controls with the locked panel changes the
temperature display to Fahrenheit or Celsius.
Zone selection (Dual zone only)
Press to select the upper zone (left digits) or the lower zone (right digits) when setting
temperatures. (left digits will flash) or the lower zone (right digits will flash)
(a) Display panel
The control panel has a "sleep mode" function to hide the control buttons and display digits.
If you gently/shortly press the "on/off" button, all the control buttons will turn off; then, if
you gently touch one of the buttons, the whole panel will turn on again.
You also have the option of turning off the temperature digit display when the control panel
goes into sleep mode while locked. Simply press and hold the LIGHT button for 3 seconds;
the temperature digits will darken. If you hold down the LIGHT icon for 3 seconds, this
function will be reversed.
(b) Before you start
The wine cabinet must be installed in a location where the ambient temperature is between
60-80 °F or 15-27 °C. If the ambient temperature is outside this recommendation, the
performance of the wine cabinet may be affected. Installing your appliance in extremely
cold or hot conditions may cause temperature fluctuations inside your wine cabinet.
(c) Temperature setting
NOTE: The temperature reading indicates the actual temperature of the wine cabinet, it
temporarily displays the temperature set during the adjustments, then returns to the
temperature read inside after 5 seconds.

14
1. Make sure the power cord is properly connected to a grounded outlet.
2. Turn on the appliance.
3. Dual zone models: Use the zone select button to select the upper or lower zone. The
distance between the 2 zones should be between (7 °F or 4 °C) and (14 °F or 8 °C) colder
than the lower zone to optimize the performance of the wine cabinet.
4. Set the desired temperature by pressing the Temp ( + ) or ( - ) button.
5. Temperatures will increase or decrease by 1 °F or °C each time the Temp ( + ) or ( - )
button is pressed.
NOTE: Temperatures may fluctuate with interior lighting ON or OFF and
depending on bottles' position.
(d) Locking and unlocking the panel
To lock the control panel
1. Press and hold the button (padlock) for 3 seconds.
2. The control panel will emit a beep and a padlock will appear at the right of
the digits.
To unlock the control panel
1. Touch the panel to exit from standby mode.
2. Press and hold the button (padlock) for 3 seconds.
3. The control panel will beep and the padlock at the right of the numbers will disappear.
Light Adjustment
Your unit is equipped with strips of LEDs that can be adjusted to your preferences. Simply
press the (LIGHT) button to change from 100% to 75%, 50%, 25% or to turn off the light.
Except the WC38SSTDZ6 which has only ON and OFF settings. For maximum energy
efficiency, leave the light off when you are not using your wine cabinet.
Changing the display to Celsius or Fahrenheit
Depending on the model, either with the control panel locked out or not, simultaneously
press the + and - buttons for 3 seconds and the °C or °F mode will change.
Ideal temperature chart for the serving and storage of wine
Although the optimal storage temperature is generally considered to be between 53-57°F
or 12-14°C, different varieties of wine have different recommended tasting temperatures
for optimal taste. The recommended temperature ranges for serving different grape
varieties are listed below.
Serving Conservation
59-65 °F
15-18 °C
42-52 °F
7-11 °C
40-45 °F
4-7 °C
Champagnes
White Wines
Red Wines
12-14 °C
53-57 °F

15
Please take note that the upper zone is colder for white wines and lower zone is for red
wines. For french doors units, the left zone is for red wines and right zone is for
beverages/white wines.
Note:
•If the appliance is unplugged, loses power or is turned off, you must wait 5
minutes before restarting it. The compressor will not restart before this delay
and the wine cabinet will not be able to cool down before this 5 minute wait.
•When you use the wine cabinet for the first time or if you restart it after a long
period of shutdown, there will be a variation of a few degrees between the
temperature you selected, and the temperature indicated on the control panel for
the first hours of operation.
Lock
•This appliance comes with a key lock (except model WC26SSTDZ6).
•The keys are located inside the plastic bag containing the user manual. To unlock
the door, insert the key into the lock and turn counterclockwise.
•To lock the door, simply reverse the operation, making sure the metal pin is fully
engaged. Then, remove the key and place it in a safe place for safekeeping.
•Unit is equipped with a door alarm, it will sound off after 3 minutes and shut off
the cooling ( compressor ) until door is closed properly.
Models with 94 bottles or more Models with less than 94 bottles

16
How to remove a telescopic shelf
1. Remove all bottles.
2. Pull the shelf out as far as it will go
3. Hold one of the telescopic shelves with one hand and with the other hand, gently lift
the front of the shelf by the front tab, then push backwards to unlock the rear hook.
4. Repeat on the other side.
MAINTENANCE
Cleaning the wine cabinet
•Close the wine cabinet and unplug it. Remove the bottles and shelves inside.
•Clean interior surfaces with a sponge and baking soda.
•The solution is 2 tablespoons mixed with 1 litre of warm water.
•Wash the shelves with mild soap.
•Remove excess water from the sponge or cloth before cleaning the control panel or
electrical parts.
•Clean the outside of the cabinet with warm water, a cloth, and mild soap. For stainless
steel grills and doors, use a cleaner specially designed for this type of surface.
•Vacuum the front grille and the back of the appliance twice a year.
•Make sure the power is turned off before cleaning.
•It is recommended to clean the appliance thoroughly inside and out once a year to
maximize the longevity of the wine cabinet and the finish of the various materials.

17
Filter change
The active carbon filter should be replaced once a year. It
preserves the efficiency of your wine cabinet. To remove it,
grasp the rim with your fingers and turn it to the left or right,
pulling slightly until the holes in the panel and the plastic pins
on the filter are aligned. To replace it, align and retract the
plastic pins, then rotate to lock it in place.
Power outage
• Most power outages are resolved within a few hours. This should in no way affect the
temperature of your wine cabinet, if you minimize the opening of the door. If the power
outage persists for a long period of time, you must take the necessary measures to
protect your bottles.
•If the appliance is unplugged, loses power or is turned off, you must wait 5 minutes
before restarting it. The compressor will not restart before this delay and the wine
cabinet will not be able to cool down before this 5 minute wait.
Energy Saving Tips
•The wine cabinet should be located in the coldest part of the room, away from heat-
producing appliances and out of direct sunlight.
•Regularly check that the door is properly closed and that the door seal sticks to the
wine cabinet. The door alarm feature will shut down the fans and the cooling ( after 3
minutes ) if door is left opened and will beep constantly to advise you.
•Fill the wine cabinet as much as possible (min. 50%); the more the contents, the
more stable the temperature will be and the compressor will run less often.

18
TROUBLESHOOTING
Many common problems can be solved very easily. Follow the troubleshooting tips below
if you encounter any problem.
No. PROBLEM CAUSES & SOLUTIONS
Check if it is plugged in.
The cellar is not turned ON.
The circuit is closed or a fuse is blown.
It should be the only device plugged into the outlet. It is
recommended to provide a 15 amp circuit dedicated
exclusively to the cellar.
Check the temperature parameters on the control.
The outdoor environment requires cooler temperature
settings on the control.
The door is often open.
The door is not completely closed.
The door seal does not close well.
3
The temperature of my cellar
often varies from 3-4 degrees.
Is this normal?
This is normal: slight differences in temperature are necessary
for the proper functioning of the cellar. When the cellar begins
a defrost cycle, the temperature rises a little. When the
refrigeration system turns on again, the temperature cools
down.
These changes are taking place over short periods and their
influences are too small to affect the conservation of the
wine. The liquid tends to maintain an average temperature.
Is your cellar filled to at least 50% of its capacity? Has your
cellar been running for more than 48 hours?
Your cellar is installed near a heat source (heater, door,
window, stove, etc.).
The door is not completely closed.
The door seal does not close well.
The room temperature is warmer than normal.
A lot of content has been added to the cellar.
The door is opened too often.
The temperature is not well adjusted.
6 My unit is beeping constantly
check if door is closed properly, unit is equipped with a open
door alarm that sounds off after 3 minutes and shuts down
the compressor ( cooling )
1
My cellar is not working.
2
My cellar is not cooling enough.
4
My cellar does not maintain its
temperature and the
compressor often starts.
5
My cellar automatically closes
ON / OFF frequently.

19
No. PROBLEM CAUSES & SOLUTIONS
Is your cellar plugged in?
The circuit is closed or a fuse is blown.
The light is closed, use the control panel to turn it on (see
Operations section).
Check if the unit is level.
Make sure that no part inside your cellar (shelf / rail) or in the
back, near the compressor, is not loose (pipes that rub on
metal, broken fastener, etc.).
Noise can come from the coolant, which is normal.
At the end of each cycle, you can hear a gurgling sound
caused by the coolant.
The expansion and contraction of the interior walls can cause
creaking noises.
The unit is not level.
The installation measures were not respected, leaving too
much space between the cellar and the cabinets and
amplifying the noise of the compressor and the fan at the
back.
The ceiling height and the size of the room (open area) may
also increase the sound (echo effect).
The unit is not level.
The door was reversed and installed incorrectly.
The door is open but the lock is locked.
The gasket is dirty.
Shelves are improperly installed on the rails or bottles that are
too large or improperly placed prevent a shelf from closing.
Adjust the leveling feet at the front until the door is equal to
the cellar.
The hinge screws are not tight enough; replace the door
equal to the box and tighten the screws.
12
A shelf in my cellar is not level. Make sure that the shelf is properly secured on its rails.
Check that the drain is in the evaporation tray at the back of
the cellar. If so, during very humid periods, you may need to
soak up the excess water in the pan.
Make sure the cellar is leveled from front to back and left to
right.
7
The light does not work.
8
Too much vibration.
13
There is water on the floor of
my cellar.
9
My cellar seems to be making
too much noise.
10
The door does not close
properly.
11
The door of my cellar is not
equal to the box.

20
YOUR WINE CELL’R WARRANTY
The appliance must have been used under the normal conditions recommended by the
manufacturer. Proof of the date of original purchase is required to obtain warranty
service, as well as the serial number of the appliance (white sticker inside, bottom
right; e.g.: 2020010123, see p.22). All warranty repairs are carried out by our authorized
repair center, taking into account the conditions and exclusions described below. Warranty
applicable in Canada only.
2-year limited warranty on parts and labour
Wine Cell'R will provide, at its discretion, all parts that prove to be defective due to a defect
in material or workmanship and will also provide, free of charge, labour and repair services
to replace said defective parts, and this, 2 years from the date of purchase.
3-year limited compressor warranty
During the first 2 years of the warranty (from the date of purchase), WineCell'R will replace
the defective compressor free of charge for parts and labour, as long as the appliance has
been installed and used according to the instructions supplied with the appliance.
During the third year of the warranty, WineCell'R will only replace the compressor. The
costs of labor, transportation or other costs will be at the expense of the purchaser. In the
event that the appliance must be returned to the shop, the cost of the transfer and return
home will be at the expense of the purchaser.
An extended warranty may be available for an additional cost at the time of purchase.
Please check with your dealer for details.
During the limited warranty period, Wine Cell'R will repair or replace, at its discretion, any
appliance that does not operate according to the manufacturer's specifications. Wine Cell'R
reserves the right to substitute substantially similar materials in the event that materials
are not available at the time warranty service is performed.
No. PROBLEM CAUSES & SOLUTIONS
14
Water collects inside my cellar.
This is a phenomenon observed especially in summer due to
humidity. Check that the door seal is watertight. During very
humid weather, it is recommended to sponge off the excess
water that forms inside your cellar and if necessary in the
back pan near the compressor.
15
There is frost on back wall of
my cellar.
This is a very normal phenomenon when water vapours
freeze. However, when the cooling cycle ends, the ice melts
and runs down the drain. These drops normally evaporate.
16
There is steam / humidity
between the thermal windows
of my cellar.
During very wet periods, mainly in summer, this can happen.
17
The digital display shows HH or
LL and a continuous beep is
heard.
The temperature sensor is non-functional and must be
replaced.
This manual suits for next models
7
Table of contents
Languages:
Other Wine cellr Wine Cooler manuals

Wine cellr
Wine cellr WC-52BKTS User manual

Wine cellr
Wine cellr Toscane WC-120inox User manual

Wine cellr
Wine cellr WC46DZBK User manual

Wine cellr
Wine cellr WC-160 User manual

Wine cellr
Wine cellr WC-52-1BK User manual

Wine cellr
Wine cellr WC46DZBK User manual

Wine cellr
Wine cellr WC18FGBK5 User manual

Wine cellr
Wine cellr WC54SSTS User manual

Wine cellr
Wine cellr WC46 User manual

Wine cellr
Wine cellr BORDEAUX WC-09 User manual