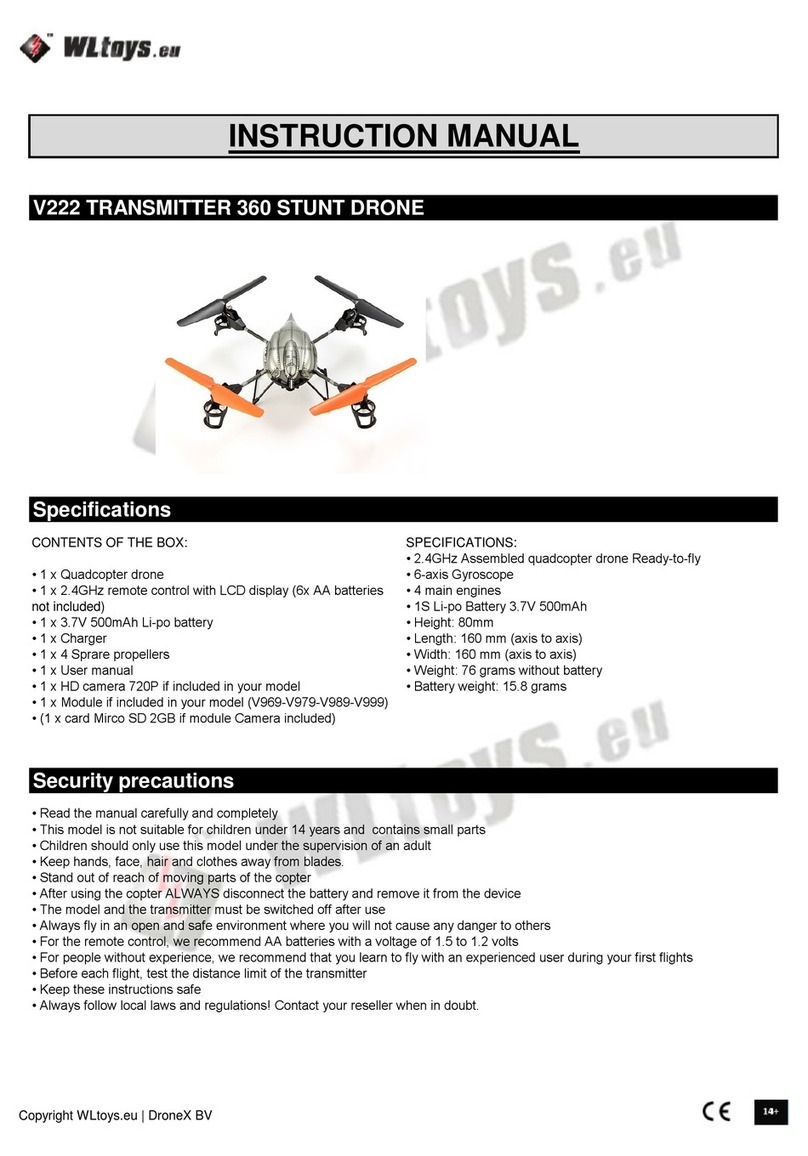
WLtoys V606 EXPLORERS User manual

CONTENTS OF THE BOX:
• 1 x Quadcopter
• 1 x 2.4 GHz remote (6x AA-batteries not included)
• 1 x 3.7V 730 mAh Li-po battery
• 4 x Spare propeller
• 1 x Charger
• 1 x Manual
SPECIFICATIONS:
• 2.4GHz Quadcopter Ready-to-fly
• 6-axis Gyroscope
• 4 main engines
• Li-po Battery 3.7V 730 mAh
• Length: 375mm
• Width: 375mm
• Height: 58mm
• For the remote control, we recommend AA batteries with a voltage of 1.5 to 1.2 volts
• Always follow local laws and regulations! Contact your reseller when in doubt.
Specifications
Security precautions
• Children should only use this model under the supervision of an adult
• Keep hands, face, hair and clothes away from blades.
• Stand out of reach of moving parts of the copter
• Always fly in an open and safe environment where you will not cause any danger to others
• This model is not suitable for children under 14 years and contains small parts
• The model and the transmitter must be switched off after use
• Before each flight, test the distance limit of the transmitter
• Keep these instructions safe
• Read the manual carefully and completely
• After using the copter ALWAYS disconnect the battery and remove it from the device
• For people without experience, we recommend that you learn to fly with an experienced user during your first flights
V606 EXPLORERS
INSTRUCTION MANUAL
Copyright WLtoys.eu | DroneX BV
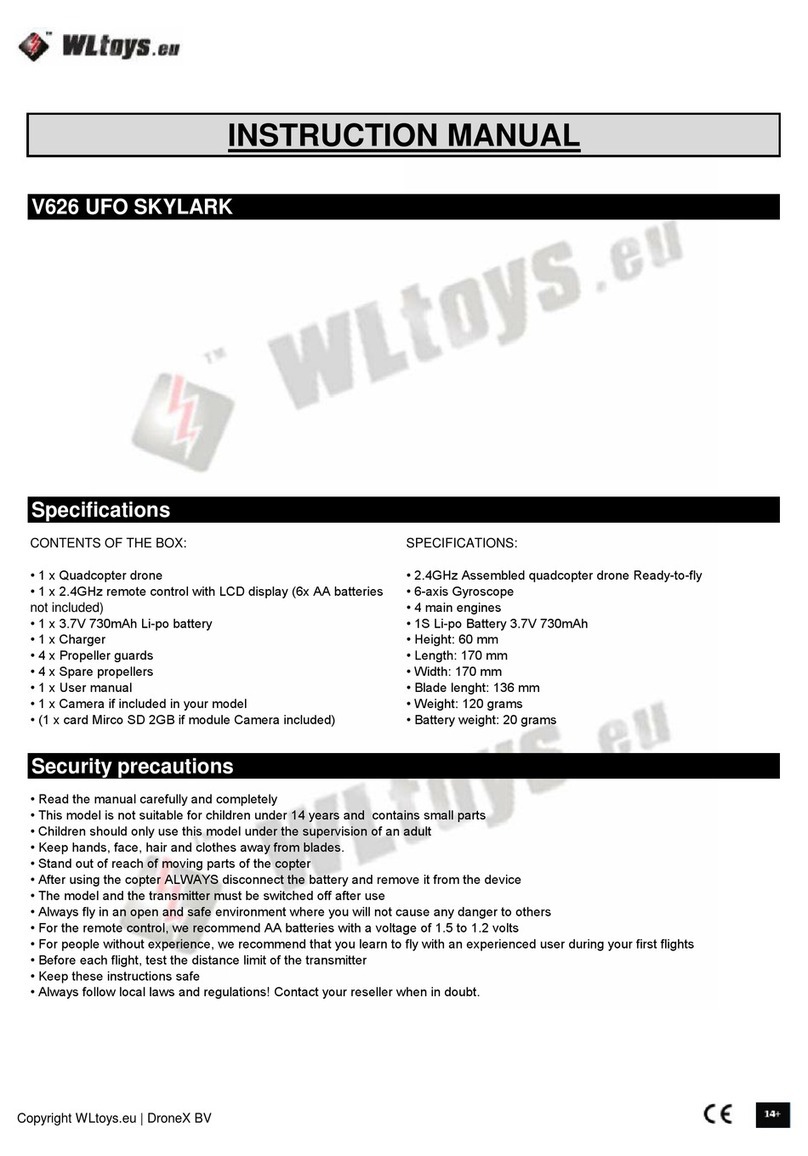
The user must return used batteries and rechargeable batteries.
It is forbidden to dispose of used batteries in the bins containing
household waste! Batteries / accumulators containing
hazardous substances are marked with the crossed out wheelie
bin. The symbol indicates that the product should be recycled.
The chemical symbols for the respective hazardous substances
are Cd (cadmium), Hg (mercury), Pb (lead). The used batteries
can be disposed for free of charge at collection points in your
community, stores or wherever batteries are sold. You are kindly
requested to conform to your legal obligations and contribute to
the protection of our environment.
- Ensure that the battery wires are not in contact to avoid a short-circuit
- The ignition wires of the battery must not be modified or damaged
- Never damage the battery mechanically (this could cause an explosion)
- Do not charge directly after the flight or when the battery is warm
- The terminals must not be short-circuited
- The batteries must be charged with the charger supplied by WLtoys
- When charging the battery, always ensure that you do so on a non-combustible surface
- Do not leave charging without supervision
- Always charge the battery to 100%
- Unequally charged batteries or different battery types should not be used together
- Use recommended batteries or similar
- After using the copter, remove the batteries if you will not use it again for a long period of time
- Touching of damaged batteries can cause injury. If there is contact with skin or eyes, seek medical attention immediately!
Battery recycling recommendations
Li-po Battery instructions
- Keep the batteries out of reach of children
- Non-rechargeable batteries should not be recharged
- The technical design of the battery must not be changed
DO NOT FLY:
- Around people or animals
- Around large groups of people
- In limited visibility or dark conditions
- Winds above 2 Beaufort
- Near high voltage pylons and / or other types of cabling
- During thunderstorms, rain or high humidity. The device is not water-resistant.
For the sensitive and rational conservation, protection and improvement of the quality of the environment, protection of human
health and the preservation of natural resources, the user must send an unusable product to relevant facilities created to this
purpose in accordance with the law.
The crossed out wheelie bin means that the product must be recycled (WARNING: do not throw it in your bin).
- This model is equipped with a rechargeable Li-po Battery. Li-po batteries require special attention, follow the manual
- The battery should not be placed near children (unless you have an adult supervision)
Battery charging
Copyright WLtoys.eu | DroneX BV

1. Charging wire
2. LED
3. Li-po Battery
Plug the charger into a wall socket and connect the battery to
the charger. This can only be done in one way: by firmly
connecting the charging cable. If the green light is on, the
battery is fully charged and can be disconnected. Then do not
forget to unplug the charger from the wall socket.
Green LED = Charged battery
Orange LED = Charging battery
Red LED = Battery is empty / Charging battery
Input : 220V
Charging Current : 500mA
Full Voltage: 4.2 +/- 0.03V
1. Power LED
2. Module 1 : Water jet; bubble jet; video; basket up; lead
single missile
3. Throttle/Yaw control stick
4. Throttle trim
5. Yaw trim
6. 40% agility
7. 60% agility
8. 80% agility
9. LCD display
10. Power switch
11. Antenna
12. Roll (when 100%)
13. Direction control stick
14. Forwards and backwards trim
15. Crab trim
16. 100% agility
17. Lighting control
18. Module 2 : Taking photos(Headless mode if available,
press 2 sec)
1. Stick mode 1/3 indicator
2. Throttle trim tips
3. Yaw trim tips
4. Percentage of the reaction
5. Transmitter battery indicator
6. Stick mode 2/4 indicator
7. Forwards and backwards trim tips
8. Crab trim tips
Warning : Always place the battery on a heat resistant surface and never leave it unattended!
Remote Control / Transmitter
Copyright WLtoys.eu | DroneX BV

Insert the battery by sliding the cover down. Then insert 6 x AA
batteries as indicated under the cover.
SIDEWARD
The directional lever serves to move the drone to the left or
the right.
FORWARD
Pushing the directional lever up and down makes your
drone go forward or backward.
How to fly
- Using the throttle you can control the rotation axis of the drone. Using the directional joystick you can control the flight direction
of the drone.
- The mode available on this model is the mode 2 with the layout of the throttle on left. It is not possible to switch mode on this
model.
- The different calibration buttons help keep the drone stationary. Test this by pressing the accelerator and calibration buttons to
maintain the drone in one place.
- You can choose the percentage of the speed. The higher the value, the faster the reaction will be (e.g. 100% will be more
responsive than 40%).
- The two module buttons are used to activate different modules : photos / shots / basket.
Flying is really simple, but you need a little practice at first. Connect to www.wltoys.eu to watch educational films.
Copyright WLtoys.eu | DroneX BV

ALTITUDE
Pushing the gear lever up and down makes your altitude
rise or fall.
TURN
Pushing the gear lever from side to side, the drone will turn
on its own axis.
Procedure to spare engine
The first flight
Engines are brushed and eventually wear out. When worn out they need to be replaced. For more informations go to
www.wltoys.eu.
Never go full speed for the first 3 flights. After 3 flights, blow out engines with air when possible.
Spare engines can be bought on www.wltoys.eu or with your reseller.
1. For your first flight make sure to be with a person experienced in flying copters. We advise you to make your first flights on a
relatively soft surface to protect the copter.
2. Find a location away from people, with a smooth surface and without obstacles. Trees, electric lines and water points in the
immediate vicinity should be avoided!
3. Place your copter on the ground about 10 feet away from you. Mind that, when you have a quadcopter, the coloured blades
indicate the front of the copter. It is easiest to position yourself behind the copter for an easier control.
4. Turn the copter on first. Then turn on the remote controll (for some models this will be the other way around). Some models
require arming of the motors first. Turn on the copter as well as the controller. then move trottle up and down to connect. after this
move throttle to the left low corner and the directional lever to the right lower corner at the same time, hold these down for a few
seconds, this will arm the motors.
5. Start the engine and take off to about 1 meter from the ground. In this way you avoid the phenomenon called "ground effect".
Near the ground the air currents behave differently than at a higher altitude and this will prevent you from losing control of the
copter.
6. Then try to fly gently in one direction. If the engine flies away in the wrong direction, make a controlled landing and try again.
CAUTION
- Ensure that the copter in flight is always within sight and under control.
Copyright WLtoys.eu | DroneX BV
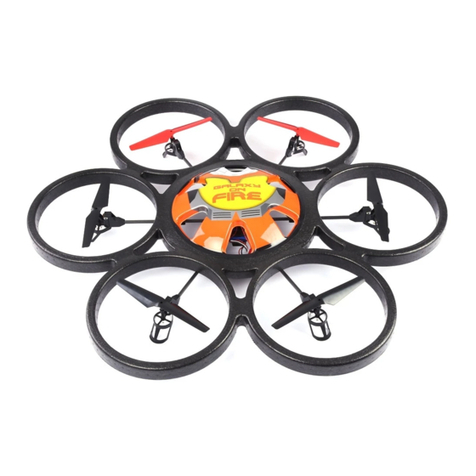
- Remember to disconnect the battery of the copter after each flight.
- Always stay out of reach of rotors.
The copter is not sensitive to crashes, but in case of extreme drops it is possible that some parts may break. All parts can be
ordered and easily assembled. Please contact your dealer or visit www.wltoys.eu for more information.
Calibration
If the copter is unstable, resulting in frenetic flying in all directions, and rotates around its axis so that you have to constantly
correct its flight, then the gyroscope is probably not calibrated properly. To perform recalibration, connect the drone to the
transmitter (part Activation in the manual), then click on 100% button of the remote and move both sticks to the bottom left. When
the calibration is performed, you will either hear a long beep or see flashing lights (on the PCB) or both.
Note: The calibration is done in the factory, it is usually not necessary to do it when you receive the product.
Troubleshooting
1. The receiver LED blinks continuously for more than 4 seconds after the quadcopter battery have been inserted. No response to
the command input. The transmitter is not connected to the device. Repeat the power-on initialization process.
2. No response from the quadcopter after the battery have been connected. There is probably contact failure on the battery
terminals. Turn on the transmitter and ensure that the battery of the vehicle is correctly inserted. Replace the battery and ensure
good contact at the battery's connections. Use fully charged batteries in the remote.
3. The motor does not respond to the throttle stick and the receiver flashes. The quadcopter's battery is exhausted. Charge the
battery or replace it with a charged battery.
4. The main rotor continues to rotate after landing. Confirm that the gear lever is oriented downward.
5. The main rotor rotates but the device does not take off. The blades may be distorted or the quadcopter battery is exhausted.
Charge or replace with a fully charged battery and / or replace the blades.
6. The quadcopter suffers of strong vibrations. The blades are distorted. Replace the blades.
7. The tail is not balanced after adjusting the clip or speed is inconsistent in the left / right pirouette. Tail rotors are probably
damaged. Replace the main wing and / or the main engine.
8. The quadcopter was still moving forward after the adjustment of the levers during hover. The gyroscope is not correctly
calibrated. The gear lever is placed too high or too low. The boot refines the calibration therefore restart on a flat surface.
9. You can not fly, the helicopter falls. The motor is probably fall out or the gears are loose. Reinstall the motor and tighten the
gears.
Spare parts
- Ensure that you adhere to all the legal requirements that exist for your copter model in the country in which you are using it.
- Always use a fully charged battery.
- Always fly in an open and Jellyfished environment to avoid dangerous situations.
- When finished flying, always turn off the copter first, then the remote control.
- Do not use the copter when it has visible or mechanical damage.
- If you lose control of the copter, disable the propulsion of the engines immediately by pushing the throttle lever down to turn it off.
Copyright WLtoys.eu | DroneX BV

This model can be equipped with a camera. If your model
doesn't include it, you can find it from your retailer or on
www.wltoys.eu. The camera is installed as explained under
module. You can install the SD card by pushing it in the rear slot
until you hear a click. To take out, press again till it is pushed
out.
To take a picture press the foto button. To record a video press
the video button. Make sure to start AND stop your video
recording. When it is not stopped the recording will not be saved
propperly.
Your camera comes with a USB stick. Insert the SD card into
the USB and then insert into a computer USB slot.
On your computer open de folder of the USB drive. You will find
the follwing folders:
PHOTO > Contains all photo images
VIDEO > Contains all video's
Imported by: WLtoys.eu / DroneX BV
Bloemstraat 86HS 1016 LE Amsterdam | www.wltoys.eu |
info@wltoys.eu
Our products comply with the standards and criteria of the
European Union and approved by the EC. For your safety, we
recommend that you read the entire manual before your first
flight.
Congratulations on your purchase of this product from wltoys.eu! Wltoys.eu offers its customers a high quality product. All our
products are carefully tested before shipment. If unfortunately a problem persists, contact your dealer or visit www.wltoys.eu. Your
dealer can also assist you in getting spare parts in case you need them. We hope you will enjoy your experience with our product.
You can contact us at any time on : www.wltoys.eu | support@wltoys.eu.
You can find instructional videos and buy spare parts on our website www.wltoys.eu.
For technical support contact your reseller.
WARNING:
Non-compliance with safety rules may cause damage, injury and / or dangerous situations.
The use of this product is entirely at your own responsibility and at your own risk. Since we have no control beyond this manual on
when and how you use our product (both flying and maintenance), we are not responsible for any damages or costs incurred by
improper use.
This warranty covers manufacturing and material defects in the context of normal use. We take no responsibility for damage
caused indirectly.
• Damage caused by the failure to comply with security measures or instructions
Wltoys
Warranty
The following are excluded from the warranty:
• Extreme treatment which can not be contained in the usual standards
Copyright WLtoys.eu | DroneX BV
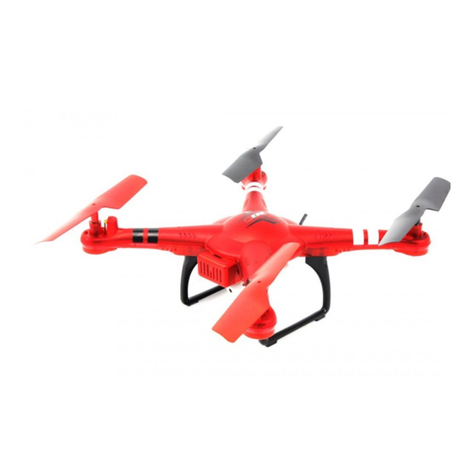
• Overloading the vehicle or external influences
• The damage caused by the humidity
• The costs of transportation, shipping or insurance
• The damage caused by the loss of the product
• The damage caused by the loss of control of the vehicle
• After three flights the warranty of brushed engines is void
• Homemade modifications on the product
• Electric defects due to voltage overload or lightning
• Normal wear and tear of the device and parts
Copyright WLtoys.eu | DroneX BV
Table of contents
Other WLtoys Drone manuals

WLtoys
WLtoys Q282G spaceship User manual

WLtoys
WLtoys UFO SKYLARK V626 User manual

WLtoys
WLtoys v676 mini ufo User manual

WLtoys
WLtoys V303 Instruction manual

WLtoys
WLtoys V222 User manual

WLtoys
WLtoys V333 User manual

WLtoys
WLtoys V323 SKYWALKER User manual

WLtoys
WLtoys V646 MINI User manual

WLtoys
WLtoys q222g User manual

WLtoys
WLtoys Q222K User manual