Wohler VE 300 User manual

Contents
18
Contents
1General information ............................ 19
2Technical Data ..................................... 21
3Notes .................................................... 22
3.1 Notes ........................................................... 22
3.2 Safety information ....................................... 22
4Component explanation ..................... 23
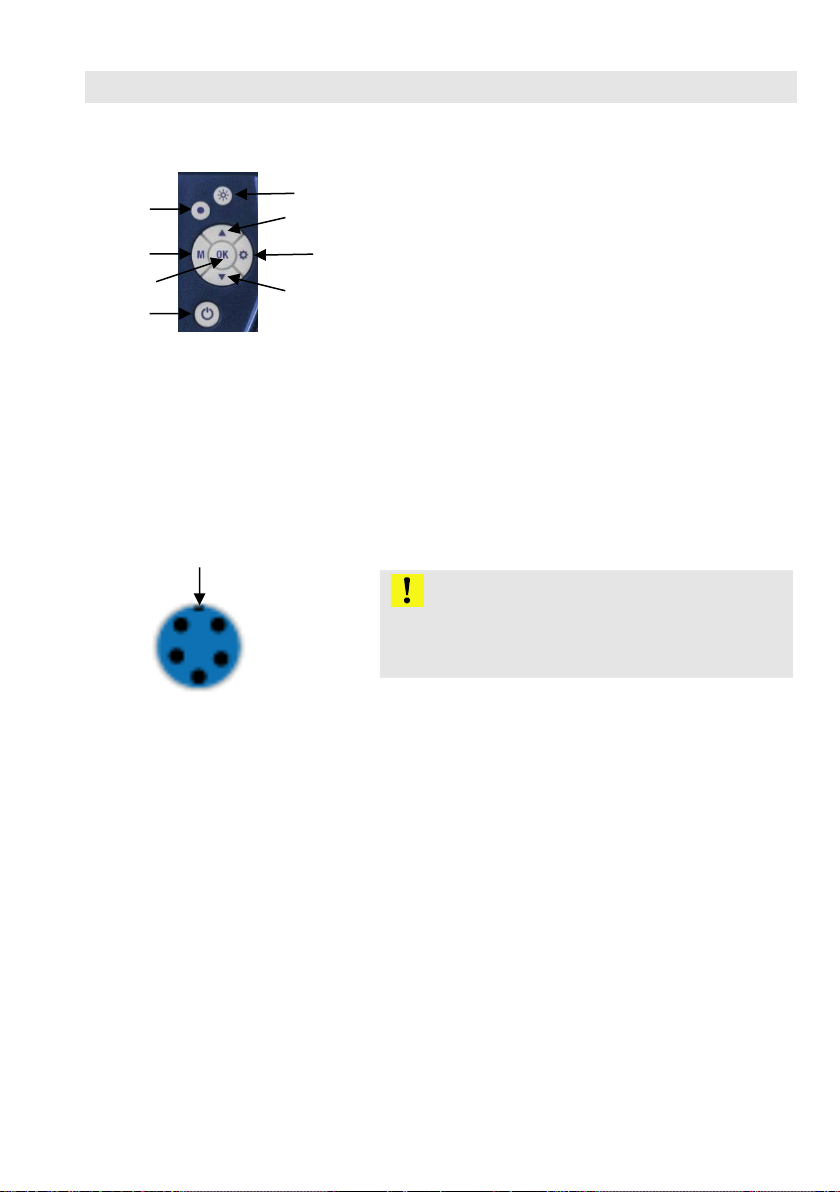
5Buttonpad ............................................ 24
6Before the inspection ......................... 24
6.1 Connecting the Probe.................................. 24
6.2 Charging the battery .................................... 25
6.3 Inserting the SD memory card ..................... 25
6.4 Settings ....................................................... 25
6.4.1 Switch between photo, video and playback . 25
6.4.2 Change settings .......................................... 26
6.5 Date and time .............................................. 26
7Flash light ............................................ 28
7.1 Switching on the Flash light ......................... 28
7.1.1 Switching on the LEDs ................................ 28
8Display ................................................. 29
9Displays ............................................... 29
10 Snap photos ........................................ 30
11 Record video ....................................... 30
12 Playback .............................................. 31
13 Delete photos and videos .................. 31
14 Reading the files on the PC ............... 31
16 Declaration of conformity .................. 32

General information
19
EN
1 General information
1.1 Scope of supply
Device
Scope of supply
Wöhler VE 300
Video Endoscope
Video Endoscope
Probe (1m) with mini
camera head Ø 8,2
mm
Micro SD memory
card, 8 GB, with USB-
card-adapter
Video-out-cable
Micro-USB-cable with
mains adapter
Transport case
3 probe accessories:
hook, mirror, magnet
1.2 Storage and transport
ATTENTION!
Improper transport can harm the instrument.
Always transport the Video Endoscope in the pro-
vided carrying case in order to prevent damage.
ATTENTION!
Do not roll the probe to a diameter that is smaller
than the diameter of the probe section in the case.

General information
20
1.3 Information on disposal
Electronic equipment does not belong into domes-
tic waste, but must be disposed in accordance
with the applicable statutory provisions.
You may hand in any defective batteries taken out
of the unit to our company as well as to recycling
places of public disposal systems or to selling
points of new batteries or storage batteries.
1.4 Direction
Wöhler Technik GmbH
Wöhler-Platz 1
33181 Bad Wünnenberg
Tel.: +49 2953 73-100
Fax: +49 2953 7396-100
Test Equipment Depot - 800.517.8431 - 99 Washington Street Melrose, MA 02176
TestEquipmentDepot.com

Technical Data
21
EN
2 Technical Data
Description
Data
Monitor
3,5 inch Color LCD
Monitor Resolution
320 x 240 pixel
Video Resolution
320x240 pixel, 640x480 pixel, 1280x720 pixel
Image Resolution
640x480 pixel, 1600x1200 pixel, 2048x1536 pixel
Menu languages
English, German, Spanish, French, Russian, Italian,
Dutch
Ports
AV-Out,
Micro-USB,
TF Card Slot
Camera head
Ø 8,2 mm (option: Ø 5,5 mm)
Resolution
0,3 Mega pixel CMOS
Depth of Field
60 mm to 80 mm
Viewing angle
60°
Flash light
8,2 mm Ø 6 adjustable LEDs
5,5 mm Ø 6 adjustable LEDs
Encapsulation
IP 67
Probe length
100 cm
Video files
AVI
Image files
JPG
Aditional Light
6 LEDs
Operating
Temperature
0° to 45 °C
Power Source
2600mAh, Lithium Battery
Max. battery life
5 -6 hours

Notes
22
3 Notes
3.1 Notes
ATTENTION!
Not following this note can cause permanent
damage to the device.
NOTE!
Useful information
3.2 Safety information
Attention!
Do not expose the optics to sudden temperature
changes. If the lens have heated while working,
there is the danger of bursting when it comes into
contact with cold water.
ATTENTION!
Keep the Video Endoscope dry and clean.
ATTENTION!
Do not disassemble your device. Do not replace
parts of the device or the battery by yourself.
ATTENTION!
Only use 5 V indoor home use USB charger to
charge the device.

Component explanation
23
EN
4 Component explanation
Fig. 8: Components, side view
Explanation
1 Power button with battery status
2 Buttonboard
3 Probe connector
4 Camera head
5 Flash Light
6 Port compartment
1
2
3
4
5
6

Buttonpad
24
5 Buttonpad
Fig. 9: Buttonpad
7 Illumination-button
8 Snap-button
9 Settings-button
10 M-button (Mode)
11 OK-button
12 UP/Zoom-button
13 Down/Rotate-button
14 Power button with battery status
6 Before the inspec-
tion
6.1 Connecting the Probe
Loosen the union nut of the probe connection
and remove the probe (see fig. 1 part 3)
To assemble the probe again, proceed as
follows:
Fig. 10: Probe Connection
ATTENTION!
The probe connection has a small notch. Take
care to plug the notch on the small nose piece of
the plug connector.
After that tighten the union nut.
7
8
9
10
11
12
13
14
Test Equipment Depot - 800.517.8431 - 99 Washington Street Melrose, MA 02176
TestEquipmentDepot.com

Before the inspection
25
EN
6.2 Charging the battery
Press the ON/OFF-button to switch the Video
Endoscope on and off.
When the Wöhler VE 300 is switched on, the
ON/OFF-button will shine blue.
Fig. 11: Micro USB charging cable
If the battery voltage is low, the ON/OFF-button
will shine red.
To charge the device, connect the USB charg-
ing cable to the charging port, see fig. 1, part
6. Connect the other end of the charging cable
to the mains adapter.
When the device is switched on, the battery icon
in the display will be colored when charging is in
process.
6.3 Inserting the SD memo-
ry card
Fig. 12: Inserting the SD memory card
ATTENTION!
Make sure the device is powered off before
operating the SD memory card.
Power off the device, open the cover on the back-
side of the monitor and insert the SD memory
card, see fig. 1, part 6.
ATTENTION!
Please make sure the card is inserted correct-
ly.
6.4 Settings
NOTE!
It will only be possible to make settings, if the SD
memory card is inserted. The Settings-button and
the M-button will only be active, if the SD memory
card is inserted.
6.4.1 Switch between photo,
video and playback
mode
Click M-button to switch the photo mode ,
video mode and playback mode .

Before the inspection
26
6.4.2 Change settings
Click Settings-button , to enter Photo set-
tings in Photo Mode or Video settings in Video
Mode.
or
Click Settings-button and then the Mode-
button, to enter General Settings.
Click Up or Down-button to go to the parame-
ter. Click OK to select the parameter and OK
again to save the changes.
Click the Settings-button again to return to
normal mode.
6.5 Date and time
Click Settings-button and then the Mode-
button, to enter General Settings.
Change the parameters and confirm with
"OK".
With the Up or Down button set the required
value and click the M-button to go to the next
value.
Click OK to confirm.

Before the inspection
27
EN
The following options can be selected:

Flash light
28
7 Flash light
7.1 Switching on the Flash
light
For an inspection in a dark environment the Flash
light should be switched on.
Switch the Flash light on and off by pressing
the Flash Light Button, see fig. 1, part 5.
7.1.1 Switching on the LEDs
Click the LED button (fig2, part 8), to switch
the LEDs of the camera head on and off. Click
three times to set the LEDs lighter in three
stages.
Test Equipment Depot - 800.517.8431 - 99 Washington Street Melrose, MA 02176
TestEquipmentDepot.com

Display
29
EN
8 Display
Fig. 13: Display in normal mode
1
Mode
Photo ,
Video
Playback
2
Battery condition
3
Micro SD memory card plugged in / No Card
4
Date
5
Time
6
When returning into normal mode, operating
instructions will be displayed for about 5 sec-
onds.
9 Displays
Freeze image
Click OK to freeze an image.
Click OK again to return to normal mode.
Zoom an image in or out
Click up-button to zoom the image out
It is possible to display a twice, triple or four times
1
2
3
4
5
6

Snap photos
30
enlarged image. When the up-button is clicked
four times, the original image will be displayed
again.
Rotate image
Click down-button to rotate the screen image
180 degrees.
10 Snap photos
Click the M-Button until the photo icon ap-
pears on the screen.
Click the snap-button to snap a photo.
11 Record video
Click the M- Button until the video icon ap-
pears on the screen.
Click the snap-button to record a video.
REC will be displayed.
Click the snap-button again to stop the record-
ing.
NOTE!
The endoscope will automatically stop recording a
video after 25 minutes. If you want to keep on re-
cording, start the video record again after 25
minutes.

Playback
31
EN
12 Playback
Click the Mode-Button until the playback icon
appears on the screen.
Abb. 14: Playback mode
On screen the file type will appear on the left (1)
(photo or video) and the file number (2) and the
total number of saved files (3) will appear on the
right.
Click the up or down-button to switch between
the files.
If the video icon is shown , press OK to play
the video.
Click OK again to pause the video.
Press the Settings-button again , to stop
the video and return to the playback mode.
13 Delete photos and
videos
In Playback mode, click Settings-button .
Select "Lock", to lock the selected file or all
files. Locked files cannot be deleted.
Select "Delete", to delete the selected file or
all files.
14 Reading the files
on the PC
Switch off the Video-Endoscope.
Remove the Micro-SD-card and plug it into the
USB-card-adapter included in delivery.
You can read and save the files on the PC
now. Photos are saved as jpg-files and videos
as AVI-files.
1
2
3

32
16 Declaration of conformity
The product
Wöhler VE 300
Video Endoscope
complies with the button safety requirements set down in the guidelines of the Council for
the Harmonization of the Legal Requirements of the Member States in relation to the
electromagnetic compatibility.
The following standards were availed of to evaluate the product in respect of the electro-
magnetic compatibility:
EN 55022: 2010
EN 55024: 2010
Test Equipment Depot - 800.517.8431 - 99 Washington Street Melrose, MA 02176
TestEquipmentDepot.com
Table of contents
Other Wohler Medical Equipment manuals