Page 5
SHARPENINGINSTRUCTIONS
Grinding grit can damage your eyesight. Make sure you are wearing
approvedsafetyglasses before starting your grinder.
BasicstepswithTru-Grindsharpening
These are the basic adjustments to be made when sharpening all
woodturning tools with the Tru-Grind jig:
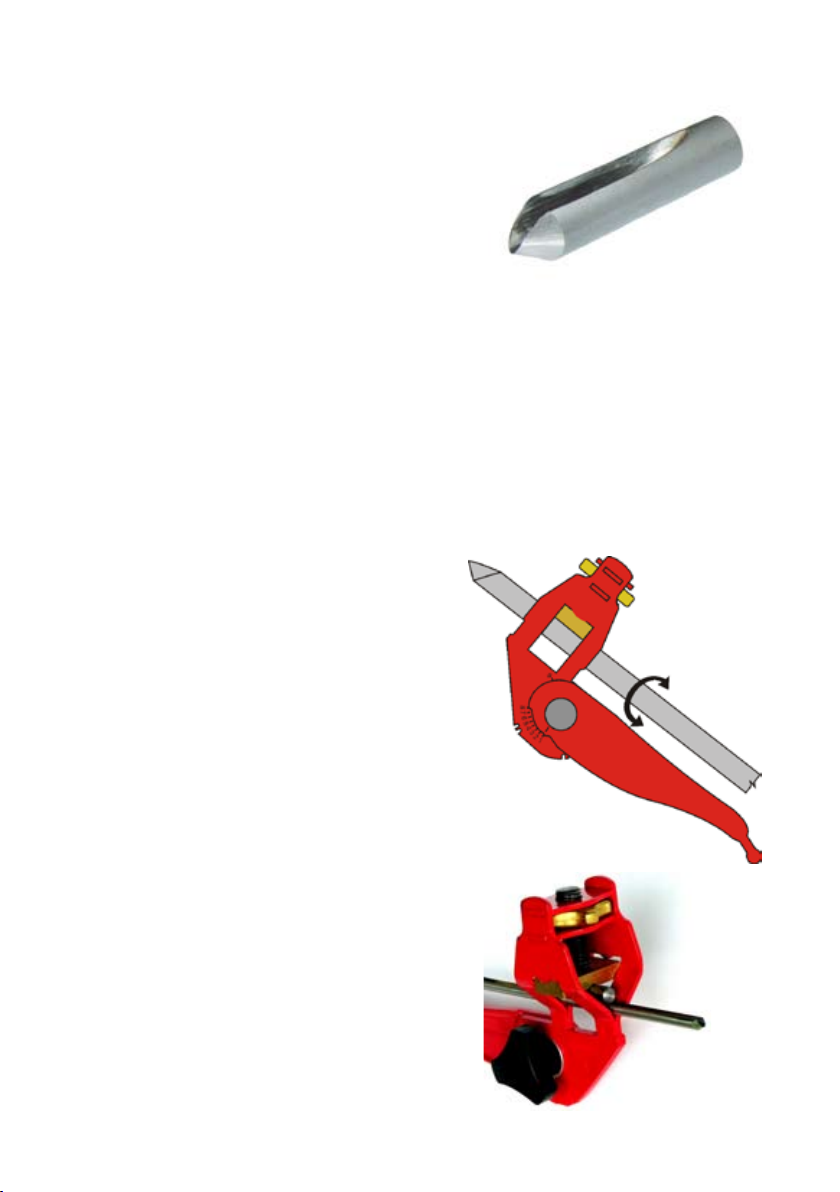
1.ToolProtrusion - In the setup instructions, we suggested you screw
a block to your bench, approximately 2 inches (50mm) from the edge,
which you use to set the protrusion of the chisel end from the Tru-Grind
Toolholder. This setting must be consistent every time you grind the tool.
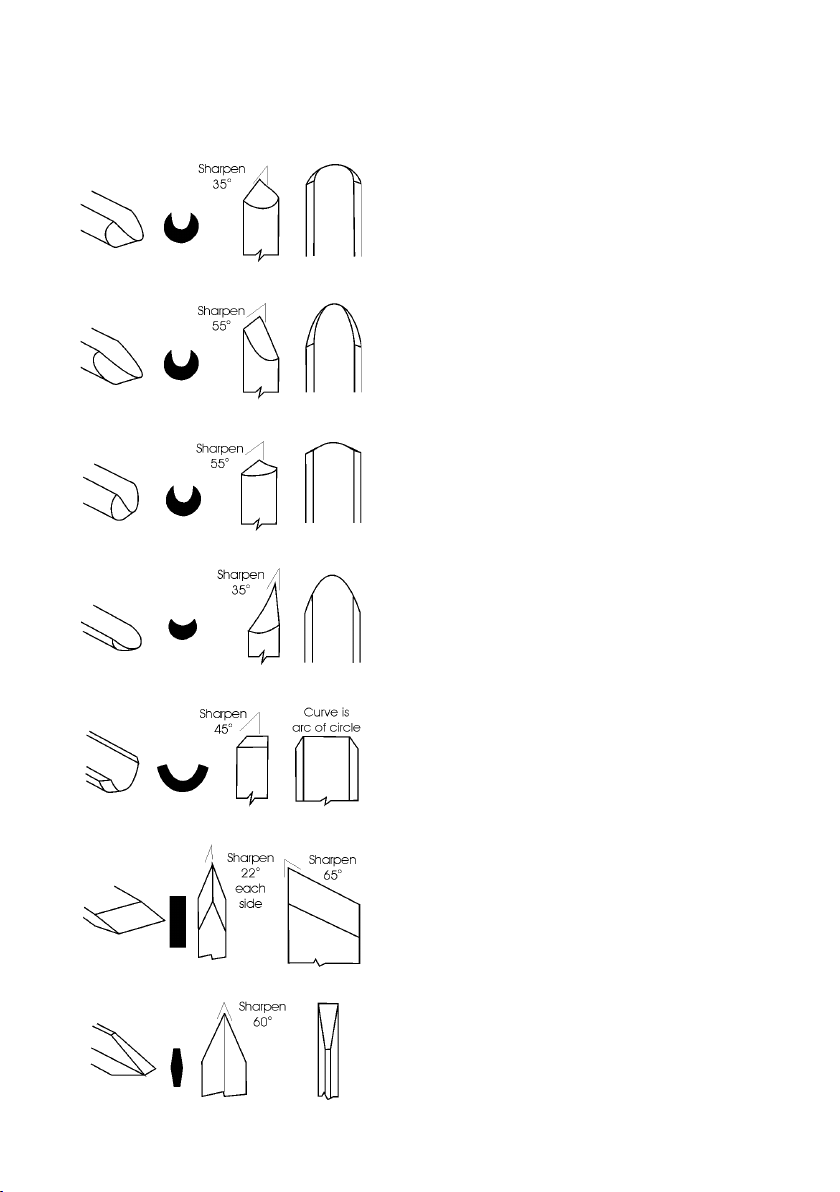
2.ThepositionoftheToolholderPivotLeg determines the style of grind.
Use position 1 for grinding standard traditional bowl gouges and roughing
gouges. This will give a bevel angle which is similar on the sides and on
the nose. The greater angle that you adjust the Pivot Leg to the Toolholder
head (or the greater the number), the more will be the difference in bevel
angle between the nose and the sides of the tool, and the further back you
will grind the sides of the gouge, i.e. increasing the length of the ngernail.
You may need to nd the closest setting notch to the previous angle and re-
grind your gouge so that this setting can be used for future re-grinds.
Position 9, with the Pivot Leg pushed all the way forward, is used for
grinding scrapers and ring tools.
3.AdjusttheBase-slide. After steps 1 and 2 above are set, you must
adjust the Base-slide in or out to get the desired angle of your bevel,
particularly on the nose of the chisel.
4.Recordthesetting. For each chisel write down, or record in some other
way, the angle setting of the Toolholder and extension of the Base-slide.
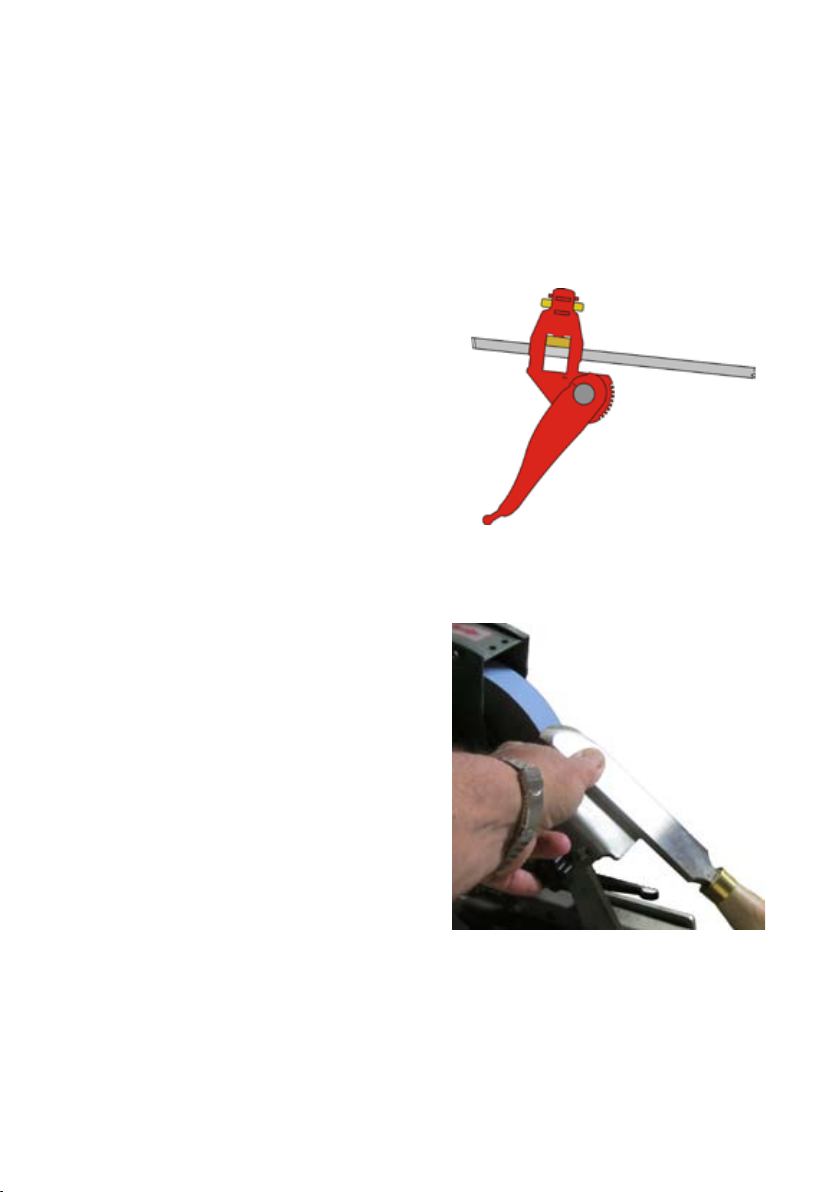
AidstoSharpening. As the grindstone will wear and result in your
recorded Base-slide positions being erroneous, make or obtain a jig which
will repeatedly and accurately set the distance between the grindstone and
the pivot point on the Base-slide.
To have a good example of a standard grind to refer to, obtain the Woodcut
Tru-Grind Proler.