manuals.online logo
Brands
  1. Home
  2. •
  3. Brands
  4. •
  5. Woodstock Soapstone
  6. •
  7. Wood Stove
  8. •
  9. Woodstock Soapstone Fireview 201 User manual

Woodstock Soapstone Fireview 201 User manual

Replacing the Model 200/201 Classic/Fireview Baffle
Before you proceed, please read through all of the instructions first. Confirm
that you have all of the necessary parts and tools. Allow about an hour to
complete the replacement. If you have questions, technical support is
available by calling 800-866-4344 from 9-5 ET, Monday-Saturday.
Tools Needed: Materials:
-1/2" wrench W-101a Baffle (1)
-1/2" socket W-301 Expanded Metal (1)
-9/16" socket 21092 5/16" gasket (6')
-6"socket extension W-2489 Eyebolt & Nut (2)
-socket wrench W-1800 Furnace Cement (1 tube)
-putty knife 21870 3/16" gasket (2')
-wire brush 3" self adhesive gasket
-ball peen hammer W-1605a Gasket glue (1 bottle)
-standard caulking gun 21085 1/4" gasket (15”)
W-2569 5/16" x 1” SS bolt (2)
Recommended: W-2558 5/16" SS hex nuts (2)
-work gloves W-2559 5/16" flat washer (4)
-safety glasses
-shop vac
1. Make sure the stove is cool.
2. Remove the top lid assembly from the stove. This lid is not fastened
down and will lift straight up and off.
3. If your stove has one, remove the stainless steel deflector from the cast
iron hood, using a 7/16” wrench or socket. Remove the cast iron
combustor hood by removing the two bolts using a 1/2” wrench or socket
on the top side of the baffle plate and another 1/2” wrench on the nuts on
the bottom side of the baffle plate. Remove the combustor and hood.
1
4. Remove the black knob from the end of the stainless rod by pulling
outward. You may need to tap it with your hammer handle.
5. Lift up the bypass casting and rotate it 90° counter clockwise. Slide the
stainless rod out of the flue collar and remove the bypass.
2
6. Remove the secondary air tube from the firebox side of the baffle by
holding the bolt in the firebox with a wrench and turning the nut on the
top side of the baffle with a socket and lower the tube off the baffle
(Alternately, you can do this step after you have completely removed the
old baffle).
Note: Certain models will not have a secondary air tube. Check the flue
collar located at the rear of the stove. If you do not have a 3/4” diameter
hole in the bottom left hand corner of your flue collar then you do not have
a secondary air tube.
7. Using a 9/16” socket and 6” extension remove the nuts from the two
eyebolts found at the corners of the baffle. (NOTE: Depending upon the
age of your stove, you may need to remove 4 eyebolts. You will only
replace 2.)
8. Use a putty knife to remove or separate the old furnace cement, around
the perimeter of the baffle, from the stone. Remove as much of the
furnace cement (and the old gasket underneath) as you can.
9. Place one hand through the bypass ports in the baffle and lift up on it.
Jiggle the baffle slightly to slowly break it free from the stove and lift it
out, combustor side first. NOTE: Despite your best efforts, the old baffle
may refuse to come out willingly. If so, rather than break a sweat, break
the baffle by hitting it upward with your ball peen hammer from the
firebox side of the stove. (DO NOT HIT THE BAFFLE FROM THE
TOP DOWN AS YOU MAY BREAK THE CASTINGS THAT
3
SUPPORT THE BAFFLE. BE SURE TO WEAR SAFETY GLASSES IF
YOU DO THIS!) Once the old baffle is out, continue removing as much
of the dried furnace cement as you can.
10.Insert the new baffle. Lower the door side of the baffle first and then
carefully lower the combustor side. Due to normal variances from stove
to stove it is very possible that the baffle will not fit right in. If it does
not, then move the baffle up and down where it gets caught which will
leave a visible mark on the stone and casting. Either grind some material
off the baffle or use a putty knife and hammer to carefully remove just
enough stone to allow the baffle to rest on the vertical supports naturally.
11.Insert new 5/16” gasket along the perimeter of the baffle and then apply a
bead of furnace cement over it. Use your fingertip (you may want to put
a piece of plastic wrap over your finger first) to press the cement firmly
into the seam and leave a smooth finished look.
4
12.Replace the two eyebolts making sure they are properly seated over the
tab on the vertical supports. Fasten them using the nuts and a 9/16”
socket and 6” extension.
13.If the gasket on the secondary air tube needs to be replaced, remove the
old gasket, scrape off the old gasket glue using a flat blade screwdriver or
putty knife and apply a thin bead of gasket glue and apply a new 3/16”
gasket along the channel. Use a strip of the self adhesive gasket for the
air hole on the end of the tube.
14.Attach the air tube to the baffle using the two 1” long bolts from inside
the firebox and fastening with a washer and nut on the top side of the
baffle.(Your replacement baffle has this hardware pre-attached. If you
attach the secondary air tube, you will have 2 flat washers left over.) If
5
the slots in the baffle are not covered completely by the washer fill the
hole with some furnace cement.
15.Replace the pivot plate by inserting the end of the rod through the hole in
the flue collar. Rotate the pivot plate 90° clockwise and place the pivot
end into the cavity of the baffle. Replace the black knob.
16.Install the combustor so that the stainless divider faces the left wall.
17.Replace the 1/4” gasket on the bottom side of the combustor hood using
gasket glue.
6
18.Install the combustor hood and place the two bolts down through the
hood and into the baffle for alignment. You do not need to tighten the
bolts with nuts. The nuts are only needed for shipping the stove. Replace
the stainless steel deflector, if you have one.
19.Replace the top lid.
20.Once the repair is complete, you may fire up your stove right away,
however, we recommend that you recheck the furnace cement seal after 2-3
days of burning and add cement if necessary due to shrinkage.
We need your help! Woodstock Soapstone Co. takes pride in
providing the highest quality products as well as the best customer
service in our industry. We welcome your suggestions and input to
help us achieve these goals. If you have any comments to improve
our products, service, and information provided in these
instructions please contact us at (800) 866-4344 or
info@woodstove.com. Thank you.
2/11/10
7

Other manuals for Fireview 201

1

This manual suits for next models

3

Other Woodstock Soapstone Wood Stove manuals
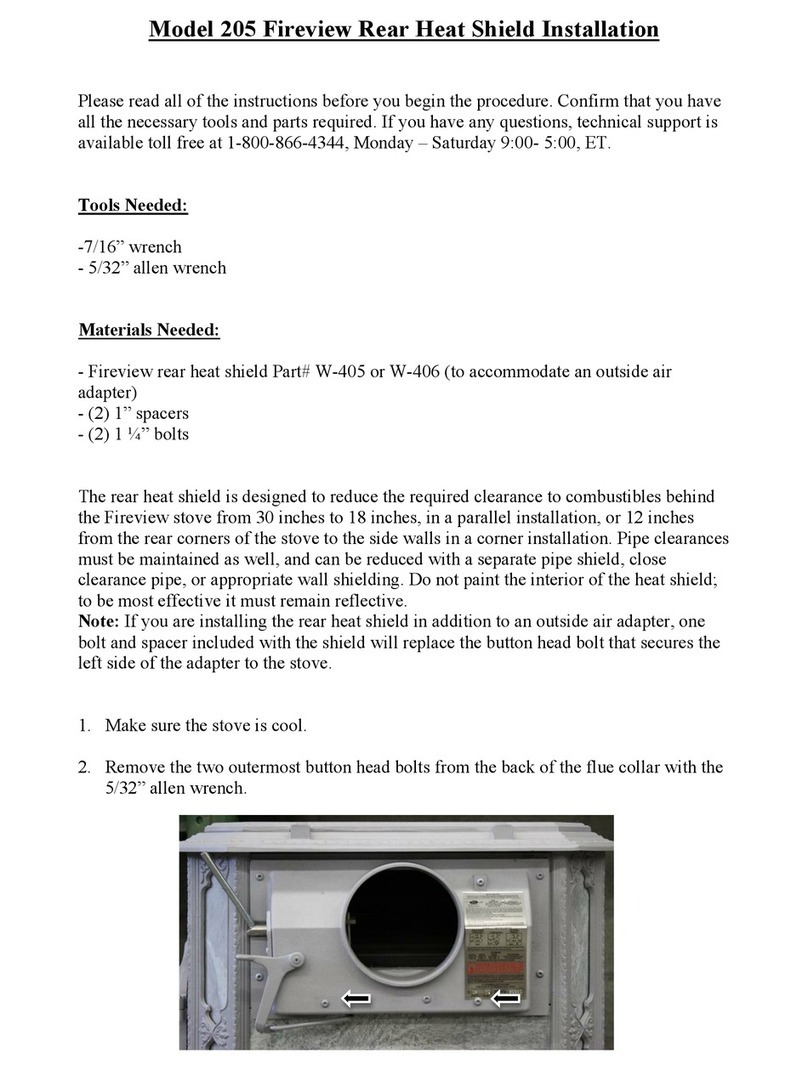
Woodstock Soapstone 212S User manual

Woodstock Soapstone

Woodstock Soapstone 212S User manual

Woodstock Soapstone Ideal Steel Hybrid User manual

Woodstock Soapstone

Woodstock Soapstone Ideal Steel Hybrid User manual

Woodstock Soapstone Keystone User manual

Woodstock Soapstone

Woodstock Soapstone Keystone User manual

Woodstock Soapstone Fireview User manual

Woodstock Soapstone

Woodstock Soapstone Fireview User manual

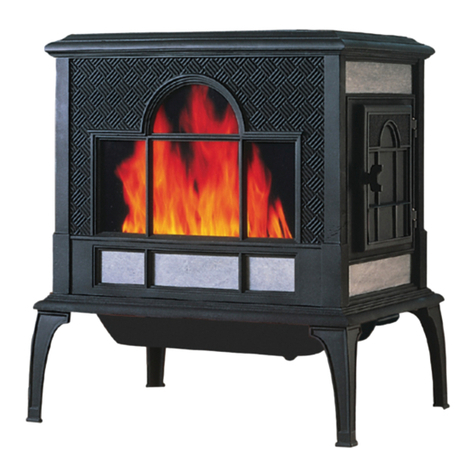
Woodstock Soapstone Fireview 205 User manual
Woodstock Soapstone

Woodstock Soapstone Fireview 205 User manual

Woodstock Soapstone SURVIVAL HYBRID 212S User manual

Woodstock Soapstone

Woodstock Soapstone SURVIVAL HYBRID 212S User manual

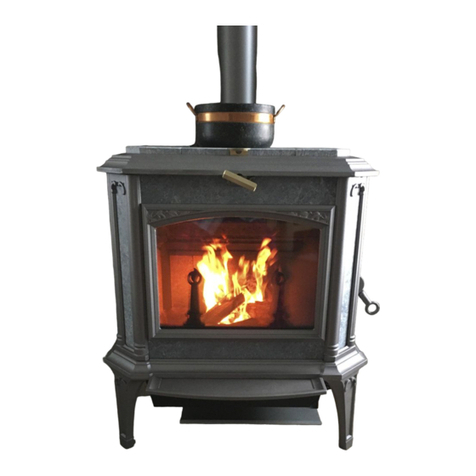
Woodstock Soapstone PROGRESS Hybrid User manual
Woodstock Soapstone

Woodstock Soapstone PROGRESS Hybrid User manual
Woodstock Soapstone Keystone Parts list manual

Woodstock Soapstone

Woodstock Soapstone Keystone Parts list manual

Woodstock Soapstone PROGRESS Hybrid User manual

Woodstock Soapstone

Woodstock Soapstone PROGRESS Hybrid User manual

Woodstock Soapstone Survival Hybrid Wood Stove Instruction Manual

Woodstock Soapstone

Woodstock Soapstone Survival Hybrid Wood Stove Instruction Manual

Woodstock Soapstone Ideal Steel Hybrid 210a User manual
Woodstock Soapstone

Woodstock Soapstone Ideal Steel Hybrid 210a User manual

Woodstock Soapstone Fireview 205 User manual

Woodstock Soapstone

Woodstock Soapstone Fireview 205 User manual

Woodstock Soapstone Survival Hybrid User manual

Woodstock Soapstone

Woodstock Soapstone Survival Hybrid User manual
Popular Wood Stove manuals by other brands

ARRADA Farringdon 16 Operating & installation manual

ARRADA

ARRADA Farringdon 16 Operating & installation manual

Jøtul F400 Castine Installation and operation instruction

Jøtul

Jøtul F400 Castine Installation and operation instruction

Harvia 20 Duo Instructions for installation and use

Harvia

Harvia 20 Duo Instructions for installation and use

Osburn MATRIX 1900 owner's manual

Osburn

Osburn MATRIX 1900 owner's manual

United States Stove US1800E Instruction and operation manual

United States Stove

United States Stove US1800E Instruction and operation manual

Nordpeis Salzburg L Basic + 1 installation manual

Nordpeis

Nordpeis Salzburg L Basic + 1 installation manual

Stanley Solis F1100 Panoramic Installation and operating instructions

Stanley

Stanley Solis F1100 Panoramic Installation and operating instructions

Century Heating CB00007 Installation and operation manual

Century Heating

Century Heating CB00007 Installation and operation manual

Panadero CONDOR 3V Usage and maintenance instructions

Panadero

Panadero CONDOR 3V Usage and maintenance instructions

Pacific energy NEO 1.6 INSERT Nstallation and operating instructions

Pacific energy

Pacific energy NEO 1.6 INSERT Nstallation and operating instructions

Ravelli APOLLO Installation, operation and maintenance manual

Ravelli

Ravelli APOLLO Installation, operation and maintenance manual

Dovre 750 GH Installation and operation manual

Dovre

Dovre 750 GH Installation and operation manual

Drolet Escape 1500 Installation and operation manual

Drolet

Drolet Escape 1500 Installation and operation manual

Quadra-Fire 57ST-ACC-C owner's manual

Quadra-Fire

Quadra-Fire 57ST-ACC-C owner's manual

Harvia M2 Instructions for installation and use

Harvia

Harvia M2 Instructions for installation and use

Napoleon 1100PL Installation and operating instructions

Napoleon

Napoleon 1100PL Installation and operating instructions

FRANCO BELGE Belfort 174 05 05 Technical manual

FRANCO BELGE

FRANCO BELGE Belfort 174 05 05 Technical manual

barbas BOX30 75 user manual

barbas

barbas BOX30 75 user manual

manuals.online logo
manuals.online logoBrands
  • About & Mission
  • Contact us
  • Privacy Policy
  • Terms and Conditions

Copyright 2025 Manuals.Online. All Rights Reserved.