22 ENGLISH
DE
EN
FR
IT
ES
NL
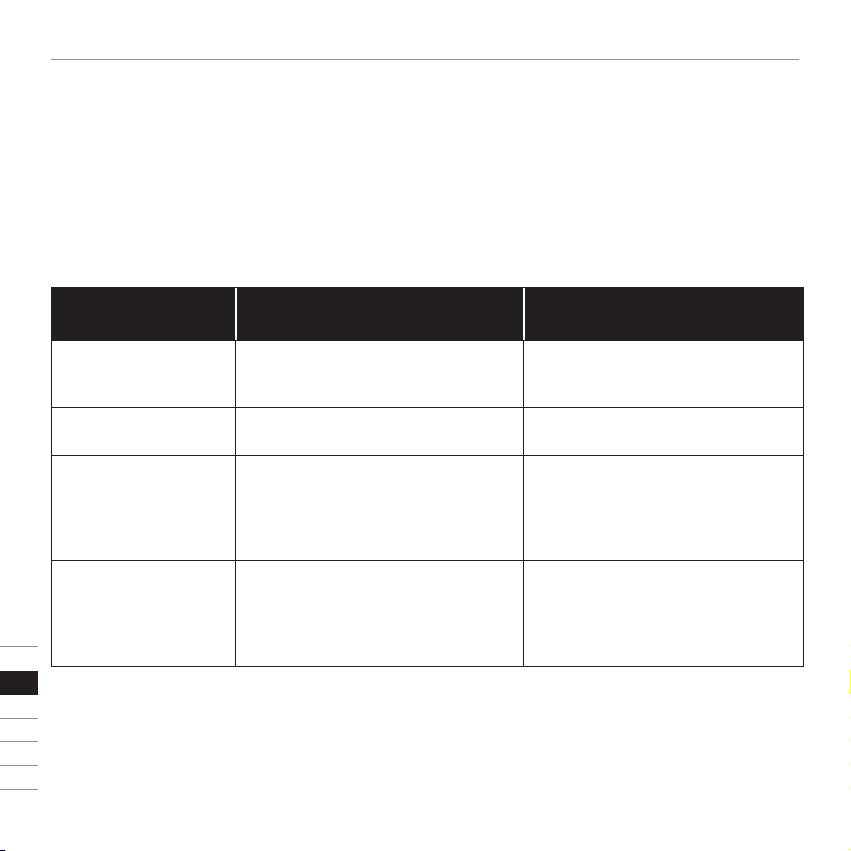
. CLEANING AND CARE
Do not use any aggressive cleaning agents. First of all tryto remove soiling with gentle aids. We recommend the
following incremental procedure:
VLUV STOV LEIV VLUVVEEL VELT
Dust, u etc. Simply remove surface dirt with a lint
brush or with the vacuum cleaner sofa
brush.
Simply remove surface dirt with a lint
brush or with the vacuum cleaner sofa
brush.
Light dirt Surface soiling can be removed with a
damp cloth.
Surface soiling can be removed with a
damp cloth.
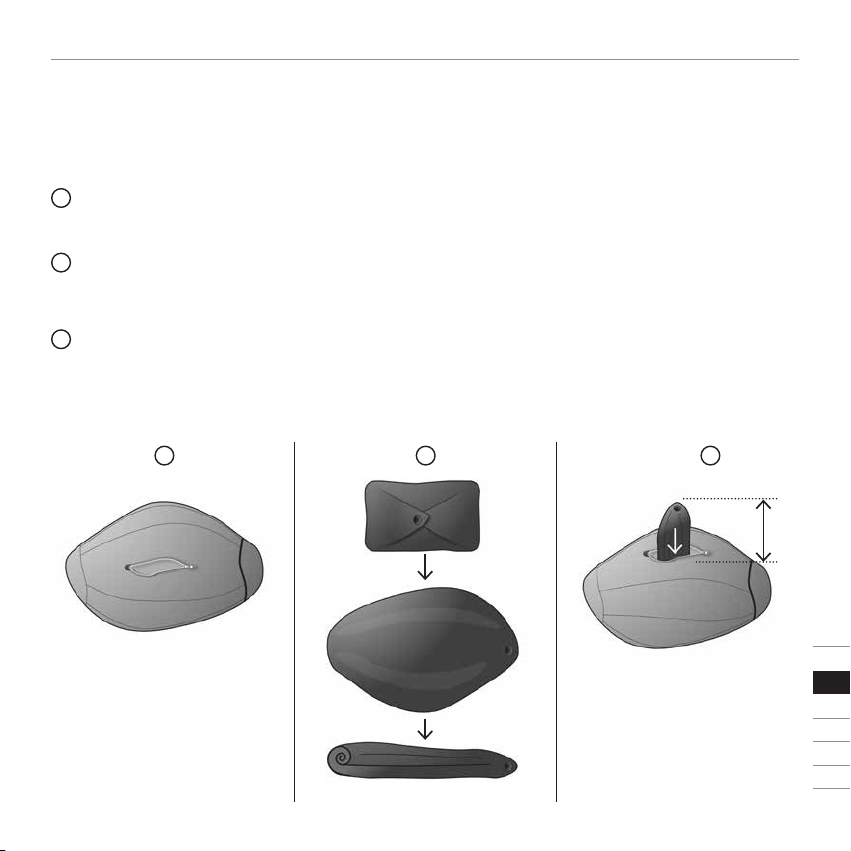
Medium soiling For this let out half of the air from the
VLUV. Aerwards this spot can be
washed with clear cold water. Aerwards
allow the VLUVto dry for approx. 24
hours and inate again.
For this let out half of the air. Aerwards
this spot can be washed with clear cold
water. Aerwards allow the VLUVto dry
for approx. 24 hours and inate again.
Severe soiling In the event of strong, deep soiling,
completely press all the air out of the in-
ner-ball. Remove the inner-ball and wash
the textile casing by hand at 30 C° with a
mild detergent and hang up wet to dry.
In the event of strong, deep soiling,
completely press all the air out of the
inner-ball. Remove the inner-ball and
have the casing dry-cleaned.