9
4
5
Sanding work
Grain Speed
setting(opm)
Coarse
sanding
Precision
sanding
Sanding down
varnishes 180 400 8700~11000
Stripping paint 40 120 9800~11000
Touching up
paintwork 120 120 7600~10000
Sanding wood 60 240 7600~11000
Machining veneer 180 400 8700~11000
Sanding aluminium 80 240 7600~11000
Derusting metal 40 120 9800~11000
Sanding metal and
steel 120 240 9800~11000
Sanding plexiglass 180 400 6000~8700
HAND GRIP AREA
You can operate your sander with two hands (See B).
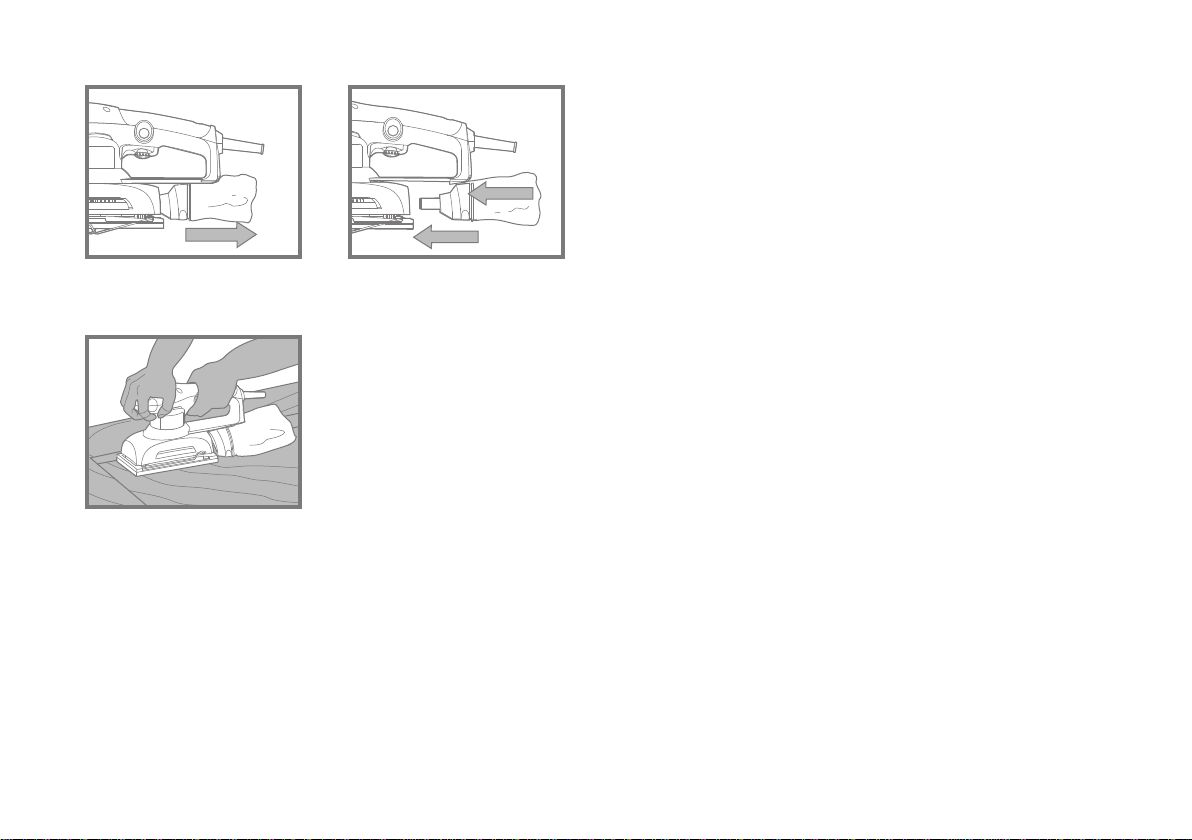
CHANGING STANDARD SANDING PAPER
To remove the sanding paper, lift up the clamp lever and move away
from the clamp lever lock (See C.1). The sanding paper clamp is
now loose. Repeat with the other clamp on the opposite side of your
sander. To fit new sanding paper, insert approximately 5mm of one
end of the sanding paper under the sanding paper clamp until the
paper contacts the housing wall (See C.2). Lift up the clamp lever
and move it to the lever lock position. Press the sanding paper around
6
7
8
the base plate shape as tight as possible and fix the end under the
other sanding paper clamp. Check the sanding paper is square to the
baseplate .If not correct., remove and refit it again . Always, ensure
the sanding paper is tight over the baseplate and secured underneath
both locked clamps. This will ensure safe and efficient sanding
performance.
CHANGING HOOK & LOOP SANDING PAPER
The sanding paper and baseplate are provided with a hook and loop
attachment system to allow quick and easy changing of the sanding
and polishing accessories. Remove any dust or other objects from
the hook and loop on the baseplate and sanding paper. Position the
sanding paper evenly on the baseplate and firmly press down to
attach them together. If the sanding paperhas dust extraction holes
you must align these with the holes in the baseplate, otherwise the
dust extraction will not function. To remove the sanding paper lift one
corner of the paper and pull it off from the baseplate (See C.3).
PAPER PUNCH
If using sanding paper without dust holes, use the paper punch to
perforate the holes to ensure correct dust extraction. Position the
punch (10) over the baseplate with the punch sides on the edges of
the baseplate (See D). Press the punch into the baseplate to punch
holes into the sanding paper. Then remove the punch and check all
the holes have been formed correctly.
DUST BAG
Always operate your sander with the dust bag fitted. For the best
performance always empty the dust bag in time. Open the zip and
empty the dust from the bag. To remove the bag, slide the mounting