manuals.online logo
Brands
  1. Home
  2. •
  3. Brands
  4. •
  5. X-Vision
  6. •
  7. Security Camera
  8. •
  9. X-Vision VIS200DX-3 User manual

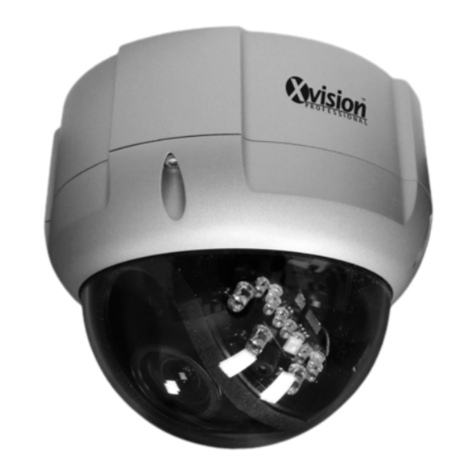
X-Vision VIS200DX-3 User manual

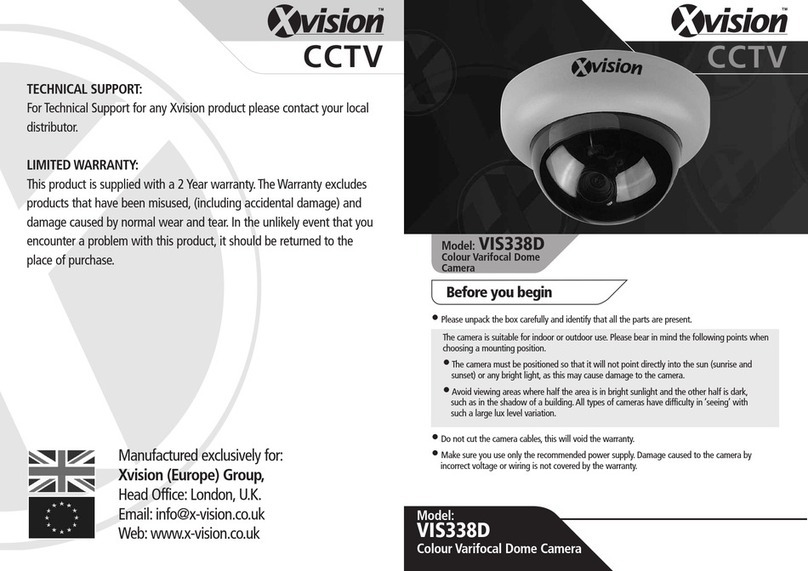
CCTV CCTV
Model:
VIS200DX-3
Colour 480 TVL Vandal Resistant
Dome Camera
Specifications
Model: VIS200DX-3
Picture Type: Colour
Image Sensor: Sony 1/3” Super HAD CCD
DSP: Xvision IXC1
Resolution: 480 TVL
Lens Viewing Angle: 78°
Minimum Illumination: 0.1 Lux
Audio: No
Operating Voltage: 12V DC 70mA
Suggested Power Supply: 12V DC 300mA
Mounting: Wall/Ceiling
Weatherproofing: Yes
Dimensions: (ØxH) 148x98mm
Model: VIS200DX-3
Colour 480 TVL Vandal Resistant
Dome Camera
6. Connection
7. Optional Wall Bracket
1. Connect the video output
(BNC Connector) to a monitor
or other video device through
a 75 Ohms type coaxial cable.
2. To connect the power source,
insert the DC Power plug into
the DC Jack on the camera’s
trailing lead. (as shown in
Figure 4). Figure 4
zPlease unpack the box carefully and identify that all the parts are present.
zThe camera is suitable for indoor or outdoor use. Please bear in mind the
following points when choosing a mounting position.
- The camera must be positioned so that it will not point directly into the
sun (sunrise and sunset) or any bright light, as this may cause damage
to the camera.
- Avoid viewing areas where half the area is in bright sunlight and the
other half is dark, such as in the shadow of a building. All types of
cameras have difficulty in ‘seeing’ with such a large lux level variation.
zDo not cut the camera cables, this will void the warranty.
zMake sure you use only the recommended power supply. Damage caused to
the camera by incorrect voltage or wiring is not covered by the warranty.
Before you begin
The dome camera can be wall
mounted with an optional
bracket (not supplied) which will
allow the camera to be angled at
over 90°, something that cannot
be done using the standard
3-Axis mechanism. To mount:
1. Attach the camera to the
bracket as shown.
2. Fix the wall bracket to the
wall surface using the screws
and wall plugs supplied.
3. Make adjustments to the
camera lens and focus once
the camera is in place before
closing and securing the
dome cover to the base.
Fixing
Screws
(x3)
Figure 5
ADJUSTING CAMERA VIEW
Adjust the camera viewing angle by first tilting (STEP 1) then rotating
the camera module (STEP 2), and then turn the horizontal adjustment
ring (STEP 3) to correct the image and achieve the required orientation
(as shown in Figure 2).
4. Installation
4. Installation continued 5. DIP Switch Setting
1. Select a suitable position on
the wall or ceiling to install the
camera. Depending on your
installation requirements you
can either bring the cables
through the side entry or the
back entry of the housing.
2. Unscrew the dome cover and
remove it from the camera base.
3. Secure the camera base in the
desired position with the fixing
screws (as shown in Figure 1).
4. Adjust the camera viewing
angle. See ‘Adjusting Camera
View’ for more information’.
5. Place the dome cover on the
camera base and secure it by
tightening the cover screws.
3. Contents
Thank you for purchasing this Xvision camera. Before operating this
product, please read this instruction manual carefully.
1. Product Description
2. Features
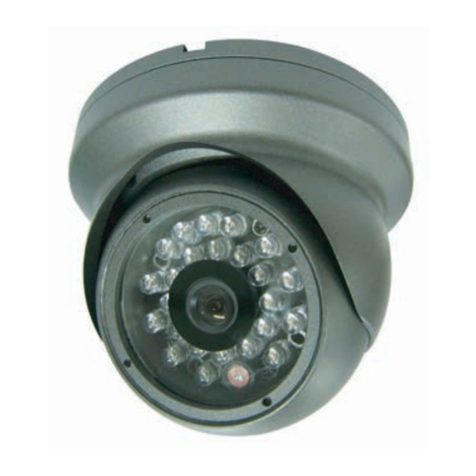
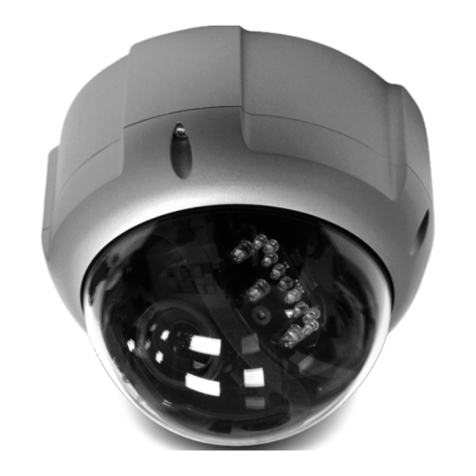
The VIS200DX-3 Colour Vandal Dome camera is designed for medium
to high risk applications and is able to withstand a blow from a 10
pound sledgehammer. It offers very high resolution 480 TVL images
from its Sony 1/3” Super HAD CCD and has a high quality wide angle
lens. It will provide images in light levels as low as 0.1 lux. The camera
is designed for internal or external use and wall or ceiling mounting.
zHigh Resolution CCD sensor provides great quality Colour images
in light levels of 0.1 lux and above
zSony 1/3” Super HAD CCD image sensor for 480 TVL resolution
images
zTamper and Vandal Resistant, can withstand a blow from a
10 pound sledgehammer
z3-Axis mechanism for flexible wall or ceiling mounting
z3.6mm focus free lens with 78° viewing angle for super sharp
images
VIS200DX-3 Camera Screws & Wall Plugs
Fixing
Screws
(x3)
Cover
Screws (x3)
Holes
for xing
Dome Cover
Dome Cover
Figure 3
DIP Switches on
the Camera Board
Figure 1
Tilt Rotate
STEP 1 STEP 2 STEP 3
Rotate
Camera Module Adjustment Camera Ring Adjustment
Figure 2
1
3
2
Camera
Module
Camera
Ring
Allun Key 5.1. BLC Function
The BLC (Back Light Compensation) function makes objects
in front of a bright scene (such as a window on a bright sunny
day) clearer to see by increasing their brightness and making
the background darker. To turn on the BLC function flick the DIP
switch to the BLC position, to turn it off, flick the DIP switch to the
OFF position.
5.2. AE Function
For better performance in low light conditions the AE (Automatic
Exposure) automatically detects the light level and maintains a
clear picture if this mode is activated.
5.3. AWB Function
The AWB (Automatic White Balance) feature automatically
adjusts the colour temperature of the camera image to match the
type of light available, so that white and other colours appear as
natural as possible. It should always be in the AWB position.
5.4. AGC Function
For better performance in low light conditions the AGC
(Automatic Gain Control) can be increased from the standard
16db to 26db. This has the effect of making the picture brighter
(however it may also add more noise to the picture, as it is
amplifying all aspects of the video signal). To increase the AGC
flick the DIP switch to the AGC position, to turn leave it as normal,
flick the DIP switch to the OFF position.
ON
1 2 3 4
BLC
AE
AWB
AGC
Other X-Vision Security Camera manuals

X-Vision XSD27ZDN User manual

X-Vision

X-Vision XSD27ZDN User manual

X-Vision XC960BN User manual

X-Vision

X-Vision XC960BN User manual

X-Vision XSD27ZS User manual

X-Vision

X-Vision XSD27ZS User manual

X-Vision XSD27ZS User manual

X-Vision

X-Vision XSD27ZS User manual

X-Vision XSD10Z-2 User manual

X-Vision

X-Vision XSD10Z-2 User manual

X-Vision XC960VV User manual

X-Vision

X-Vision XC960VV User manual

X-Vision X100 Series User manual

X-Vision

X-Vision X100 Series User manual

X-Vision XSD27ZIR-2 User manual

X-Vision

X-Vision XSD27ZIR-2 User manual

X-Vision XP1080B User manual

X-Vision

X-Vision XP1080B User manual

X-Vision VIS430R Guide

X-Vision

X-Vision VIS430R Guide

X-Vision XSD27ZIR-2 User manual

X-Vision

X-Vision XSD27ZIR-2 User manual

X-Vision XPT600 User manual

X-Vision

X-Vision XPT600 User manual

X-Vision XC960S30 User manual

X-Vision

X-Vision XC960S30 User manual

X-Vision XP3000B User manual

X-Vision

X-Vision XP3000B User manual

X-Vision XSD27ZDN2 User manual

X-Vision

X-Vision XSD27ZDN2 User manual

X-Vision XSD27ZIR User manual

X-Vision

X-Vision XSD27ZIR User manual

X-Vision XSD35ZDN User manual

X-Vision

X-Vision XSD35ZDN User manual

X-Vision VIS200DX-2 User manual

X-Vision

X-Vision VIS200DX-2 User manual

X-Vision PCC422E User manual

X-Vision

X-Vision PCC422E User manual

X-Vision XC960DA User manual

X-Vision

X-Vision XC960DA User manual

X-Vision XPS036 User manual

X-Vision

X-Vision XPS036 User manual

X-Vision XPD700WIR-2 User manual

X-Vision

X-Vision XPD700WIR-2 User manual

X-Vision XIR501 User manual

X-Vision

X-Vision XIR501 User manual

X-Vision XPD700W-2 User manual

X-Vision

X-Vision XPD700W-2 User manual

Popular Security Camera manuals by other brands

Sercomm RC8520 user guide

Sercomm

Sercomm RC8520 user guide

Asoni CAM633 user manual

Asoni

Asoni CAM633 user manual

TRENDnet TV-IP110 - SecurView Internet Surveillance... user guide

TRENDnet

TRENDnet TV-IP110 - SecurView Internet Surveillance... user guide

Foscam FN3108XE-B4-1T user manual

Foscam

Foscam FN3108XE-B4-1T user manual

Novus NVIP-2DN5021H/IRH-1P user manual

Novus

Novus NVIP-2DN5021H/IRH-1P user manual

TRENDnet TV-IP662PI user guide

TRENDnet

TRENDnet TV-IP662PI user guide

SECO-LARM SLI ENFORCER VIDEO EV-1224C12 manual

SECO-LARM

SECO-LARM SLI ENFORCER VIDEO EV-1224C12 manual

Panasonic WV-S2270L Important information

Panasonic

Panasonic WV-S2270L Important information

Samsung SHB-4300H user manual

Samsung

Samsung SHB-4300H user manual

Vitek Transcendent VTC-TNT8RFS quick start guide

Vitek

Vitek Transcendent VTC-TNT8RFS quick start guide

Bosch FlexiDomeXF VDC-485V03-20 Specifications

Bosch

Bosch FlexiDomeXF VDC-485V03-20 Specifications

Axis AXIS M3115-LVE user manual

Axis

Axis AXIS M3115-LVE user manual

Ultrak KC4500MN installation instructions

Ultrak

Ultrak KC4500MN installation instructions

Honeywell EQUIP Series Quick install guide

Honeywell

Honeywell EQUIP Series Quick install guide

advidia B-5360 5MP Hardware manual

advidia

advidia B-5360 5MP Hardware manual

Lilin ZR8022EX10 Quick installation guide

Lilin

Lilin ZR8022EX10 Quick installation guide

Teledyne Quasar CP-6408-31-I Quick install guide

Teledyne

Teledyne Quasar CP-6408-31-I Quick install guide

LINOVISION IPC-VEC880F-W quick start guide

LINOVISION

LINOVISION IPC-VEC880F-W quick start guide

manuals.online logo
manuals.online logoBrands
  • About & Mission
  • Contact us
  • Privacy Policy
  • Terms and Conditions

Copyright 2025 Manuals.Online. All Rights Reserved.