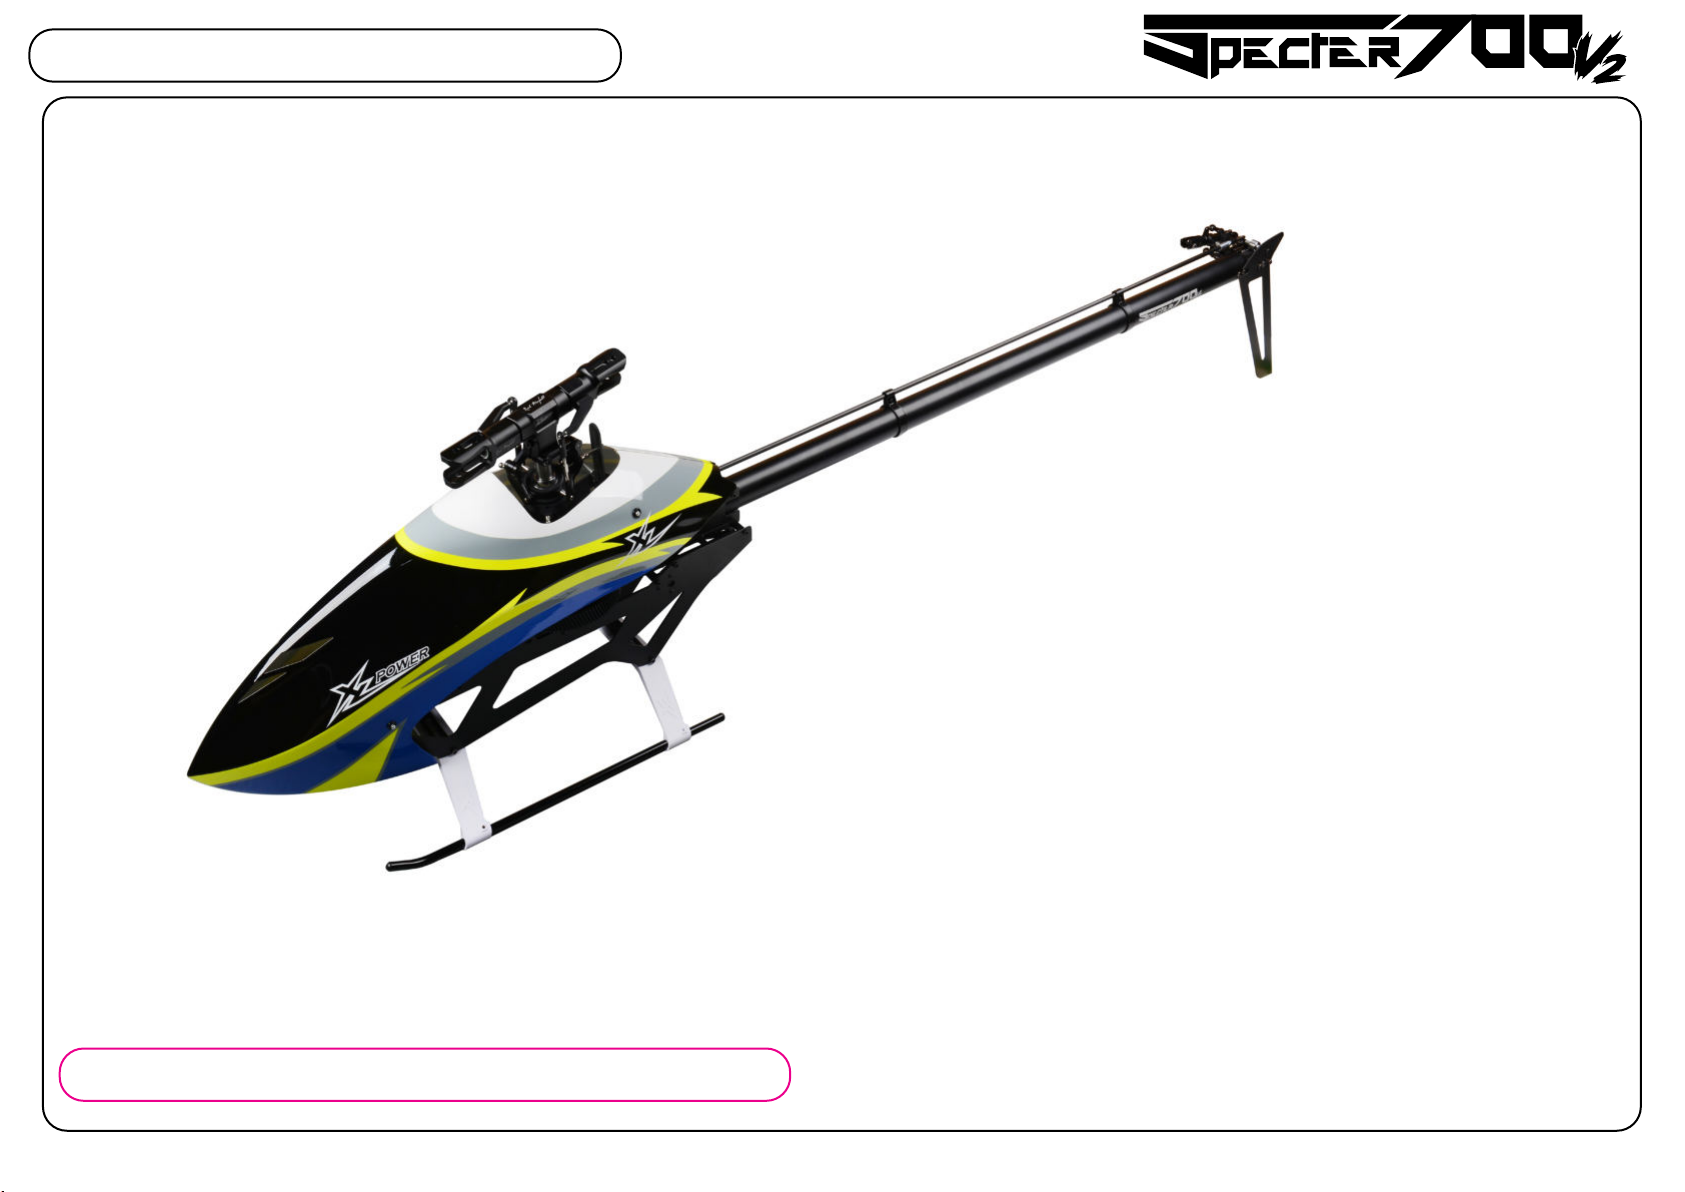
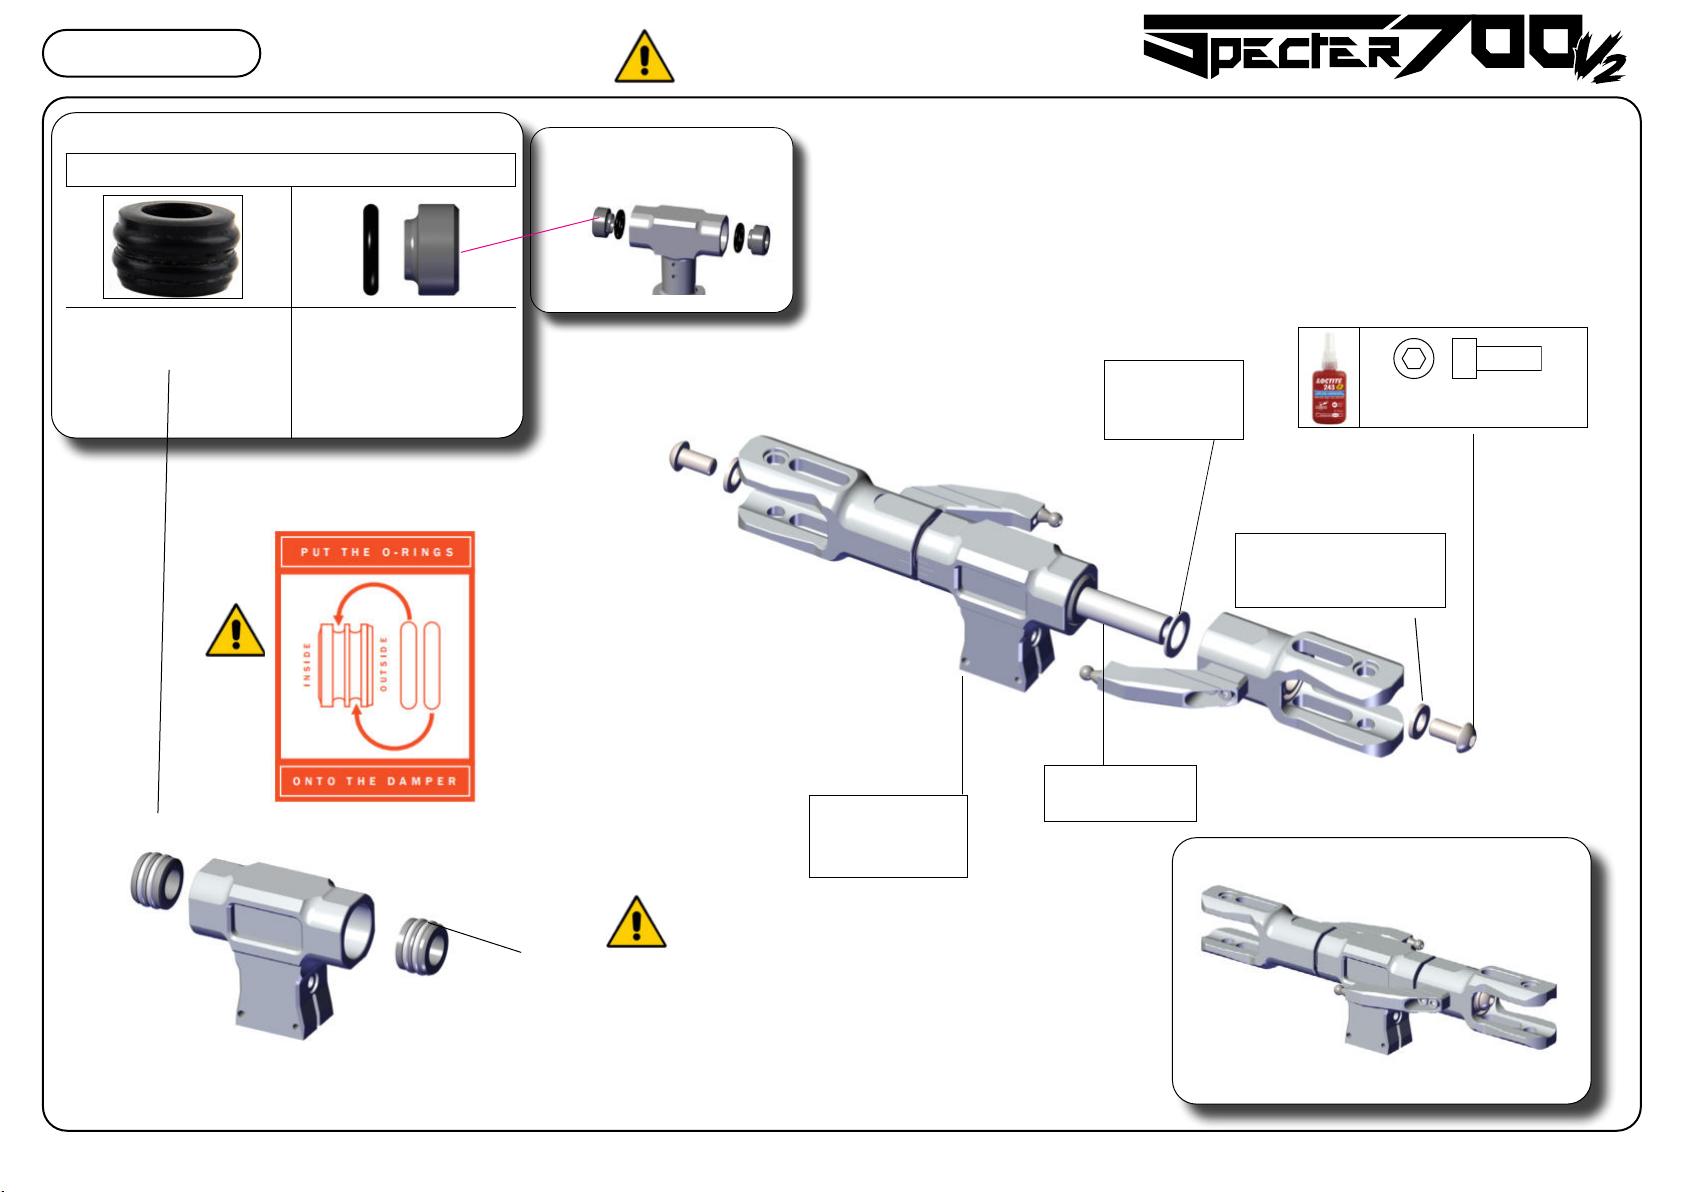
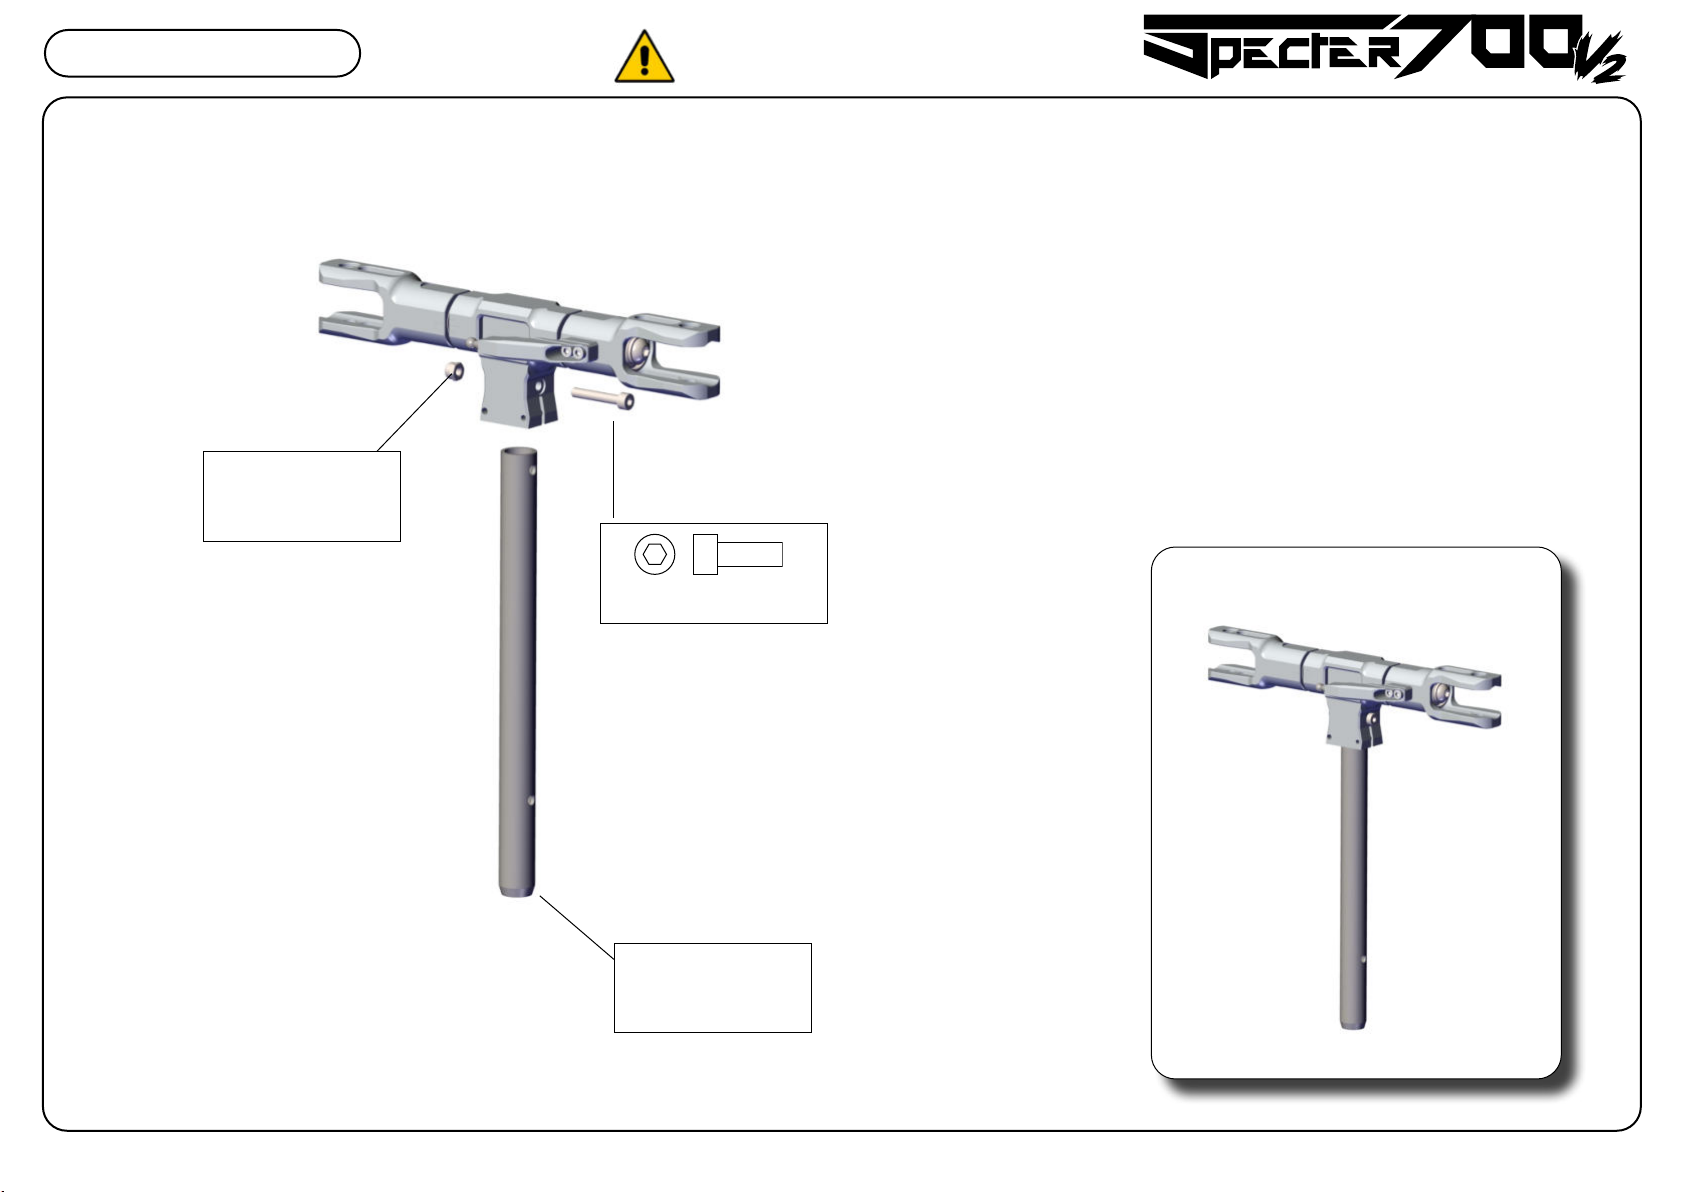
XLPower Specter 700 V2 User manual

1
Instruction Manual (NME)
Manual Release 1.0
Always Check http://xlpower-rc.com for the latest version of this manual
Length Without Main Blades:
Overall Height:
Width:
Main Gear:
Pinion Gear:
Motor Shaft Diameter:
Main Gear Ratio:
Front Tail Pulley:
Rear Tail Pulley:
Tail Ratio:
Frame Weight:
Main Shaft Diameter:
Feathering Shaft Diameter:
Tail Boom Diameter:
Tail Belt Width:
Main Gear Thickness:
Battery Compartment Size:
1383mm
351mm
217mm
106T Mod 1
11T (10-13T Optional)
6mm (Length 20-55mm)
9.636 (10.6 - 8.38 Optional)
100T
21T (20T Optional)
4.767 (5.0 Optional)
2060g
15mm
10mm
32mm
8mm
18mm
380mm*68mm*70mm

2
Always Follow These Rules For Safety
If you do not observe these instructions, you may be held liable for injury or damage.
Operate the helicopter in open areas with no people nearby. Do NOT operate the helicopter in these situations or areas:
In places where children gather or people pass through
In residential areas and parks
Indoors and in limited space
Extremely windy weather or when there is rain, snow, fog or other precipitation
When operating and tuning/adjusting your model, keep the following in mind:
ALWAYS check radio control system for proper operation before operating the model.
ALWAYS check radio control system power levels before operating the model. Flying with low transmitter or receiver battery may cause loss of control.
ALWAYS pay attention to your surroundings, and look out for others who are also operating a radio control model nearby.
ALWAYS check that all screws are tight and not coming loose before ying the model. A single loose screw on the model may cause a major accident.
ALWAYS perform necessary maintenance and preight checks to keep the helicopter in a good and safe ying condition.
NEVER use the same control frequency as someone else. Doing so may cause interference or loss of control of the model.
NEVER continue ying if the model is displaying irregular behavior or noises. Bring the model to a halt immediately and disconnect the batteries.
NEVER y the model with known broken or defective parts. Always replace damaged parts before attempting to y again.
NEVER approach the model while the rotors are still spinning. Doing so can result in serious personal injury.
NEVER touch the motor immediately after ying. It may be hot enough to cause moderate burns.
Operate only outdoors and out of bystanders’ reach, as the main rotor operates at high rpm and is very dangerous.
While adjusting and testing, pilots and observers should stand at least 10 meters from the model.
Novice pilots should be assisted by an experienced pilot and never y alone!

3
Equipment Required for Assembly
Main Blades:
Carbon Fiber 690mm - 720mm
Tail blades:
Carbon Fiber 105mm to 116mm
Swashplate Servos:
Standard Size (Qty. 3)
Tail Servo
Standard Size (Qty. 1)
Trasmitter
Receiver/Satellites
Flybarless Unit
Battery Pack (Typical):
LiPo 6s 4000-5500mAh * 2 or
LiPo 7s 4000-5500mAh * 2
ESC:
130HV-250HV Typical
Motor:
4525-4530 500kv-550kv Typical
Hex Screwdriver Sizes:
1.5mm
2mm
2.5mm * 2
3mm
4mm * 2
Thrust Bearing Grease
Where indicated, use
Thread lock MEDIUM
Pitch Gauge
Wicking compound
bearing retainer

4
Double Row
Angular Contact Bearing
10*19*7
ART. XL70H04
Thrust Bearing
10*18*5.5
ART. XL70H05
Washer
10*16*1
ART. XL70H05
Main Blade Grip
Specter V2 NME
ART. XL76H02B
Smaller ID
Larger ID
Apply grease to thrust bearing
HB-1-1HB-1-1
Double Row
Angular Contact Bearing
10*19*7
ART. XL70H04
Clean all screws and threads with isopropyl alcohol (90%
or above) to ensure threadlocker bonds properly and
prevent screws from loosening in ight

5
Main Blade Grip Arm
ART. XL70H08
Ball 5mm M3*3
ART. XL70A01
Hex screw
M3*10
ART. MSH71114
HB-1-2HB-1-2 Clean all screws and threads with isopropyl alcohol (90%
or above) to ensure threadlocker bonds properly and
prevent screws from loosening in ight
Main Blade Grip Arm NME
ART. XL70H08B

6
Screw M6*12
ART.XL70H07
Washer
10*16*1
ART. XL70H05
Spindle
ART. XL70H07
M6 Washer (keep it in the
center )ART. XL70H07
Main Rotor Hub NME
ART. XL70H01-1B
HB-1-1HB-1-1
ART. XL70H02-3
Sport / 3D
(POM with two 80° O-Ring)
Head Dampeners
ART. XL70H02-4
For both low HS and Hardcore 3D
(POM with 70° O-Ring)
Clean all screws and threads with isopropyl alcohol (90%
or above) to ensure threadlocker bonds properly and
prevent screws from loosening in ight
Apply silicon grease on the
damper and Spindle

7
Ball 5mm M3*3
ART. XL70A01
Swashplate Assembly NME
ART. XL70H11B
Ball 5mm M3*24
ART. XL70A01
HB-1-5HB-1-5 Clean all screws and threads with isopropyl alcohol (90%
or above) to ensure threadlocker bonds properly and
prevent screws from loosening in ight
Ball 5mm M3*12
ART. XL70H11-4
Swashplate (Upper)
ART. XL70H11-1B
Swashplate (Outer)
ART. XL70H11-2B
Pre Assembled with Loctite
Swashplate (Inner)
Carbon Fiber Cover
M2*4 Screw
Angular Contact Ball
Bearing 3806
GE15C Bearing

8
Wraith E F3C / Specter V2
Main Shaft
ART. XL76H04
Screw M4*25
ART. XL76H04
HB-1+HB-2HB-1+HB-2
M4 Nut
ART. XL76H04
Clean all screws and threads with isopropyl alcohol (90%
or above) to ensure threadlocker bonds properly and
prevent screws from loosening in ight

9
Ball Bearing
3*7*3
ART. XL52A12
ART.XL70H09B
Spacer 3*5*0.5
ART. XL70H09B
Screw M3*25
ART. XL70H09B
Pin 3*14
ART.XL70H09B
Control arm NME
ART.XL70H09B
Radius Arm
ART.XL70H09
ART.XL70H10
Spacer 3*5*0.5
ART. XL70H09B
Pre Assembled
HB-1-1HB-1-1 Clean all screws and threads with isopropyl alcohol (90%
or above) to ensure threadlocker bonds properly and
prevent screws from loosening in ight

10
Ball Link 5mm M3
ART.XL70A02
Servo rod length may dier slightly
with dierent servo brands
39mm
Right thread
Left thread
Pay attention to
the Mark
21.5mm
Titanium Main rotor
linkage
ART. XL70H14-1
Titanium Servo rod
ART. XL70H14
HB-1-3HB-1-3 Clean all screws and threads with isopropyl alcohol (90%
or above) to ensure threadlocker bonds properly and
prevent screws from loosening in ight

11
Pre Assembled
BB-1-1+BB-1-3BB-1-1+BB-1-3
Double Row
Angular Contact
Bearing
15*24*7
ART. XL70B02
Main Shaft Bearing Block
ART. XL70B01
Bearing
17*26*5
ART. XL70V2A01
Third Bearing Block V2
ART. XL70V2B01
Main Shaft Bearing Spacer
ART. XL70V2B02
Clean all screws and threads with isopropyl alcohol (90%
or above) to ensure threadlocker bonds properly and
prevent screws from loosening in ight

12
Hex screw
M3*6 (Red in picture)
ART. MSH71108
Hex screw
M3*8 (Tiany Blue in picture)
ART. MSH71109
Hex screw
M3*10 (Blue in picture)
ART. MSH71114
Upper Servo Mount
ART. XL70B03
Carbon Fiber Upper Frame V2
ART. XL70V2B03
Lower Servo Mount (L)
ART. XL70B04-1
Aluminum Frame Spacer
ART. XL70B40
BB-1-4+BB-4-5+BB-2BB-1-4+BB-4-5+BB-2 Clean all screws and threads with isopropyl alcohol (90%
or above) to ensure threadlocker bonds properly and
prevent screws from loosening in ight

13
Anti-Rotation Bracket
ART. XL70B13-1
Hex screw M3*6
ART. MSH71108
Anti-Rotation Bracket Mount
ART. XL70B13-1
Canopy Mount (Rear)
ART. XL70V2B04
Set screw M3*12
ART. XL70V2B04
BB-1-2+BB-2BB-1-2+BB-2 Clean all screws and threads with isopropyl alcohol (90%
or above) to ensure threadlocker bonds properly and
prevent screws from loosening in ight

14
Belt Front Idler V2
ART. XL70V2B06
Ball bearing
3x9x4
ART.XL70A20
Carbon Fiber Plate
ART. XL70V2B07
Flat screw M3*4
ART. XL70V2B05
Tail Boom Clamp V2
ART. XL70V2B05
Unthreaded Hole Faces Right
Hex screw M2.5*6
ART. MSH71110
Front Belt Idler Mount (Upper)
ART. XL70V2B06
Front Belt Idler Mount (Lower)
ART. XL70V2B06
3*17 Pin
ART. XL70V2B06
BB-1-6BB-1-6
Do Not Install This Silver Screw Yet
Clean all screws and threads with isopropyl alcohol (90%
or above) to ensure threadlocker bonds properly and
prevent screws from loosening in ight

15
Hex screw M3*6
ART. MSH71108
Hex screw M2.5*6
ART. MSH71110
Clean all screws and threads with isopropyl alcohol (90%
or above) to ensure threadlocker bonds properly and
prevent screws from loosening in ight

16
Hex screw
M3*6(Red in picture)
ART. MSH71108
Hex screw
M3*8 (Tiany Blue in picture)
ART. MSH71109
Hex screw
M3*10 (Blue in picture)
ART. MSH71114
Hex screw
M2.5*6(Green in picture)ART. MSH71110
Canopy Mount (Rear)
ART. XL70V2B04
Set screw M3*12
ART. XL70V2B04
Clean all screws and threads with isopropyl alcohol (90%
or above) to ensure threadlocker bonds properly and
prevent screws from loosening in ight

17
Ball 5mm M2.5*3
XL70A04
Button head screw
M3*6
ART. XL70A21
Servo Horn
XL70A04
Optioal: XL70A04-1
BB-1-7BB-1-7
Carbon Servo Washer
ART. XL70A03
Hex Screw M2.5*10
ART. MSH71103
XL70A03
Clean all screws and threads with isopropyl alcohol (90%
or above) to ensure threadlocker bonds properly and
prevent screws from loosening in ight

18
Ball 5mm M2*4.8ART.XL70A26
M2 Nut
MSH41119
Servo Spline facing up
16-18MM
Carbon Servo Washer
ART. XL70A03
Carbon Servo Washer 2mm
ART. XL70V2A02
Hex screw M2.5*16
ART. XL70V2A02
Servo Horn Screw
M3x6
ART. XL70A21
Servo horn
XL52A19
BB-1-7BB-1-7
The exact number of “Carbon Servo Washer 2mm” you use will
vary depending on the exact servo and servo horn used. Only
add enough spacers to prevent the tail servo from binding on the
elevator servo arm/ball throughout it’s full range of travel.
Clean all screws and threads with isopropyl alcohol (90%
or above) to ensure threadlocker bonds properly and
prevent screws from loosening in ight

19
BB-3BB-3
Battery Tray Rail (R)
ART. XL70B28
Battery Tray Rail (L)
ART. XL70B27
Hex screw M2.5*4
DO NOT OVER TIGHTEN
ART. XL70B27-1
Center Plate V2
ART. XL70V2B08
Clean all screws and threads with isopropyl alcohol (90%
or above) to ensure threadlocker bonds properly and
prevent screws from loosening in ight

20
Hex screw M2.5*6
ART. MSH71110
Button head screw M3*6
Do not tighten yet
ART.XL70A21
Button head screw M3*6
Fully tighten
Clean all screws and threads with isopropyl alcohol (90%
or above) to ensure threadlocker bonds properly and
prevent screws from loosening in ight
Table of contents
Other XLPower Toy manuals
Popular Toy manuals by other brands

marklin
marklin 55901 user guide

Modellbau Laffont
Modellbau Laffont Z3001 Assembly instructions

Fisher-Price
Fisher-Price X5855 instructions

GAUI
GAUI Hurricane 255 Assembly instruction

Fisher-Price
Fisher-Price X3050 Owner's manual with assembly instructions

Chrysler
Chrysler Pacifica Hybrid Quick reference guide