Xorcom XV0500 User manual

Xorcom Ltd. ●P.O. Box 60, Misgav Industrial Park 20174 ●Tel: +972 4 995-1999 ●www.xorcom.com
XV0500 Video MCU User's Guide
Xorcom multi-point video conferencing stand-alone solution
Doc. Version: 2.1.2.8

XV0500 Video MCU User's Guide Page 2 of 30
Xorcom Ltd. ●P.O. Box 60, Misgav Industrial Park 20174 ●Tel: +972 4 995-1999 ●www.xorcom.com
Table of Contents
Product Description............................................................................................................................................. 4
Product Components........................................................................................................................................... 4
XV0500 Video MCU Communication Scheme ..................................................................................................... 5
Methods to Call the MCU ................................................................................................................................ 5
PBX Users Call the XV0500 via a SIP Trunk ...................................................................................................... 6
PBX Users Call the MCU Just Like Regular IP-PBX SIP Extensions .................................................................... 7
Users Call the XV0500 Video MCU Directly ..................................................................................................... 7
IP Settings ............................................................................................................................................................ 8
IP Settings of the MCU-DSP ............................................................................................................................. 8
IP Settings of the XV0500 ................................................................................................................................ 8
Configuring the MCU-CS IP Settings ................................................................................................................ 9
MCU Administration and Configuration .............................................................................................................. 9
Overview.......................................................................................................................................................... 9
Login ................................................................................................................................................................ 9
Main Menu ...................................................................................................................................................... 9
System Settings.............................................................................................................................................. 10
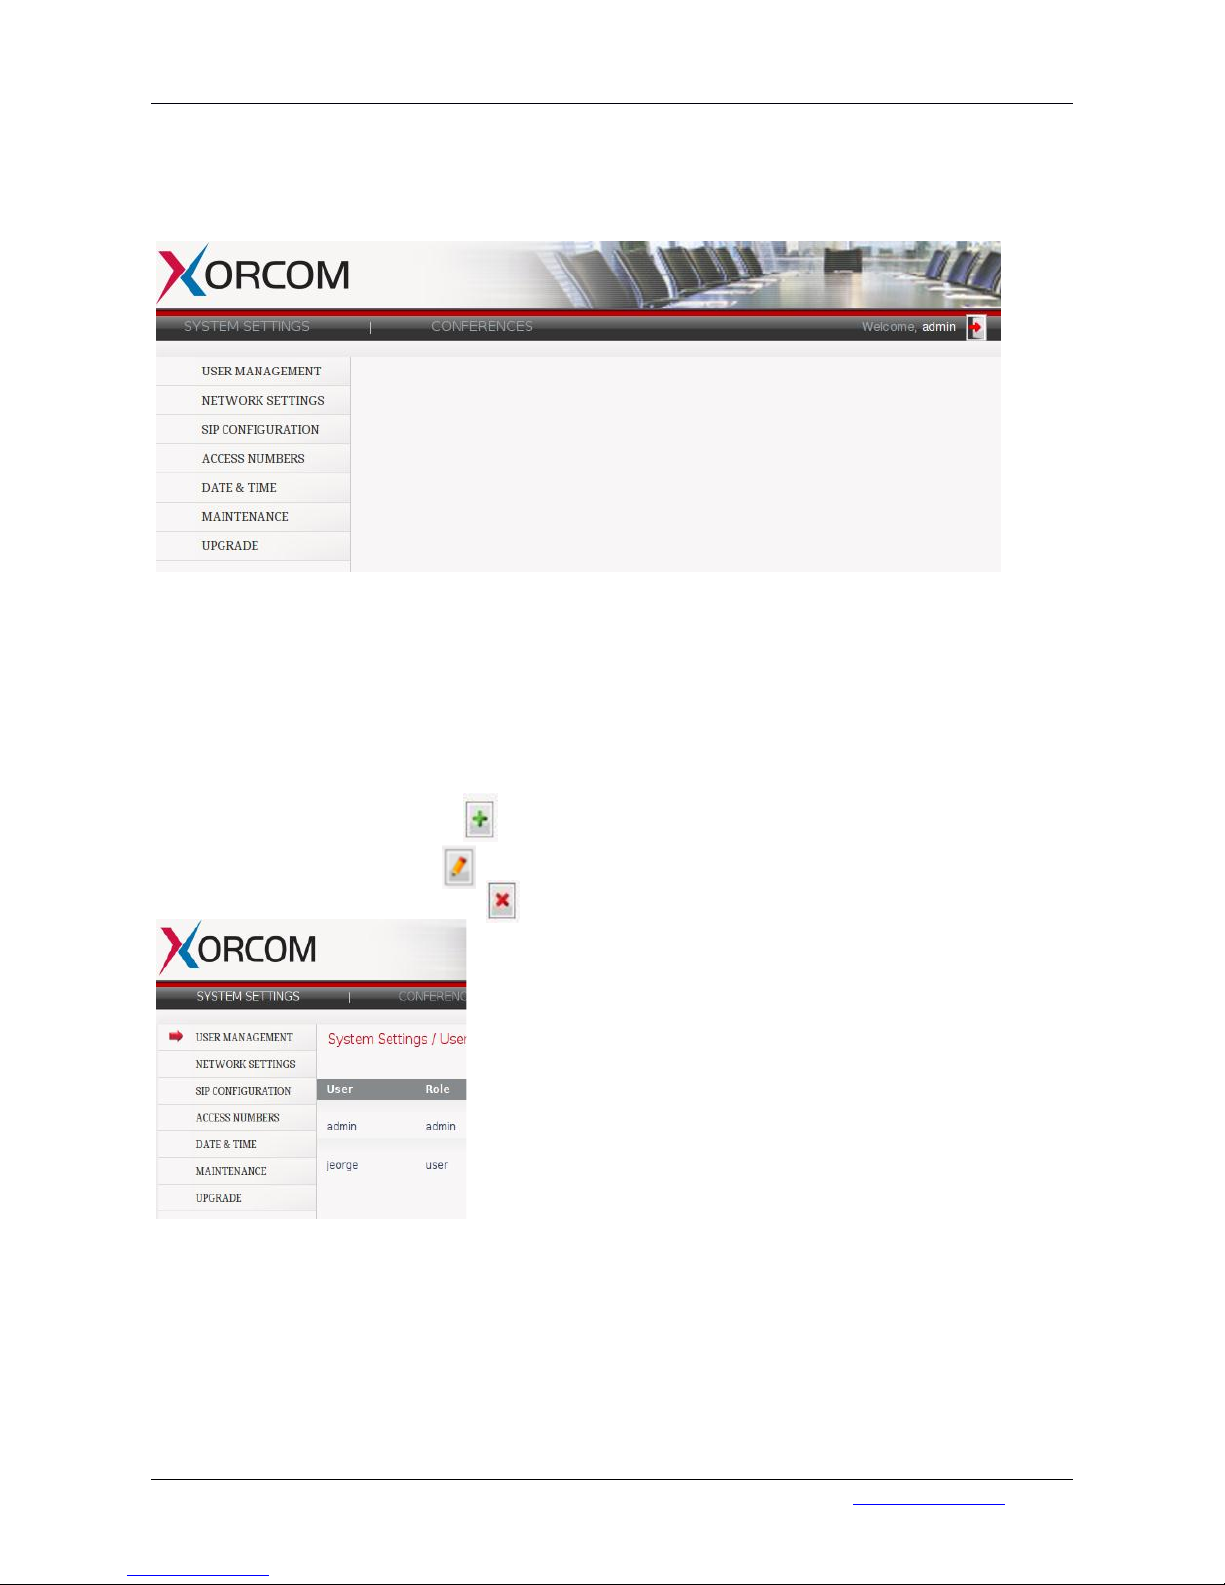
User Management..................................................................................................................................... 10
Network Settings ....................................................................................................................................... 11
SIP Settings ................................................................................................................................................ 11
Access Numbers ........................................................................................................................................ 15
Date/Time Settings.................................................................................................................................... 16
Maintenance.............................................................................................................................................. 17
Software Upgrade...................................................................................................................................... 18
Conference Management.............................................................................................................................. 19
Add/Remove a Conference........................................................................................................................ 19
Conference Roles....................................................................................................................................... 21
Content Sharing................................................................................................................................................. 21
MCU Monitoring................................................................................................................................................ 22
Conference Leader Dashboard Operations ....................................................................................................... 22
Main Screen................................................................................................................................................... 23
Inviting Participants ....................................................................................................................................... 24
Modifying Conference Layout Mode ............................................................................................................. 24
Show Statistics ............................................................................................................................................... 25

XV0500 Video MCU User's Guide Page 3 of 30
Xorcom Ltd. ●P.O. Box 60, Misgav Industrial Park 20174 ●Tel: +972 4 995-1999 ●www.xorcom.com
Appendix A: How to change MCU-DSP IP settings ............................................................................................ 27
Appendix B: How to obtain/configure IP address by using a keyboard and a display monitor......................... 28
Appendix C: XV0500 video MCU endpoint interoperability chart..................................................................... 30

XV0500 Video MCU User's Guide Page 4 of 30
Xorcom Ltd. ●P.O. Box 60, Misgav Industrial Park 20174 ●Tel: +972 4 995-1999 ●www.xorcom.com
Product Description
The XV0500 Video MCU is a multi-point video conferencing system. Its Web-based management system
provides users with a real-time tool for easy system configuration, conference creation, monitoring and
conference control.
The XV0500 Video MCU offers the following main video/audio capabilities:
•HD Conferencing: Wide-band high definition (HD) voice, and HD video in resolutions of up to 720p.
•Transcoding: Advanced transcoding and transrating capabilities provide participants with video and
audio formats optimized for use with their specific end device, including codec type, frame rate, frame
size and screen resolution.
•Video/voice Specifications:
◦Voice codecs: G711a, G711u, G729, G723, G722.1, iLBC
◦Video codecs: MPEG4, H263, H264
◦Video resolution: QCIF, CIF, VGA, 4CIF and HD(720p)
•Leader-based Conferences: A conference may be managed by a leader, or defined as an un-managed ad-
hoc conference.
•Configurable Meeting Rooms: Meeting rooms (for impromptu conferences) may be provisioned and
established for use at any time.
•Multiple Video Layout Options: 10 video dynamic layouts are available for equal-presence display and 5
for dominant-based display. When a participant enters or leaves the conference the layouts are reset
automatically.
•VIP Participants: The XV0500 Video MCU allows pre-defined VIP participants to join a conference
without requiring PIN code authentication.
•Registration on a SIP Server: As an optional feature, the XV0500 Video MCU can register the access
numbers and/or conference room numbers on a SIP server. In addition, SIP clients can optionally register
on the MCU built-in SIP server.
•Leader Dashboard: The XV0500 Video MCU provides a leader dashboard to enable a designated
conference leader to control the conference by inviting or removing participants and modify conference
parameters (mute, set dominant speaker, etc.).
Product Components
The video/audio MCU component consists of:
•MCU DSP board (MCU-DSP), which is a PCI Express DSP-farm board, designed to provide powerful and
cost-effective multimedia processing capabilities. The board has an Ethernet interface that is used for
communication with MCU communication software.
•MCU communication software (MCU-CS) that provides SIP User Agent (UA) functionality and
communicates with the MCU-DSP via IP protocol. MCU-CS also works as a Real-time Transport Protocol
(RTP) relay by forwarding the RTP messages to/from MCU-DSP.
•Web-based MCU configuration software

XV0500 Video MCU User's Guide Page 5 of 30
Xorcom Ltd. ●P.O. Box 60, Misgav Industrial Park 20174 ●Tel: +972 4 995-1999 ●www.xorcom.com
XV0500 Video MCU Communication Scheme
The MCU-DSP is connected to the host mother system eth1 Ethernet interface by straight CAT 5e or CAT 6
cable. Conference participants communicate with XV0500 by using SIP protocol via the eth0 interface port
5060.
Methods to Call the MCU
It is possible to make SIP calls to XV0500 directly or via another SIP server (e.g. IP-PBX).
When the MCU-CS receives a call then it behaves as described in the table below:
Called number
Actions
Example of SIP request URI
An access number (ref.
“System Settings”/”Access
Numbers”)
The caller will be prompted for the
conference number they want to join,
and optionally for a PIN
sip:500@ 192.168.0.61
A meeting room number (ref.
“Conference Management”)
The caller may be prompted to supply
a PIN
sip:100@ 192.168.0.61
An access number, a meeting
room number and PIN
separated by the * sign
The caller will join the requested
conference
sip:500*100*1234@ 192.168.0.61
eth0
eth1

XV0500 Video MCU User's Guide Page 6 of 30
Xorcom Ltd. ●P.O. Box 60, Misgav Industrial Park 20174 ●Tel: +972 4 995-1999 ●www.xorcom.com
Three methods for configuring the IP-PBX and XV0500 communication are described below. In all of the
examples it is assumed that:
•the IP address of the XV0500 is 192.168.0.61
•the IP address of the IP-PBX is 192.168.0.60
•the MCU-CS access number is 500
•there is a conference defined as 100
PBX Users Call the XV0500 via a SIP Trunk
In the PBX configuration it is possible to define a SIP trunk for the XV0500 and one or more outbound routes
for that trunk.
a) Create a SIP trunk called “ConfBridge”
b) Create an outbound route for calling to this trunk. Define the route name as 'MCU' and choose the prefix
'52' for the route:

XV0500 Video MCU User's Guide Page 7 of 30
Xorcom Ltd. ●P.O. Box 60, Misgav Industrial Park 20174 ●Tel: +972 4 995-1999 ●www.xorcom.com
The IP-PBX users will have to dial 52 and then any three digits in order to make a call via the “ConfBridge” SIP
trunk. The '52' prefix will be stripped off automatically from the called number. For example, in order to call
the MCU access number 500, the IP-PBX users would dial 52500.
The SIP trunk approach has the following limitation: the callers who access the IP-PBX via the other trunks
will not be able to call MCU unless either:
a) “context=from-internal” is defined for those trunks, which significantly decreases the PBX protection
level, or
b) some special customization for the standard FreePBX dialing plan is implemented.
Alternatively, it is possible to configure the XV0500 to register the access number(s) and/or the conference
number(s) as regular IP-PBX extensions. In this case the external IP-PBX users will be able to call the
conference bridge, just like they would any other IP-PBX extension.
PBX Users Call the MCU Just Like Regular IP-PBX SIP Extensions
a) Define a SIP IP-PBX extension for each access number and a conference number the XV0500 should
register.
b) Enable the corresponding access number and/or conference number registration in the XV0500
configuration. (Ref. topic “Access Numbers” and “Conference Management”.)
Users Call the XV0500 Video MCU Directly
The MCU-CS has its own built-in registrar/proxy SIP server that is by default bound to port 5060/udp.
Optionally it is possible to make inbound SIP calls to the MCU-CS without authentication. This service is by
default bound to port 5095/udp. Those two services allow calling the MCU-CS directly, bypassing the IP-PBX.
Following is an example of an unauthenticated call using Linphone:

XV0500 Video MCU User's Guide Page 8 of 30
Xorcom Ltd. ●P.O. Box 60, Misgav Industrial Park 20174 ●Tel: +972 4 995-1999 ●www.xorcom.com
If your PBX is Asterisk®-based then one of two direct calling methods is only way to provide the caller with a
HD video stream from the conference bridge. Unfortunately, Asterisk does not handle HD video SDP
parameters in the SIP messages correctly. As a result, the MCU does not get the correct information about
the caller capabilities to receive the HD video. The workaround is to call the MCU directly.
The direct call method may also be useful when dialing the MCU as access_number*room_number*PIN. For
example,
sip:500*100*1234@192.168.0.61
where
•500 is the access number
•100 is the meeting room number
•1234 is the PIN
IP Settings
The following table describes the required IP settings to be configured depending on the LAN parameters:
IP Conflict: 172.16.200.nnn is already in use on the LAN
Required Changes
No
XV0500 eth0
Yes
MCU-DSP, XV0500 eth0 and eth1
IP Settings of the MCU-DSP
The IP address of the MCU-DSP board is written in its EEPROM. By default, the MCU-DSP address is
172.16.200.2. In order to change the address the board must be connected via the RS-232 interface. Please
refer to Appendix A: How to change MCU-DSP IP Settings for further details.
IP Settings of the XV0500
The table below contains the default IP settings of XV0500:
Interface name
Parameters
eth0
DHCP
eth1
IP address: 172.16.200.1
Network mask: 255.255.255.0

XV0500 Video MCU User's Guide Page 9 of 30
Xorcom Ltd. ●P.O. Box 60, Misgav Industrial Park 20174 ●Tel: +972 4 995-1999 ●www.xorcom.com
If the 172.16.200.nnn addresses are already in use on the LAN then it is necessary to change the IP addresses
of the MCU-DSP and of the eth1 interface in order to avoid conflict of IP addresses. Please refer to Appendix
A: How to change MCU-DSP IP Settings for further details.
The MCU IP settings can be changed via the Web-based management interface. Please refer to the Network
Settings section below.
If the MCU IP address is unknown and it is not possible to connect to the device’s Web-based management
interface then a keyboard and a display monitor can be used to obtain and/or change the eth0 or/and eth1 IP
settings. Refer to Appendix C: How to obtain/configure IP address by using a keyboard and a display monitor.
Configuring the MCU-CS IP Settings
The MCU-CS automatically uses the XV0500 IP settings. If the XV0500 IP addresses and/or the MCU-DSP
address have been changed, then it will be necessary to reboot the server in order for the MCU-CS to use the
new settings.
MCU Administration and Configuration
Overview
The administration and the configuration of MCU is done through the GUI of the Web-based management
system.
Login
Access the following URL to reach the MCU management screens:
http://<XV0500 IP address>/mcu
The default username/password is admin/admin.
Main Menu
Once the user has logged in the main menu is displayed. The main menu is divided into two major
categories:
a) System Setting
b) Conferences

XV0500 Video MCU User's Guide Page 10 of 30
Xorcom Ltd. ●P.O. Box 60, Misgav Industrial Park 20174 ●Tel: +972 4 995-1999 ●www.xorcom.com
Select the desired category in the horizontal menu located in the upper section of the screen. Each category
has its own vertical menu. Before starting to set up a conference, the system parameters should be
configured. The System Settings menu is displayed in the graphic below.
System Settings
User Management
(SYSTEM SETTINGS / USER MANAGEMENT)
The MCU user list is managed on this page. It is possible to add or remove users, define their role and change
their passwords:
•Add a new user to the system -
•Modify the user information -
•Delete the user from the system -
In order to add a new user, the administrator should define a username, a password and select a role for the
user. The role can be either “admin” or “user”.
•The “admin” role permits access to all system capabilities.
•The “user” role limits the user to creating a conference and viewing the conference information. This role
does not allow the user to configure the system and manipulate (add/edit/delete) the other users.

XV0500 Video MCU User's Guide Page 11 of 30
Xorcom Ltd. ●P.O. Box 60, Misgav Industrial Park 20174 ●Tel: +972 4 995-1999 ●www.xorcom.com
Note: To ensure the system's security, before starting to use the XV0500 Video MCU it is highly
recommended to change the default user name and password.
Network Settings
(SYSTEM SETTINGS / NETWORK SETTINGS)
You can change the XV0500 eth0 interface IP settings here.
SIP Settings
(SYSTEM SETTINGS / SIP CONFIGURATION)

XV0500 Video MCU User's Guide Page 12 of 30
Xorcom Ltd. ●P.O. Box 60, Misgav Industrial Park 20174 ●Tel: +972 4 995-1999 ●www.xorcom.com
SIP Interface
Parameter
Values
Description
Listening SIP Port
Port
This parameter provides an additional SIP port for SIP interactions between
XV0500 and external entities. The external entities can be SIP UAs like SIP-
PBXs, or non-registered SIP clients.
SIP clients cannot register to MCU-CS through this port, to register with
XV0500 the Listening SIP Port of the Built-in Registrar / Proxy should be used.
Block Direct Calls
Check-box
(Yes/No)
If this box is checked, direct incoming calls through “SIP Listening Port” (see
above), will be blocked.
Built-in Registrar / Proxy
Parameter
Values
Description
Enable Registrar /
Proxy
Check-box
(Yes/No)
If this box is checked then XV0500 can be used as a registrar for SIP clients.
Listening SIP Port
Port
This is XV0500’s built-in listening SIP port, used for registration of SIP clients
and session establishments. It is applicable only if “Enable Registrar / Proxy”
(above) check-box has been set.
REGISTER Authenti-
cate Required
Check-box
(Yes/No)
“REGISTER Authenticate Required” is a checkbox that determines the au-
thentication of the managed users in theXV0500. Managed users are users
that are provisioned in the system. If the box is checked, non-managed users
are not allowed to register with the system.
Authentication Realm
String
Authentication realm of XV0500 built-in Registrar for REGSITER digest chal-
lenge, any string can be used.
SIP Users
Add Users
Used to add new users to the system. This function is applicable only when
“Enable Registrar Proxy” and “REGISTER Authenticate Required” check-boxes
have been checked. For more details, please refer to “AddUsers” below.
Show Users
Used to display the system’s users. This function is applicable only when
“Enable Registrar / Proxy” check-box has been set.
For more details, please refer to “Show Users” below.
NAT Traversal
MCU is behind NAT
Check-box
(Yes/No)
States whether or not the MCU is behind a NAT.
MCU Public IP / Do-
main Name
IP address
SIP public IP address or domain name, used for near-end NAT traversal. NAT
Traversal is not applicable for sessions created directly to the MCU-CS SIP
interface (not via the built-in SIP proxy.)
External Registrar
Parameter
Values
Description
Use External
Registrar
Check-box
(Yes/No)
If an external registrar is configured, MCU registers access numbers and
conference rooms to the external registrar (which can be your IP-PBX).

XV0500 Video MCU User's Guide Page 13 of 30
Xorcom Ltd. ●P.O. Box 60, Misgav Industrial Park 20174 ●Tel: +972 4 995-1999 ●www.xorcom.com
Parameter
Values
Description
Registrar IP/ Domain
Name
IP address
The external registrar IP address or domain name
Registrar Port
Port
The external registrar SIP port
Use REGISTER Au-
thentication
Check-box
(Yes/No)
Indicates whether the registration requires authentication.
Authentication Realm
String
The Authentication realm of the External Registrar. Must be the value sent in
401 response to REGISTER messages (Authentication is supported for
REGISTER only).
Outbound Proxy
Parameter
Values
Description
Use Outbound Proxy
Server
Check-box
(Yes/No)
States whether an outbound proxy server is used.
Outbound Proxy
Server IP
IP address
The Outbound proxy server IP address.
Outbound
ProxyServer Port
Port
The Outbound proxy server port
AddUsers
To add a new SIP user to the MCU-CS built-in Registrar, the Enable Registrar Proxy and REGISTER
Authenticate Required check-boxes must be enabled.
If these parameters are not enabled, enable them and click on Save , before moving forward. The system
shall restart and the changes shall be applied.
To add a new SIP user:
1. Click the Add Users button, the following window appears:
Figure
0-1: Adding SIP User
2. Enter the Username and the Password of the SIP User
3. Click on to confirm the action.
A new user has been added to the system.

XV0500 Video MCU User's Guide Page 14 of 30
Xorcom Ltd. ●P.O. Box 60, Misgav Industrial Park 20174 ●Tel: +972 4 995-1999 ●www.xorcom.com
Show Users
You can view the MCU’s SIP users.
To view the users:
Click the Show Users button. The following window is displayed:
Figure
0-2: Show Users Window
The columns on this screen can be sorted in ascending or descending order by clicking on any of the column
headers.
Filtering the Displayed List
The user is enabled to filter the displayed list, using the toolbar at the top of the table:
Filtering criteria are as follows:
Username. Type a full Username or a partial string from it.
SIP URI. Type a full SIP URI or a partial string of it.
Status. Choose Any, Registered and NON-Registered options, to see all the users, registered or non-
registered users accordingly, using the drop-down menu.
Pressing on Refresh resets the filter and the original list re-appears on the screen.
Managed Users
Managed Users are users that are provisioned in the system. Non-Managed Users are users which are not
provisioned in the system. Non-Managed users are allowed to register to use the system only if the REGIS-
TER Authentication Required parameter is not set.
Operations
To delete a user click on . A dialog-box pop-up for user’s confirmation.

XV0500 Video MCU User's Guide Page 15 of 30
Xorcom Ltd. ●P.O. Box 60, Misgav Industrial Park 20174 ●Tel: +972 4 995-1999 ●www.xorcom.com
To modify a user’s password:
1. Click on the following window opens:
2. Enter the new password.
3. Click on the Save button.
Access Numbers
(SYSTEM SETTINGS / ACCESS NUMBERS)
There are two ways to join a conference on the XV0500 Video MCU:
a) create a SIP call to one of the “access numbers” pre-configured in the MCU. The caller will be prompted
to enter a conference number and then, optionally, the PIN number.
b) create a SIP call to a number assigned for particular conference. The caller will be optionally prompted to
enter their PIN number.
Define a list of access numbers on this page:
It is possible to configure the MCU to register a particular Access Number as a SIP endpoint on the SIP server
that is configured on the “SIP CONFIGURATION” page.
NOTE: A “Video Quality” parameter is set for each access number. This parameter defines the maximum
video resolution of the video stream to be sent to a participant who has joined a conference by dialing that
specific access number.

XV0500 Video MCU User's Guide Page 16 of 30
Xorcom Ltd. ●P.O. Box 60, Misgav Industrial Park 20174 ●Tel: +972 4 995-1999 ●www.xorcom.com
For example, if you set “Video Quality” as “Normal” (CIF) for a specific access number and the video
conference video quality is defined as “HD” (720p), then all users who access the video conference via the
access number will be limited to CIF resolution.
Date/Time Settings
(SYSTEM SETTINGS / DATE & TIME)
1. Select the current Date.
2. Select the current Time.
3. Select the relevant Timezone.
4. To automatically adjust the time for daylight savings time, select Automatically adjust clock for daylight
savings time.
5. Define one or more NTP servers in the NTP list if you want the device to automatically update its clock.
6. Click Save .

XV0500 Video MCU User's Guide Page 17 of 30
Xorcom Ltd. ●P.O. Box 60, Misgav Industrial Park 20174 ●Tel: +972 4 995-1999 ●www.xorcom.com
Maintenance
(SYSTEM SETTINGS / MAINTENACE)
The following maintenance actions can be performed:
View System Status –Provides the status of system components, and general system information
including CPU usage, free, and total memory.
Restart the Application –The software application restarts and all ongoing sessions are dropped.
Hardware Reset –Reboots hardware. This process is a longer process, taking around 3 minutes. It is
recommended to logout and re-log into the system after a Hardware Reset.
MCU Shutdown –Enables graceful system shut-down. When shut-down, the server will completely
power off
Start Diagnostic Trace –System events are collected during a specified interval and saved, creating a
trace file for advanced diagnostics.
Click on Start Diagnostic Trace in order to start the trace recording.
1. Enter the interval for information collection in the text-box. The allowed range is between “0” to
“300” seconds.
The system creates a package with the system configuration, log files in debug level and IP trace
of all the system network interfaces for the duration of the diagnostic trace, If “0” is entered, the
system will create a package with system configuration and logs only.
2. A diagnostic file (zip file) is created. Click Save Diagnostic Trace to save the file.

XV0500 Video MCU User's Guide Page 18 of 30
Xorcom Ltd. ●P.O. Box 60, Misgav Industrial Park 20174 ●Tel: +972 4 995-1999 ●www.xorcom.com
3. After saving the file, Delete Diagnostic Trace, appears on the main Maintenance screen, allowing
the user to delete the file.
Only one trace file is allowed. To provide a new trace file, the existing file must be deleted.
Software Upgrade
(SYSTEM SETTINGS / UPGRADE)
1. In the URL text-box, type the MCU’s upgrade server’s address: 23.23.229.203.
2. In the Version text-box, enter the version number to be downloaded
3. After the upgrade is completed, the system must reboot. For an automatic reboot, select Reboot.
Otherwise, after the upgrade’s completion, the system shall reboot manually.
4. Click Download.
After the software download is completed, the Start the Upgrade button is displayed:
5. Click Start the Upgrade.The upgrade starts.
6. If you have selected the Reboot check-box then the system will reboot automatically. If not, then click
the Reboot button which appears after the upgrade is complete:

XV0500 Video MCU User's Guide Page 19 of 30
Xorcom Ltd. ●P.O. Box 60, Misgav Industrial Park 20174 ●Tel: +972 4 995-1999 ●www.xorcom.com
Conference Management
Once the system parameters have been defined, a user can set up a conference. Click “CONFERENCES” on
the menu bar. The list of the currently running conferences will be displayed:
Add/Remove a Conference
(CONFERENCES/ CONFERENCE SETTINGS)
Select the “CONFERENCE SETTINGS” option in the vertical menu. A list of the currently configured
conferences will be displayed:

XV0500 Video MCU User's Guide Page 20 of 30
Xorcom Ltd. ●P.O. Box 60, Misgav Industrial Park 20174 ●Tel: +972 4 995-1999 ●www.xorcom.com
Add, remove and edit conferences on this page. Click the “Create a new conference” icon in order to
configure a new conference. Define the conference parameters:
After entering the parameters, click to save the input.
Parameter
Values
Description
Conference name
String
The nickname of the conference
Media type
Multimedia/Voice
Only
The type of conference to be defined
Video Quality
Normal/High/HD
The video quality
Bandwidth Allocation
High/Medium/Low
The maximum bandwidth that will be used for sending the media
stream to a participant
Video Layout Type
Equal
Layout/Dominant
Based
The type of video conference layout
Other manuals for XV0500
1
Table of contents
Popular Conference System manuals by other brands

Polycom
Polycom RealPresence Medialign 55 Express setup sheet

Polycom
Polycom RealPresence Group Series user guide

Barco
Barco CX-50 Gen2 installation manual

WattMaster
WattMaster CommLink IV Setup guide

Shure
Shure Microflex Complete Wireless MXCW Complete user guide

Televic
Televic Confidea Installation & user manual

TANDBERG
TANDBERG Intern MXP Specification sheet

Mitsubishi Electric
Mitsubishi Electric GOT 1000 Series user manual

PictureTel
PictureTel Videoconferencing system user guide

Siemens
Siemens SIMATIC NET SCALANCE MUM856-1 operating instructions

Super Circuits
Super Circuits avsi-10 Setup and user guide

Cisco
Cisco TelePresence ISDN Link Administrator's guide