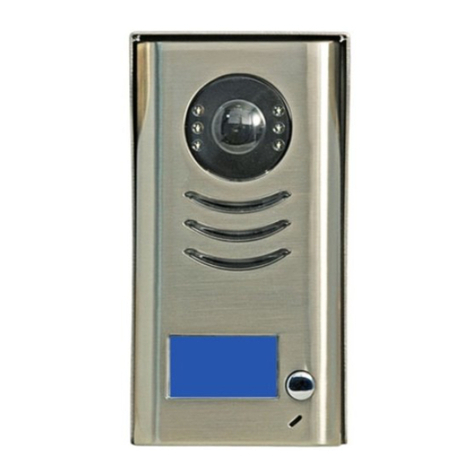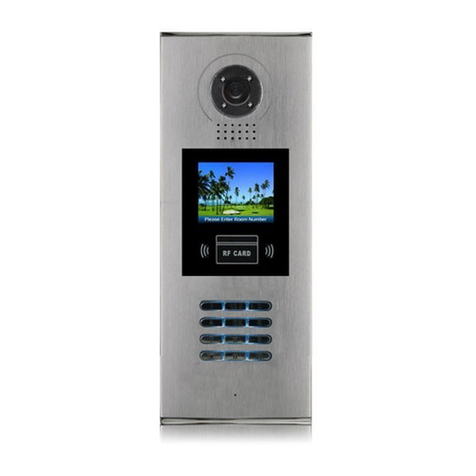
GX-3P
1R
2W
3Y
4B
4B
2W
+12
DC
-
DC+
Monitor, keep the jumper (which is already on JP-VD ). But when multi Monitors are
installed, be sure of taking away all JP-VD of Monitors except only the last Monitor.
„
Note 2: LB includes 3 wiring Terminals: ‘1’-Normally Opened Terminal, ‘2’-
Common Terminal, ‘3’- Normally Closed Terminal. If the latch is activated when
powering, connect it between ‘1’ and ‘2’ terminal; if the latch is deactivated when
powering, connect it between ‘2’and ‘3’ terminal.
„
Note 3: JP-LK is used for Latch selection, refer to Electronic Latch connecting parts .
„
It’s recommended to use RVVP 4x0.3mm2 Shielded Cable. If distance is over 30m,
we suggest to use additional co-axle cable (RG-59) to connect 3Y, 2W pin.
„
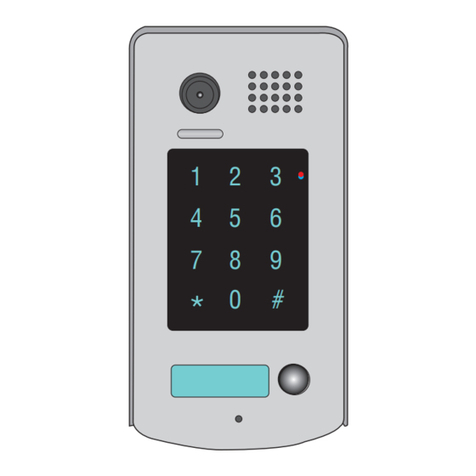
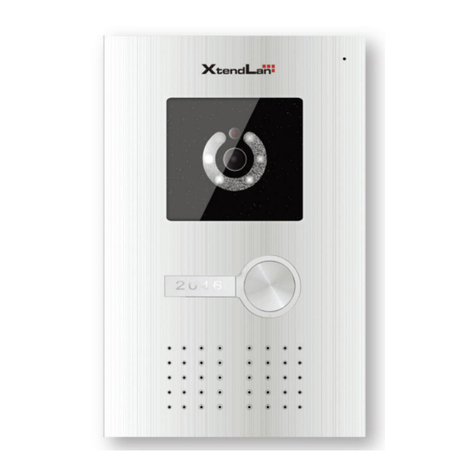
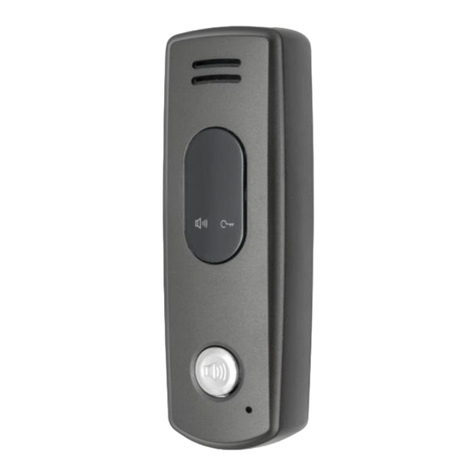
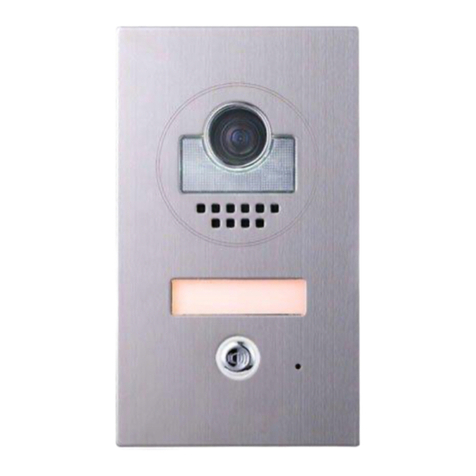
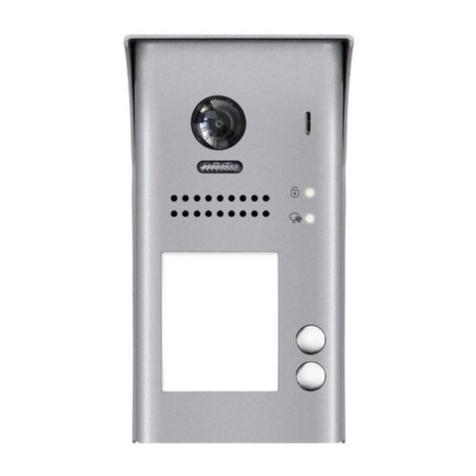
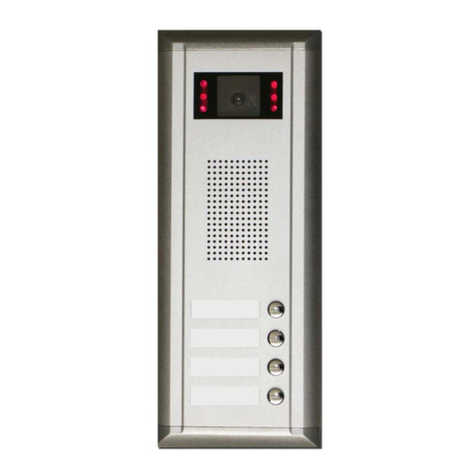
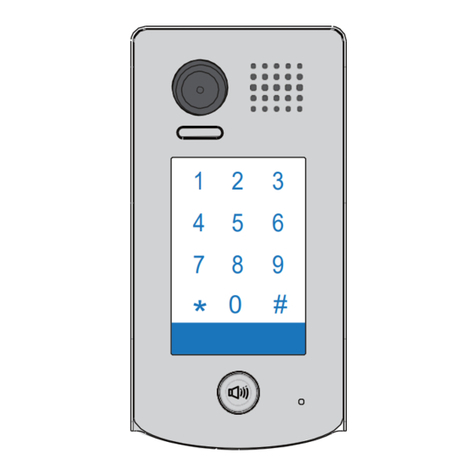
For Outdoor station type with screw terminals, connect according to the Labels.
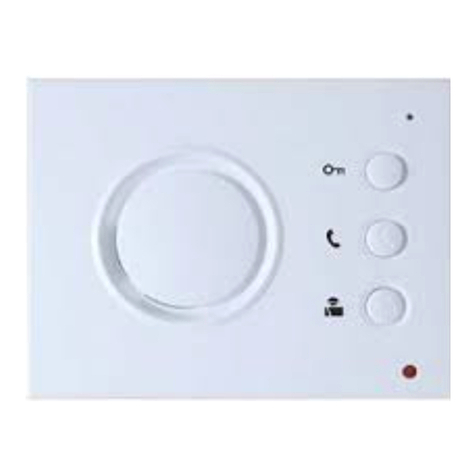
7.3 Connecting Audio Phone
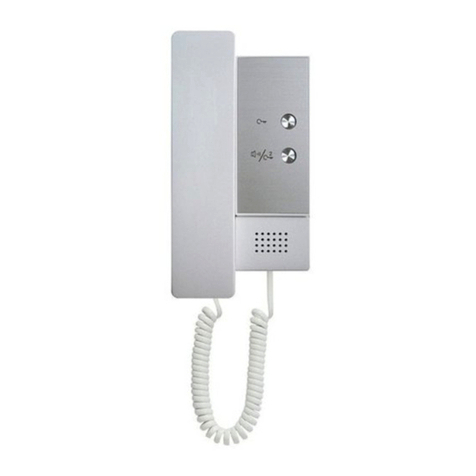
Connect with Audio phone to Indoor Monitor directly without additional Power Supply;
JP-LK Jumper is same as the one of Indoor Monitor.
Connect JS-AP Terminal in Audio Phone’s PCB board to JS-AP Terminal of Indoor Monitor.
Two 3-core Terminal Wirings standby, the color in turn is :
1-RED(+12), 2-BLACK(2W), 3-WHITE(4B)
The rest wiring and Shield Layer will be connected to the 2W wirings in Both
5. Operation Instructions
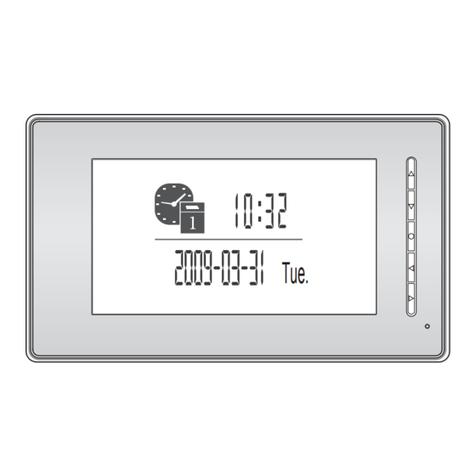
■Operation for Basic Video Doorphone
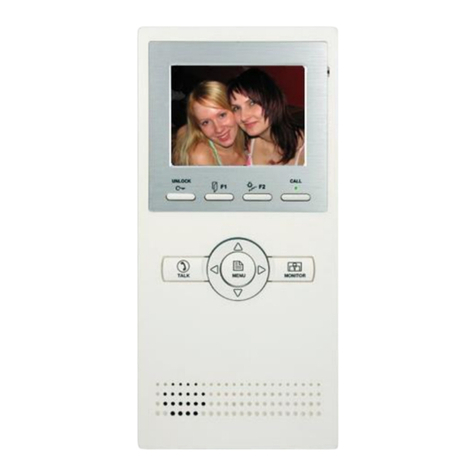
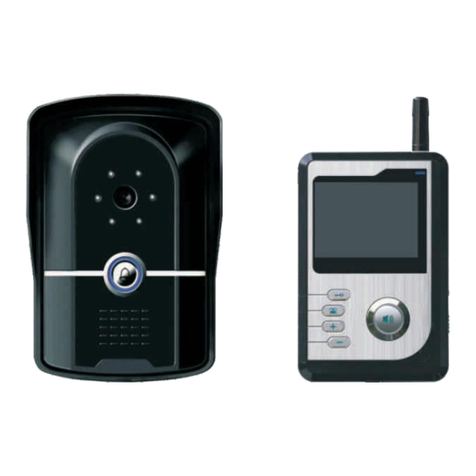
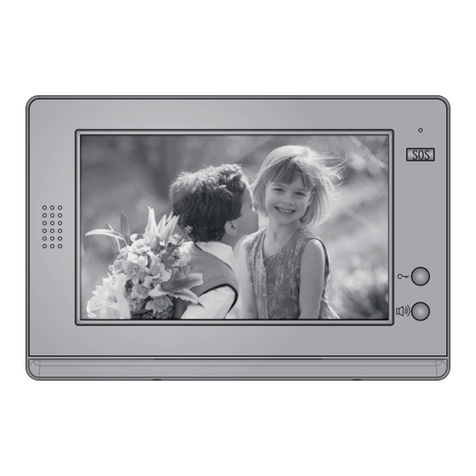
1) When visitor presses the Call Button on the Outdoor Station, the monitor rings, at the
same time, the screen displays the visitor image.
2) When press TALK Button, you can talk with the visitor for 90 seconds; During the
talk state, press TALK Button again to end the conversation. If nobody answers the
phone, the screen will turn off within 30 seconds automatically. If the system connects
two or more Monitors, and while any Monitor starts to talk, the other Monitors will be
automatically shut off.
3) When Monitor is standby, press MONITOR Button, the screen will display the view
of the Outdoor Station. During monitoring state, press TALK Button, you can speak to
the Outdoor Station, or press MONITOR again to turn off. However, monitoring state
is limited to 30 seconds and will be shut off automatically.
4) Press Unlock Button to release the Electronic Latch during monitoring or talking.
5) Image quality can be adjusted by means of Contrast and Brightness rheostats.
6) The ring and talk volume can be adjusted individually.
■Operation for Adjustment
1) During monitoring or talking, directly press the Up or Down key to adjust the image
Brightness. Pressing MENU and RETURN will sequentially switches to Brightness,
Contrast, Ring Volume, Talk Volume adjustment, and items and value are showed.
2) During adjustment, if no key was pressed within 5 seconds, the OSD will be shut off.
■Operation for Intercom
JS-VP JP/LK JP/VD
JS-AP
DC-IN
JS-AP
JP-LK
4B
2W
+12
1) When system is connected with multi Monitors, intercom is available.
2) Intercom calling can be initiated by any Monitor. Press INTERCOM button, IN USE
led will lighten, and other Monitors will ring. If TALK Button is pressed in another
Monitor, the intercom talking is connecting.
3) If INTERCOM button is pressed, but no Monitor answers, you can press the TALK
button to cancel, or it will exit automatically after 30 seconds.
4) Intercom function is prior to monitor function, but calling function is always first.
White
White
INSIDE
■Operation for Ring selection
Black
Black
(90 Degree ROTATE)
Red
Red
1) When Monitor is standby, press UNLOCK Button and hold 2 seconds, until it enters
Chord melody selection state and plays current melody.
2) Press UNLOCK Button again to select preferred chord melody sequentially, one more
time Chord Select Button is pressed, next melody is switched and played.
3) Press TALK Button to confirm melody selection; if wait 30s and no Button pressed,
Monitor will exit Chord melody selection state.

