2
Table of Contents
(A) Safety Instructions...................................................................................................................................3
(B) Main Features .........................................................................................................................................5
(C) Specification ............................................................................................................................................6
(D)
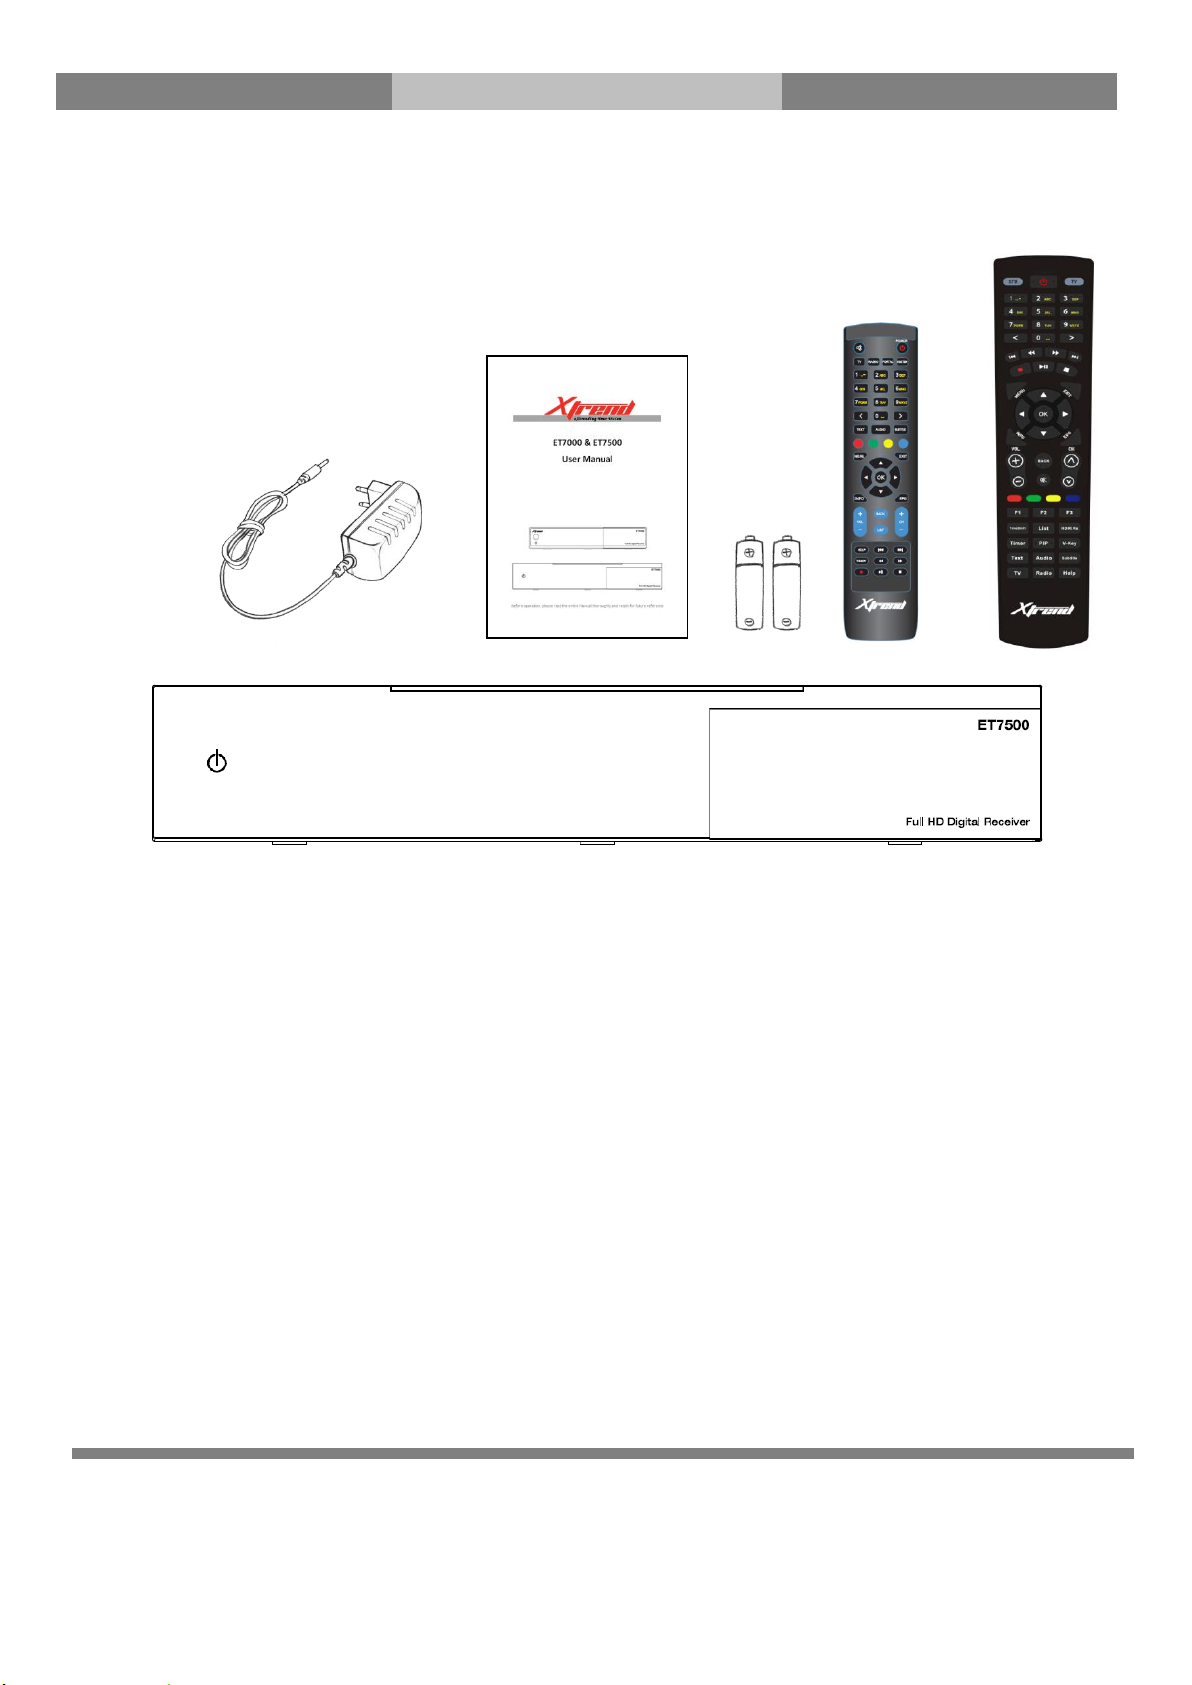
Packaging Contents
..................................................................................................................................7
(E)
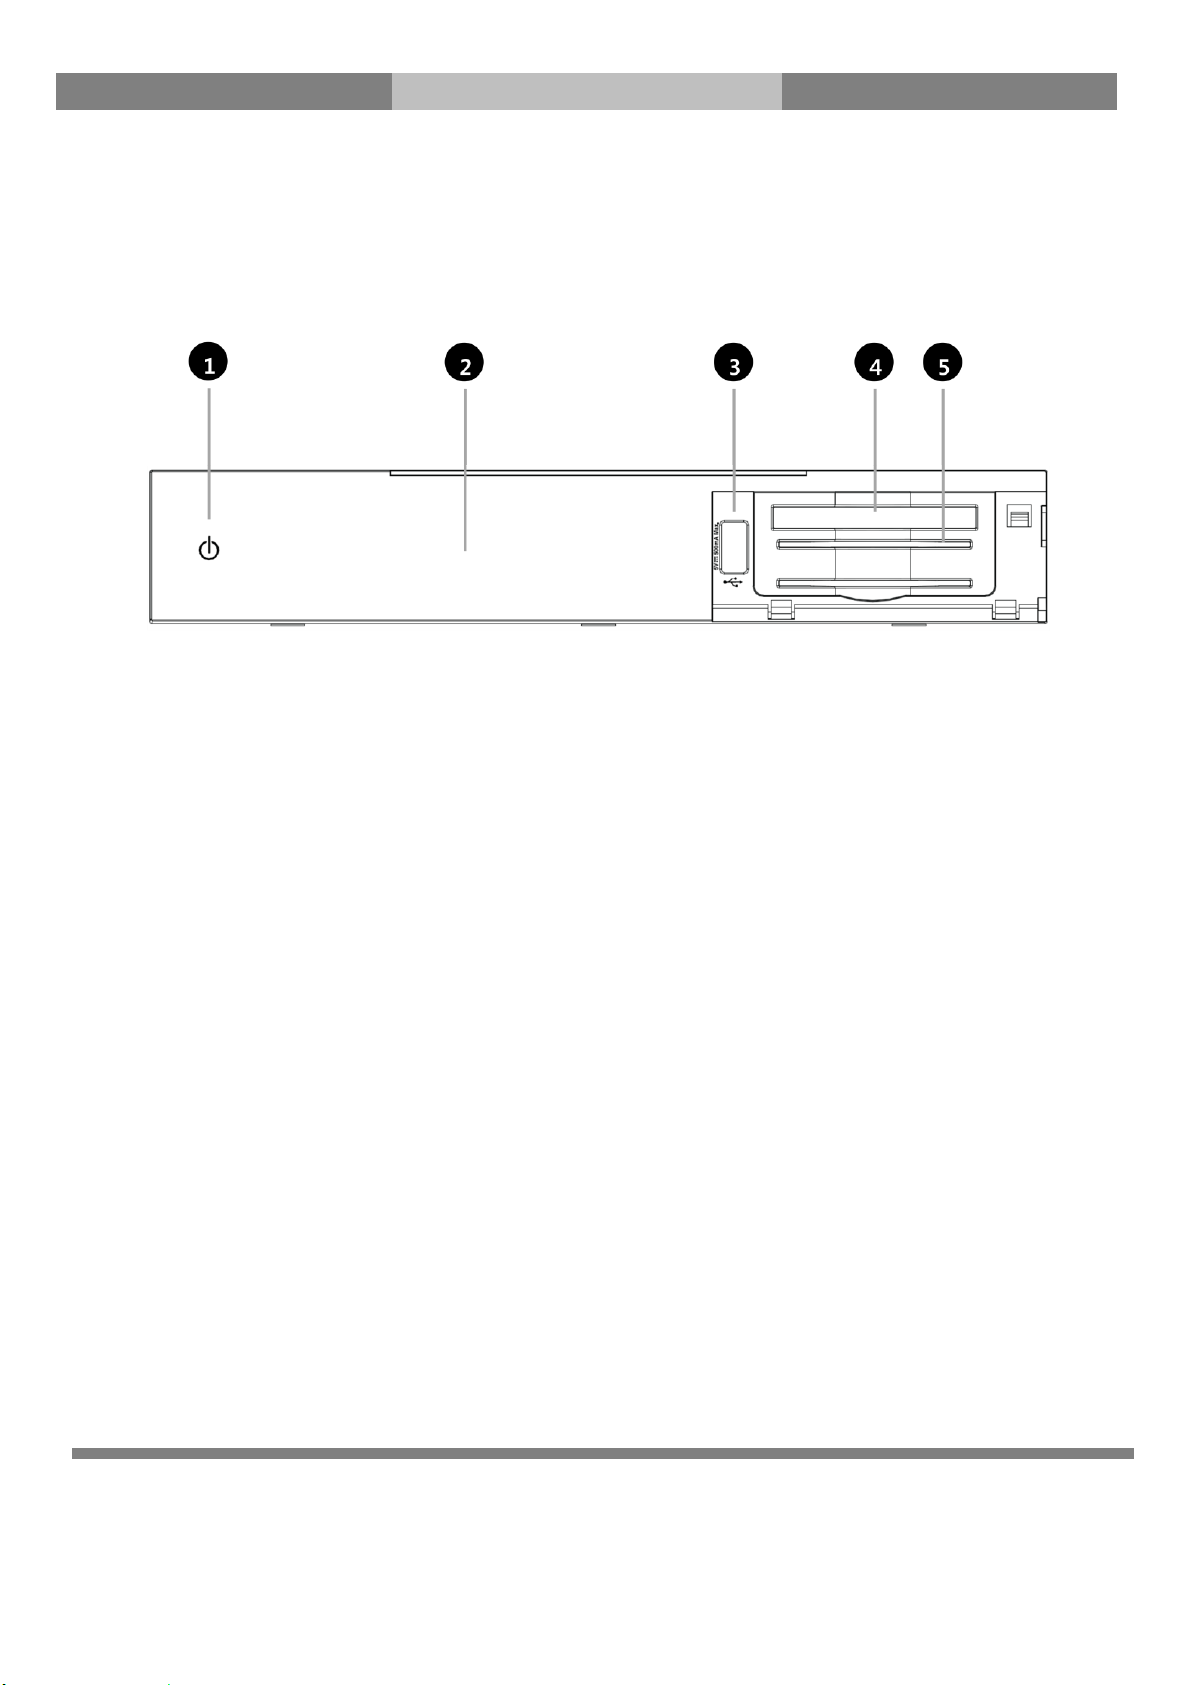
Product Description.................................................................................................................................9
(F)
Smartcard Reader & CI
............................................................................................................................13
(G)
Remote Control .....................................................................................................................................15
(H) Basic Installation ...................................................................................................................................17
1. Installation of Satellite dish or Cable/Terrestrial connection ............................................................... 17
2. Connecting the TV (and VCR)................................................................................................................ 18
(I) Replacing Tuner (For ET7500).................................................................................................................20
(J) Turn on
Xtrend ET7000/ET7500.. ...........................................................................................................22
1. Choose Video input selection........................................................................................................... 22
2. Language Selection ......................................................................................................................... 23
3. Configuring Basic Setup ................................................................................................................... 23
4.
Check the internet connection
....................................................................................................... 24
5.
Configuring Tuner A and Tuner B (ET7500 inlcudes Tuner B Slot)
............................................... 25
6.
Automatic & Manual Scan
............................................................................................................. 27
(K) System Configuration –Network-Setup ................................................................................................29
(L) Mounting HDD (For ET7500)..................................................................................................................31
(M) Download and Install Plugins ...............................................................................................................33
(N) GNU General Public License..................................................................................................................34