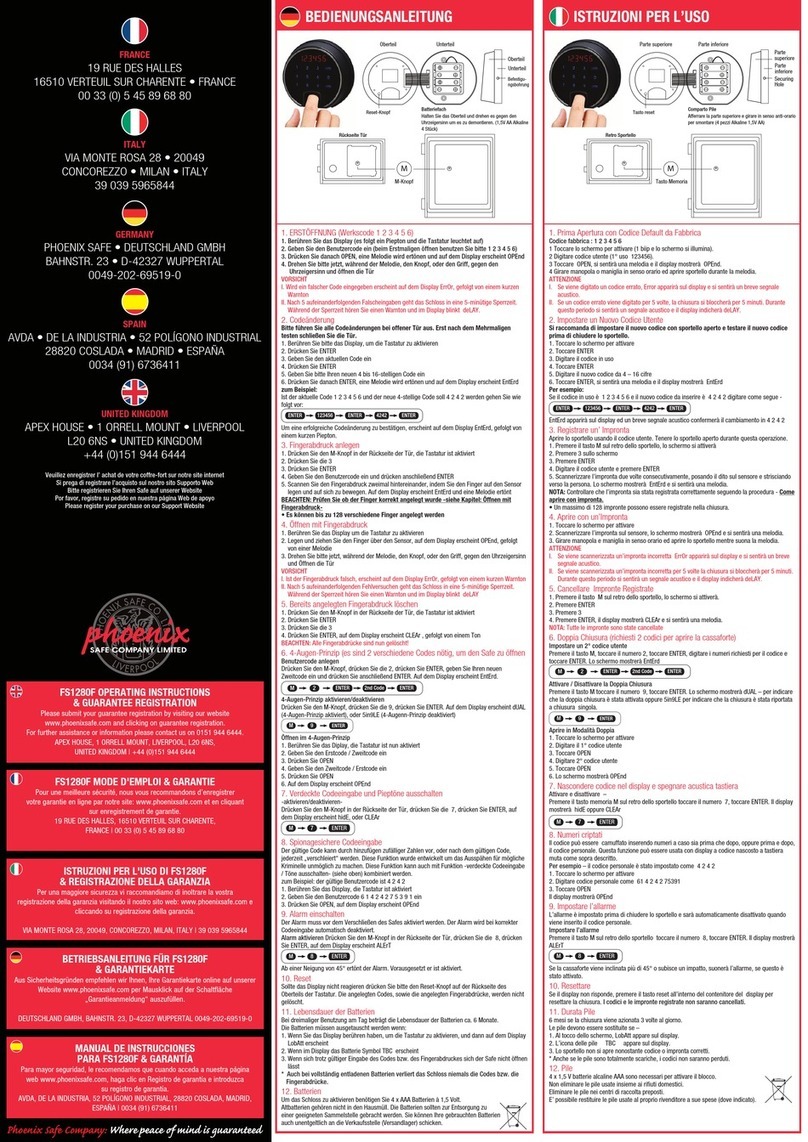
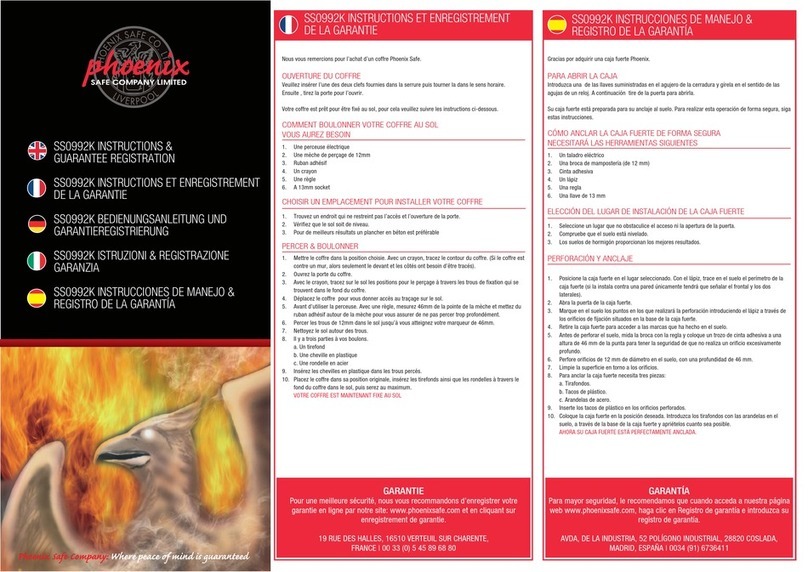
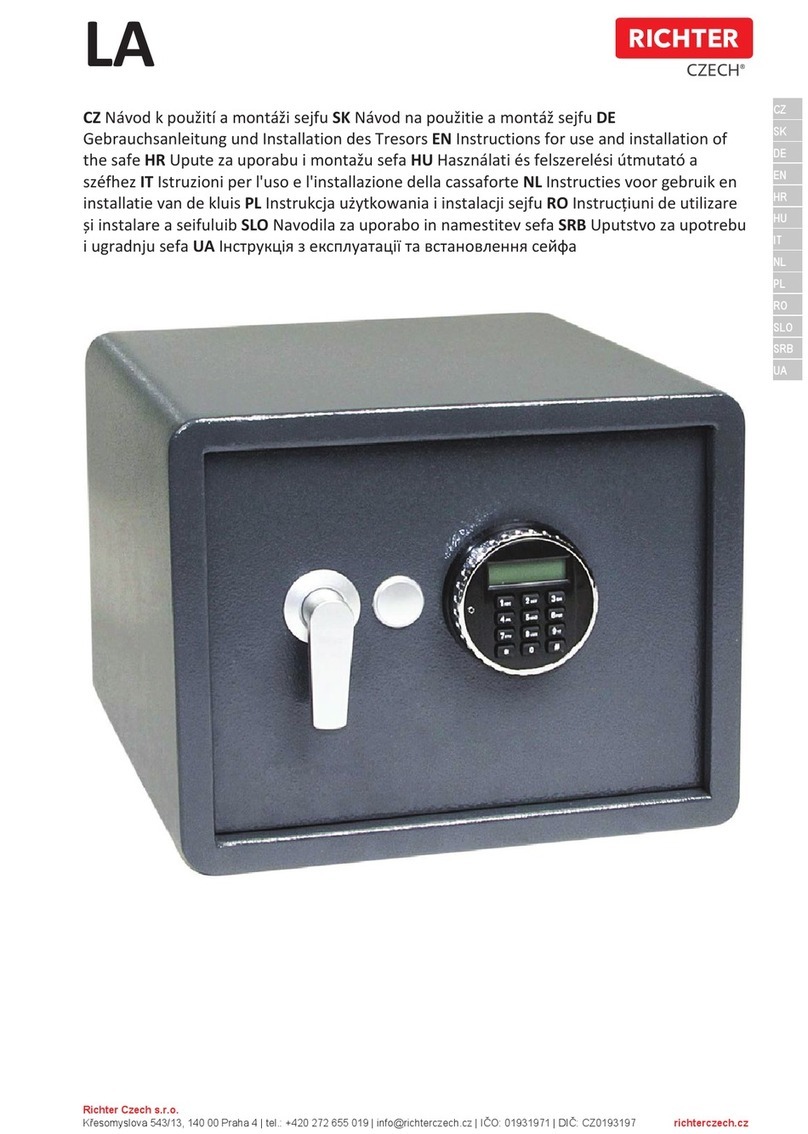
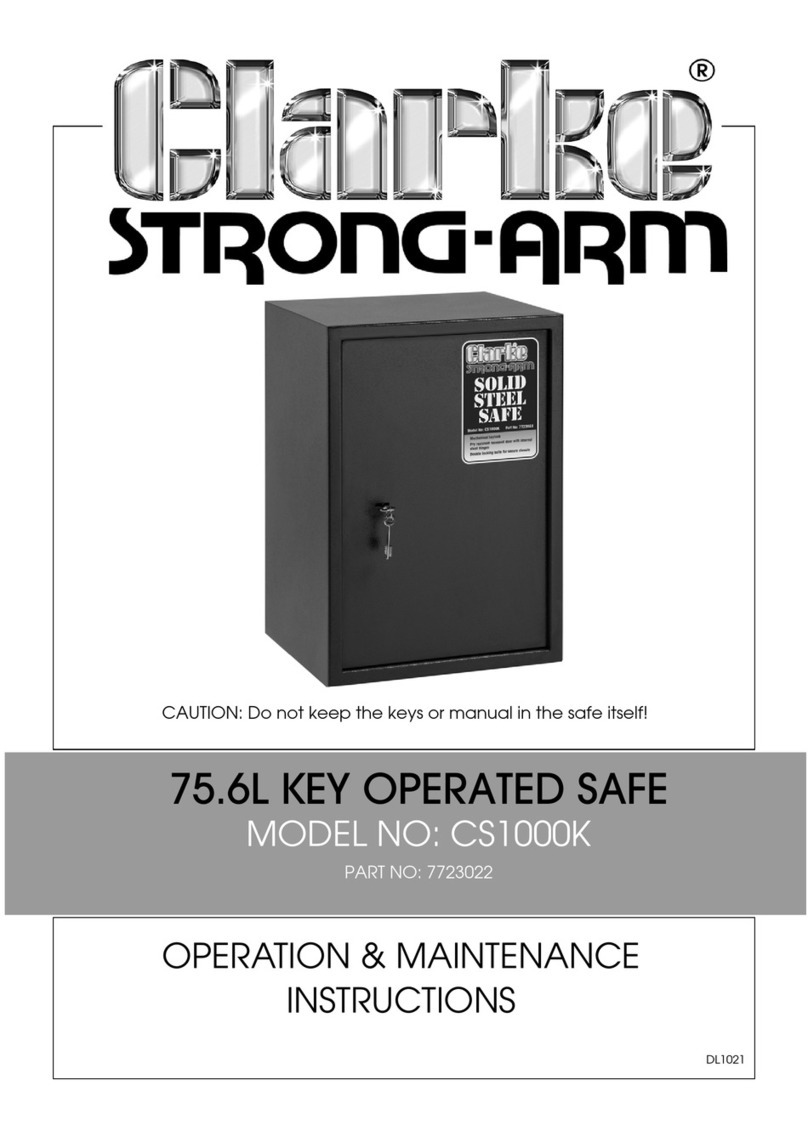
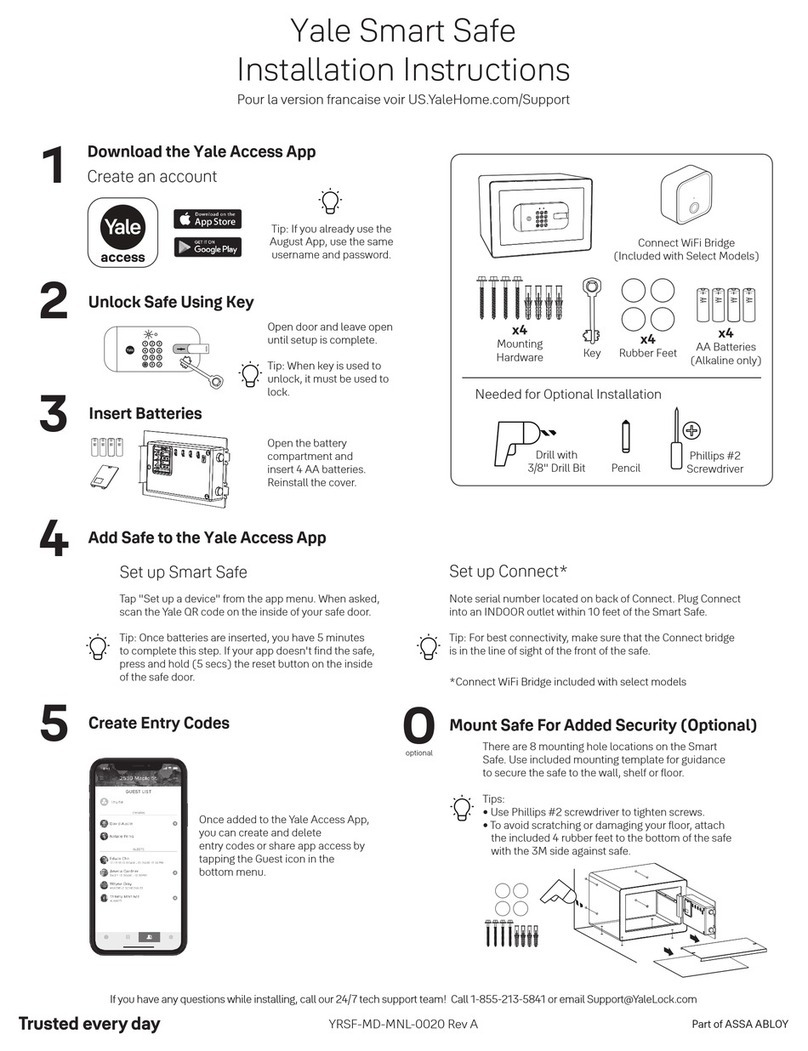
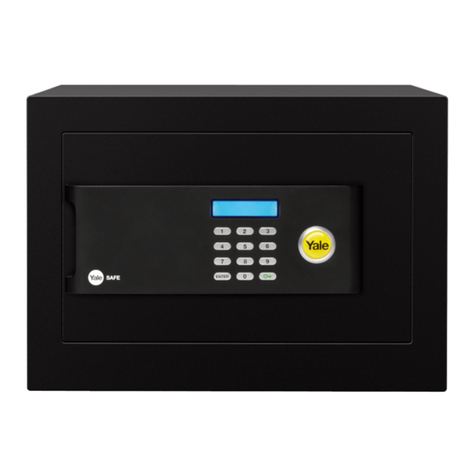
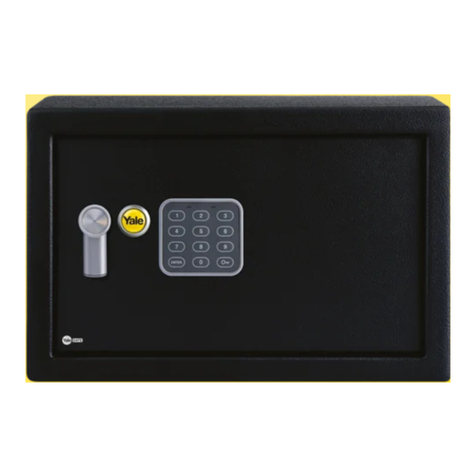
Yale YSB/200/EB1 User manual

Please keep manual safe
for future reference.
Yale Safe
User Manual
Treasuring
your freedom.
An ASSA ABLOY Group brand
YSB/200/EB1
YSB/250/EB1
YSB/400/EB1
YLB/200/EB1
YSM/250/EG1
YSM/400/EG1
YSM/520/EG1
YLM/200/EG1
For models:
English
V1 08/2010

1 3
4 5 6
2

Installing
the batteries
Open the safe using the manual
override key.
Remove the battery cover located on
the rear of the door.
Place the batteries according to the
illustration at the back of the battery
compartment. Once the batteries
are installed, close the battery
compartment.
Before using your Yale safe you must
insert batteries. The safe requires
4 “AA” (1.5V R06) – which are included.
When batteries need changing the disp-
lay will show together with a
warning sound when you press .
1
3
1
2
3
Please note, when new batteries are installed the
sound and display function are reset to default
settings, (code visible and sound on). Your user
code is not reset when you change batteries.
Safe
overview
Follow instructions under ”Using the
manual override key”.
Display1
Keypad2
Concealed override keyhole3
LED interior lights (on some models)
Battery compartment5
Locking bolts
Securing
the safe
To reduce the risk of theft it is essential
that your safe is securely fixed. Please
use the included bolts and secure to a
solid concrete floor.
For maximum performance and correct
installation a professional locksmith must
install the safe.
This product is heavy. Incorrect installation may
result in injury.
4
6

The code may only be programmed
when the safe is unlocked: if necessary
use the override key to open the safe.
Press and hold and simultan-
eously press . The display will
show .
Enter the code of your choice (between
3-8 digits) then press . You will
now be asked to repeat the code you
just entered (the display shows ).
Re-enter your code and press .
A sound and the display will
confirm that you have programmed a
new code. If you hear a sound and the
display reads , repeat step 2 and 3.
Set /re-set
your user code
1
2
3
4
If you have forgotten your code, use
the manual override key to open the
safe and re-set the code.
Please note, your user code does not have
to be reprogrammed when you change the
batteries.
+
3
4
2
code code
1unlock door

Press , the display shows .
1
If the code is correct, you will hear a
confirmation sound, the display will
show and the door will open.
3
Enter your user code and press .2
Please note, if the incorrect user code is
entered you will hear a beep, the display will
show and the door will not open. If
the wrong user code is entered 4 consecutive
times an alarm will sound for approximately
1 minute, during which you will not be able to
open the safe with the electronic lock.
Close the safe door.1
Press followed by .
The bolts engage, locking the
door,
and the display shows .
2
Opening
the safe
1
3
2
Closing
the safe
2
code
close doorpress

Re-activating
the interior light
(Only available on some models)
1
To re-activate the light press .
The display shows and the light
will be turned on for another 30 seconds.
1
The light is automatically activated
when the safe door is opened with the
electronic keypad. The light can be re-
activated at any time.
1
To open the safe place the key in the
key hole behind the Yale logo. The key
can only be inserted one way, Yale logo
on key head facing down.
Turn the key clockwise twice to fully
retract the locking bolts.
1
Using the manual
override key
Please do not store the mechanical
override keys inside the safe.
Please note, for security reasons the key can
not be removed and the electronic lock is
deactivated when the safe is opened using the
mechanical override key. To remove the key,
you must lock the safe using the key.
pressx 2

Turning
sound on /o
Press and hold and simultan-
eously press the to change the
setting.
1
If display shows this means
that audio feedback when operating
the safe is turned o.
If display shows this means
that audio feedback when operating
the safe is turned on.
•
•
11
Press and hold and simultan-
eously press to change the
setting.
1
Show/ hide digits
while entering code
If display shows no input
digits will be visible in the display when
a code is entered.
If display shows the code will
be visible in the display when a code is
entered.
•
•
+ +

1 2 3 4 5
ENTER
6 7 8 9 0
1 2 3 4 5
ENTER
6 7 8 9 0
1 2 3 4 5
ENTER
6 7 8 9 0
1 2 3 4 5
ENTER
6 7 8 9 0
1 2 3 4 5
ENTER
6 7 8 9 0
1
5 6
2 3 4
Yale Fire Safe
User Manual
Treasuring
your freedom
An ASSA ABLOY Group brand
For Models:
Please keep manual safe
for future reference.
English
YFM/310/FG2
YFM/420/FG2
YFM/520/FG2
YDM/420/FG3
9V
Installing
the batteries
Open the safe.
Remove the battery cover located on
the rear of the door.
Place the batteries according to the
illustration at the back of the battery
compartment. Once the batteries
are installed, close the battery
compartment.
Before using your Yale safe you must insert
batteries. The safe requires 4 “AA” (1.5V R06) –
which are included.
1
2
3
1
2
3
Safe
overview
Default user
passcode registration
Thelockallowsfortwousercodes.Tosetan
additionalpasscodefollowtheprocedureabove
butpressafterpressingthe
programmingbutton.
If the batteries of the safe run out you can use a 9V battery to power up the lock.
Opening
the safe
Closing
the safe
Faceplate
Knob
Touch panel
Low battery indicator
9V battery connector
Speaker
Programming button
Battery compartment
Locking bolts
1
2
3
4
5
6
7
8
9
Opening the safe with
emergency battery
Sound on / o
Additional user
passcode registration
Time lock
period setting
1Open the safe find the programming button
3Insert code
4Press the programming button
press
press
2Wake the safe up by pressig the
programming button
2
ENTER
A one-time passcode ensures the integrity of
your code no matter who is in the room when
you access your safe.
To set a one-time passcode follow the procedure
above but press after pressing the
programming button.
One-time
passcode registration
3
ENTER
Silent input let's you temporarily turn o the feedback signals from the safe to increase your privacy.
If the wrong code is entered more than
5 times the safe will lock down for a
period of time that can be set to
3-9 minutes.
To prevent any access to the safe you
can manually lock the safe down for
01-48 hours.
4
1
2Press
3
ENTER
press
Lock-down
period
1
3 9
Press -
Coverbackover
p2p1 p6p5
p4p3
1Touch the panel
2Turn the knob
2Insert code
3Turn the knob and open the safe
1Closedoor
1 2 3 4 5
ENTER
6 7 8 9 0
press code
1 2 3 4 5
ENTER
6 7 8 9 0
Scramble code
press
press
A scramble number input enables personal codes to be hidden within longer sequences of numbers.
The scramble number can be used either before or after the user code.
1Touch the touch panel 2Scramble number
code or
scramblenumber
1 2 3 4 5
ENTER
6 7 8 9 0
01 48
2
3-
Press
Press code
ENTER
press
Touchthepanel
1 2 3 4 5
ENTER
6 7 8 9 0
1 2 3 4 5
ENTER
6 7 8 9 0
1 2 3 4 5
ENTER
6 7 8 9 0
1
1 2 3 4 5
ENTER
6 7 8 9 0
1 2 3 4 5
ENTER
6 7 8 9 0
Open the safe and press programming button
Silent opening
The audio feedback can also be completely turned o.
1Touchthepanel
press
25
ENTER
Press
press
1 2 3 4 5
ENTER
6 7 8 9 0
3Insertcode
2
ENTER
Press twotimes
Thisproductisheavy,becarefulwhenhandling
itsinceitcancauseinjury.
!
Thesafeisdeliveredwiththedoorintheopen
position.Ifyouaccidentallyclosethedoorbefore
installingthebatteriesfollowinstructionstoopen
thesafewithanemergencybattery.Ifyou
accidentallyclosethesafebeforesettinga
personalpasscodethepre-programmed
factory code is 1 2 3 4.
!
Note, during the lock-down period the safe panel will shut
down completely, no-one will be able to operate the safe.
!
Note, when the time lock sets in the touch pad will not
respond until the until the lock down period has passed.
!
!
Please note that your user code does not have to
be reset when new batteries are installed.
When batteries need changing there will be a
warning sound when you open the safe.
When batteries need changing there will be a
warning sound when you open the safe.
The passcode can be set between 4-12 digits
Keep a 9V battery available to be able to open
the safe in case the batteries run out
unexpectedly.
1Connect the battery to the 9V battery port
on the bottom left of the faceplate
3Insert code
4
5
Turn the knob and open the safe
Replace batteries as instructed under
"Installing the batteries"
2Touch the panel
The one-time passcode will expire once used.
!Whenclosingthedoorensurethe
boltsarefullyretractedandthatthe
knobcan’tbeturnedtotheopenposition.
Openthesafeandpressprogrammingbutton
9V
Foranyinquiriesvisitwww.yalelock.com
1 2 3 4 5
ENTER
6 7 8 9 0
7
9
8
NB:Pre-setfactorycode1,2,3,4
ENTER
press
ENTER
press
Fittingguide
To reduce the risk of theft it is essential
that your safe is securely fixed. Please use
the included bolts and secure to a solid
concrete floor.
For maximum performance and correct
installation a professional locksmith must
install the safe.
For any inquiries visit www.yalelock.com
Thatthesafeisplacedhorizontally.
Tokeepthesafeinadryenvironment
topreventcorrosiontothesafeand
lockingmechanism.
Tousethefixingboltsprovidedfor
installationonasolidconcretefloor.
•
•
•
Before fixing the safe please ensure:
24
13
Mark the position of the safe through
fi xing holes.
Remove the safe and drill the holes as
marked.
1
2
Reposition the safe over the holes.
Drop the bolts through the safe and into
the drilled holes. You may have to use a
hammer to drive the bolts down.
Tighten the fi xing bolts fi rmly and ensure
there is no movement of the safe.
3
4
The performance of the safe is dependant on the
quality of the installation and the quality of material
to which the safe is fi xed.
This product is heavy. Incorrect installation may
result in injury.
!
An ASSA ABLOY Group brand
3
4
This manual suits for next models
7
Table of contents
Other Yale Safe manuals
Popular Safe manuals by other brands

Stack-On
Stack-On PWS-15522 instructions

City Safes
City Safes OMEGA Deposit OPERATING AND CHANGING INSTRUCTIONS

Clarke
Clarke CS200K quick start guide

Format
Format Fire Safe Light Operating and mounting instructions

Honeywell
Honeywell 2077D - 1.21 Cubic Foot Anti-Theft Safe Operations & installation guide

Protector
Protector EL-1 manual