manuals.online logo
Brands
  1. Home
  2. •
  3. Brands
  4. •
  5. Yamaha
  6. •
  7. Receiver
  8. •
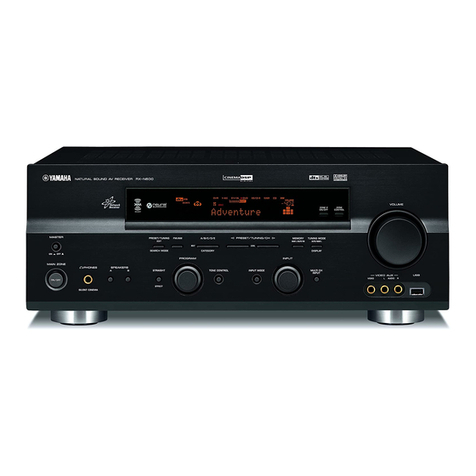
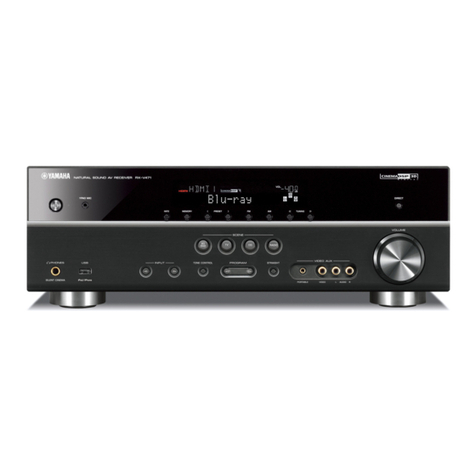
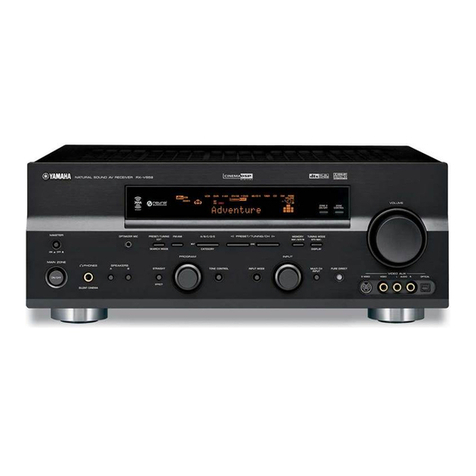
  9. Yamaha RX-V465BL Installation and operating instructions

Yamaha RX-V465BL Installation and operating instructions

Other manuals for RX-V465BL

1

Other Yamaha Receiver manuals

Yamaha RX-V673 Administrator guide

Yamaha

Yamaha RX-V673 Administrator guide

Yamaha HTR5930B User manual

Yamaha

Yamaha HTR5930B User manual

Yamaha BRX-610 User manual

Yamaha

Yamaha BRX-610 User manual

Yamaha R-N800A User manual

Yamaha

Yamaha R-N800A User manual

Yamaha RX-V463 User manual

Yamaha

Yamaha RX-V463 User manual

Yamaha RX-V630 User manual

Yamaha

Yamaha RX-V630 User manual

Yamaha RX-A3000 User manual

Yamaha

Yamaha RX-A3000 User manual

Yamaha RX-V561 User manual

Yamaha

Yamaha RX-V561 User manual

Yamaha RX-V496 User manual

Yamaha

Yamaha RX-V496 User manual

Yamaha YBA10A User manual

Yamaha

Yamaha YBA10A User manual

Yamaha Piano Craft RX-E600 User manual

Yamaha

Yamaha Piano Craft RX-E600 User manual

Yamaha RX-V692 User manual

Yamaha

Yamaha RX-V692 User manual

Yamaha RX-V450 User manual

Yamaha

Yamaha RX-V450 User manual

Yamaha RX-V4600 - AV Receiver User manual

Yamaha

Yamaha RX-V4600 - AV Receiver User manual

Yamaha RX-V3800 - AV Receiver User manual

Yamaha

Yamaha RX-V3800 - AV Receiver User manual

Yamaha R-50 User manual

Yamaha

Yamaha R-50 User manual

Yamaha RX-V359 User manual

Yamaha

Yamaha RX-V359 User manual

Yamaha CRX-N560 User manual

Yamaha

Yamaha CRX-N560 User manual

Yamaha RX-V340 User manual

Yamaha

Yamaha RX-V340 User manual

Yamaha RX-V871 Quick start guide

Yamaha

Yamaha RX-V871 Quick start guide

Yamaha AVENTAGE RX-A1040 User manual

Yamaha

Yamaha AVENTAGE RX-A1040 User manual

Yamaha RXV765 - RX AV Receiver User manual

Yamaha

Yamaha RXV765 - RX AV Receiver User manual

Yamaha RXV463BL User manual

Yamaha

Yamaha RXV463BL User manual

Yamaha YBA-10 - Bluetooth Wireless Audio Receiver User manual

Yamaha

Yamaha YBA-10 - Bluetooth Wireless Audio Receiver User manual

Popular Receiver manuals by other brands

Televes ZAS HD SAT user manual

Televes

Televes ZAS HD SAT user manual

Realistic DX-75 Operating and service instructions

Realistic

Realistic DX-75 Operating and service instructions

Saris 4620 Assembly instructions

Saris

Saris 4620 Assembly instructions

Mini DTR 206C PVR user manual

Mini

Mini DTR 206C PVR user manual

RF Elements TwistPort manual

RF Elements

RF Elements TwistPort manual

Denon DN-200WS user guide

Denon

Denon DN-200WS user guide

Russound SaphIR 858 instruction manual

Russound

Russound SaphIR 858 instruction manual

Quasonix RDMS Firmware update procedure

Quasonix

Quasonix RDMS Firmware update procedure

Pioneer XV-HTD1 Service manual

Pioneer

Pioneer XV-HTD1 Service manual

ATZ HDMI-V2-44HE150 manual

ATZ

ATZ HDMI-V2-44HE150 manual

Sony XNV-770BT MyTomTom Specifications

Sony

Sony XNV-770BT MyTomTom Specifications

Grundig STR 7122 TWIN Service manual

Grundig

Grundig STR 7122 TWIN Service manual

Creative Blaster Modem user guide

Creative

Creative Blaster Modem user guide

Panduit ATLONA AT-OME-RX11 installation guide

Panduit

Panduit ATLONA AT-OME-RX11 installation guide

VOLTCRAFT UTPS-40 operating instructions

VOLTCRAFT

VOLTCRAFT UTPS-40 operating instructions

JVC KW-ADV794 instructions

JVC

JVC KW-ADV794 instructions

Litelink VT-1001 operating instructions

Litelink

Litelink VT-1001 operating instructions

Sangean WR-11 Service manual

Sangean

Sangean WR-11 Service manual

manuals.online logo
manuals.online logoBrands
  • About & Mission
  • Contact us
  • Privacy Policy
  • Terms and Conditions

Copyright 2025 Manuals.Online. All Rights Reserved.

1En
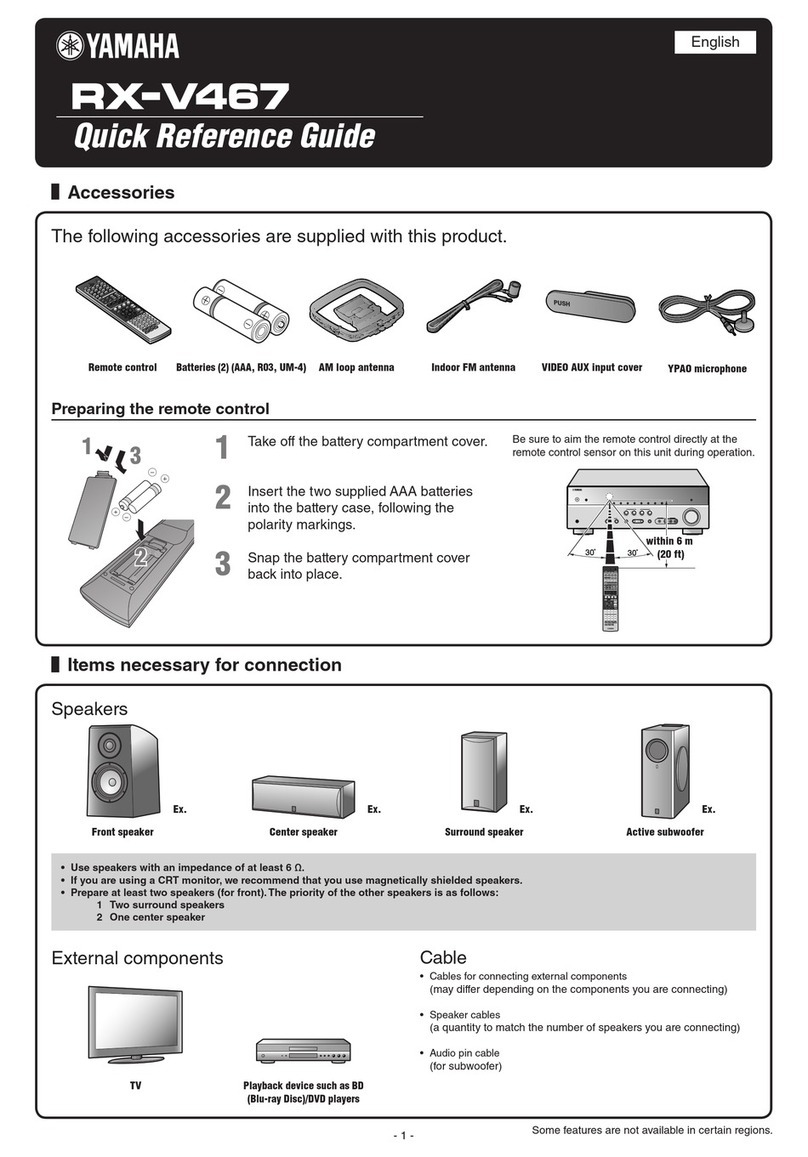
When AV3, AV4, AUDIO1 or AUDIO2 is selected as the
input source, a video signal input from an external
component connected to the HDMI1-4, AV1-6 or V-AUX
jack can be output to the video monitor. This feature is
useful when you connect a component such as the
following.
Example 1: A game console that outputs an analog audio
signal and a video signal via component
video jacks.
Example 2: A set-top box that does not output an audio
signal at the HDMI output jack.
To connect such a component, do the following
connection/setting.
Part 1: Connecting an external component
Part 2: Assigning the video input jacks
•HDMI jacks: Connect the HDMI output jack of the
external component to the available HDMI jack of this
unit (see next section).
•Audio output jacks: Connect the audio output jacks of
the external component to the AV3-4 or AUDIO1-2
audio input jacks.
•Video output jacks: Connect the video output jacks of
the external component to the AV1-6 or VIDEO AUX
video input jacks.
Note
•Make sure that this unit and other components are unplugged from the
AC wall outlets.
■HDMI and audio connection
■Audio connection
■Video connection
* Some models only.
Note
•If the video monitor is connected to this unit via an analog video
connection (component video or composite video connection), connect
the external component to this unit via the same analog connection.
Continues to the back side
English
Addendum for audio/video connection
UABG
© 2009 Yamaha Corporation All rights reserved.
Printed in China WT92370
Part 1: Connecting an external
component
Audio output jacks
on the connected
source component
Input sources/
jacks of this unit
Available
HDMI
jack
Analog audio output AUDIO1 AUDIO HDMI1
AUDIO2 AUDIO HDMI2
Coaxial digital output AV3 (CD) COAXIAL HDMI3
Optical digital output AV4 OPTICAL HDMI4
Output jacks on the
connected source
component
Input sources/jacks of this unit
Coaxial digital output AV3 (CD) COAXIAL
Optical digital output AV4 OPTICAL
Analog audio output AUDIO1 AUDIO
AUDIO2 AUDIO
Output jacks on the
connected source
component
Jacks of this unit
Component video output AV1 (TV) COMPONENT
VIDEO
AV2 COMPONENT
VIDEO
Composite video output AV3 (CD) VIDEO
AV 4 V I D E O
AV 5 V I D E O
AV 6 V I D E O
VIDEO AUX
(Front panel)
VIDEO
S-Video output AV5 S-VIDEO*
WT92370_01EN_RX-Vx65_AddSheet_Flyer2.fm Page 1 Thursday, July 23, 2009 7:50 PM
2En
Example of connection
Example 1: Connecting a game console
Example 2: Connecting a set-top box
1Turn on this unit.
2Press AV3-4 or AUDIO1-2 on the remote
control to select the input source.
Select the input source that the audio output jack of
the external component is connected to.
When you made the connection same as the
example 1, press AUDIO1.
3Press OPTION on the remote control.
The OPTION menu appears.
4Press Cursor k/ nto display “Video Out,”
and press ENTER.
5Press Cursor l/ hto select the video input
terminal connected to the video output jacks
of the external component.
•HDMI1-4*
•AV1-2 (COMPONENT VIDEO)
•AV3-6 (VIDEO)
•AV5 (S-VIDEO)**
•V-AUX (VIDEO)
•Off (no video input)
* You can only select the available HDMI jack (See previous
page).
** Some models only.
When you made the connection same as the
example 1, select AV1.
6To end the setting, press OPTION.
P
R
P
B
Y
COMPONENT
VIDEO
VIDEO
P
R
P
B
Y
AU
DI
O1
COMPONENT
U
NBAL.
FM
G
ND
AM
ANTENNA
S
PEAKER
S
D
OCK
O
PTI
C
AL
(
TV
)
AV1
AV
2
CO
AXIA
L
AV
3
(
CD
)
CO
AXIA
L
O
PTICA
L
AV 4
AV
5
AV
OUT
AUDI
O
2
V
IDE
O
HDMI
HDMI 1
(
B
D
/
DVD
)
HDMI
2
HDMI
3
HDMI 4
O
UT
AV
6
V
IDE
O
MO
NIT
O
R
OUT
AU
DI
O
O
U
T
F
R
O
N
T
C
ENTE
R
SU
RR
OU
N
D
P
RE
OU
T
SUBWOOFE
R
B
A
C
K
/
BI
-
AMP
S
URR
O
UND
VIDEO
P
R
P
B
Y
AUDIO1
COMPONENT
PB
Y
PR
R
L
VIDEO
P
R
P
B
Y
COMPONENT
PB
Y
PR
(Example)
Audio outputVideo output
Game console
AUDIO1 inputAV1 input
TV or projector
Video input
MONITOR OUT
OPTICAL
AV 4
H
DM
I
O
UT
UNBAL.
FM
G
ND
AM
A
NTENNA
P
R
P
B
Y
COMPONEN
T
V
IDE
O
S
PEAKER
S
D
OC
K
VIDE
O
P
R
P
B
Y
O
PTI
C
AL
(
TV
)
AV1
AV 2
CO
AXIAL
AV
3
(
C
D
)
CO
AXIAL
AV
5
AV
OU
T
AUDIO1
AU
DI
O
2
VIDEO
HDMI 1
(
BD
/
DV
D
)
H
DMI 2 HDMI
3
AV
6
VIDE
O
MO
NIT
O
R
OUT
AUDI
O
O
UT
FR
O
NT
C
ENTER
S
URR
O
UND
PRE OU
T
S
UBW
OO
FE
R
BA
C
K
/
B
I-AM
P
SU
RR
OU
ND
C
OMPONEN
T
OPTICAL
HDMI 4
HDMI
O
HDMI
OUT
HDMI
(Example)
HDMI outputAudio output
Set-top box
HDMI4 inputAV4 input
TV or projector
HDMI input
HDMI OUT
Part 2: Assigning the video input jacks
Video;;;;;;Off
Video;;;;;;AV1
WT92370_01EN_RX-Vx65_AddSheet_Flyer2.fm Page 2 Thursday, July 23, 2009 7:50 PM