Yeastar Technology NeoGate TG400 User manual

NeoGate TG Series
User Manual
Version 1.2
Date: March 12th,2015
Yeastar Information Technology Co. Ltd

NeoGate TG Series User Manual
2/62
Table of Contents
1. Introduction ...........................................................................................4
1.1 FEATURES ........................................................................................... 4
1.2 HARDWARE SPECIFICATION ....................................................................... 5
2. System setup .........................................................................................7
2.1 SIM CARD PLACEMENT ............................................................................ 7
2.2 ANTENNA CONNECTION............................................................................ 7
2.3 ETHERNET LINE CONNECTION .................................................................... 8
2.4 POWER SUPPLY CONNECTION ..................................................................... 8
3 Administrator Login..................................................................................8
4. Status ...................................................................................................9
4.1 SYSTEM STATUS .................................................................................. 10
4.1.1 Trunk status .................................................................. 10
4.1.2 Network status............................................................... 11
4.1.3 System info ................................................................... 11
4.2 REPORTS .......................................................................................... 12
4.2.1 Call logs........................................................................ 12
4.2.2 System logs................................................................... 12
5. System ................................................................................................13
5.1 NETWORK PREFERENCES ........................................................................ 13
5.1.1 LAN Settings.................................................................. 13
5.1.2 VLAN Settings ................................................................ 14
5.1.3 VPN Settings.................................................................. 15
5.1.3 DDNS Settings ............................................................... 15
5.1.4 Static Route................................................................... 16
5.2 SECURITY CENTER ............................................................................... 17
5.2.1 Security Center .............................................................. 17
5.2.2 Alert settings ................................................................. 18
5.2.3 Certificates .................................................................... 21
5.2.4 Firewall Rules................................................................. 22
5.2.5 IP Blacklist .................................................................... 23
5.3 SYSTEM PREFERENCES........................................................................... 24
5.3.1 Password settings ........................................................... 24
5.3.2 Date and Time ............................................................... 25
5.3.3 Custom Prompts............................................................. 25
5.3.4 Email settings ................................................................ 26
5.3.5 Firmware Update ............................................................ 27
5.3.6 Backup and Restore ........................................................ 28
5.3.7 Reset and Reboot ........................................................... 29
6 SMS .....................................................................................................30

NeoGate TG Series User Manual
3/62
6.1 SEND SMS........................................................................................ 30
6.2 SMS CONTACTS .................................................................................. 30
6.3 OUTBOX ........................................................................................... 31
6.4 INBOX.............................................................................................. 31
6.5 USSD ............................................................................................. 32
6.6 API SETTINGS .................................................................................... 32
7 Gateway ...............................................................................................34
7.1 MOBILE LIST ...................................................................................... 34
7.1.1 Mobile List ..................................................................... 34
7.1.2 Module Group ................................................................ 37
7.1.3 Call Waiting ................................................................... 38
7.1.4 Follow me...................................................................... 39
7.2 VOIP SETTINGS .................................................................................. 40
7.2.1 VoIP trunk ..................................................................... 40
7.2.2 Trunk Group .................................................................. 46
7.2.3 SIP Settings................................................................... 46
7.2.4 IAX Settings .................................................................. 52
7.2.5 General Preferences ........................................................ 52
7.3 ROUTES SETTINGS ............................................................................... 53
7.3.1 Mobile to IP ................................................................... 53
7.3.2 IP to Mobile ................................................................... 56
7.3.3 Blacklist ........................................................................ 58
7.3.4 Callback Settings ............................................................ 58
8 Applications...........................................................................................61

NeoGate TG Series User Manual
4/62
1. Introduction
NeoGate TG Gateway for Maximum Efficiency & Cost Savings
NeoGate is a device for connecting Mobile Network to VoIP Network directly,
which can support two-way communication: Mobile to VoIP or VoIP to Mobile.
It is the best solution ever to connect IP-based telephone systems, soft switches,
and IP-PBXs to Mobile network.
NeoGate TG Gateway supports GSM, UMTS and CDMA network (TG1600 does
not support UMTS now).
1.1 Features
●SIP proxy Registrar for IP phones included
●Incoming call routing
●Outgoing call routing
●SMS sending and receiving (WEB interface)
●USSD API
●Call Back
●LCR (Least Cost Routing)
●Top voice quality (EFR super sound)
●Simple Web based configuration
●Easy to integrate
●Easy to install
For more information, please click:
http://www.yeastar.com/Products/Products.asp

NeoGate TG Series User Manual
5/62
1.2 Hardware Specification
Model Channels Appearance
NeoGate TG100 1
NeoGate TG200 2

NeoGate TG Series User Manual
6/62
NeoGate TG400 4
NeoGate TG800 8
NeoGate
TG1600 16

NeoGate TG Series User Manual
7/62
2. System Setup
2.1 SIM Card Placement
Insert the SIM card on the front panel directly before powering on NeoGate. To
remove this card, press the button on the left side, the card will pop directly. If
you are using NeoGate TG100, you should open the box before installing SIM
card on the board directly.
Notes:
1. The SIM card should be mini-SIM (2FF).
2. Please cut off the power before installing SIM card. You can also log in Web
interface to power this module off separately.
2.2 Antenna Connection
NeoGate is equipped with antenna connector for all the GSM/UTMTS/CDMA
modules. The external antenna should be installed vertically always on a site
with a good wireless signal.

NeoGate TG Series User Manual
8/62
2.3 Ethernet Line Connection
NeoGate provides two 10/100M Ethernet ports with RJ45 interface and LED
indicator. Plug Ethernet line into NeoGate’s Ethernet port, and then connect
the other end of the Ethernet line with a hub, switch, router, LAN or WAN. Once
connected, check the status of the LED indicator. A yellow LED indicates the port
is in 100M mode, if it’s dark, the speed is 10M. Green LED indicates the port is
properly connected, if it’s flickering, it means data transmission.
2.4 Power Supply Connection
NeoGate utilizes the high-performance switch power, which supplies enough
voltage and electrical energy required by NeoGate system.
AC Input: 100~240V
DC Output: 12V, 1A
Please follow the steps below to connect the NeoGate unit to a power outlet:
1. Connect the small end of the power cable to the power input port on the
NeoGate back panel, and plug the other end of the cable into a 100VAC power
outlet.
2. Check the Power LED on the front panel. A solid green LED indicates that
power is being supplied correctly.
3 Administrator Login
Open your Web browser and input the IP address of the NeoGate server.
If this is the first time you configure NeoGate, please use the default settings
below:
IP Address: http://192.168.5.150
Username: admin
Password: password
In this example, the IP address is 192.168.2.135, the model is TG800.

NeoGate TG Series User Manual
9/62
Figure 3-1
Click Login to get the welcome page.
Figure 3-2
4. Status
Click to check the status of NeoGate TG, including the system status
and the detailed reports.

NeoGate TG Series User Manual
10/62
4.1 System Status
In this page, we can check the status of the system, including trunk status,
network status and system information.
4.1.1 Trunk status
Figure 4-1
NeoGate Status Description:
GSM/UTMTS/CDMA Tunk:
Status
Description
Idle
The port is idle
Busy
The port is in use
Failed
The port has not inserted the SIM Card
Signal
Description
No signal
Poor
Average
Good
Excellent
VoIP Trunk:
Status
Description
Unregistered Trunk registration failed
Registered Successful registration, trunk is ready for use

NeoGate TG Series User Manual
11/62
Request SentRegistering
Waiting Waiting for authentication
Service Provider:
Status
Description
OK Successful registration, trunk is ready for use
Unreachable The trunk is unreachable.
Failed
Trunk registration failed.
4.1.2 Network status
In this page, the IP address of LAN port will appear with their status.
Figure 4-2
If you VLAN or OpenVPN are configured, you can check the status in this page
also.
4.1.3 System info
In this page, we can check the hardware/firmware version, or the disk usage of
NeoGate TG.
Figure 4-3

NeoGate TG Series User Manual
12/62
4.2 Reports
In this page, we can check the call detailed log and system log, which is used to
debug.
4.2.1 Call logs
The call log captures all call details, including call time, caller number, callee
number, call type, call duration, etc. An administrator can search and filter call
data by call date, caller/callee, trunk, duration, billing duration, status, or
communication type.
Figure 4-4
4.2.2 System logs
You can download and delete the system logs of NeoGate TG.
Figure 4-5

NeoGate TG Series User Manual
13/62
5. System
Click to access. In this page, we can configure the network settings,
firewall rules and some system preferences.
5.1 Network Preferences
5.1.1 LAN Settings
Figure 5-1
Items
Description
DHCP
If this option is set as yes, NeoGate TG will act as DHCP
client
to get an available IP address from your local
network. We don’t recommend enabling this, as without
the right IP address you cannot access NeoGate TG.
Enable SSH
This is the advanced way to access the device. You can
use the software putty to access the device. In the SSH
access, you can do more advanced setting and debug. It’s
disabled by default.
We don’t recommend enabling it if not needed.
Port
The default is 8022; you can change it to another one.
Hostname
Set the host name for NeoGate TG
IP Address Set the IP Address for NeoGate TG, It is recommended to
configure a static IP address for NeoGate TG
Subnet Mask
Set the subnet mask for NeoGate TG
Gateway
Set the gateway for NeoGate TG
Primary DNS Set the primary DNS for NeoGate TG.
Secondary DNS Set the secondary DNS for NeoGate TG

NeoGate TG Series User Manual
14/62
IP Address2 Set the second IP Address for NeoGate TG
Subnet Mask2 Set the second subnet mask for NeoGate TG
5.1.2 VLAN Settings
A VLAN (Virtual LAN) is a logical local area network (or LAN) that extends
beyond a single traditional LAN to a group of LAN segments, given specific
configurations.
Note:
NeoGate TG is not the VLAN server, a 3-layer switch is still needed, please
configure the VLAN information there first, then input the details in NeoGate TG,
so that the packages via NeoGate TG will be added the VLAN label before
sending to that switch.
Figure 5-2
Items
Description
NO.1
Click the NO.1 you can edit the first VLAN over LAN
VLAN Number
The VLAN Number is a unique value you assign to each
VLAN on a single device
VLAN IP Address
Set the IP Address for NeoGate TG VLAN over LAN.
VLAN Subnet Mask
Set the Subnet Mask for NeoGate TG VLAN over LAN.
Default Gateway Set the Default Gateway for NeoGate TG VLAN over LAN
NO.2 Click the NO.2 you can edit the first VLAN over LAN.
VLAN Number
.The VLAN Number is a unique value you assign to each
VLAN on a single device.
VLAN IP Address
Set the IP Address for NeoGate TG VLAN over LAN.
VLAN Subnet Mask Set the Subnet Mask for NeoGate TG VLAN over LAN.
Default Gateway Set the Default Gateway for NeoGate TG VLAN over LAN.

NeoGate TG Series User Manual
15/62
5.1.3 VPN Settings
A virtual private network (VPN) is a method of computer networking--typically
using the public internet--that allows users to privately share information
between remote locations, or between a remote location and a business' home
network. A VPN can provide secure information transport by authenticating
users, and encrypting data to prevent unauthorized persons from reading the
information transmitted. The VPN can be used to send any kind of network
traffic securely. NeoGate TG supports OpenVPN.
Figure 5-3
·Enable VPN
·Import VPN Config
Import configuration file of OpenVPN.
Notes:
1. Don't configure “user” and “group” in the “config” file. You can get the config
package from the OpenVPN provider.
2. NeoGate TG works as VPN client mode only.
5.1.3 DDNS Settings
DDNS(Dynamic DNS) is a method / protocol / network service that provides the
capability for a networked device, such as a router or computer system using
the Internet Protocol Suite, to notify a Domain Name System (DNS) name
server to change, in real time, the active DNS configuration of its configured
hostnames, addresses or other information.

NeoGate TG Series User Manual
16/62
Figure 5-4
Enable DDNS
Items
Description
DDNS Server
Select the DDNS server you sign up for service.
User Name
User name the DDNS server provides you.
Password
User account’s password.
Host Name
The host name you have got from the DDNS server
Note: DDNS allows you to access your network using domain names instead of
IP address. The service manages changing IP address and updates your domain
information dynamically. You must sign up for service through dyndns.org,
freedns.afraid.org, www.no-ip.com, www.zoneedit.com
5.1.4 Static Route
NeoGate TG will have more than one internet connection in some situations but
it has only one default gateway. You will need to set some Static Route for
NeoGate TG to force it to go out through different gateway when access to
different internet.
The default gateway priority of NeoGate TG from high to low is VPN/VLAN LAN
port.

NeoGate TG Series User Manual
17/62
Figure 5-5
1) Route Table
The current route rules of NeoGate TG.
2) Static Route Rules
You can add new static route rules here.
Items
Description
Destination
The destination network to be accessed to by NeoGate TG.
Subnet Mask
Specify the destination network portion.
Gateway Define which gateway NeoGate TG
will go through when
access to the destination network.
Metric
The cost of a route is calculated by using what are called
routing metric. Routing metrics are assigned to routes by
routing protocols to provide measurable statistic which can
be used to judge how useful (how low cost) a route is.
Interface Define which internet port to go through.
5.2 Security Center
5.2.1 Security Center
You can check NeoGate TG security configuration in “Security Center” page. And
also, you can enter the relevant security settings page rapidly.
Firewall:
Figure 5-6
In the “Firewall” tab, you can check firewall configuration and alert settings. By

NeoGate TG Series User Manual
18/62
clicking the relevant button, you can enter the configuration page directly.
Service:
Figure 5-7
In “Service” tab, you can check SMS/USSD API /SSH/TFTP status. For
SMS/USSD API, you can enter the according page by clicking the button
in “Setting” column. For TFTP, you can directly disable or enable it.
Port:
Figure 5-8
In “Port” tab, you can check SIP port and HTTP port. You can also enter the
relevant page by clicking the button in “Setting” column.
We recommend changing the default port for security.
5.2.2 Alert settings
If the device is under attack, the system will alert users via call or E-mail.
The attack modes include IP attack and Web Login.
Figure 5-9
1. IPATTACK
When the system is attacked by IP address, the firewall will add the IP to auto
IP Blacklist and notify the user if it match the protection rule.
1) Phone Notification Settings

NeoGate TG Series User Manual
19/62
Items
Description
PHONE Notification Whether enable phone notification
Number
The numbers could be set for alert notification, users can
setup multiple extension and outbound phone numbers.
Please separate them by “;”.
Example: “500;9911”, if the extension has configured
Follow Me Settings, the call would go to the forwarded
number directly.
Port Choose the GSM/UTMTS/CDMA port to dial alert call.
Attempts
The attempts to dial a phone number when there is no
answer.
Interval
The interval between each attempt to dial the phone
number. Must be longer than 3 seconds, the default value
is 60 seconds.
Prompt
Users will hear the prompt while receiving the phone
notification.
2) E-mail Notification Settings
Note: Please ensure that all voicemail settings are properly configured on the
System Settings -> Voicemail Settings page before using this feature.
Items
Description
E-mail Notification
Whether enable E-mail Notification
Recipient’s Name
The recipients for the alert notification, and multiple
email addresses are allowed, please separate them
by “;”.
Example: jerry@yeastar.com;jason@yeastar.com,
Subject The subject of the alert email.
Email Content
Text content support for predefined variables. Variable
names and corresponding instructions are as follows:
gateway hostname:$(HOSTNAME)
attack source ip address:$(SOURCEIP)
attack dest mac:$(DESTMAC)
attack source port:$(DESTPORT)
attack source protocol:$(PROTOCOL)
attack occurred:$(DATETIME)

NeoGate TG Series User Manual
20/62
Figure 5-10
2. WEBLOGIN
Web Login Alert Notification: Enter the password incorrectly five times to login
NeoGate TG Web interface will be as attack, the system will limit the IP login
within 10 minutes and notify the user.
This manual suits for next models
5
Table of contents
Other Yeastar Technology Network Hardware manuals
Popular Network Hardware manuals by other brands
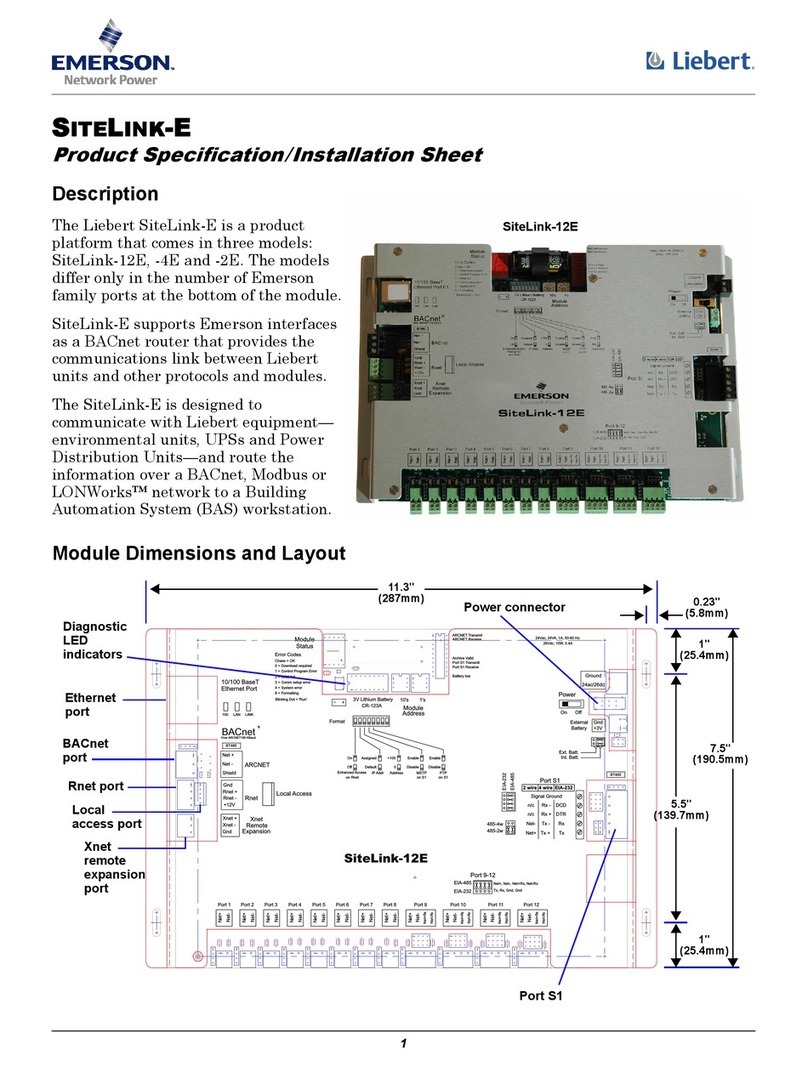
Emerson
Emerson SiteLink-12E Product specifications and installation
FieldServer
FieldServer Lutron Machine FS-8700-97 Driver manual

Digikeijs
Digikeijs DR5000 quick guide
Paradyne
Paradyne Hotwire 8784 installation instructions
DPS Telecom
DPS Telecom NetGuardian 16 G2 user manual

Allied Telesis
Allied Telesis POTS24 datasheet
