yescool SHMCI User manual

•1•
User 's manual
SHMCI

•2•
Foreword
Thanks for chose the Yescool lossless music player.
In order to familiarize you with the operation of the machine as soon as
possible, we have provided a detailed user manual, from which you can learn
about product introduction, usage, system settings, and safety precautions.
Before you use this product, be sure to carefully read all the information
provided with the machine, which will help you to better use this product.
At the time of writing this manual, we were very careful and rigorous, and we
believe that the information provided in this manual is correct and reliable. If
there are any omissions, please do not hesitate to extend your support and
eagerly welcome your correction. If you find any problems during the use of
the product, please contact us in time, thank you for your cooperation!
Chapter 1 Before Use
1. Features

•3•
➢A new generation of high-fidelity digital lossless music players;
➢High-precision CNC aluminum alloy shell manufacturing process;
➢High-definition 2.0-inch true color TFT color display, lyric display
function;
➢Professional DSP audio decoding IC+ imported DAC dual decoding,
effectively restore the real scene;
➢Professional low-noise pre-stage voltage amplification +
post-precision current amplification amp, thrust shock;
➢The disc encoder can quickly find the track function, convenient and
quick;
➢Intelligent song classification function, which can search by album,
artist and style;
➢Album cover function, breakpoint memory function, can remember
the boot volume or custom volume;
➢Support MP3, WMA, WAV, FLAC, APE, ACC, OGG, AIFF, DSD64 and
other music formats, outstanding performance;

•4•
➢Support CUE track decoding function;
➢Equalizer function, including rock, pop, soft, jazz, classical, electronic
music sound effects;
➢Multi-task operating system, energy-saving settings, custom
shutdown time;
➢Multiple play modes: single repeat, all repeat, random play;
My favorite, join the playlist feature;
➢Line output function, output level can be synchronized with the
volume, -6DB, 0DB optional;
➢Music files can be deleted on this device, key lock function;
➢Upgradable to multiple languages, support for local firmware
upgrades;
➢Built-in lithium battery
2. Accessories
1. Player 1
2. Certificate of Conformity 1
3. User Manual 1

•5•
4. Warranty card 1
5.USB cable 1
Note: If any of the above accessories are changed, please refer to the actual
contents in the box.
3. Product Safety Information
WARNING: Failure to comply with these safety instructions could result in
injury and danger!
➢Do not drop or hit the player violently. Doing so may result in serious
damage or malfunction.
➢Do not open or disassemble the player. There are no parts to be
maintained.
➢This product should not be used in humid and hot environments. Do
not put this product into water or any liquid.
➢Do not expose the product to sunlight or place the product in a fire.
The battery may explode and catch fire.
➢If you do not use it for a long time, please charge the product every
two months and discharge it once.
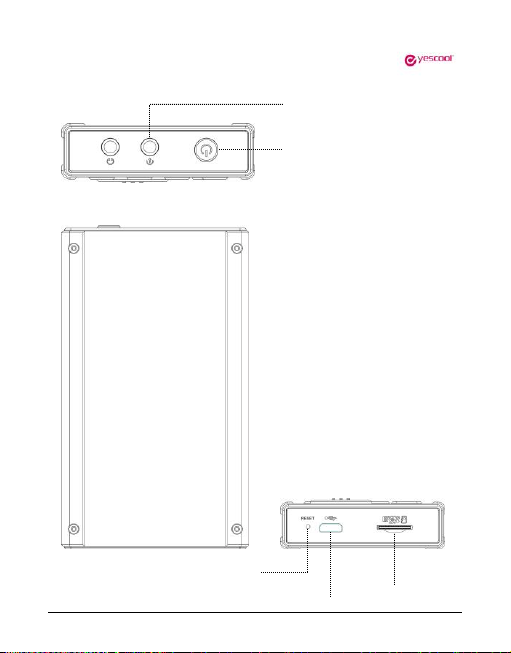
4. Product icon and function

•6•
Screen
OK
Menu
Back
Volume
Move the cursor
Play/pause
Next, FF
Previous, FW

•7•
Earphone output
Line output
•8•
Reset
USB port
TF slot
Power on/Off, Lock
•9•
Chapter 2 Quick Operation
Attention: Short press in below means short press the button and then to
release immediately.
Long press means to hold the button for 2 to 3 seconds and then release.
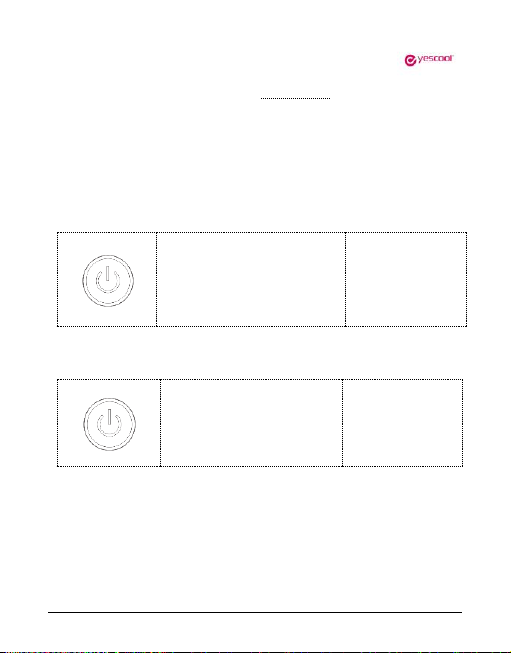
1.Power on
Press and hold the power
button for 3 seconds.
2. Power off
Press and hold the power for 3
seconds.
SEE YOU
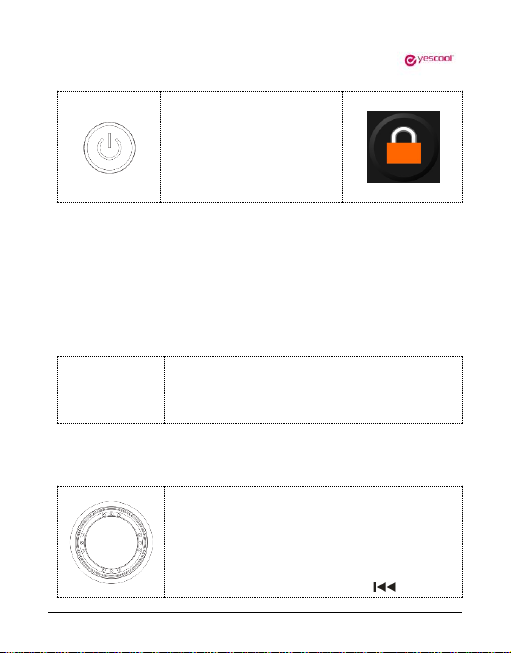
3.Lock
•10•
In the standby or play state,
short press the power switch
to lock the key, short press
again in the locked state to
unlock.
4.Reset
If the player crashes, press the "RESET" button to reset the system to forced
shutdown. If it still does not turn on, Please check if the battery is dead.
5.Pause
PLAY/PAUSE
In the music playing state, short press "PLAY/PAUSE"
key to pause the current music, press "PLAY/PAUSE"
again to continue playing the current music.
6.Select
In the music playing interface state, rotate the
circular scroll wheel to display the music file list, or
press the “BACK” key to return to the main
interface. Select the “file browse” menu to enter the
list of all music files, press the “ ” key or
Table of contents


