Safety Precautions
The handling precautions, component names, and specifications are covered in the separate Getting
Started Guide (IM CA310-02EN).
Be sure to read the Getting Started Guide before using this instrument.
Basic Setup
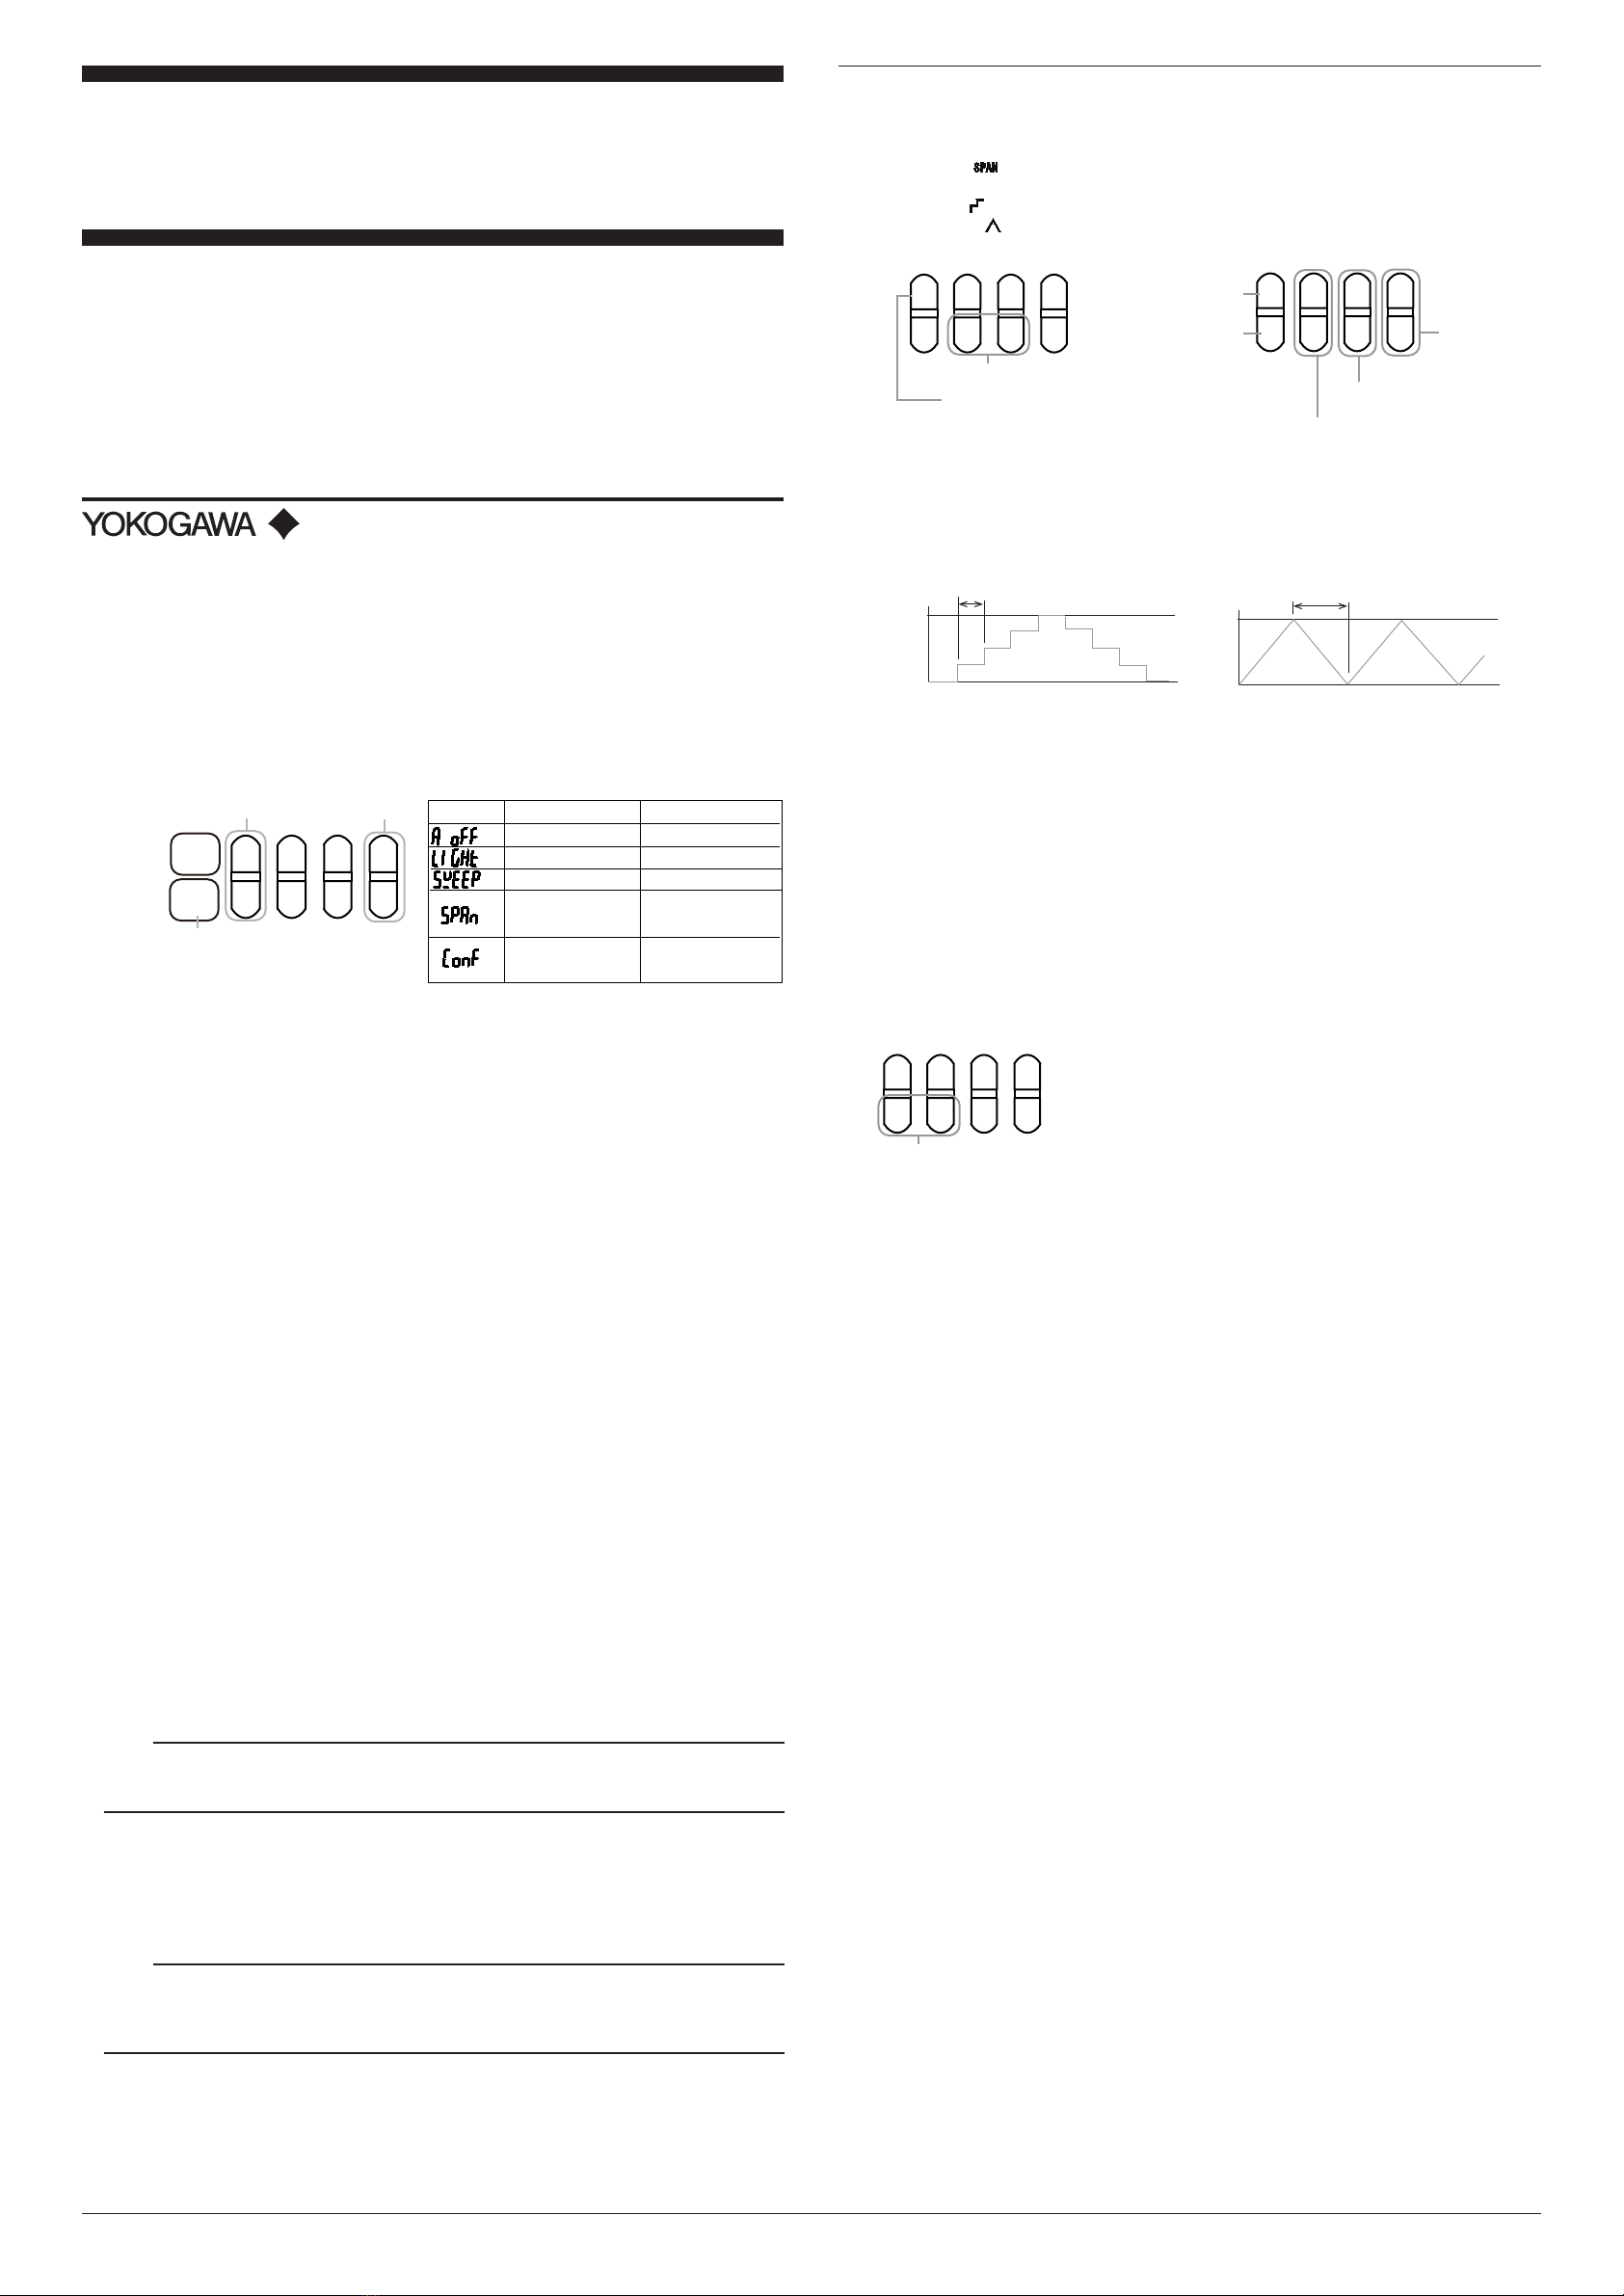
1.
Turn the instrument on, and set the rotary switch to SETTING.
2.
Use the left-most up and down keys to select the setting and the right-most up and down keys to
switch the options.
3.
Press OUTPUT ON/OFF to confirm the setting.
▲
▲
▲
▲
▲
▲
▲
▲
POWER
Selects the setting Selects an option
Confirms the settings
Setting
Auto power-off
Backlight
Sweep time
Initialization of
span settings
Initialization of
settings
Options
ON*/OFF
ON/OFF*/TIMER
15s*/30s/45s/60s
—
—
Display
*: Default value
TYPE
Auto power-off
If this is set to ON when the instrument is running on batteries, the power automatically turns off
if you do not operate the instrument for approx. 20 minutes. This is invalid when the instrument is
running off of the AC adapter.
Backlight
Turns the backlight on and off. If set to Timer, the backlight turns on for approx. 2 minutes every
time you operate a key.
Sweep time
When sweeping in steps, set the output duration of each step. When sweeping linearly, set the
output duration for the value to change from 0% to 100% (or 100% to 0%).
Initialization of Span Settings
Initializes the span settings.
Initialization of Settings
Initializes settings.
Measurement
1.
Set the CA310’s measure/source switch to MEASURE.
2.
Follow the instructions in the Getting Started Guide to connect the CA310 to the device to be
measured using the included lead cable.
3.
Use the rotary switch to set the range.
4.
If you set the range to EXTRA, press TYPE several times to select the sensor.
SelectasensorfromCu100Ω,Cu50Ω,PT50,PT50G,andPT100G.
If you set the range to PT100, press TYPE to select the sensor coefficient.
SelectacoefficientfromIEC(3851),3850,JPT100(3916),and3926.
IfyousettherangetoΩ,pressTYPEtoselect3000Ωor500Ω.
5.
Presstheleft-most▼keytosetthewiringsystemto2W(two-wire),3W(three-wire),or4W
(four-wire).
Sourcing
1.
Set the CA310’s measure/source switch to SOURCE.
ON appears on the screen, and the output is turned on.
2.
Use the rotary switch to set the range.
3.
If you set the range to EXTRA, press TYPE to select the sensor.
If you set the range to PT100, press TYPE to select the sensor coefficient.
SelectacoefficientfromIEC(3851),3850,JPT100(3916),and3926.
IfyousettherangetoΩ,pressTYPEtoselect3000Ωor500Ω.
Note
Atthe3000Ωsetting,theCA330sourcesresistancerangingfrom0.0Ωto3300.0Ω.Atthe500Ω
setting,theCA330sourcesresistancerangingfrom0.00Ωto550.00Ω.Itcanbeusedtocalibrate
a RTD in this range.
4.
Follow the instructions in the Getting Started Guide to connect the CA310 to the target device
using the included lead cable.
5.
Follow the instructions for common operations in the Getting Started Guide, and set the output
valuewiththe▼and▲keys.Thenumberofcountsthatchangewhenthe▼or▲keyis
pressedisdifferentwhentherangeissettoΩandwhenitissettosomeothersetting.
Note
• The CA310 is calibrated excluding the voltage dip in the lead cable.
Load current readings include an error resulting from the lead cable resistance.
• The included binding post can also be attached to the terminal.
• If the excitation current exceeds the upper limit, the source value display blinks.
This manual explains how to use the RTD Calibrator.
Keep this manual in a safe place for quick reference in the event that a question arises.
Changing the Output Mode
1.
Refer to “Keys” in the Getting Started Guide, and set the output mode.
Normaloutput(nodisplay):Thesetvalueisoutput.Theoutputvaluecanbevariedusingthe▼
and▲keys.
Span check ( ):Inadditiontonormaloutput,theoutputcanbevariedinunitsof25%ofthe
span.
Step sweep( ):Theoutputisvariedautomaticallyinstepsof25%ofthespan.
Linear sweep ( ): The output is varied linearly from 0% to 100%.
▲
▲
▲
▲
▲
▲
▲
▲
Press simultaneously to set the output mode.
▲
▲
▲
▲
▲
▲
▲
▲
Increase or
decrease
by 1 count
Increase or decrease
by 100 counts
Increase or decrease in
25% steps of span
Set to 100% of
span
Set to 0% of
span
Output setting for span check
Pressing this when sweeping is
paused sets the output to the
span 0% value.
Sweeping
The output value is varied automatically between 0% and 100% of the specified span. There are
two sweep modes: step and linear.
Time
Output
0%
100%
Sweep time
Time
Output
0%
100%
Sweep time
Step sweep Linear sweep
1.
Set the 0% and 100% of the span, which is the sweep range.
Setthespan0%valueusingthe▼and▲keysandthenpresssimultaneouslythefirstandthe
second▼keysfromtheright.SETisdisplayed,and0%isset.
Likewise,setthespan100%valueusingthe▼and▲keysandthenpresssimultaneouslythe
firstandthesecond▼keysfromtheright.
For details on key operation, see “Keys” in the Getting Started Guide.
2.
Set the output mode to step sweep or linear sweep. The ON indicator blinks.
3.
Press TYPE. Sweeping will start. The ON indicator changes to solid.
Pressing TYPE again pauses sweeping and causes the ON indicator to blink. The displayed
value continues to be output while sweeping is paused.
Pressing TYPE yet again resumes sweeping from the last output value.
Whensweepingispaused,pressingtheleft-most▲keysetstheoutputtothespan0%value.
Changing the Sub Display
The temperature shown on the main display can be displayed using a value converted into a
resistanceorapercentageofthespan.ThisisinvalidwhentherangeisΩ.
▲
▲
▲
▲
▲
▲
▲
▲
Press simultaneously to set the sub display.
CA330
RTD Calibrator
User’s Manual
IM CA330-01Z2
1st Edition
1stEdition:November2015(YMI)
AllRightsReserved,Copyright©2015,YokogawaMeters&InstrumentsCorporation
PrintedinJapan
IM CA330-01Z2


