manuals.online logo
Brands
  1. Home
  2. •
  3. Brands
  4. •
  5. young time
  6. •
  7. Indoor Furnishing
  8. •
  9. young time 212439 User manual

young time 212439 User manual

Page 1 of 4
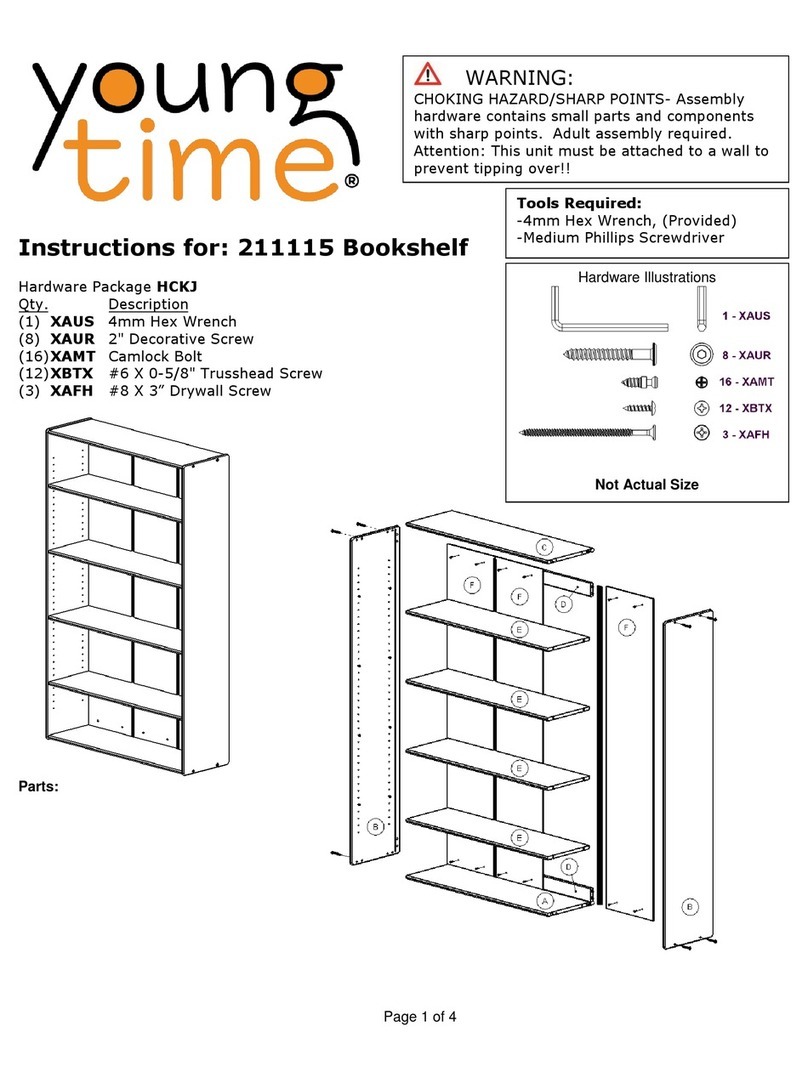
Tools Required:
-4mm Hex Wrench (Provided)
-Medium Phillips Screwdriver
Hardware Included:
Not Actual Size
Instructions for:
212439 Changing Table
Hardware Package HCKK
Qty Description
(12) XAUR 2” Decorative Screw
(8) XAQA ¼-20 x 45mm Bolt
(8) XAQB Cross Dowel
(3) XCPT #8 X 0-7/8" Washerhead Screw
(1)XAUS 4mm Hex Wrench
(1)XFUM Cushion
Parts:
WARNING
CHOKING HAZARD/SHARP POINTS
Assembly hardware contains small parts and
components with sharp points. Adult assembly
required.
FALL HAZARD
Children have suffered serious injuries after falling
from changing tables. Falls can happen quickly.
STAY in arm’s reach of child.
SUFFOCATION HAZARD
Babies have suffocated while sleeping on changing
pads. Changing pad is not designed for safe
sleeping.
NEVER allow baby to sleep on changing pad.
The baby’s maximum weight for use of this product
is 30lbs (14kgs).
Read all instructions before use of this product.
Keep instructions for future use.
Do not use product if it is damaged or broken.
Periodically check and tighten all bolts as needed to
maintain structural integrity of unit.
Page 2 of 4
Assembly Instructions:
1. Align holes in the face of the Top-Awith 2-Guards-B and C. Ensure groove and counter bored holes
are up and Guard with warning label is under back groove as shown. Secure with 4-XAUR Decorative
Screws with 4mm Hex Wrench provided.
2. Align dowels with LH side-Fensuring back groove is aligned with Top. Align and install the Shelf-D
(with rounded edge down) and Bottom-E(with groove aligned with side groove and Floor Glides
exposed) in the same manner. Secure with 4-XAUR Decorative Screws into Side Rails and Shelf
ONLY with 4mm Hex Wrench provided.
Page 3 of 4
3. Slide 2-Backs-Hinto grooves ensuring they are seated in the groove on the Side, Top, and Bottom.
4. Install 3-XCPT screws into the pre-drilled holes in the shelf between the backs. Do not tighten.
5. Align dowels with remaining RH Side-G. Secure with 4-XAUR Decorative Screws with 4mm Hex
Wrench provided. Tighten back screws.
Page 4 of 4
6. Tip unit so Bottom with Floor Glides is up. Insert 8-XAQB Cross Dowels into 10mm holes in the
Bottom and Top. Install 8-XAQA Connector Bolts thru holes in the Sides and into Cross Dowels. Use
a screwdriver if needed to turn/align cross dowel threads for bolt.
7. Stand unit upright. Insert Cushion.

Other young time Indoor Furnishing manuals

young time 211115 User manual

young time

young time 211115 User manual

young time 212536 User manual

young time

young time 212536 User manual

young time 212484 User manual

young time

young time 212484 User manual

Popular Indoor Furnishing manuals by other brands

Milwaukee 48-22-8552 Operator's manual

Milwaukee

Milwaukee 48-22-8552 Operator's manual

on stage KB8802 quick start guide

on stage

on stage KB8802 quick start guide

Safavieh Furniture Ellicott ACC4604A manual

Safavieh Furniture

Safavieh Furniture Ellicott ACC4604A manual

DREAMS Ward Bed Double Assembly instructions

DREAMS

DREAMS Ward Bed Double Assembly instructions

Sharp EBR-2610 user manual

Sharp

Sharp EBR-2610 user manual

Home Decor HD-9555 manual

Home Decor

Home Decor HD-9555 manual

Rauch M2678 Assembly instructions

Rauch

Rauch M2678 Assembly instructions

Costco 319001 Assembly instructions

Costco

Costco 319001 Assembly instructions

LDI Safco 1002 Assembly instructions

LDI

LDI Safco 1002 Assembly instructions

Ameriwood HOME 1871335COM manual

Ameriwood HOME

Ameriwood HOME 1871335COM manual

BUT HERO 4894223226844 Assembly instructions

BUT

BUT HERO 4894223226844 Assembly instructions

Easy Track RB1448 Assembly instructions

Easy Track

Easy Track RB1448 Assembly instructions

2K Furniture Designs ST7634 Assembly instructions

2K Furniture Designs

2K Furniture Designs ST7634 Assembly instructions

homitis TITA Assembly manual

homitis

homitis TITA Assembly manual

Target fairglen TGFGBENCWH Assembly instructions

Target

Target fairglen TGFGBENCWH Assembly instructions

ROOMS TO GO 15128956 manual

ROOMS TO GO

ROOMS TO GO 15128956 manual

Techlink PRISMA manual

Techlink

Techlink PRISMA manual

Minerva 3108 Assembly instructions

Minerva

Minerva 3108 Assembly instructions

manuals.online logo
manuals.online logoBrands
  • About & Mission
  • Contact us
  • Privacy Policy
  • Terms and Conditions

Copyright 2025 Manuals.Online. All Rights Reserved.