Engish •
Find more information at www.zacorobot.eu 3
Contents
Safety Instructions......................................................................................4
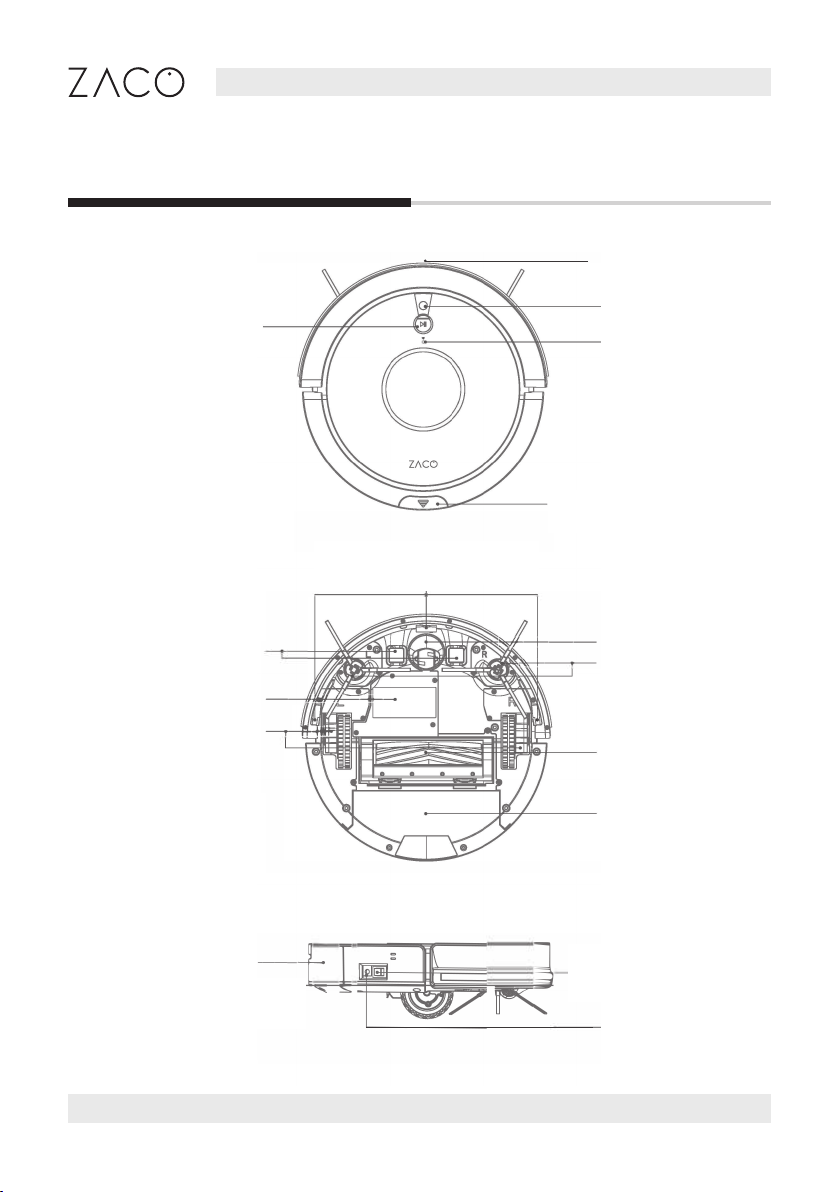
Product Parts ................................................................................................. 6
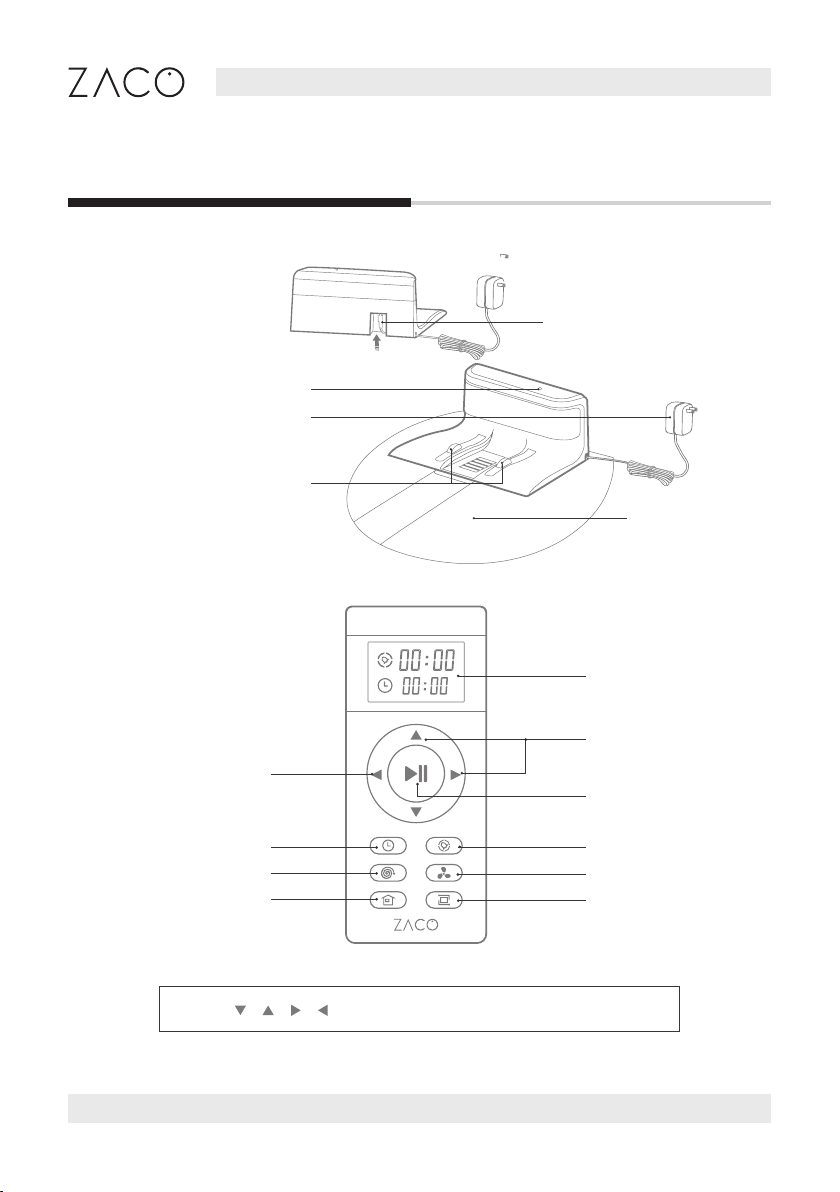
Main body / dust bin / Water tank / Charging dock / Remote control ............6-8
Accessories...........................................................................................................................9
Product operation .....................................................................................10
Charging ............................................................................................................................. 10
Remote control ................................................................................................................. 10
Starting Up / Pause / Sleep ............................................................................................12
Scheduling...........................................................................................................................17
Water tank operation......................................................................................................20
App download and user instruction............................................... 22
Product maintenance .............................................................................23
Main brush maintenance ............................................................................................. 23
Dust bin and lters maintenance ..............................................................................24
Water tank maintenance .............................................................................................. 25
Fall sensors and charging dock ..................................................................................26
Troubleshooting ........................................................................................ 27
Product Specications ..........................................................................28
Contents
Safety Instructions .....................................................................................4
Product Parts ................................................................................................. 6
Main body / dust bin / Water tank / Charging dock / Remote control ............6-8
Accessories ..........................................................................................................................9
Product operation .....................................................................................10
Charging ............................................................................................................................. 10
Remote control ................................................................................................................. 10
Starting Up / Pause / Sleep ............................................................................................12
Scheduling...........................................................................................................................17
Water tank operation......................................................................................................20
App download and user instruction............................................... 22
Product maintenance ............................................................................23
Main brush maintenance ............................................................................................. 23
Dust bin and lters maintenance ..............................................................................24
Water tank maintenance .............................................................................................. 25
Fall sensors and charging dock ..................................................................................26
Troubleshooting ........................................................................................ 27
Product Specications ..........................................................................28
InvisibleWall .................................................................................................29