Zanussi ZCVH4002 User manual

Page(s)
Safety Instructions and Electrical Safety
3 –5
Feature
Diagram 6
Base
Assembly 7
Using
your Convection Heater 8-12
Cleaning
and Care 13
Problem
Solving 14
Guarantee
and Customer Services 15
Spare
Parts 16
Connection
to the Mains Supply 17
Specification
18
Notes
19
Disposable
Information 20
CONTENTS
Page 2

SAFETY INSTRUCTIONS
When using electrical appliances, basic safety precautions should always be observed,
including the following:
•Read all instructions.
•Check that the your mains voltage corresponds with the rating on the appliance.
•This appliance must be positioned upright on the floor away from curtains,
furniture or wall coverings and other flammable items.
•The appliance must not be left unattended while it is connected to the mains
supply.
•Do not touch hot surfaces. Use the handle or the controls.
•To protect against electrical shock do not immerse cord, plug, or appliance in
water or other liquid. Do not operate with wet hands.
•Do not let the cord hang over the edge of a worktop, table etc. or touch hot
surfaces.
•Do not operate any appliance with a damaged cord or plug, or after the appliance
malfunctions or is dropped or damaged in any manner. The supply cord cannot be
replaced. If the cord is damaged the appliance should be scrapped.
•The use of accessory attachments not recommended by the appliance
manufacturer may cause fire, electric shock or injury.
•This appliance must not be immersed in any liquid
•To disconnect remove the plug from the mains outlet. Do not pull the plug out by
the cord.
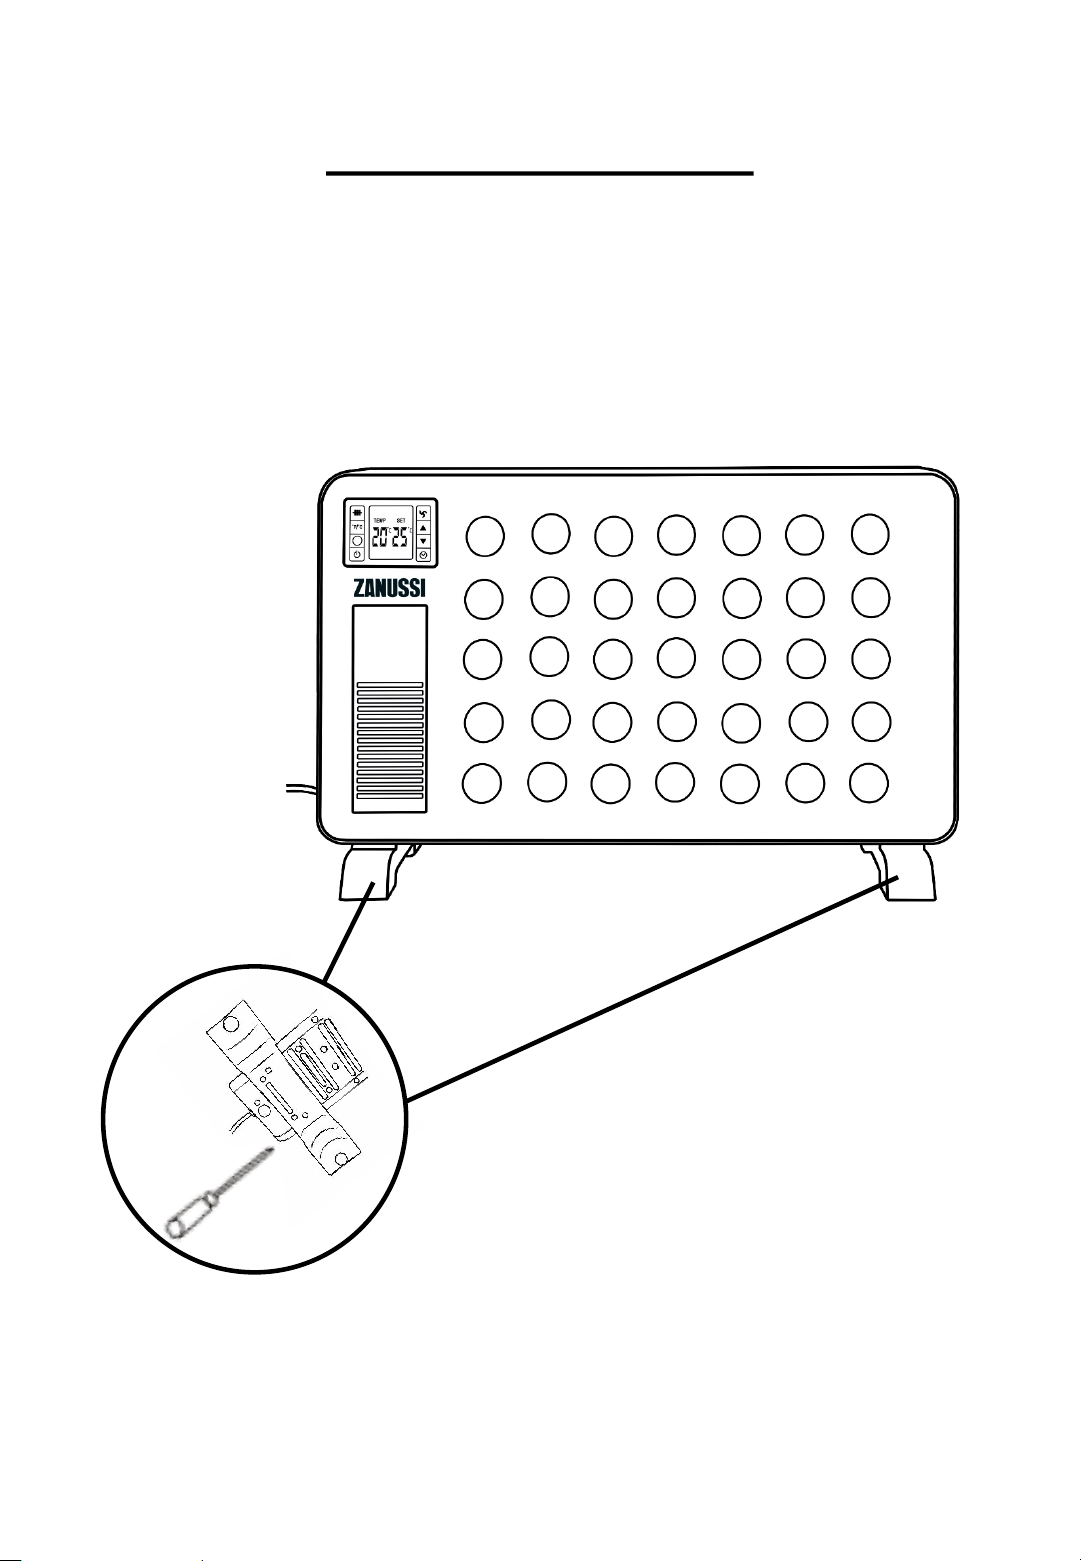
•Never remove parts from the appliance, such as the feet, screws and so on.
•Never use the appliance near a bath, shower or a swimming pool.
•Never place flammable objects or clothing on top of the appliance.
•Allow a 100cm safe area around the appliance on the top and sides and a 150cm
safe area at the front.
•Never use the appliance in a room with explosive gas such as petrol, or while
using any kinds of flammable glues, sprays or solvents.
•Prevent overheating of the appliance by keeping the air inlets and outlets clean
and free of anything that may cause blockage. Check all inlets and outlets regulary
for accumulated dust. DO NOT COVER.
•Do not place any part of your body near the air inlet, outlet or on the fins ,to avoid
personal injury, electric shock or fire.
•If overheating should occur, the built-in overheating safety device will shut the
appliance off.
Page 3

SAFETY INSTRUCTIONS
•Caution: Some parts of this product can become very hot and cause burns. Particular
attention must be given when children and vulnerable people are present.
•Do not insert any foreign objects into the grill.
•Keep all grills clear of any draped fabric or curtains.
•The appliance must not be located immediately below a mains socket. Do not use
the appliance with a programmer, timer or any other device that switches the
appliance on automatically. A fire risk exists if the appliance is covered or positioned
incorrectly.
•Do not operate this appliance for any thing other than its intended use.
•This appliance is not intended for commercial use
•This product is intended for household use only. Do not use outdoors.
•This product is only intended for heating.
•Warning: It is hazardous for anyone other than a competent person to carry out any
service or repair operation which involves the removal of a cover which gives
protection against exposure to electrical parts.
•Warning: Children of less than 3 years should be kept away unless continuously
supervised.
•Children aged from 3 years and less than 8 years shall only switch on/off the
appliance provided that it has been placed or installed in its intended normal
operating position and they have been given supervision or instruction concerning
use of the appliance in a safe way and understand the hazards involved.
•Children aged from 3 years and less than 8 years shall not plug in, regulate and clean
the appliance or perform user maintenance.
•Warning: This appliance is not intended for use by persons (including children) with
reduced physical, sensory or mental capabilities, or lack of experience and
knowledge, unless they have been given supervision or instruction concerning use
of the appliance by a person responsible for their safety. Children should be
supervised to make sure that they do not play with or use the appliance.
•Warning: In order to avoid overheating, do not cover the heater
Page 4

SAFETY INSTRUCTIONS
Electrical Safety
THIS APPLIANCE MUST BE PLUGGED INTO AN EARTHED SOCKET
•Before switching on, make sure that the voltage of your electricity supply is the same
as that indicated on the rating plate. This product is designed to operate on 220 -
240V AC; 50Hz. Connection to any other power source may damage the unit.
•This product may be fitted with a non re-wireable plug. If it is necessary to change
the fuse in the plug, the fuse cover must be refitted. If the fuse cover becomes lost or
damaged, the plug must not be used until a suitable replacement is obtained.
•If the plug has to be changed because it is not suitable for your socket, or becomes
damaged in any way, it should be cut off and an appropriate plug fitted. This should
be carried out by a qualified electrician. The plug removed must be disposed of
safely, as insertion into a 13 Amp socket is likely to cause an electrical hazard.
Page 5

BASE ASSEMBLY
Page 7
Before using the heater, the feet must be fitted to the unit.
These are to be attached to the base of the heater using the 4
screws provided. Carefully lie the heater on its side and insert
the screws, taking care to ensure that they are located
correctly in the bottom ends of the plastic mouldings.

Display & controls
Page 8
1
2
3
4
6
7
8
59
1. LCD Display
2. Heat setting button
3. ⁰F/⁰C temperature setting
button
4. Remote control infrared sensor
5. Power button
6. Fan button
7. Up control button
8. Down control button
9. Timer button
USING YOUR CONVECTION HEATER

Remote control
USING YOUR CONVECTION HEATER
Page 9
1
2
3
4
5
1. Power button
2. Fan button
3. ⁰F/⁰C temperature setting button
4. Up temperature control button
5. Timer button
6. Heat setting button
7. Down temperature button
6
7

Page 10
MANUAL OPERATION
1. Before connecting your appliance to the mains socket,
position the appliance upright on the floor, at least 100cm
away from the wall, away from curtains, furniture or wall
coverings.
2. Insert the mains plug into a suitable 13 amp mains socket.
3. Turn on the power switch on the left hand side of the unit.
4. Touch the power button on the unit or the power button
on the remote control to power on the unit. The
temperature of the unit will be at its highest setting
5. Touch the heat setting button on the unit or the remote
control and select the heat setting you require. The
appliance has 4 power settings and these will be shown on
the LCD display: 1000W, 1300W, 2300W and Frost
protection. The Frost protection is a setting that operates
when the ambient temperature of the room that the
heater has been placed in falls below 5⁰C. The heater
automatically turns on at an appropriate heat setting to
keep the room temperature at 5⁰C or higher. This means
the heater may cycle on and off as and when the
temperature of the room is below or over 5⁰C
6. Select the required temperature by using the ‘˄’ and ‘˅’
buttons on the unit or the remote control. It is
recommended to select the highest temperature to pre
heat the appliance. It will take 5 - 10 minutes for the
appliance to fully heat up. The thermostat has a range of
5⁰C -37⁰C.
7. When the room reaches the desired temperature, the
radiator will cycle off and turn on again when the
temperature drops.
USING YOUR CONVECTION HEATER

Page 11
8. If the room temperature falls below the desired
temperature, the heating elements will turn on again until
the room temperature reaches the desired temperature.
Note: this heater will cool down slowly after the power is shut
off. Allow the heater to cool prior to any movement, the built
in carry handles should be used for easy movement.
TIMER
1. The heater has a 24 hour timer and it can be set between
1 and 24 hours.
2. To set the timer touch the timer button on the unit or the
remote control. The display will show ‘Timer 1h 00m’,
touch the timer button again and the display will show
‘Timer 2h 00m’. This indicates a timer setting of 2 hours
and if no button is touched then this will be set and the
unit will shut off in 2 hours.
3. Note, the heat setting and temperature setting can be
changed after the timer setting has been confirmed.
4. To cancel the timer setting you can either change the timer
setting so the display is blank or touch the power button to
turn the unit off.
FAN
1. The heater has a fan with a single speed setting. To turn
the fan on during operation touch the button on the
unit or the remote control.
2. This will propel the air over the heating elements in the
unit and increase the speed in which the unit heats up the
room it is placed in.
USING YOUR CONVECTION HEATER

Page 12
⁰F/⁰C TEMPERATURE SETTING
1. The temperature of the heater can be shown in ⁰F or ⁰C.
Touch the ⁰F / ⁰C button to change the temperature on
the display to either ⁰F or ⁰C. The default setting is ⁰C.
LCD DISPLAY
1. The LCD display will show the ambient temperature of the
room it is placed in and the temperature it has been set to
reach.
2. The display will also show the heat setting that has been
selected, if the timer has been selected/set and if the fan
has been selected.
Safety Protective Devices - The appliance is fitted with an over
heat protection system.
•Overheat protection - the power to the heating elements
will automatically cut off if the temperature of the heating
elements exceeds a certain limit. In the event of
overheating, the heater will stop operating. Once the
appliance has completely cooled the appliance will then
resume operating as normal.
USING YOUR CONVECTION HEATER

CLEANING AND CARE
Page 13
WARNING: Electrical Shock Hazard.
Before you clean the appliance, disconnect the mains plug from
the wall socket.
•Allow the appliance to cool down completely before
cleaning.
•Do not immerse cord, plug or appliance in any liquid or allow
moisture to come into contact with electrical parts.
•Clean the outer surface using a moist cloth and wipe over
with a dry, soft cloth.
•Do not use harsh detergents, abrasives or spray on cleaners.
•Don’t allow water to seep into the openings or come into
contact with electrical connections.
•Allow sufficient drying time before operating again.
•Clean the air inlets and outlets regularly with a vacuum
cleaner using the brush attachment (with regular use, at
least twice a year).
•When the appliance is not in use. We recommend that, the
heater is re-packed in its original packaging and stored in a
cool, dry place.

PROBLEM SOLVING
Page 14
My appliance does not work when I turn it on:
1. Check that your appliance is plugged in and the power is
turned on at the mains socket.
2. Try another mains socket.
3. Check the appliance is in an upright position.
4. Check that the heat and temperature setting has not been
set too low.
5. If the appliance still doesn’t work, do not try to repair it
yourself.
6. Check the timer setting (if your model has a timer).
If your appliance power is automatically cut off, follow the step
below:
1. Unplug your appliance from the mains socket and allow it to
completely cool down.
2. Inspect your appliance. Clean the air inlet and air outlet with
a vacuum cleaner if necessary. If there are any signs of
physical damage (e.g. melting, or burning of the case), do
not attempt to use the appliance. Please leave all
maintenance work to qualified personnel.
3. Plug in the appliance and switch it on again. If it cuts off
again, move the appliance to a better ventilated location.

At Zanussi, we take all our customer feedback seriously.
Feel free to contact our Customer Service Team, on 0330 1230 597,
who will be more than happy to assist you.
This product is guaranteed for 12 months from the date of the original
purchase. If any defect arises due to faulty materials or workmanship,
the faulty product must be returned to the place of purchase.
Refund or replacement is at the discretion of the retailer.
The following conditions apply:
• The product must be returned to the retailer with the original proof of
purchase.
• The product must be installed and used in accordance with the
instructions contained in this instruction guide and any other
instructions for use which are supplied.
• It must be used for domestic purposes only and for its intended use.
• This warranty does not cover wear and tear, damage, misuse or
consumable parts.
This does not affect your statutory rights.
GUARANTEE AND CUSTOMER
SERVICES
Page 15
For Customer Services & Spare Parts please call 0330 1230 597
Or visit us at www.zanussiheatingandcooling.uk

SPARE PARTS
Page 16
To check the availability of the following spare parts, simply
contact our friendly Customer Services team using the details
provided at the bottom of this page.
For Customer Services & Spare Parts please call 0330 1230 597
Or visit us at www.zanussiheatingandcooling.uk
Feet and screws
Remote control

CONNECTION TO THE MAINS
SUPPLY
Page 17
This appliance is designed to operate from a mains supply of
220-240V~50Hz.
Check that the voltage marked on the product corresponds
with your supply voltage.
How to change the fuse
1. Slot the end of a screwdriver into the recess in the fuse
holder of the plug.
2. Pull the fuse holder upwards until free of the plug and slide
the fuse out.
3. Replace the fuse and replace fuse holder, pushing down
until locked into place.
Important: Only ever use a 13 amp fuse.

SPECIFICATION
Page 18
Model number ZCVH4002
Rated voltage 220V -240V ~ 50Hz
Power consumption 2300W
Product dimensions (CMS) (H)43 x (W)69 x (D)20
Model number
ZCVH4002
Item Symbol Value Unit Item Unit
Heat output
Type of heat input, for electric storage local space heaters only
Nominal heat
output
Pnom 2.3 kW
manual heat charge control, with
integrated thermostat
NA
Minimum
heatoutput
(indicative)
Pmin 0.0107 kW
manual heat charge control with
room and/or outdoor temperature
feedback
NA
Maximum
continuous heat
output
Pmax,c 2.3 kW
electronic heat charge control with
room and/or outdoor temperature
feedback
NA
fan assisted heat output
NA
Auxiliary electricity consumption
Type of heat output/room temperature control
At nominal heat
output
elmax N/A kW
single stage heat output and no
room temperature control
No
At minimum heat
output
elmin N/A kW
Two or more manual stages, no
room temperature control
No
In standby mode
elSB 0.0006 kW
with mechanic thermostat room
temperature control
No
with electronic room temperature
control
Yes
electronic room temperature
control plus day timer
No
electronic room temperature
control plus week timer
No
Other control options (multiple selections possible)
room temperature control, with
presence detection
No
room temperature control, with
open windowdetection
No
with distance control option
No
with adaptive start control
No
with working time limitation
No
with black bulb sensor
No
Contact details
G2S LIMITED
WIGAN, WN2 4AY

NOTES
Page 19

Revision 1
Model: ZCVH4002
This symbol is known as the 'Crossed-out wheelie bin Symbol'.
When this symbol is marked on a product/batteries, it means that
the product/batteries should not be disposed of with your general
household waste. Only discard electrical/electronic/battery items
in separate collection schemes, which cater for the recovery and
recycling of materials contained within. Your co-operation is vital
to ensure the success of these schemes and for the protection of
the environment. For your nearest disposal facility, visit
www.recycle-more.co.uk or ask in store for details.
We reserve the right, due to possible changes to design, to alter
the instruction manual without prior notice.
For Customer Services & Spare Parts
please call
0330 1230 597
Or visit us at
www.zanussiheatingandcooling.uk
ZANUSSI is a registered trademark used
under license from AB Electrolux (publ).
Made under license by G2S Limited, Wigan,
WN2 4AY.
Page 20
Table of contents
Other Zanussi Heater manuals
Popular Heater manuals by other brands

Brant Radiant Heaters
Brant Radiant Heaters HL3 Series user manual

Oceanic
Oceanic Apollo Assembly and operating manual

Jaga
Jaga BRIZA 041 Wall Mounting instructions

USSC
USSC Ashley EC95 Installation, operation and maintenance instructions

IKA
IKA C 1.20 operating instructions

Outsunny
Outsunny 842-274V90 user manual