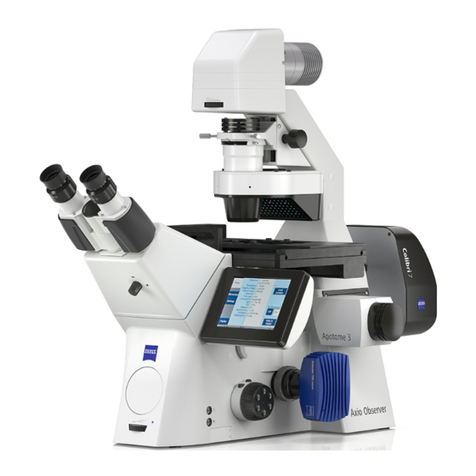
Manual Zeiss LSM 900
Erasmus Optical Imaging Centre document version #1
Tile module
See Picture A next to microscope for yellow numbers
Making an overview: Decide if you want to make an overview. If not: go to Tile-scan with high
magnification
1. Decide if you want to make an overview with the 5X-lens (mostly used to see where tissue or
cells are with 1 color) or the 10X-lens (more detailed information and better if you want to see
more than 1 color)
2. Change to the correct lens (make sure you remove any oil if necessary)
3. Click on the arrowhead next to ‘Default-EMC’ (1) and open either ‘5X-overview-diag-coupe’
(whole slide, rectangle coverglass), ‘5X-overview-cells’ (round coverglass) or ‘10X-overview-line-
4colors’
4. Turn off the colours you don’t want to use in ‘Channels’ (2)
5. When necessary check on ‘Tiles’ (3), open the ‘Tiles’ window and click on ‘Show viewer’ (4)
6. Zoom out until you see the contours of the slide; the blue cross is where the image will be made
at this moment.
7. You can move the table by double clicking in the contour of the slide
5X-overview:
1. When necessary click on the tile and adjust the size with the white edges (5). You can move the
tile by clicking on the cross (6), hold it and move it.
2. In ‘Channels’ (2) activate a track you want to record, press ‘Live’, focus and adjust the settings.
Do this for all tracks you want to record.
3. In the ‘Tiles’-window right-click on the tile (TR1) (7) and click ‘Set current Z for selected tile
regions’.
4. In the Tile-viewer click ‘Preview’ (8), check off ‘Use experiment settings’ (9) and choose if you
want to ‘Delete Existing Preview Images’ (10)
5. Turn off the channels (11) you don’t want to record by clicking on the name and click ‘Start’
(12). You can stop the scanning whenever you want.
10x-overview:
6. In ‘Channels’ (2) activate the channel you want to record, press ‘Live’, focus and adjust the
settings.
7. Make a new tile by doing one of these options:
8. Click on the square with the plus (13) and define a tile by numbers at x and y, click ‘Add tile
region’
9. Click on the square with the plus (13), click on the circle and define a tile by either number of
tiles or diameter in um, click ‘Add Tile Region’
10. Click on the square without the plus (14), choose rectangle, circle or freehand and draw a region
11. You can define more than 1 region
12. In the tile-window at ‘tile-regions’ (4) a new tile appears. When the tile is checked off the tile
will not be visible in the tile-viewer and will not be recorded.
13. In the ‘Tiles’-window right-click on the tile (TR+nr, 7) and click ‘Set current Z for selected tile
regions’. When you have more regions/tiles you can click “verify” and check the Z-settings for
every region or tile.
14. In the Tile-viewer click ‘Preview’ (8), check off ‘Use experiment settings’ (9) and choose if you
want to ‘Delete Existing Preview Images’ (10)
15. Turn off the channels (11) you do not want to record by clicking on the name and click ‘Start’.
