Advertorial
Application Report
MATERIALS WORLD August 2009 41
Quantification of non-metallic
inclusions in steel
EN10247 – Challenges and opportunities
Recent years have shown a tremendous
increase in global steel production. In
2007 approximately 1,344 billion tons of steel
have been sold in the marketplace with new
manufacturers entering the market to meet the
growing demand. However the applications
still vary with respect to the properties of the
steel and range from standard construction to
use in technical high-end products (i.e.
Aerospace). It is within this last segment
where quality is crucial and minor impurities
or defects can cause failure to a component
under peak stress or even in routine
conditions. Consequently quality control in
production and the purchase of steel has
gained importance in high end applications as
the market offers a wider range of products
than in the past.
One of the basic quality issues in steel
production is "cleanliness". During the
manufacturing process different influencing vari-
ables may cause impurities within the product.
These predominantly non-metallic inclusions
may stem from covering slag on top of the cast
or cladding of the oven. Besides these
externally produced inclusions, internally
generated inclusions may occur through added
alloy elements or side reactions with
precipitating gases. These inclusions can
decrease the steel quality and determine the
field of application of the steel. Oxide inclusions
for example have a significant higher hardness
than the surrounding steel matrix. This could
lead to notch effects within a component under
stress conditions causing cracks and finally
failure. Non-metallic inclusions considerably
affect the mechanical properties of steel and
impact toughness and fatigue stress. Other
important properties such as ductility,
machinability, tribologic properties, surface
quality and physical properties may strongly
vary due to the inclusion content. Different
behavior in thermal expansion of the inclusion
and surrounding steel matrix for example may
lead to the creation of micro-voids initiating
cracks and failure.
To avoid failure of components in high-end
critical applications and to prevent associated
financial consequences due to legal claims an
optimum quality in the steel manufacturing
and processing industry must be met.
A new European standard EN10247 has been
released to cover quality assessment of steel not
only manually, but with the aid of an automated
microscope system using digital camera
technology and image analysis. The EN10247
aims to support high throughput analysis for
routine measurement of the inclusion content in
steel. The new European standard is based on
mathematical relations of inclusions favoring an
automated analysis over the time consuming and
possibly error prone manual inspection method.
Microscope manufacturers have been included in
the process of creating this new standard
providing system solutions as the EN10247
takes effect.
To adequately determine the quality of a
steel sample with an automated microscope,
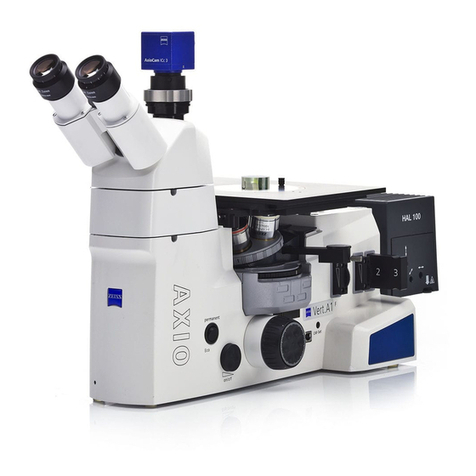
such as the Axio Imager.Z2m from Carl Zeiss,
sample preparation needs to meet new
Go to www.iom3.org/marketplace
requirements. Samples with minor preparation
imperfections, to a certain extent, can still be
analyzed manually as the human eye remains
superior in detecting artifacts. As for
automated analysis the quality of preparation
is of major importance. The optimal planarity
of a micro section along with a surface free of
stains and scratches is decisive. Although the
state of the art software as the AxioVision
Module NMI provides sophisticated
algorithms to overcome insufficient planarity
and even excludes remaining scratches from
the evaluation, a proper sample preparation
remains irreplaceable. This guarantees
efficiency and cuts down laborious post
processing. Furthermore it provides highly
reproducible and stable results which can not
be matched by manual inspection.
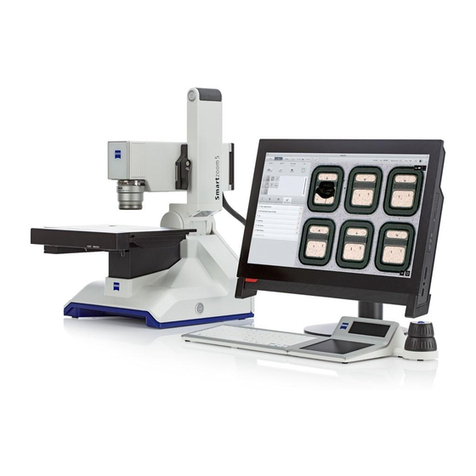
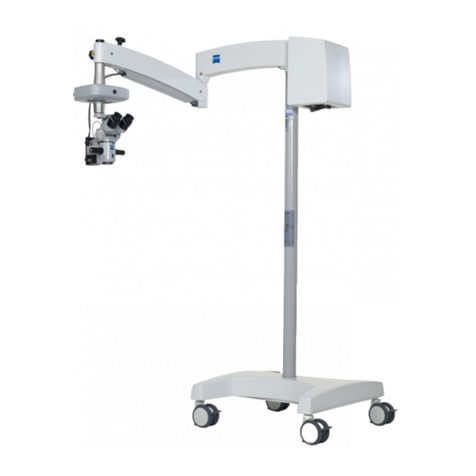
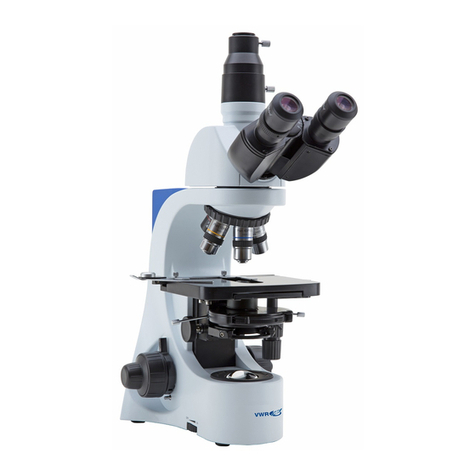
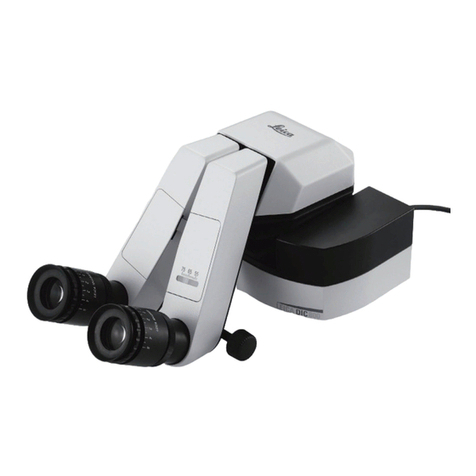
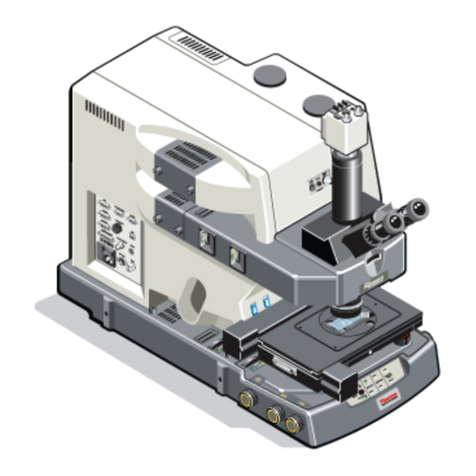
The complete microscope system for
automated analysis of non-metallic inclusions
provided by Carl Zeiss consists of the
Axio Imager series microscope with excellent
optics and equipped with a digital camera, a
motorized stage, PC and software. The system
is designed for automatic scanning of a sample
area of 200 mm2, even for several samples, as
required in the EN10247. Within the AxioVision
software the module NMI provides a guided
workflow for user friendly operation in daily
routine. Optimized for a special requirement the
system is also suitable for many other
applications in a materials testing lab.
Volker Pusch
University of Aalen, Germany
Research Group Materials Engineering
Scanning electron microscopic image of a 5µm
oxide inclusion as a failure initiating site.
The component failed due to a fatigue crack
which was originated at the top of the unwanted
feature in the microstructure within the (535A99)
100Cr6 matrix.
NMI measurement and System NMI. The left hand side shows a tile image of a processed measurement:
A critical line of oxide inclusions of 160µm in length (see magnified inset on the left) that has been both
automatically detected by the system and combined into one inclusion stringer according to the
standard. The right hand side shows a System NMI based on an Axio Imager.Z2m

