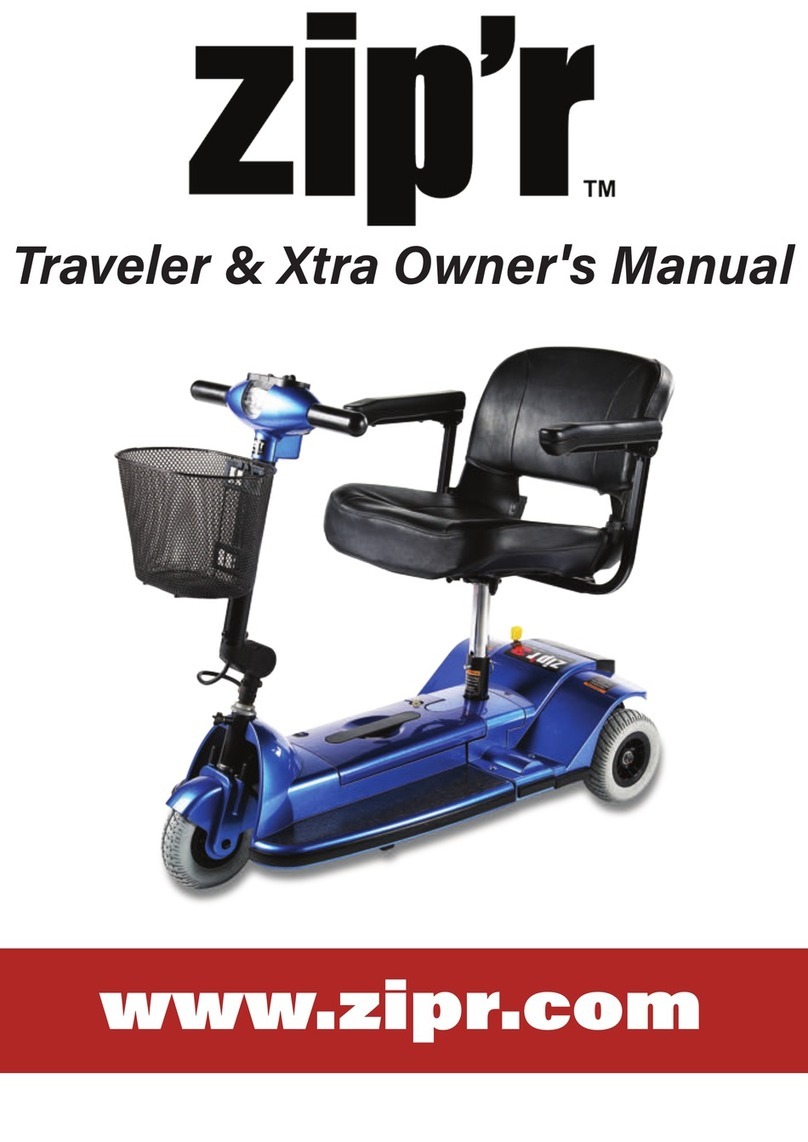
Zipr Truss User manual


1
Warnings / Uses.
Intended Use:
limited to a seated position that have the capacity to operate a rollator walker.
The Zipr Truss Rollator Walker is designed to aid users in walking. It may be used both indoors
and outdoors on flat surfaces. It is intended for use by a single individual with a maximum
weight of 300 lbs.
The user should possess the necessary physical, visual and cognitive skills in order to operate
the rollator safely. If there is any doubt, please consult your dealer / prescriber.
It is important that the user reads and understands the safety advice given within this manual
before attempting to operate the product. This advice aims to avoid possible injury to the user or
bystanders and avoid damage to the rollator or surrounding property.
ons and product information
alterations as they become necessary. Any changes to our products may cause slight variations
between the illustrations and explanations in this manual and the product you have purchased.
The latest/current version of this manual is available on zipr.com.
For customer support please fill out the contact us form on www.zipr.com
MY AUTHORIZED DEALER: _______________________________
DEALER TELEPHONE #: _______________________________
Truss Serial #: _______________________________
(Located on the left base of the rollator)

2
Table of Contents
Safety Guidelines ................................................................................................................... 2
General ................................................................................................................................. 2
Your Rollator Walker ............................................................................................................. 3
Assembly ............................................................................................................................... 4
Care And Maintenance .......................................................................................................... 6
Warranty............................................................................................................................... 7
Product Safety Symbols
The symbols shown below are used on the rollator walker to identify warnings, mandatory
actions, and prohibited actions. It is very important for you to read and understand them
completely.
Safety Guidelines
WARNING! Indicates a potentially hazardous condition/situation. Failure to follow
designated procedures can cause either personal injury, component damage, or
malfunction.
MANDATORY! These actions should be performed as specified. Failure to perform
mandatory actions can cause personal injury and/or equipment damage.
PROHIBITED! These actions are prohibited. Prohibited actions should not be
performed at any time or in any circumstances. Performing a prohibited action can cause
personal injury and/or equipment damage.
General
MANDATORY! Do not operate your new rollator walker for the first time without
Your rollator walker is designed for use as a walking aid meant to assist users while walking. If a
large amount of force is placed on the rollator walker even when the brakes are locked in
position, the rollator may move. Always exercise caution when using
extensive array of products to best fit the individual needs of users. Please be aware that the
final selection and purchasing decision regarding the type of rollator walker to be used is the
responsibility of the rollator walker user who is capable of making such a decision and his/her
healthcare professional (i.e., medical doctor, physical therapist, etc.)
The contents of this manual are based on the expectation that a mobility device expert has
properly fitted the rollator walker to the user and has assisted the prescribing healthcare
professional and/or the authorized provider in the instruction process for the use of the product.
There may be certain situations, including some medical conditions, where the rollator walker
user will need to practice operating the rollator walker in the presence of a trained attendant. A
trained attendant can be defined as a family member or care professional specially trained in
assisting a rollator walker user in various daily living activities.

3
As you begin using your rollator walker during daily activities, you will probably encounter
situations which you will need some practice. Simply take your time and you will soon be in
confident control as you maneuver through doorways, on and off elevators, up and down ramps.
Truss
Truss Walker.
Provided below are some precautions, tips, and other safety considerations that will help you
become accustomed to operating the rollator walker safely.
WARNING! Do not use a strong corrosive cleaner on the products surface!
WARNING! Do not leave your rollator walker outside in rainy conditions!
MANDATORY! Prior to sitting down on the seat, lock both brakes to prevent the
rollator from sliding!
MANDATORY! Do not hang any weighted items on any part of the frame as it may
cause the rollator to become unstable!
PRE-RIDE SAFETY CHECK:
Get to know the feel of your rollator walker and its capabilities. We recommend that you perform
a safety check before each use to make sure your rollator walker operates smoothly and safely.
Perform the following inspections prior to using your rollator walker:
Check to ensure that the rollator walker is fully unfolded with the frame securely locked
into position.
Check to ensure that the castor wheels are secured.
Check the brakes to ensure they operate properly.
Check the condition of the tires. Make sure they are not damaged or excessively worn.
Your Rollator Walker
Truss rollator walker consists of the following major components listed in the diagram
below.

4
Assembly
Figure 1. Truss rollator walker from
its packaging. Install the front wheels by pressing the red button
while interesting the wheel. Insert and lock the front wheels into
place.
Figure 2. Assemble the rear wheels by inserting the rear leg of
the rollator into the mainframe. You will hear a click when
inserted, afterwards secure the rear leg to the mainframe by
screwing the two pieces into place using the provided bolt.
Figure 3. Open the seat to your rollator walker by pushing down
on both sides of the seat as shown. When you hear a click from
both sides the seat has snapped into place.
Figure 4. Lower the brake handles in its most downward position.
This will lock the brake.

5
Figure 5. Insert the buckle for the backrest into its slot. Ensure
that the buckle is pressed downward in the lowest position. Do
this for both sides.
Setting The Proper Height
Make sure it your rollator walker seat is fully open and locked
(see image on locking the rollator) securely in place making the
frame rigid.
1. Stand upright with your arms resting at your sides. Adjust
the rollator so that the textured grips are at wrist height.
2. To adjust the height of the rollator, press the spring
button located on each side of the rollator. Ensure that
the height is locked.
3. Your elbows should be bent slightly when griping the grip
at 15-20 degrees.
Brake Operation & Adjustment
Squeeze both brake handles to slow the rollator walker.
Pushing down on each brake handle will lock the rear wheels.
To increase or decrease the brake tension either
a. Turn the adjustment screw counterclockwise
to increase tension and lock the adjustment
by turning the locking nut clockwise.
b. Turn the adjustment screw clockwise to
decrease tension and lock the adjustment by
turning the locking nut clockwise.
WARNING! If brake adjustment tension is low this may cause the rollator to move even
when locked.

6
Care And Maintenance
Truss Rollator requires a minimal amount of maintenance. The following are the
maintenance items that should be followed to ensure that your rollator walker is both safe and
operational.
Daily
Always store your rollator in a warm and dry climate-controlled environment.
Always lock in the brakes when getting on and off the scooter. It will ensure extra
stability and keep it from rolling away.
Cleaning
The rollator is made from durable metals along with ABS plastic. The rollator can be
cleaned using a damp towel.
A damp cloth can be used to clean the seat and backrest, ensuring that the backrest and
seat are dry prior to sitting on your rollator.
PROHIBITED! Do not apply rubber conditioner on the tire tread; this may cause the
tires to become dangerously slippery.
PROHIBITED! Do not use a rubber or vinyl conditioner on the walkers seat or backrest,
doing so may cause the surfaces to become dangerously slippery resulting in personal
injury and/or damage to your rollator.
Maintenance
Keep the rollator walker stored indoors to avoid moisture and rust.
Regularly check the tires for wear and replace if worn.
Do not use a water hose or power sprayer to clean the knee scooter.
Make sure all nuts and bolts are tight.

7
Warranty
If you purchased a warranty from an authorized dealer, contact your dealer directly for
warranty below applies to your rollator walker
Warranty Registry
requires that customers register their product on Zipr.com within 30 days of
purchase for the warranty to be valid.
Customers that fail to register their product within 30 days of purchase will have a
ible for any claims and damages of
How Do I Register My Warranty?
On zipr.com click on the Product Registry tab. Fill out the corresponding information
attached & click submit.
One-Year Limited Warranty:
One year warranty on structural frame components; including platform, fork, and frame.
Customers will need to contact their own Repair/Service Technicians for any
mechanical work to be done due to
If you would like a list
of Repair/Service Technicians, which have been provided to Zip'r by several customers,
be accepted.
Warranty Exclusions:
The following are wearable components and not warranted
Brake Pads
Brake Cables
Tires & Wheels
Brake Levers
Seats
Storage Bags
Backrests
Other Items Not Warranted:
Repairs and/or modifications made to any part of the walker without specific and prior
calls, and shipping costs and other charges incurred for repair of the product.

8
There is no other express warranty. Implied warranties, including those of
merchantability and fitness for a particular purpose, are limited to one (1) year from the
date of original purchase and to the extent permitted by law. Any and all implied
warranties are excluded. This is the exclusive remedy. Liabilities for consequential
damages under any and all warranties are excluded.
Some states do not allow limitations on how long an implied warranty lasts or exclusion
of limitation of incidental or consequential damages.
All warranty claims must be accompanied by proof of purchase, order number and
product serial number (if applicable). Please keep a copy of your original purchase
receipt and serial number (located under battery box) for warranty claims and/or product
reference.
Warranty is only valid for products purchased, registered within 30 days of purchase,
and shipped within the continental USA.
Zip'r Mobility contact information:
Web site: www.zipr.com
For customer support please fill out the contact us.
Table of contents
Other Zipr Mobility Aid manuals
Popular Mobility Aid manuals by other brands

Rehasense
Rehasense SERVER Service manual

WeWALK
WeWALK SMARTCANE user manual

Comfort Company
Comfort Company BodiLink E0955 User guide and manual

Direct Healthcare Group
Direct Healthcare Group GATE Bure Double 2.0 Technical manual

ergolet
ergolet Solar/185 User instruction

Pressalit Care
Pressalit Care R8073 Operation and maintenance manual

panthera
panthera Bambino 3 Assembly instructions

Schuchmann
Schuchmann till Instructions for use

Invacare
Invacare Single Density Cushion Installation and operating instructions

DEMARTA VIRGINIO
DEMARTA VIRGINIO 02.02.357U user manual

Mopedia
Mopedia RP180S instruction manual

Lumex
Lumex LIGHTWEIGHT RIGID WALKER 1925A datasheet