ZOpid HF-ZW104B User manual

10.4” LCD Digital Photo Frame
HF-ZW104B
The pictures, diagrams and certain functions described in this manual may differ from the
actual product due to different models.
USER MANUAL
Visit www.hittusa.com to check if an updated user manual is available
Updated 10-4-10

- 2 -
SAFETY AND GENERAL INFORMATION
IMPORTANT
INFORMATION
ON
SAFE
AND
EFFICIENT
OPERATION
OF
THIS
PRODUCT
Before operating your Digital Frame, please read all these safety and operating instructions completely
and then retain for future reference.
Keep all parts and accessories out of children’s reach
The Digital Picture Frame is for indoor use only.
Never cover the digital frame, while in use, (e.g. with clothes, towels or blankets).
Position the digital frame and AC adapter to allow adequate ventilation.
Never use or place digital frame in moist places or near water. For example, do not use near a
bathtub, washbowl, laundry tub, kitchen sink, in a wet basement, etc.
To prevent overheating, keep the digital frame and AC adapters away from heat sources such as
radiators, heat registers, stoves or other appliances (including amplifiers), which produce heat.
Keep digital frame out of direct sunlight.
Do not store in very cold areas. When the system warms up, the moisture can form inside the
case, which may damage electronic circuit boards.
Do not attempt to open the case. Non-expert handling of the device may damage the system.
Avoid dropping or strong shocks.
Disconnect the AC adapter from wall outlets during long periods of non-use.
Use only the AC adapters provided. Use of any others may damage the digital frame.
If traveling abroad, make sure that the voltage shown on the power adapters corresponds to the
local power, before plugging in the AC adapters into the electric outlets.
CLEANING THE LCD SCREEN
Treat the screen gently; if not handled properly, the screen on the Digital Picture Frame
can be scratched or broken.
If fingerprints or dust make the LCD screen dirty, we recommend using a soft, non-
abrasive cloth such as a camera lens cloth to clean the LCD screen.
If you use an LCD Cleaning Kit sold on the market, apply the cleaning liquid to the cloth
and not directly to your LCD screen.

- 3 -
TABLE OF CONTENT
Introduction ................….........................................................………….........……............... 4
Main Features ..........….......................................………………............................................ 4
Optional Features ...…...........................…………................................................................ 4
Package Content ..….....…………………............................................................................. 4
Setting up Frame ......................................................……………………….......................... 5
Controls & Memory Card Slots ……......………………......................................................... 5
Remote Control Buttons Descriptions………………................................…......................... 6
Inserting Memory Cards .....................................................………………........................... 6
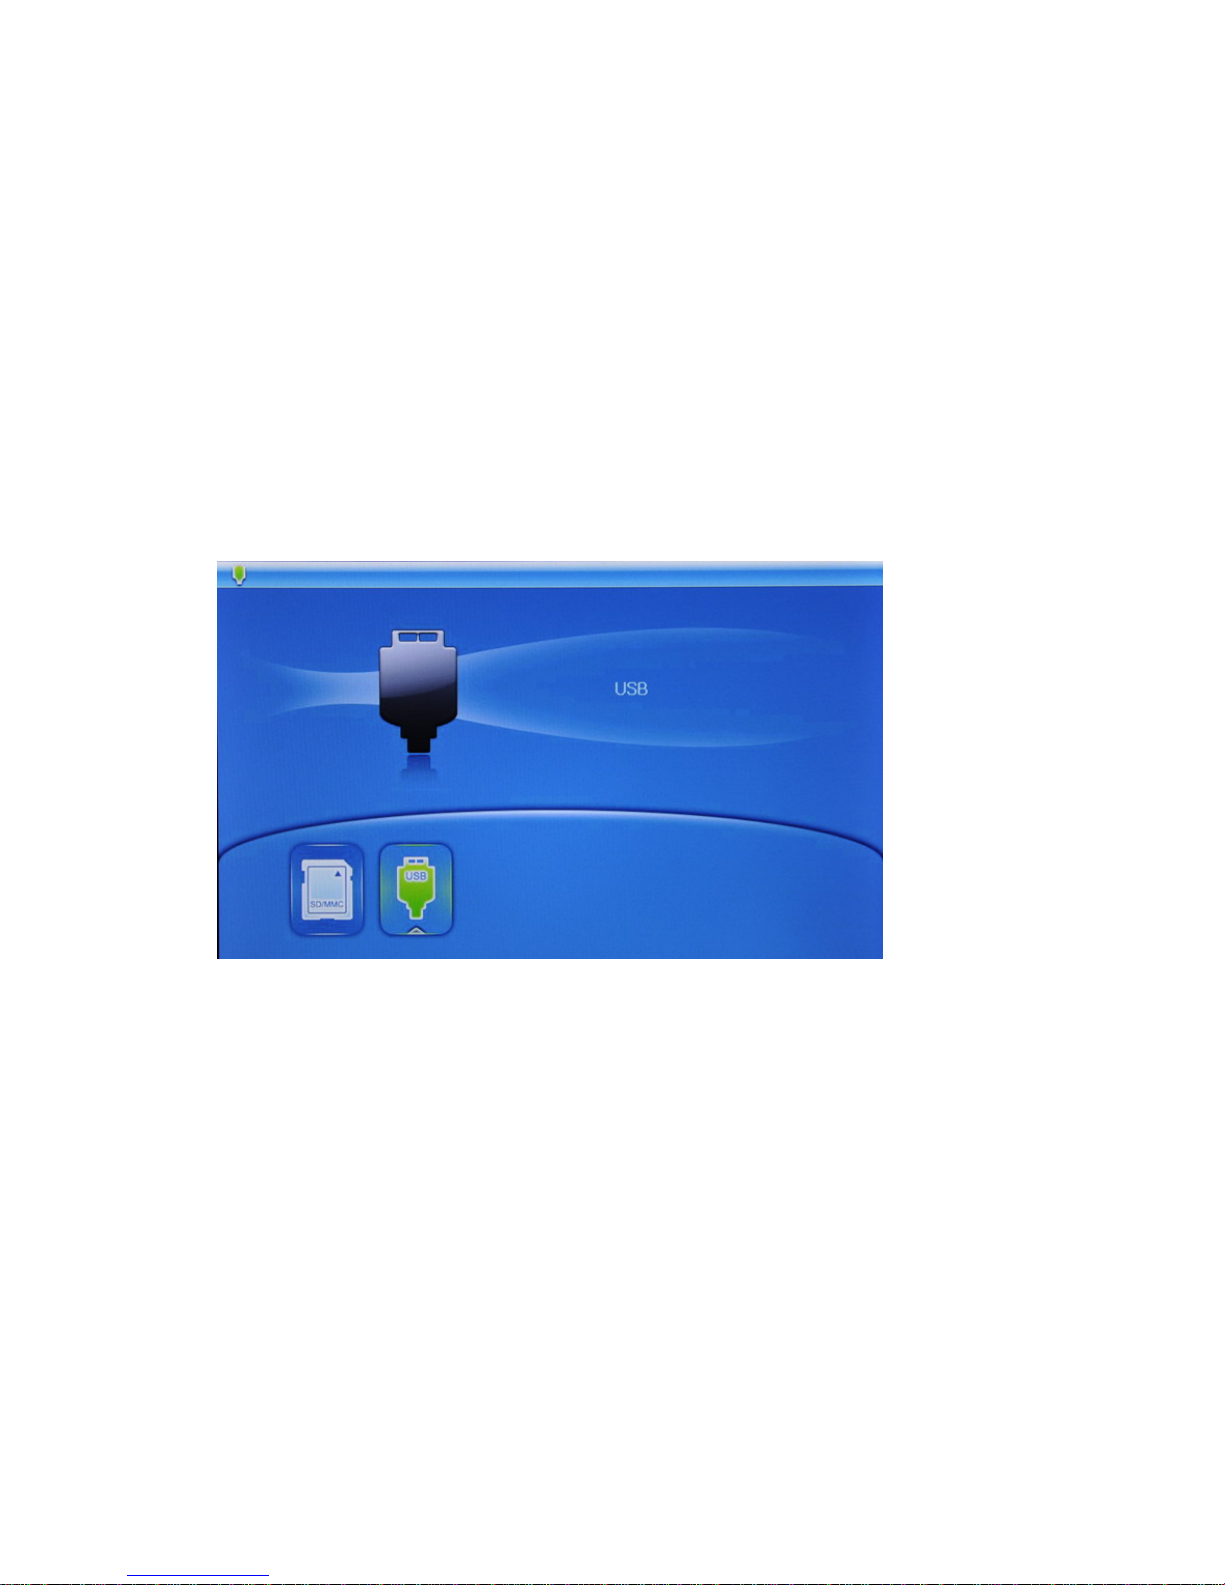
Choosing Storage Media ................................………………............................................... 7
Main Menu .................................……………….................................................................... 8
Viewing Pictures …………………......................................................................................... 8
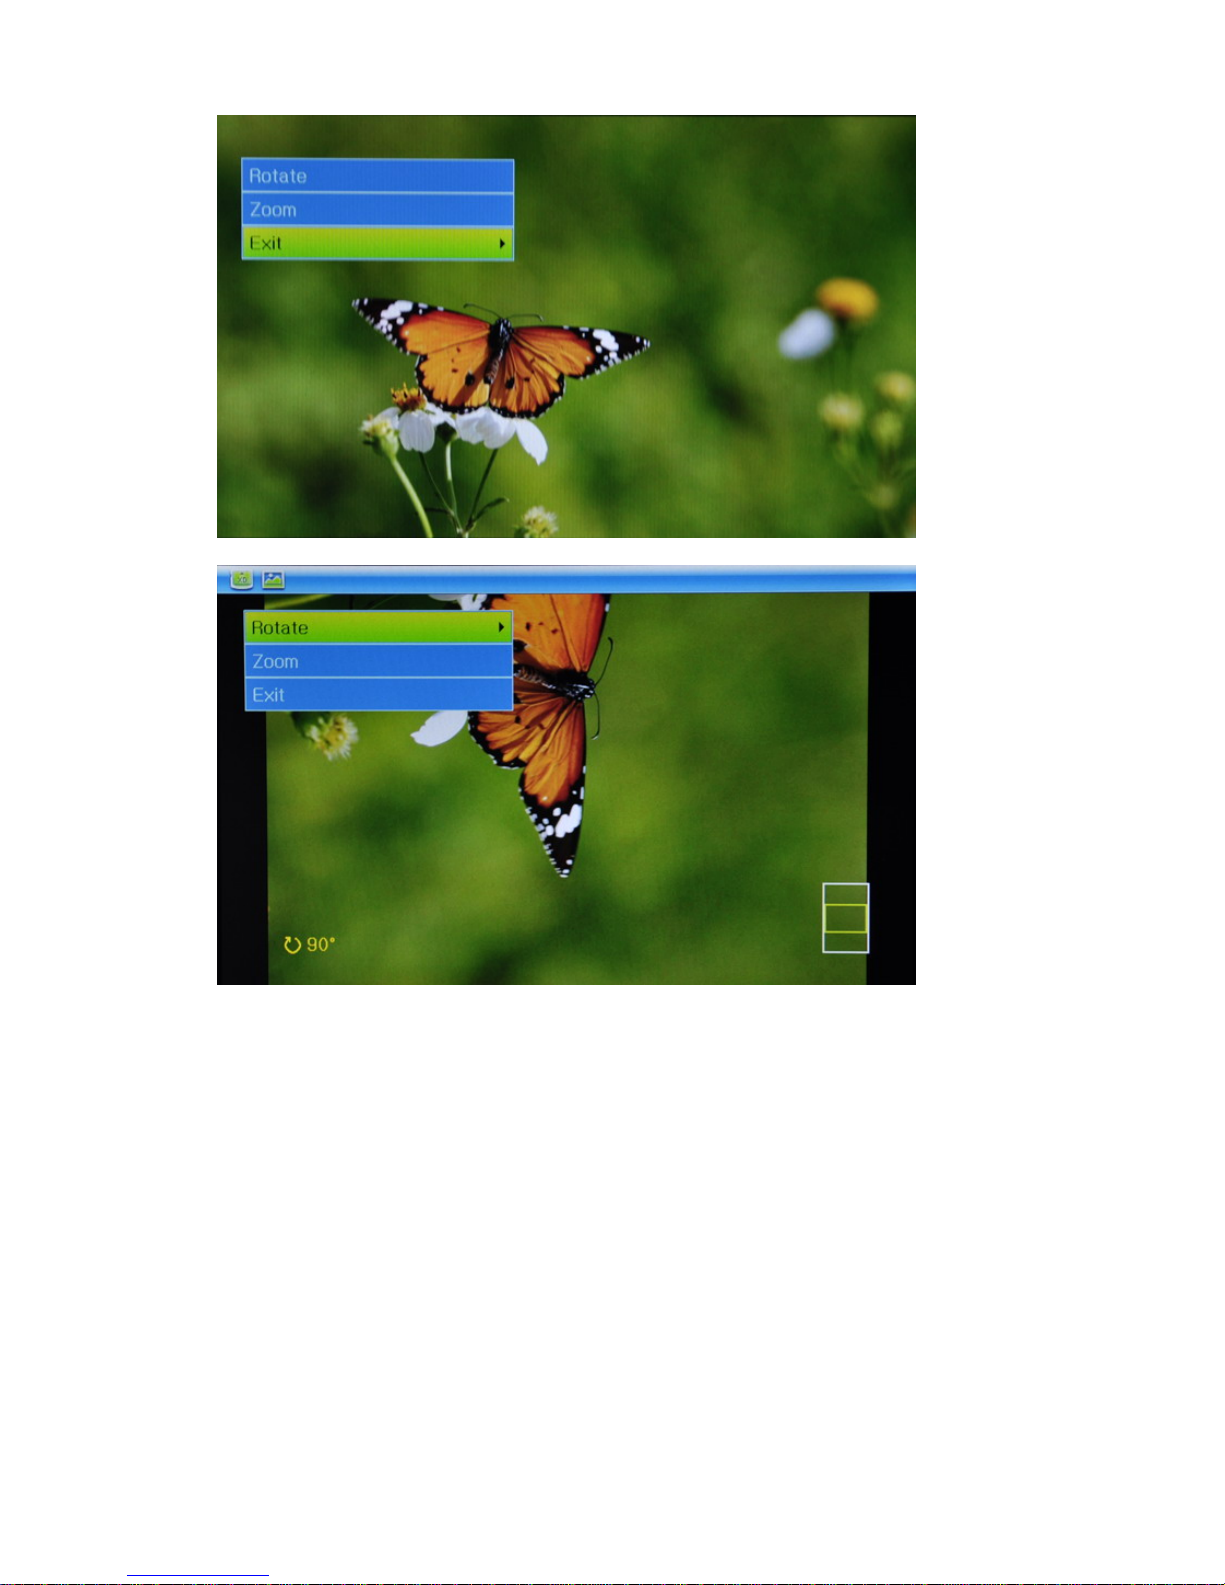
Photo Rotate & Zoom ..............................................................………………….................. 9
Slideshow …………………..................................……………….......................................... 10
Listening to Music ……...............…………………............................................................... 12
Watching Videos ..…………………...................................................................................... 14
File Management …………….................................................……………………................ 14
Slideshow From the Selected Folder ……...……..........................................…................... 15
Copying Files ………………..……………….................................................….................... 15
Deleting Files .………………................................................…………………...................... 15
Calendar & Analog Clock ............................……………………........................................... 17
Using the SETUP option ...……………………..................................................................... 17
Connecting to a Computer .....………………….................................................................... 18
Copying Pictures, Music & Video Files From Your Computer ………………………………. 18
Setup Alarm ........................….............……………………….....................…...................... 19
Frequently Asked Questions ..................................................…………….…….................. 20
Troubleshooting ….........………………....................................................…........................ 20
Warranty & Service .....................................………………….............................................. 21
Specifications .....................…………………....................................................................... 21
Replacing The Remote Control Battery ….................................................................…...... 23
Regulatory Compliance .................………………................................................................ 24
CE Declaration of Conformity ..........................................………………….......................... 24
Federal Communications Commission (FCC) Notice (U.S. and Canada) .……………….....24
End-of-Life Disposal ...................................................................…………………................ 25

- 4 -
INTRODUCTION
Congratulations on your purchase of our Digital Picture Frame. Model No.: HF-ZW104B.
Before operating the unit, please read this manual thoroughly, and retain it for future
reference. This manual will help you use many of the exciting and useful features that will
make your Digital Picture Frame viewing more enjoyable.
This Digital Picture Frame lets you view digital pictures directly from your camera's memory
cards or the internal memory. You will be able to create a slideshow using multiple transition
effects or display one picture at a time. No computer, digital camera or Internet connection is
required.
This Digital Picture Frame is compatible with the following popular memory card formats:
CompactFlash®, SD™, XD, MultiMediaCard™, and Memory Stick®. It can also read files
stored on a USB Flash drive using the USB host port.
MAIN FEATURES
Resolution of display: 800*600 pixels
Memory card: SD/MMC/MS and USB flash disk
Picture format: JPEG (Base Line and Partial Progress)
Highest picture resolution supported by the frame: 8000*8000 pixels
Supports three picture-displaying models: moderate, full screen, and partial screen
Supports three picture-displaying effects: Color, Mono, and Sepia
Support picture rotating and zooming
Varied in Transition effects of slideshow: split, shutter, pane, chessboard, scroll, stripe,
etc.
Supports three slideshow modes: single window, three windows, and four windows
Supports MP3, WMA and WAV audio formats
Supports MPEG1/2/4, AVI, MOV, DIVX & MJPEG video formats
Built-in Analog Clock
Supports directory/file-checking and slideshow of the selections
Supports files management by connecting to a PC
Multi-language support
OPTIONAL FEATURES
Supports built-in memory
Supports copying files between memory cards and built-in memory
Supports built-in memory formatting
Supports file deletion from the built-in memory
PACKAGE CONTENT
Digital Picture Frame and stand
User Guide
Power Adapter
Remote Control
USB Cable

- 5 -
SETTING UP FRAME
IMPORTANT: Please copy at least one picture to frame’s built-in memory for all Menu
Options to work properly (see page 17)
Open the package and remove the protective cover and then remove the protective
screen cover.
Adjust the Digital Picture Frame stand on the back of the unit.
Plug AC adapter into power outlet. Plug the other end into the unit.
If using a memory card or a USB drive, insert the media into the correct slot.
Turn ON the power using ON/OFF switch.
CONTROLS MEMORY CARD SLOTS
NOTE: The key/button labels on your frame and remote may be slightly
different from the one shown in this user manual.

- 6 -
REMOTE CONTROL BUTTONS DESCRIPTION
The following table briefly describes the remote control functions
POWER: Turn Screen ON or OFF
SETUP (on Remote) (MENU button on Frame):Displays
Menu related to the current Mode of use
CARD SELECT: Select memory cards or built-in memory
or USB Drive
SLIDE SPEED: Adjust the speed of slideshow
MODE SELECT: Select Photo Display, Music Play, and
Movie Play, or Display Calendar
SLIDESHOW: Start Picture Slideshow
MUTE: Mute sound
DISPLAY MODE: Full, Auto Fit or Pan Scan
EXIT: Exit or Go to the previous Menu
VOL+/-: Adjust the volume
: Rotate 90°, 180°, 270°
: Zoom In or Zoom Out
INSERTING MEMORY CARDS
The Digital Picture Frame is compatible with the following memory cards:
Secure DigitalTM Card (SD)
MultiMediaTM Card (MMC)
Memory StickTM
CompactFlashTM (CF) Card
XD Picture Cards
Insert the memory card with the front label facing AWAY from you. Do not force the memory
card into the memory slot. If you are not able to easily insert the memory card completely,
you may have inserted it the wrong way.

- 7 -
NOTE: The Digital Picture Frame will ONLY recognize digital pictures stored in JPEG format.
The frame ignores digital pictures stored in other formats. Make sure you have at least one
picture stored on the memory card or built-in memory.
IMPORTANT: The frame will not function properly if there is no JPEG picture stored on the
built-in memory (see page 17 for instructions to copy pictures to the built-in memory).
You can also use a USB flash drive in the exact same way as you would use a memory card.
Simply copy files on the flash drive and insert it in the USB Host port.
CHOOSING STORAGE MEDIA
Press CARD SELECT on the remote to choose the storage media if one or more of the
storage media (built-in memory, or a memory card or USB drive inserted in one of the slots)
has pictures or songs or video files stored on it.
Use Left\Right buttons to select the storage media
Press Enter to confirm the selection
IMPORTANT: The slide show starts automatically, if the built-in memory or the memory card
inserted in the slot has pictures stored on it when the frame is powered on
NOTE: if there are MP3 music files on the same storage media as pictures, the music will
also start playing with the slideshow. These settings can be changed through the setup
option from the Main Menu.

- 8 -
MAIN MENU
IMPORTANT: Please copy at least one picture to frame’s built-in memory for all Menu
Options to work properly (see page 17)
Press EXIT key repeatedly until the Main Menu is displayed
Use the left and right arrows to make a selection and then press “Enter” to confirm the
highlighted option.
From the Main Menu user can select browse pictures, play music or videos, or manage files
functions. User can also setup Calendar and other system Settings from the Main Menu.
NOTE: To return to the Main Menu press EXIT key
VIEWING PICTURES
Select Photo from the Main Menu, to enter Photo Preview Mode.
Use Up\Down\Left\Right buttons to select the photo

- 9 -
Press Enter to start Photo Preview Mode (Press ENTER to switch between Photo Preview
and Slideshow Modes)
Use Left\Right buttons to browse the previous or next photo
PHOTO ROTATE & ZOOM
In Photo View Mode, press SETUP or MENU to bring up Rotate & Zoom Menu (Note: Exit
Slideshow mode by pressing ENTER Key to use Rotate and Zoom Buttons on the Remote)
Each time Rotate is selected the photo is turned clockwise 90 degrees
NOTE: You can also use button on the remote to rotate pictures
Each time Zoom is selected the photo is magnified by certain ratio
NOTE: You can also use button to use zoom feature

- 10 -
Press Menu/Setup again to exit from the menu
NOTE: Use Left\Right\Up\Down in Zoom Mode to shift viewing area
SLIDESHOW
Press Enter in Photo Viewing Mode to start Slideshow (or press Slideshow button on the
remote)
This frame has three slideshow modes, that is, single window, three windows, and four
windows.

- 11 -
Single Window
Four Windows

- 12 -
Triple Windows
Press Enter to stop slideshow
Press Menu/Setup to select the preinstalled slideshow mode
NOTE: in four windows slideshow mode, this frame will display 2-4 different photos
according to pictures aspect ratio.
LISTENING TO MUSIC
Go to the MAIN MENU (Press EXIT key repeatedly until the Main Menu is
displayed), and select Music Mode.

- 13 -
Use Up\Down buttons to select a music file
Press Enter to start\pause playing current music file

- 14 -
WATCHING VIDEO
Go to the MAIN MENU (Press EXIT key repeatedly until the Main Menu is displayed)
and select Video Mode.
Use Up\Down buttons to select a video file
Press Enter to start playing the music file
FILE MANAGEMENT
Go to the MAIN MENU (Press EXIT key repeatedly until the Main Menu is
displayed), and select File Management.
Use Up\Down buttons to select a file
Press Enter to open or close the current file, or browse\display the current file

- 15 -
SLIDESHOW FROM THE SELECTED FOLDER
Start file management
Highlight and select a folder (such as MEM\Jpeg)
Enter Slideshow Mode(displays photos\music files in the directory
MEM:\Jpeg only and not from the subdirectories).
NOTE: If slideshow is not started from File Management, then the frame displays
all the photos\music files on the selected memory card or built-in memory.
COPYING FILES (From memory card to built-in memory)
Select the memory card
Enter Photo Preview Mode (Press EXIT key to stop Slideshow), Music Mode,
Video Mode or File Management
Press MENU / SETUP button to display Copy File Menu
Select copy, and then the current files or directory could be copied to built-in
memory
DELETING FILES
To delete multiple pictures from the frame’s built-in memory or memory cards, connect the
frame to your computer and when it’s recognized as a removable disk, just use the normal
method you would use to add and delete files on your hard-drive.
If you have a PC, use Windows Explorer and if you have a Mac, use Finder to open the
removable drive to add and delete pictures.
NOTE: The following methods apply to pictures on the Built-in Memory ONLY
You can delete one picture/folder at a time from the Built-in-memory (not from the memory
card inserted in one of the frame’s card slot) by using the remote control.
One way to delete pictures individually is as follows:
Make sure Built-in-memory is selected.
If you are in slide-show mode press EXIT key on the REMOTE until you see six thumbnail
pictures on the frame (as shown below)
Select the picture you want to delete using arrow button on the REMOTE

- 16 -
Press SETUP button on the REMOTE
Select DELETE from the pop-up menu using arrow keys on the REMOTE and press
ENTER key on the REMOTE to permanently delete picture from frame’s built-in memory.
Repeat this process to delete additional pictures.
Another way to delete pictures and folders from the frame’s built-in memory is as follows:
Make sure Built-in-memory is selected.
From the Main Menu select “FILE” (which is 4th icon from the left with picture of a folder)
using arrow keys and press ENTER
The following file management screen will appear on the screen
Highlight the folder or file you want to delete using arrow keys
Press SETUP button on the remote
Select DELETE from the pop-up menu using arrow keys on the REMOTE and press
ENTER key on the REMOTE to permanently delete selected picture or folder from frame’s
built-in memory.
Repeat this process to delete additional pictures and/or folders

- 17 -
CALANDER & ANALOG CLOCK
Go to the MAIN MENU (Press EXIT key repeatedly until the Main Menu is
displayed), and then highlight and select Calendar and Analog Clock.
Use Up\Down buttons to display the next\previous year’s calendar
Use Left\Right buttons to display the previous\next month’s calendar
Press Enter to confirm the selection
USING THE SETUP OPTION
Go to the MAIN MENU (Press EXIT key repeatedly until the Main Menu is
displayed), and highlight and select System Setup.

- 18 -
Use Left\Right\Up\Down\Enter\Exit keys to setup different system options like
Language, Slide mode, Slide Speed, Photo effects, etc.
CONNECTING TO A COMPUTER (Using Mini USB port)
Connect big end of the USB Cable, provided with the frame, to computer’s USB
port and connect the smaller end of the USB cable to the mini-USB port on the
frame.
NOTE: When connected for the first time, it will take a couple of minutes for the
computer to recognize and setup the frame as a USB storage device.
COPYING PICTURES, MUSIC & VIDEO FILES FROM YOUR COMPUTER
Once the frame is recognized as a USB storage device, depending on whether the
frame has built-in memory and/or memory card(s) inserted in its card slot(s), you
will see one or more new “Removable Disk(s)” in computers file management
application (File Explorer, Finder etc.).
You can drag and drop pictures, music and video files from your computer’s hard-
drive using file management utility like File Explorer (Windows Users) / Finder (Mac
Users) to one of the Removable Disks corresponding to either the built-in memory
or a memory card in the card slot.

- 19 -
SETUP ALARM
(
Not available on all frame models
)
Go to the MAIN MENU (Press EXIT key repeatedly until the Main Menu is displayed)
and select System Setup and the select Set Alarm
After the alarm is setup alarm time in shown on the calendar when Calendar and
Analog Clock option is selected. The built-in alarm will go off at the set time.

- 20 -
FREQUENTLY ASKED QUESTIONS
Q: Why do my photos take so long to load?
A: Generally the higher the resolution of the photo, the longer it will take to load. Resizing
your photos to a lower resolution will quicken the processing time.
Q: How do I copy music files to the frame?
A: First, use a personal computer and popular audio editing software to convert your music to
MP3 or WMA format. The Digital Picture Frame will only play MP3 or WMA (Without DRM)
files so audio files in other formats like ACC (iTunes) etc. will have to be converted first. See
“Copying Pictures, Music & Video Files from Computer” section to see how to copy
music files to the frame.
Q: Why doesn’t Digital Picture Frame show some of my photos?
A: The Digital Picture Frame is designed to show photos following the same camera industry
standards format as digital cameras. This format is a JPEG format. Images, such as web
images, scanned images, or photos in RAW format, are not stored according to camera
industry standards and therefore cannot be displayed correctly on the Digital Picture Frame.
Please use your PC applications to convert such images into standard JPEG format before
copying them to the built-in memory on the Digital Frame or a memory card.
Q: Why can’t I play a video file on the frame?
A: Please make sure the video file is in one of the supported video file formats and size.
TROUBLESHOOTING
Digital Picture Frame does not power on
The POWER connector to the unit is not securely inserted. When you connect the AC
adapter to the frame and power up the unit, even without a memory card, you should
see a blank screen. If you don’t see the lit screen, check if the power is connected to
the Digital Picture Frame and make sure it is securely attached.
No Start-up screen
Memory card is not inserted correctly or the built-in memory or the memory card does
not have photos, video or mp3 files or not in supported format.
Memory card is not recognized by the frame
Make sure the card is inserted properly – Make sure the front label of the memory card
is facing AWAY from you.
IMPORTANT: Do not force the memory card into the slot.
Table of contents
Other ZOpid Digital Photo Frame manuals