04
2 Hardware Installation
The followings are instructions for setting up ZYCOO CooVox-U60
IP PBX. Please refer to the illustration and follow the simple steps
below to quickly install your IP phone system.
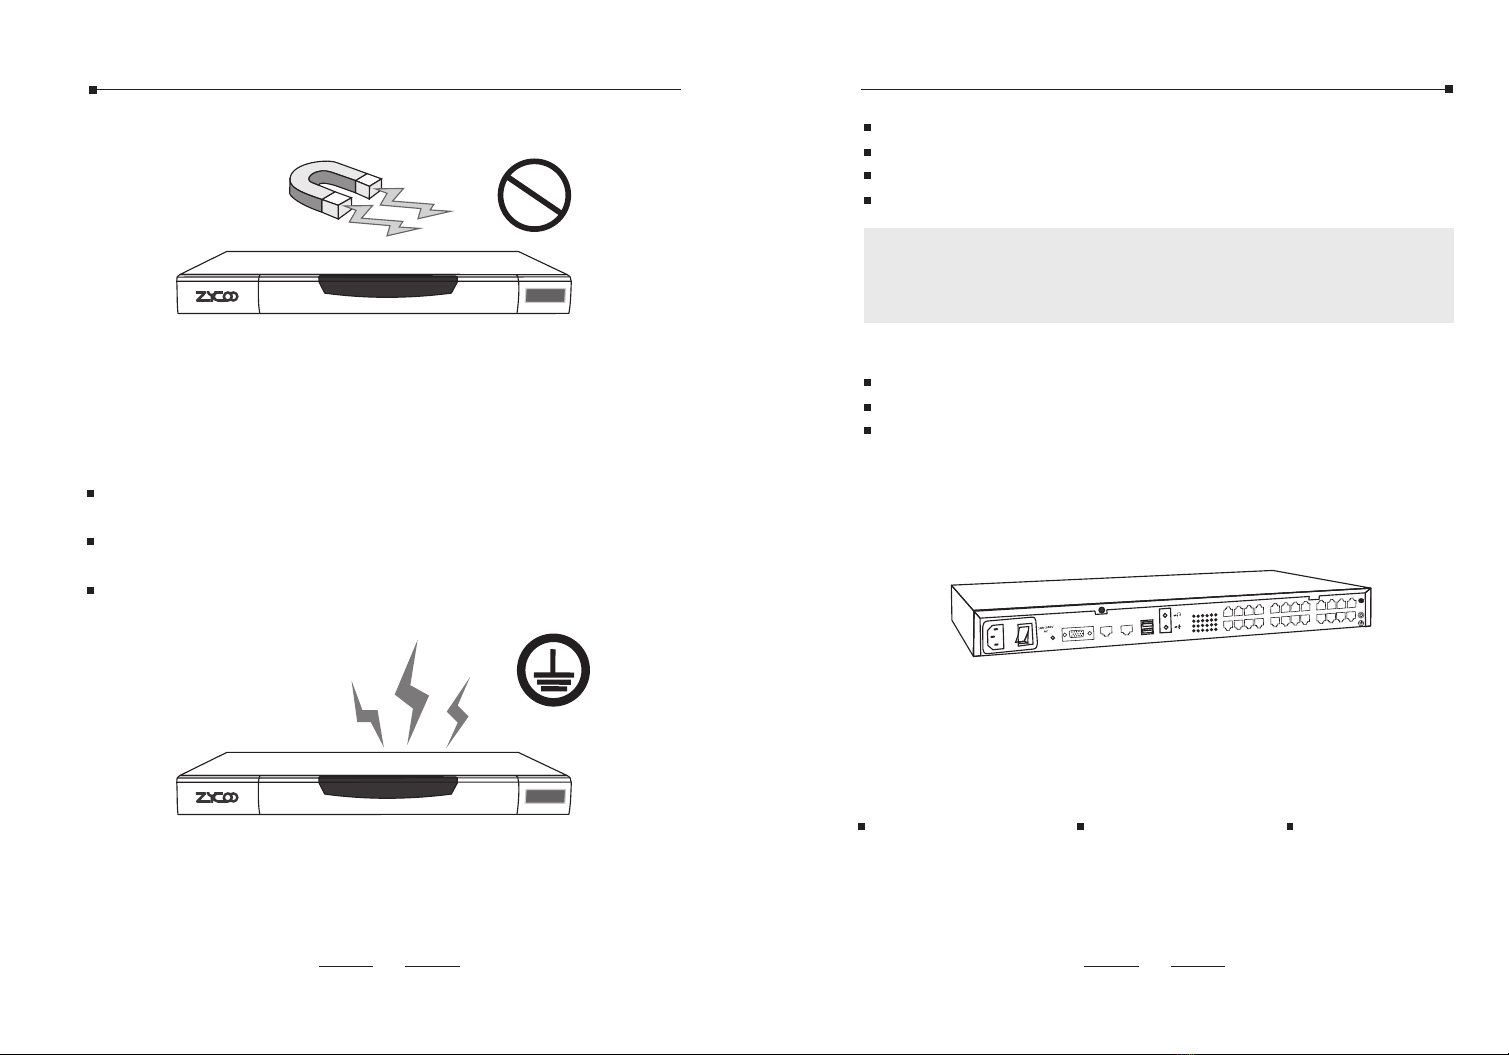
2.1 Safety Precautions
Notes:
To avoid any device damage and bodily injury caused by improper
use, please observe the following rules.
Keep the power off during the installation.
Wear an ESD-preventive wrist strap, and make sure that the wrist strap has a good
skin contact and is well grounded.
Use only the power cord provided with IP PBX .
Make sure that the supply voltage matches the specifications indicated on the rear
panel of IP PBX.
Confirm not to bring about the overload of power circuit before turning on the
power of IP PBX, to avoid the unnecessary damage.
To avoid the electric accident, do not open or remove the cover of IP PBX when it is
working as well as off the power.
Before cleaning the device, cut off the power supply. Do not clean it by the
waterish cloth, and never use any other liquid cleaning method.
Site Requirements
40 C
0 C
PWR SY S WAN LAN
Coo Vox
IP Ph one Sys tem
05
To ensure normal operation and long service life of the device,
please install it in an environment that meets the requirements
described in the following subsection. Please keep a proper
temperature and humidity in the equipment room. Too high/low
humidity may lead to bad insulation, electricity leakage,
m e c han i ca l p ro p ert y c han g e s a nd cor r o s io n s . To o h igh
temperature may accelerate aging of the insulation materials and
can thus significantly shorten the service life of the device. For
normal temperature and humidity of the device, please check the
following table.
Environment
Operating
Storage
Temperature
0 C~40 C
-20 C~55 C
Humidity
10%~90% Non-condensing
5%~95% Non-condensing
Clearness
The dust accumulated on IP PBX can be absorbed by static
electricity and result in poor contact of metal contact points. Some
measures have been taken for the device to prevent static
electricity, but too strong static electricity can cause deadly
damage to the electronic elements on the internal circuit board. To
avoid the effect of static electricity on the operation of IP PBX,
please attach much importance to the following items:
Dust the device regularly, and keep the indoor air clean.
Keep the device well grounded and ensure static electricity has
been transferred.
PWR SY S WAN LAN
Coo Vox
IP Ph one Sys tem