2. CAUTION / PRECAUCION
CAUTION
Siempre lea completamente el manual de instrucción antes de usar la herramienta.
Ulice gafas de protección que cumplan con los estándares OSHA y ANSI Z87.1
Siempre ulice guantes de trabajo cuando opere esta herramienta.
Asegúrese de que el área de trabajo tenga iluminación adecuada.
Mantenga los niños y personal no autorizada fuera del área de trabajo.
Mantenga el área de trabajo limpio y organizado y libre de materiales no relacionados.
No permita ulizar esta herramienta a personal no entrenado.
Por favor siga las instrucciones en conjunto con los videos para un mejor entendimiento e
interpretación para el uso de la máquina, los videos se pueden encontrar en la página
oficial de 9 Circle y en su canal de YouTube.
Página oficial www.9circleint.com
Canal de YouTube:
www.9circleint.com
EN / ES
1. FEATURES / CARACTERISTICAS
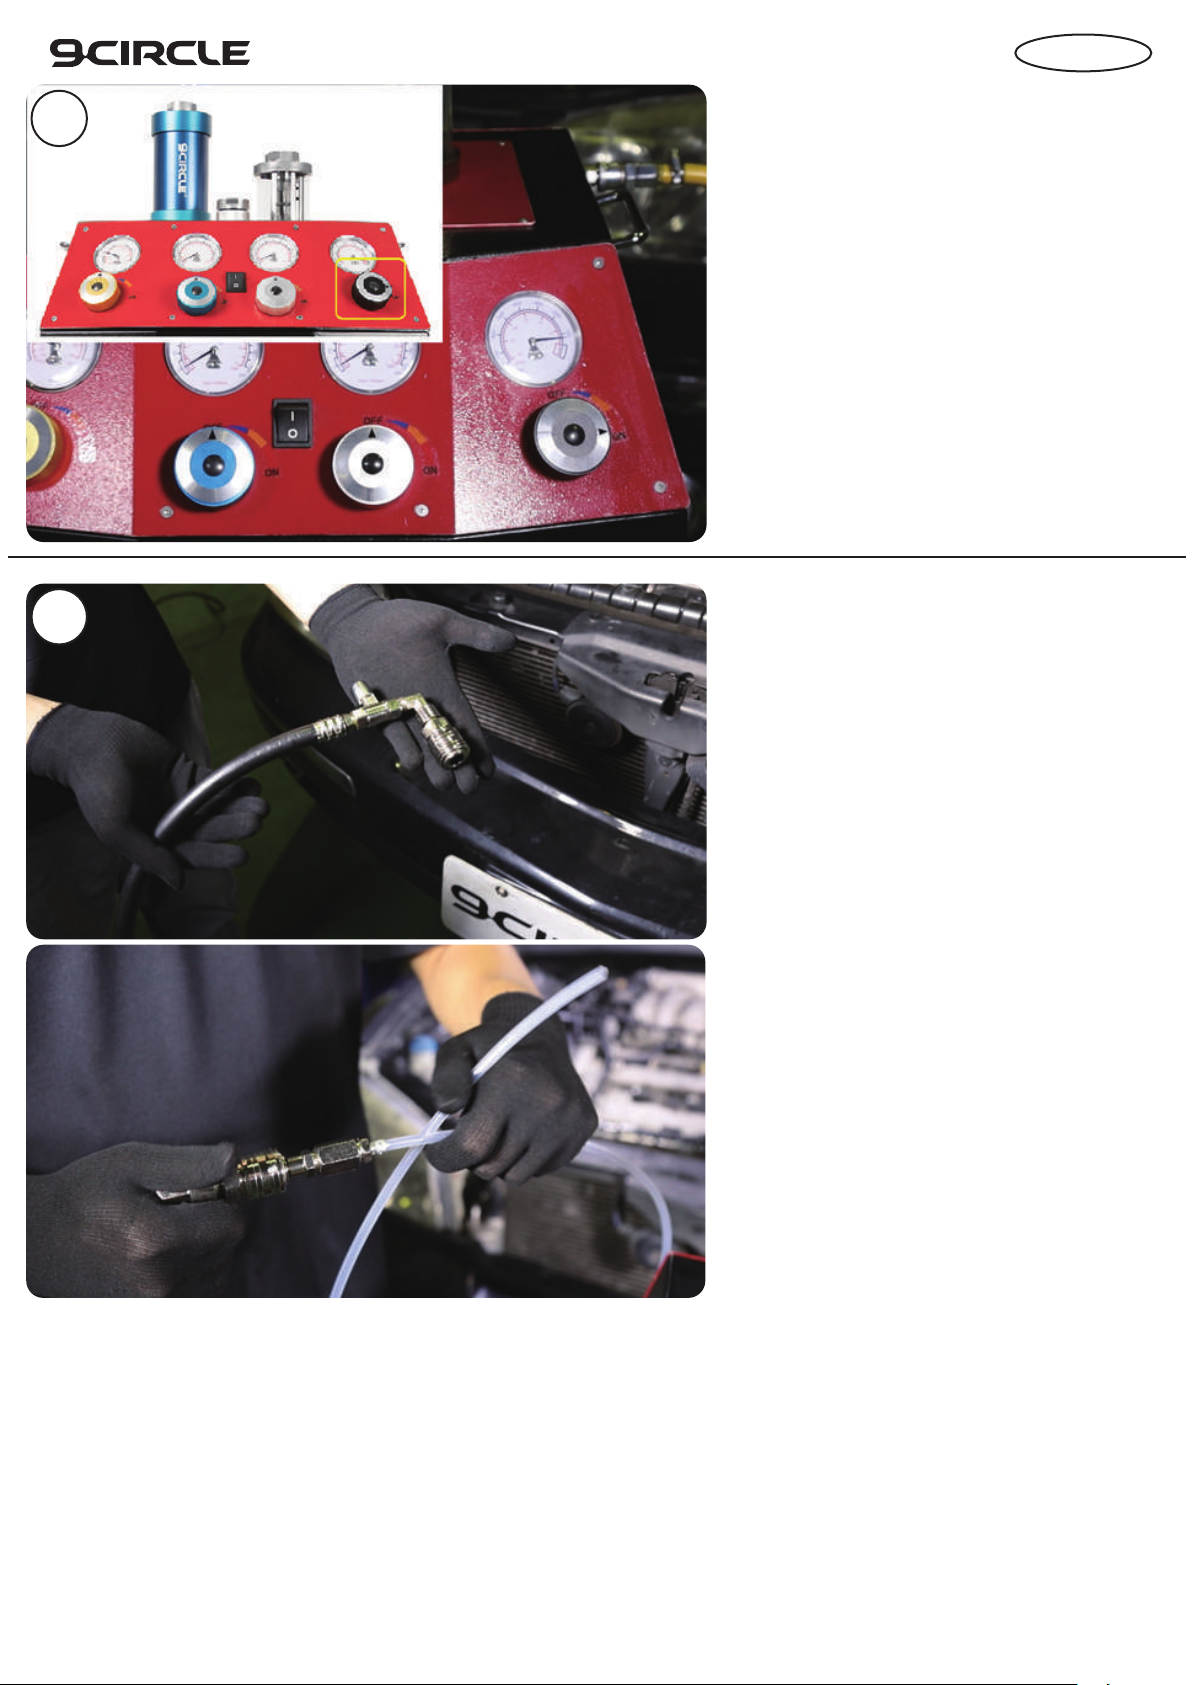
ATF / PSF Exchange & Flush Adapter Set for 9CL-65600
Set de adaptadores para cambio y lavado de ATF / PSF para 9CL-65600
®
1
˙Adapter set to be used with 9CL-65600 so can perform:
˙ATF System Flush
˙ATF Exchange (Manual)
˙PSF System Flush
˙PSF Exchange (100% Exchange)
NOTE: This set is NOT included in the 9CL-65600 TC9 Engine Flush Machine, and it is sold separately. Please
contact your 9 Circle dealer for more detailed information.
˙Set de adaptadores para ser usado con la máquina 9CL-65600 para poder realizar
˙Lavado del sistema de la transmisión automática
˙Cambio de aceite de la transmisión automática (manual)
˙Lavado del sistema de la dirección hidráulica
˙Cambio del líquido de la dirección hidráulica (intercambio de 100%)
NOTA: Este set NO esta incluido en la máquina 9CL-65600, y es vendido por separado, por favor contacte a su
distribuidor de 9 Circle para información más detallada.