aakar AAKARv2 User manual

USER MANUAL

Table of Contents
A. Welcome to the Aakar v2
A1. Safety First
A2. Specifications
A3. Machine overview
A4. Accessories
B. Getting started with software
B1. Cura software
B2. Cura software interface
B3. From YouMagine.com to load file in Cura
B4. Preparing a 3D model
C. Getting started with hardware
C1. Printer connection
C2. Testing and Caliberation
C3. First print
D. Maintenance
D1. In General
D2. Software Updates
D4. Changing Toolheads
E. Terminology
F. Terms of Service
Welcome to
AAKAR
v2

Dear Customer,
Thank you for purchasing the Aakar v2.
This user manual will guide you through the setup and printing process step by step.
Available online : www.aakar3dp.in
Happy printing.
Team Aakar
Support
We would love to hear from you. We are easy to reach and enjoy answering all your questions. Technical assistance, sales enquiries or
general information, we are there for you. Find the information below to contact us.
Support: [email protected]
Sales: sale[email protected]
Meet us online at:

SAFETY FIRST
Before using the machine, You need to read the instructions carefully. Improper use of the device might cause fire,
electric shock or damage to the mechanical and electronic parts.
The machine is designed to operate indoors and should not be exposed to rain or extreme humidity.
Power supply should be grounded. If there is no such option, do not use the machine.
The machine might emit fumes. Make sure You work in a well ventilated environment. If fumes make You
feel unwell, switch the machine off and allow fresh air in.
During operation, the machine will produce high temperatures. The user should not touch any elements
marked with "hot surface" sticker.
Filaments for 3D printing should be stored in clean and dry place. The use of dirty filaments might
cause nozzle blockage.
Extruders and toolheads should be used only with materials they were designed for.

Other use is prohibited and will void warrant.
SPECIFICATIONS
Printing
Print technology
Fused filament fabrication (FFF)
Build volume
220 x 150 x 200 mm
Printable Materials
ABS, PLA, PVA, Nylon, rubber
Layer resolution
50 micron (High)
100 micron (Medium)
200 micron (Low)
Mechanical
Position precision
X 12.5 micron
Y 12.5 micron
Z 12.5 micron
Extruders
1x extruder basic version
2x extruders Pro version
Filament diameter
1.75 mm
Nozzle diameter
0.4 mm
Print speed
30 mm/s - 300 mm/s
Travel speed
30 mm/s - 300 mm/s
Build Platform
Heated Kapton coated glass
Software
Firmware
Smoothieware
Software package
Cura
File types
STL / OBJ / DAE / AMF
Supports
Windows (XP 32 bit/7+)
Ubuntu Linux (12.04+)
Mac OS X (10.6 64bit +)
Electrical
Control Board
32-bit cortex m3 at 100Mhz
AC input
100-240V , 5A, 50-60 Hz
Power Max
350W
Power Supply Rating
12 V DC @ 30 AMPS
Connectivity
Stand-alone printing from card
USB
Ethernet (WIFI support)

Filament Spool
USB Cable
Ethernet Cable
4x Hex wrenches
2x Spanners
Screw driver
WHAT’S IN THE BOX
Glass Plate
Test print
Custom tool head kit

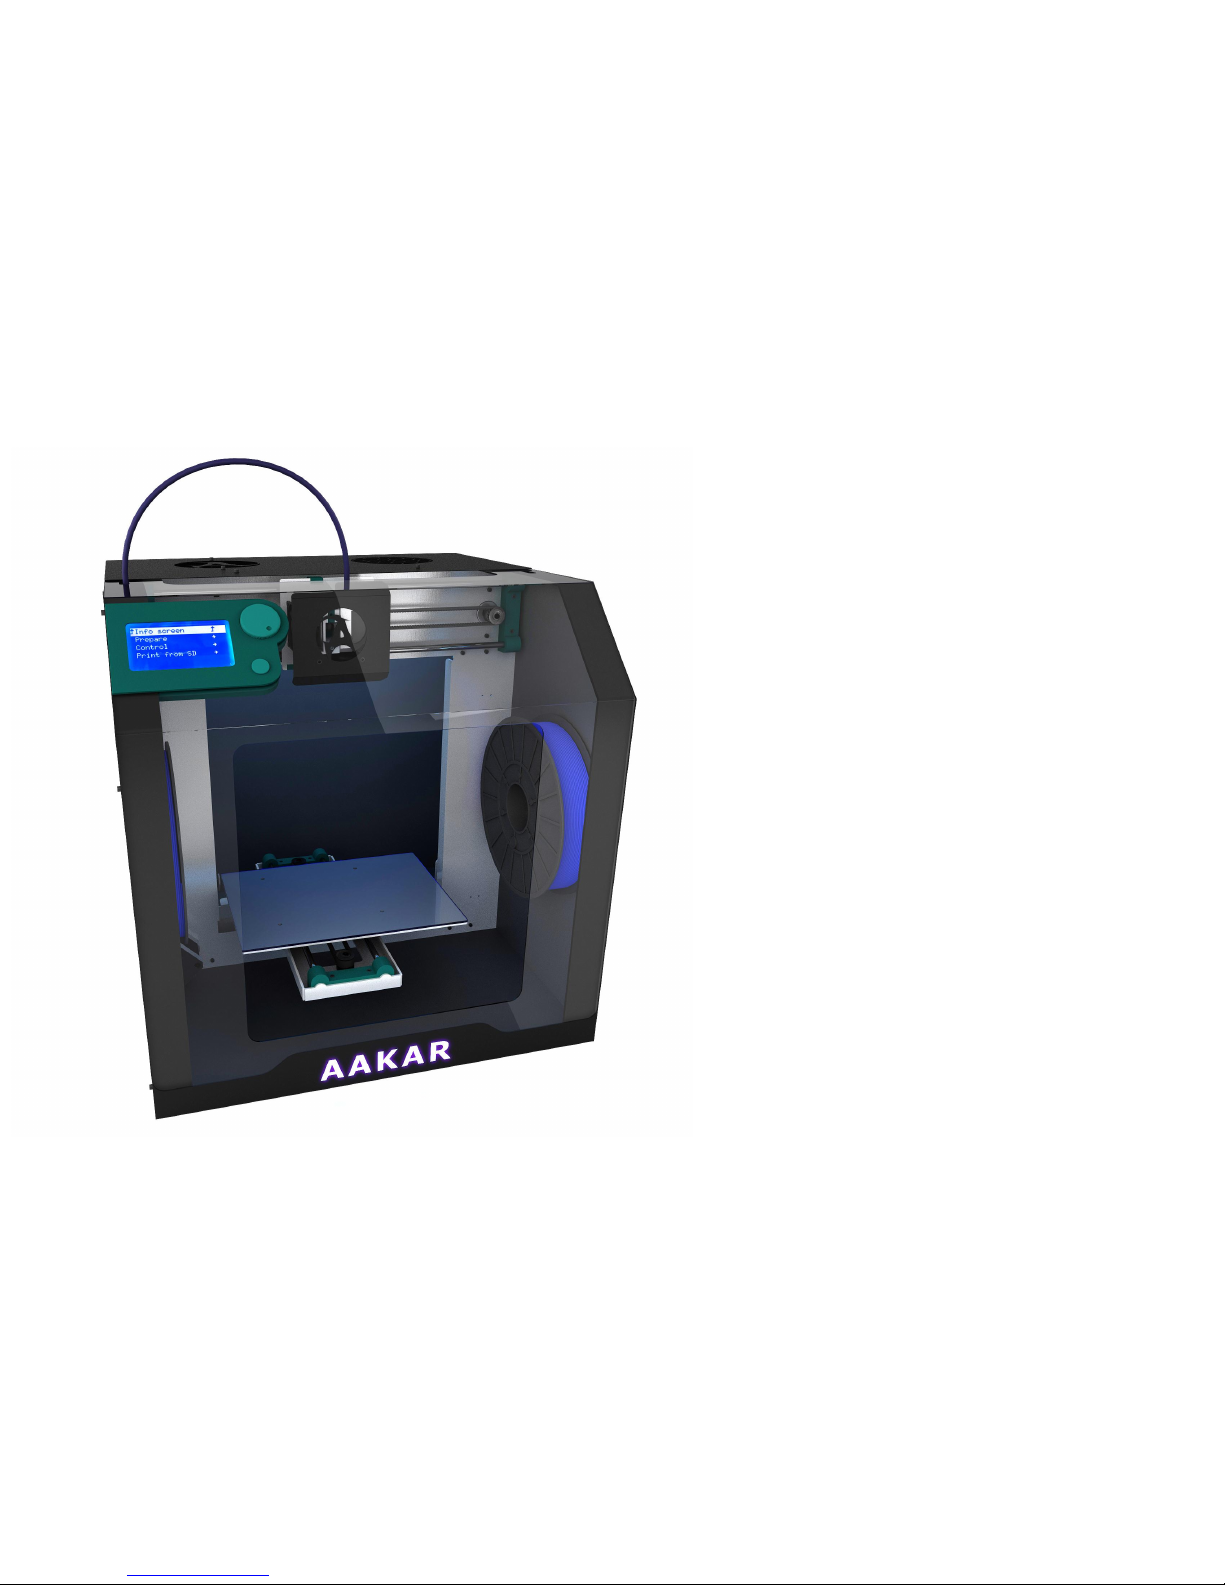
MACHINE OVERVIEW
Interface Panel
Filament Spool
Control Panel
Extruder
Spool Holder
Build Platform

Graphic LCD
Push and rotate button
Play/Pause Button
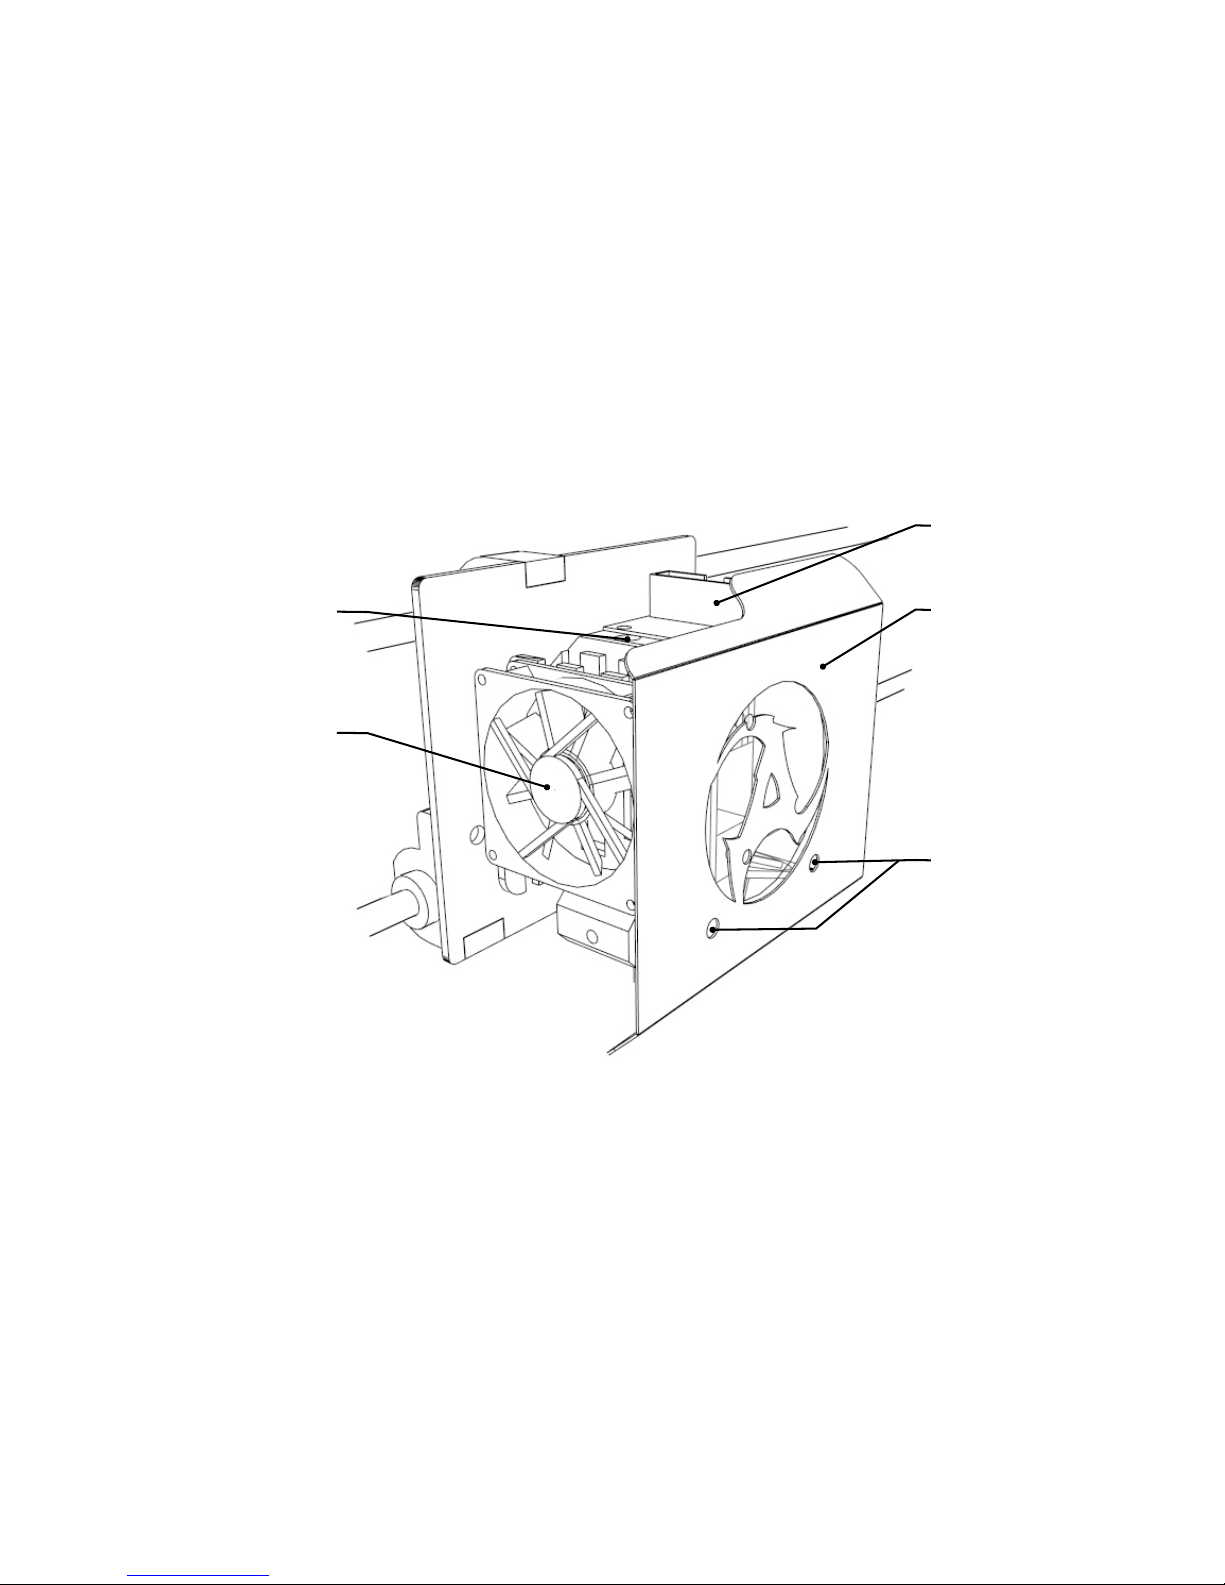
Print head cable
Extruder face panel
Mounting guides
Filament inlet
Extruder cold end fan
Table of contents


