manuals.online logo
Brands
  1. Home
  2. •
  3. Brands
  4. •
  5. Snapmaker
  6. •
  7. 3D Printer
  8. •
  9. Snapmaker Dual Extrusion 3D Printing Module User manual

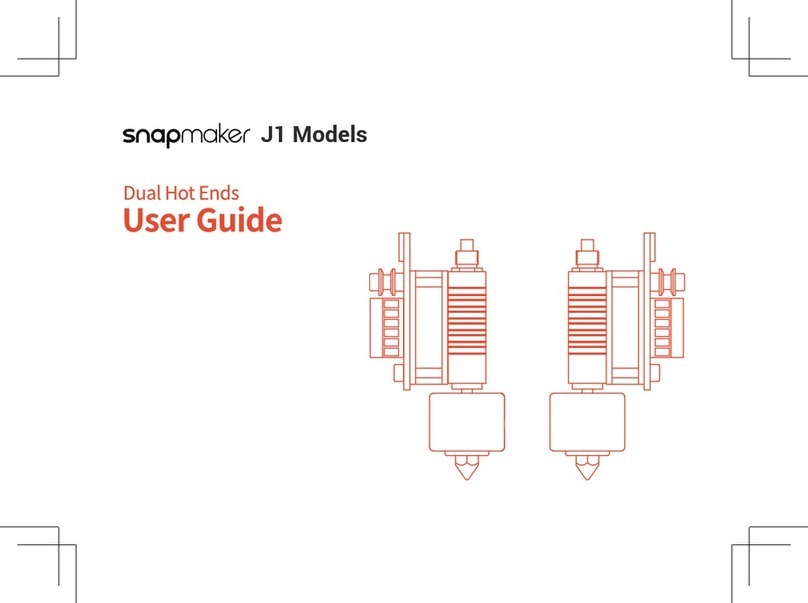
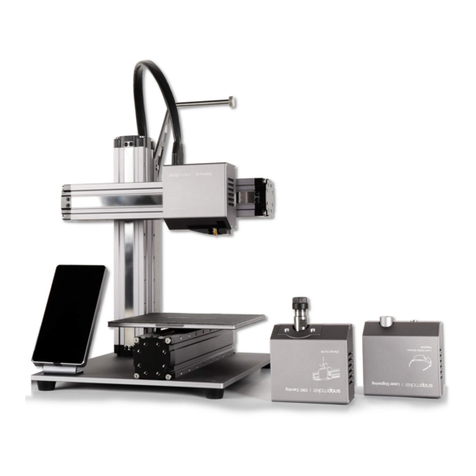
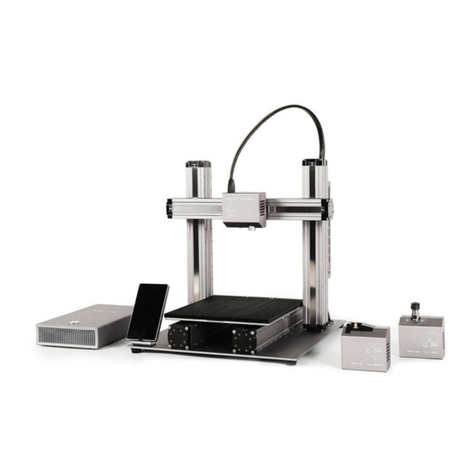
Snapmaker Dual Extrusion 3D Printing Module User manual

This manual suits for next models

1

Other Snapmaker 3D Printer manuals

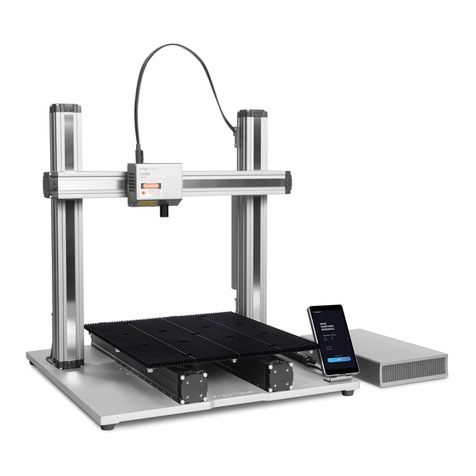
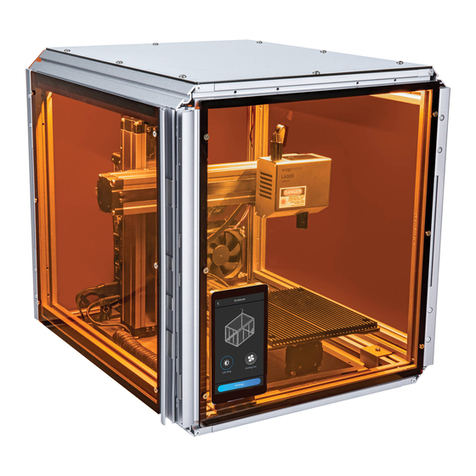
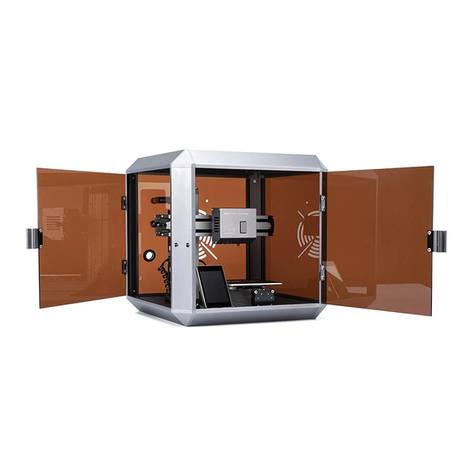
Snapmaker Enclosure User manual

Snapmaker

Snapmaker Enclosure User manual

Snapmaker J1s User manual

Snapmaker

Snapmaker J1s User manual

Snapmaker CNC Carving User manual

Snapmaker

Snapmaker CNC Carving User manual

Snapmaker J1 User manual

Snapmaker

Snapmaker J1 User manual

Snapmaker A350 User manual

Snapmaker

Snapmaker A350 User manual

Snapmaker Snapmaker User manual

Snapmaker

Snapmaker Snapmaker User manual

Snapmaker Ray User manual

Snapmaker

Snapmaker Ray User manual

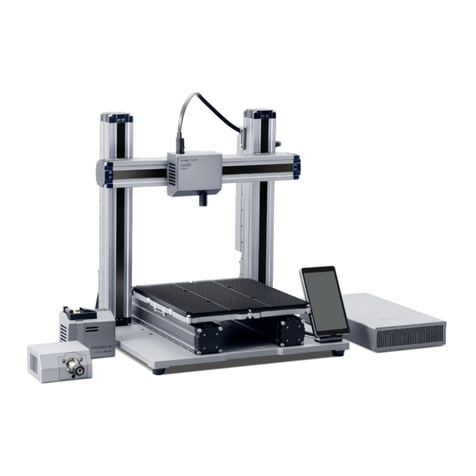
Snapmaker 2.0 User manual

Snapmaker

Snapmaker 2.0 User manual

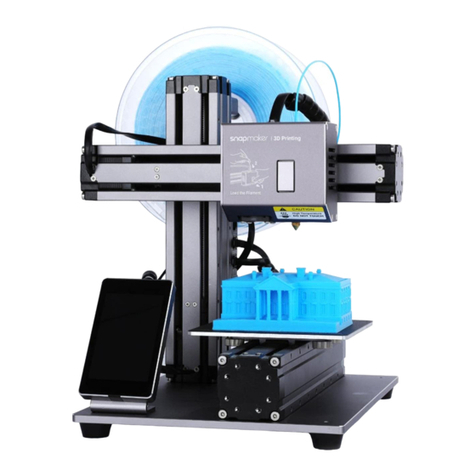
Snapmaker 3-in-1 3D Printer User manual

Snapmaker

Snapmaker 3-in-1 3D Printer User manual

Snapmaker A250T User manual

Snapmaker

Snapmaker A250T User manual

Snapmaker Artisan User manual

Snapmaker

Snapmaker Artisan User manual

Snapmaker A150 User manual

Snapmaker

Snapmaker A150 User manual

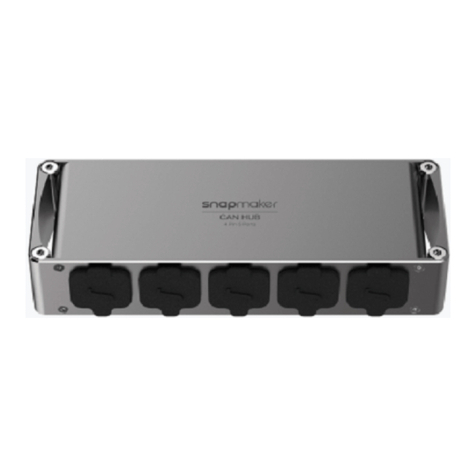
Snapmaker CAN Hub A150 User manual

Snapmaker

Snapmaker CAN Hub A150 User manual

Snapmaker A350 User manual

Snapmaker

Snapmaker A350 User manual

Snapmaker J1 User manual

Snapmaker

Snapmaker J1 User manual

Snapmaker A150 User manual

Snapmaker

Snapmaker A150 User manual

Snapmaker Snapmaker User manual

Snapmaker

Snapmaker Snapmaker User manual

Snapmaker Artisan User manual

Snapmaker

Snapmaker Artisan User manual

Snapmaker 2.0 User manual

Snapmaker

Snapmaker 2.0 User manual

Snapmaker F350 User manual

Snapmaker

Snapmaker F350 User manual

Snapmaker A250 User manual

Snapmaker

Snapmaker A250 User manual

Snapmaker A250 User manual

Snapmaker

Snapmaker A250 User manual

Snapmaker Snapmaker User manual

Snapmaker

Snapmaker Snapmaker User manual

Snapmaker Artisan User manual

Snapmaker

Snapmaker Artisan User manual

Popular 3D Printer manuals by other brands

bq Hephestos 2 Faq

bq

bq Hephestos 2 Faq

EcubMaker TOYDIY quick start guide

EcubMaker

EcubMaker TOYDIY quick start guide

AnyCubic Kossel Plus Modification

AnyCubic

AnyCubic Kossel Plus Modification

ReDeTec ProtoCycler Operation manual

ReDeTec

ReDeTec ProtoCycler Operation manual

Kywoo3D Tycoon IDEX user manual

Kywoo3D

Kywoo3D Tycoon IDEX user manual

CraftBot PLUS PRO user guide

CraftBot

CraftBot PLUS PRO user guide

3DGence INDUSTRY F340 user manual

3DGence

3DGence INDUSTRY F340 user manual

HP Jet Fusion 4200 Product Documentation Site Preparation Guide

HP

HP Jet Fusion 4200 Product Documentation Site Preparation Guide

Rokit AEP Series user manual

Rokit

Rokit AEP Series user manual

Ackuretta FreeShape 120 user manual

Ackuretta

Ackuretta FreeShape 120 user manual

DIYElectronics PRUSA I3 ELECTRONICS AND SOFTWARE GUIDE

DIYElectronics

DIYElectronics PRUSA I3 ELECTRONICS AND SOFTWARE GUIDE

Ultimaker S5 Material Station installation guide

Ultimaker

Ultimaker S5 Material Station installation guide

Stratasys FDM Vantage Series user guide

Stratasys

Stratasys FDM Vantage Series user guide

ZYYX Pro II user manual

ZYYX

ZYYX Pro II user manual

German RepRap X400 Pro V3 user guide

German RepRap

German RepRap X400 Pro V3 user guide

3DGence ONE user manual

3DGence

3DGence ONE user manual

Create 3400 Handbook

Create

Create 3400 Handbook

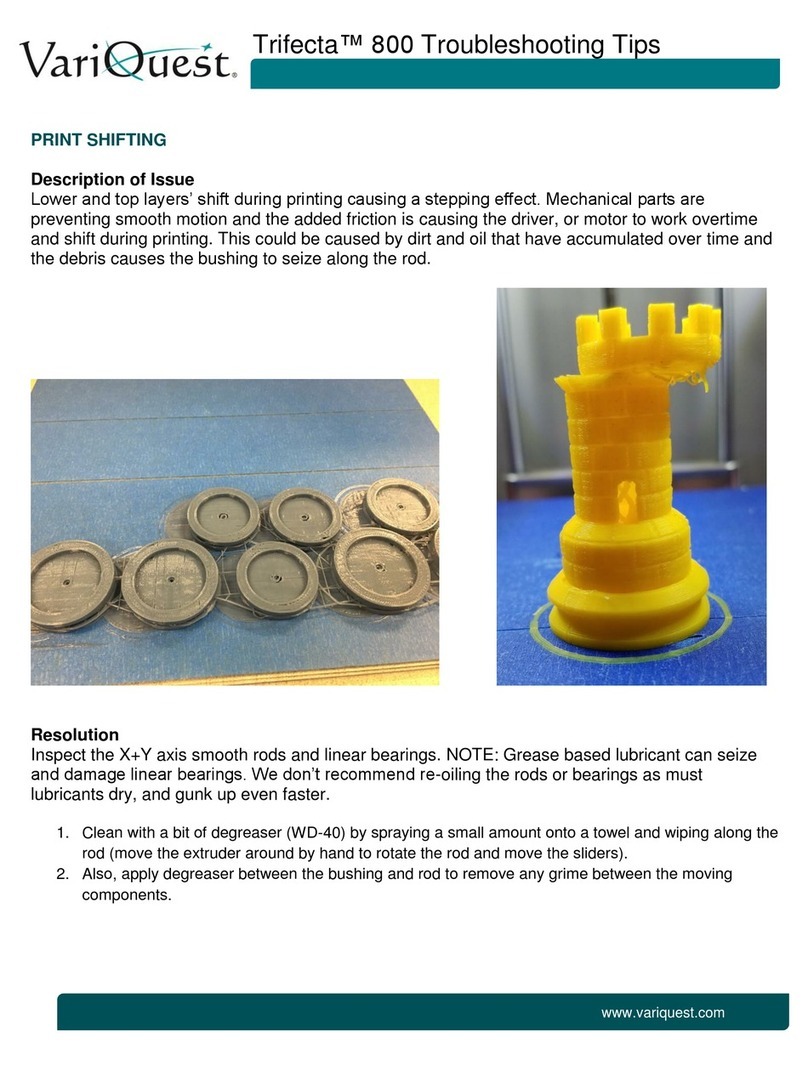
Variquest Trifecta 800 Troubleshooting tips

Variquest

Variquest Trifecta 800 Troubleshooting tips

manuals.online logo
manuals.online logoBrands
  • About & Mission
  • Contact us
  • Privacy Policy
  • Terms and Conditions

Copyright 2025 Manuals.Online. All Rights Reserved.

Dual Extrusion 3D Printing Module
QUICK START GUIDE
MAKE SOMETHING WONDERFUL
CONTENTS
04
13
29
58
Before You Start
Machine Assembly
3D Printing
Maintenance
Before You Start
4 5
BEFORE
YOU
START
1.1 Disclaimer
Make sure that anyone who uses this product knows and understands the contents
of the Quick Start Guide. Failure to observe this guide may lead to personal injury,
inferior results, or damage to the Snapmaker products. Snapmaker does not assume
responsibility and expressly disclaims liability for any personal injury, inferior
results, or damage to the product arising out of or in connection with your improper
operations or failure to follow the instructions of the guide.
When using Snapmaker products, you should comply with the following
requirements:
- Follow the instructions of this guide, the applicable laws and regulations, and the
safety regulations in the assembly, handling, storage, use, maintenance, or disposal
of this product.
- Ensure there is no infringement on any third-party intellectual property rights or
violation of any applicable laws or regulations when making objects using this
product.
The conditions or methods of using Snapmaker products are beyond the control
of Snapmaker. For this reason, Snapmaker does not assume responsibility and
expressly disclaims liability for any consequences resulting from:
- your improper methods, failure to follow the instructions of this guide or impacts of
other uncertain factors when operating this product;
- your infringement on any third-party intellectual property rights or violation of any
applicable laws or regulations when making objects using this product;
- personal injury, inferior results, or damage to the product arising out of or in
connection with the assembly, handling, storage, use, maintenance, or disposal of
this product.
All the Snapmaker filaments are compatible with this product and have been tested
for safety. If you use this product with third-party filaments, Snapmaker does not
assume responsibility and expressly disclaims liability for any adverse effects from
the use or performance of these filaments.
Before You Start
6 7
This manual is provided for reference purposes only. We do not warrant the absolute
accuracy or completeness of the information provided by this manual. No part of
this guide may be reproduced, edited, or revised by any means without the prior
written permission of Snapmaker. We reserve the right to modify or revise this
manual in our sole discretion at any time without notice. You can download the most
up-to-date version of this manual at our Support Center (https://support.snapmaker.
com/): select Snapmaker Dual Extrusion 3D Printing Module > Quick Start Guide.
1.2 Intended Use
Snapmaker dual extrusion 3D printing modules are intended for use under the
guidelines provided in this guide. When making objects using Snapmaker dual
extrusion 3D printing modules (hereafter Dual Extrusion Module), users remain
responsible to qualify and validate the application of the created object for its
intended use, especially for applications in strictly regulated areas like medical
devices and aeronautics.
1.3 Safety Information
General Safety Information
- Follow the applicable local laws and regulations in the operation and application of
this product.
- Follow the instructions of the guide to use and maintain this product for safety
purposes.
- Do not expose this product to rain or wet conditions.
- Minors are only allowed to use this product under adult supervision and assistance.
- Ensure that bystanders also read and understand all the safety notes of this
product and keep bystanders away while operating this product for safety purposes.
- Stay alert, watch what you are doing, and pay attention to the surrounding
environment when operating this product.
- Do not use this product while you are tired or under the influence of drugs, alcohol,
or medication.
- Do not reach inside the product or touch the moving parts while the product is still
in operation.
- Do not leave the product unattended while it is still powered on.
- Always unplug the power cable from the electrical outlet before performing
maintenance or modifications.
Turn off the machine immediately and stop using this product if any of the
following occurs:
- You smell burning in this product at any point.
- You see any damage to the interior components of this product.
- The machine stops working unexpectedly.
- Unusual lights, sparks, or sounds come out of this product which has never
occurred previously.
3D Printing Safety Information
- Do not touch the nozzle, the print sheet,and the heated bed when the machine is
printing, heating, or just finished printing.
- Use this product in combination with air purifying devices or in a well-ventilated
environment, for some filaments and materials may release toxic odors or fumes
when melted.
- Always check the safety data sheet of each specific filament for safety information
before use. You might need to take additional safety measures when using this
product with third-party filaments.
Before You Start
8 9
Work Area
A150:
Dual Nozzle: 135 mm × 140 mm × 110 mm
Left Nozzle: 145 mm × 145 mm × 110 mm
Right Nozzle: 135 mm × 140 mm × 110 mm
A250:
Dual Nozzle: 220 mm × 235 mm × 205 mm
Left Nozzle / Right Nozzle: 220 mm × 235 mm × 205 mm
A350:
Dual Nozzle: 310 mm × 325 mm × 290 mm
Left Nozzle / Right Nozzle: 310 mm × 330 mm × 290 mm
Snapmaker 2.0 A150, Snapmaker 2.0 A150DET, Snapmaker
2.0 A150 Bundle, Snapmaker 2.0 A250, Snapmaker 2.0 A350,
Snapmaker 2.0 A250T, Snapmaker 2.0 A350T, Snapmaker 2.0
A250ENT, Snapmaker 2.0 A350ENT, Snapmaker 2.0 A250DET,
Snapmaker 2.0 A350DET, Snapmaker 2.0 F250, Snapmaker 2.0
F350, Snapmaker 2.0 F250DE, Snapmaker 2.0 F350DE
PLA, Breakaway PLA, ABS, ASA, PETG, PVA, TPU95-HF, TPU95,
TPU90, TPU-foam, HIPS, CoPA, PA6-CF, PA6-GF, PA12-CF
Dual Extrusion Module
Product Model TH-F-DUAL-AS
Dimensions 108 mm × 70 mm × 133 mm
Weight 1 kg
Frame Material Aluminum Alloy
Input Voltage 24 V DC
Operating Temperature 15-30°C
1.4 Safety Labels
Labels Warning Location
Avoid contact with hot surfaces.
Take care to avoid crushing hands. On the Dual
Extrusion Module
On the Dual
Extrusion Module
1.5 Specications[1]
[2]
Compatible
Machine Models
Supported
Materials [3]
Note:
[1] The specifications listed might be slightly changed in any meaningful way when
Snapmaker refines the product.
[2] Due to the installation errors generated by different users on human sensory
identification, the above work area may vary from machine to machine and is for
reference only.
[3] The hardened steel nozzle should be used when printing with CoPA, PA12-CF,
PA6-CF and PA6-GF.
Before You Start
10 11
Filament Holder
Tube ×1
Cable Clip ×2
Quick Start
Guide ×1
Wire Brush ×1
Filament Holder
Sheet ×1
Wiping Cloth ×1
Breakaway PLA ×1
Thumb Screw ×1
Calibration Card ×1
Sliding Nut ×1
Double End Studs ×1 M4×12 Screw ×4 M4×10 Screw ×5
+ Filment Tube Holder ×1
Dual Extrusion
Module ×1
Filament Tube Clip ×2
Dual Extrusion Module
Quick Start Guide
1.6 Parts List
Filment Tube ×2
1.7 Used Symbols
WARNING
CAUTION
MAKE SOMETHING WONDERFUL
Ignoring this type of message might result in malfunction or
damage of the product and injuries to users.
Details you should be aware of throughout the process.
EXPLANATION Provides supplementary information for a better
understanding of the instruction.
TIPS Tips offer you convenient operations and additional options.
ORIENTATION Make sure that the highlighted part is facing the right way.
1.8 Preparations
1.8.1 Software Update
Download the latest version of Snapmaker Luban from https://snapmaker.
com/snapmaker-luban. If you have already installed Snapmaker Luban on your
computer, ensure that its version is 4.5.0 or later. This guide takes version 4.5.0 as a
demonstration.
Machine Assembly
1312
MACHINE ASSEMBLY
1.8.2 Get the Screwdriver Ready
Get the screwdriver ready. The screwdriver head H2.5 is used for assembling the
machine. The other heads are used for maintenance. Before use, ensure that the
screw bit holder is put back into the handle.
1.9 About this Quick Start Guide
In the chapter of Machine Assembly, to describe how to assemble the machine
under the two scenarios of the machine without the Enclosure and with the
Enclosure installed, this guide takes Snapmaker 2.0 A150 and A350T as a
demonstration. While in the chapter of 3D Printing, all steps demonstrated on
Snapmaker 2.0 A350T apply to all the other compatible machine models.
This Quick Start Guide is intended to guide you through the assembly of Dual
Extrusion Module and the first-time operation with concise instructions and
graphics. Only one of the workflows has been described for you to get started, for
other workflows and more information about Dual Extrusion Module, refer to our
online User Manual: On the navigation bar of the Snapmaker official website (https://
support.snapmaker.com/), click Support > Product Support > Snapmaker Dual
Extrusion 3D Printing Module > User Manual.
Machine Assembly
14 15
2.1.1 A150
01/03
If the Enclosure is not installed on your machine, follow the corresponding
steps below to install the Dual Extrusion Module and the Filament Holder(s) in
accordance with your machine models.
2.1 Scenario 1: Enclosure Not Installed on the Machine
Attach the Dual Extrusion Module to the slider on the X
axis.
Dual Extrusion
Module ×1
M4×8 Screw ×4
Make sure the power switch
is in the Off position.
Machine Assembly
16 17
Connect the Dual Extrusion Module with the controller.
02/03 03/03
Toolhead Cable ×1
Extend the Filament Holder Tube on the basis of the
original Filament Holder.
Filament Holder Tube ×1
Double End Studs ×1
Original Thumb Screw ×1
Original Filament Holder Tube ×1
Original Filament Holder Sheet ×1
There is no need to detach the original Filament Holder Sheet
already installed on the machine.
Make sure the connector is in the right direction.
Machine Assembly
18 19
2.1.2 A250/A250T/F250/A350/A350T/F350
01/04 02/04
Attach the Dual Extrusion Module to the slider on the X
axis.
Dual Extrusion
Module ×1 M4×8 Screw ×4
Make sure the power switch
is in the Off position.
Attach the two cable clips to the X axis and the Z axis.
Cable Clip ×1
Cable Clip ×1
M4×10 Screw ×1
M4×10 Screw ×1