Document: v0.4 / Document No.: 6AGA000008-0607-EN | Date: 22-05-2019 Page 5of 25
Glossary
AC
Alternating Current.
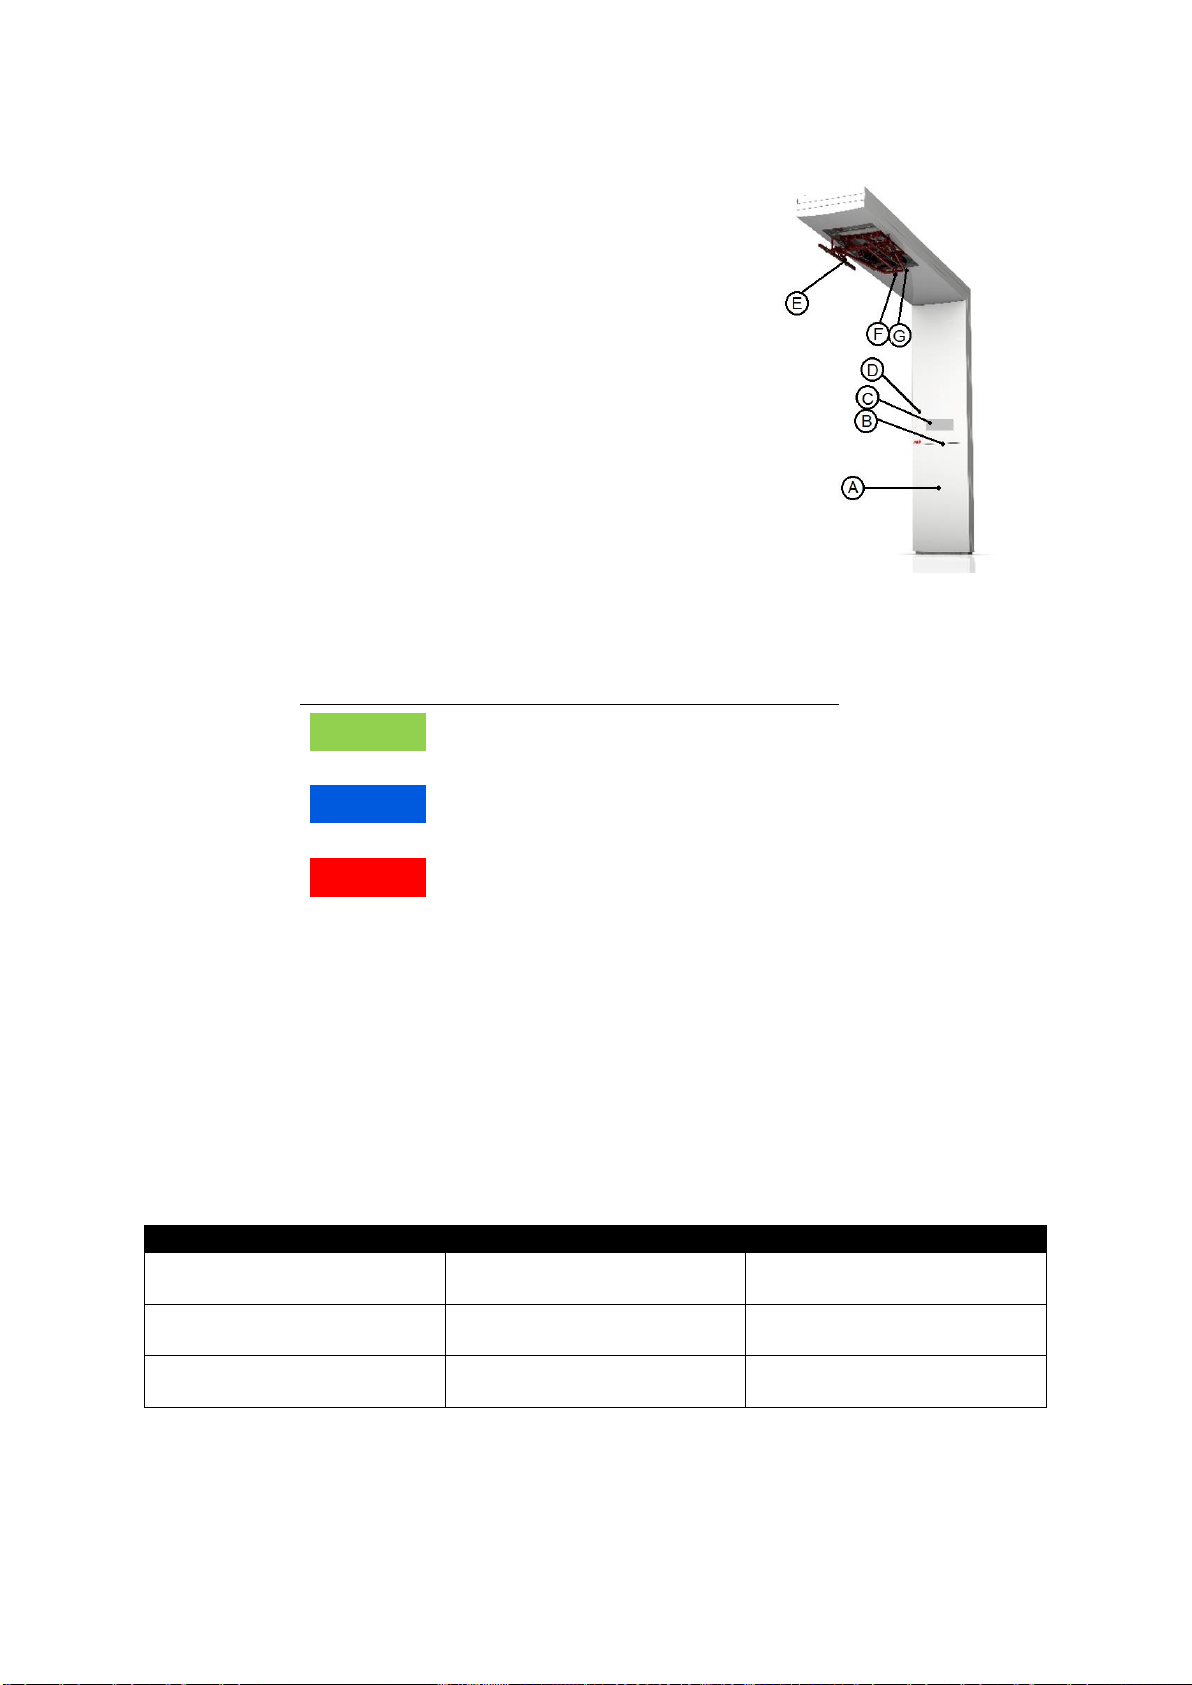
ACM
ACS Control Module
ACS
Automatic Control System. In this charger
system the pantograph.
CAF
Customer Acceptance Form.
Charge control set
Set of sub-system of the charger systems
which includes theACS, the control module
for the ACS, the communication unit and a
status indicator of the charge process.
DC
Direct Current.
Grid provider
Company responsible for the
transportation and distribution of electricity.
HMI
Human Machine Interface; the screen on
the charger.
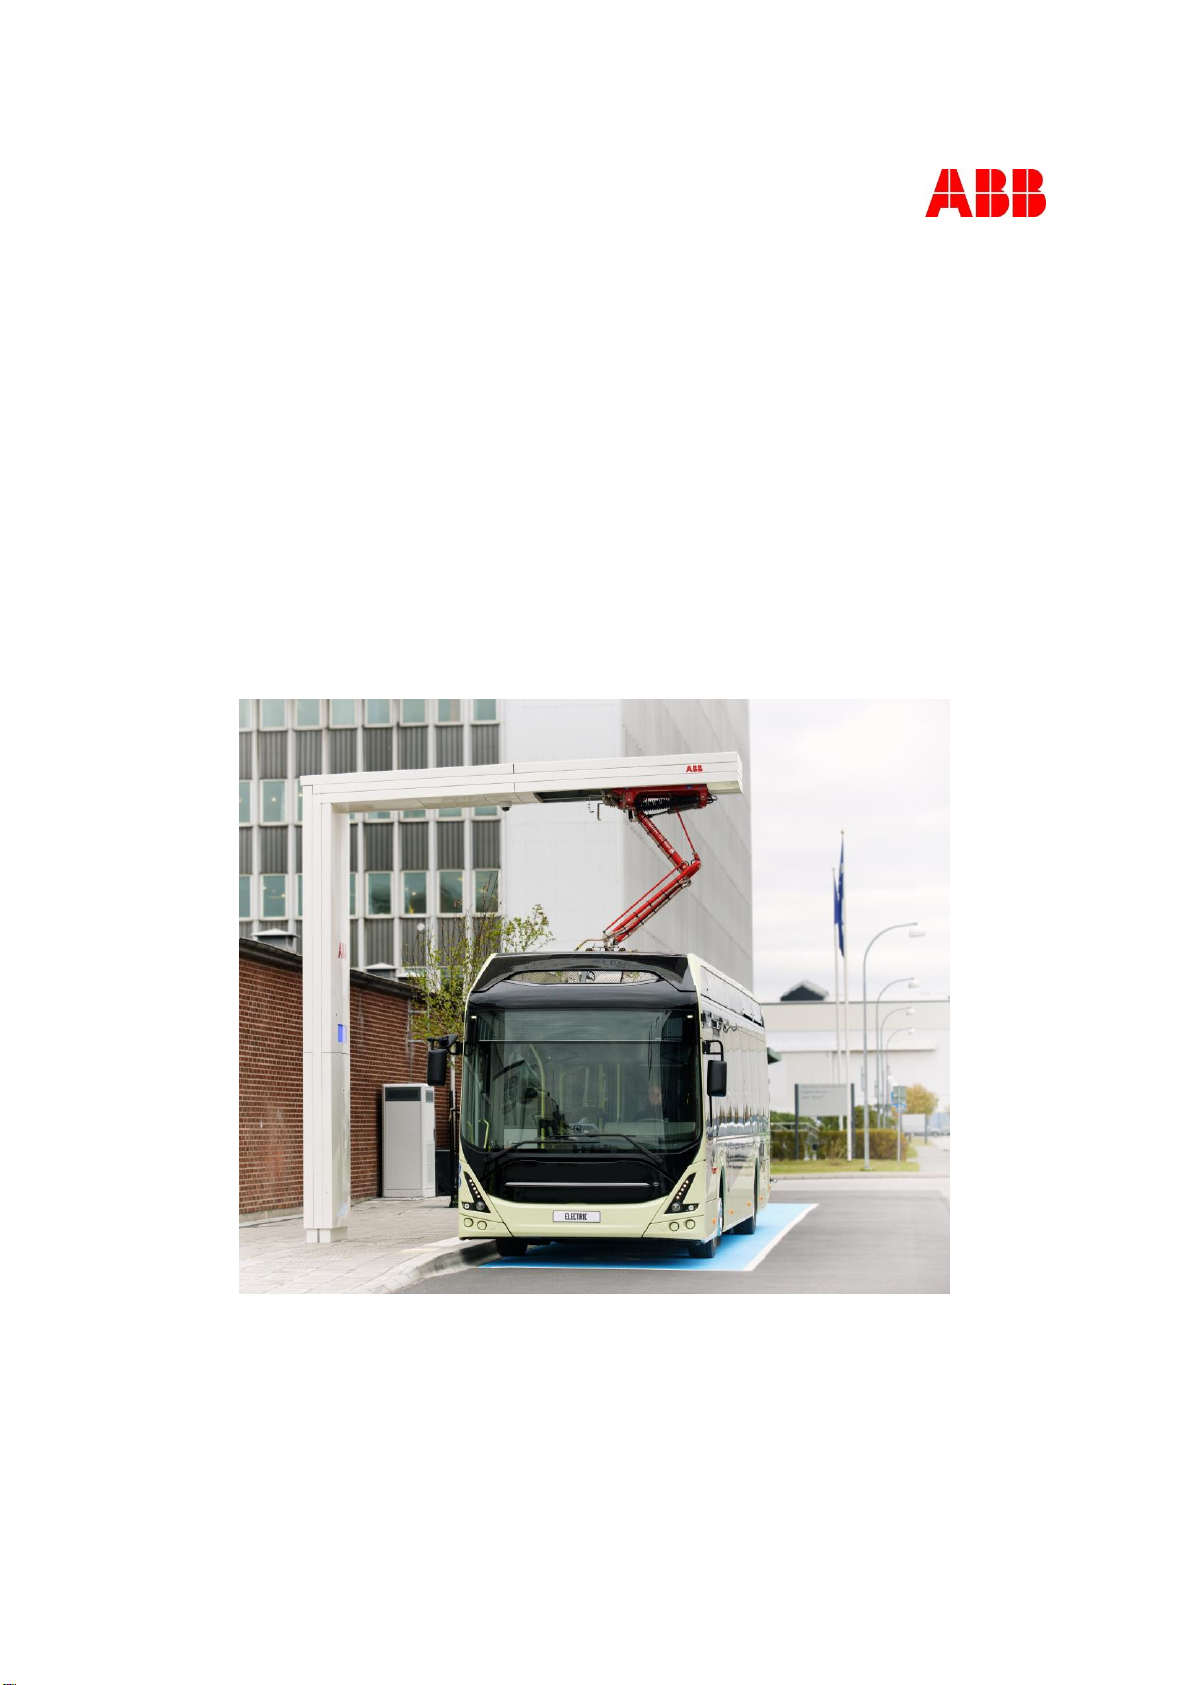
HVC
Heavy Vehicle Charger.
Power Cabinet
Intermediate unit that provides 150 kW of
DC power to the Charge control set. Gets
its power from a power distribution board.
Interlock
The Interlock is an isolated current loop
and is a feature that makes the state of two
mechanisms or functions mutually
dependent.
LAN
A computer network that interconnects
computers systems within a limited area.
NOC
ABB Network Operating Centre; remotely
checks the correct functioning of the
charger.
MCB
Mechanical Circuit Breaker
OppCharge
Is a trade name of fast charging method for
electric vehicles.
Owner
The legal owner of the charger.
Pantograph
The mechanical contact linkage of the
charger through which the DC charge
power is electrical transported to the
electrical vehicle.
PE
Protective Earth.
PPE
Personal Protective Equipment. Equipment
such as safety shoes, helmet, glasses,
gloves.
RCD
Residual-Current Device.
RFID
Radio-Frequency IDentification. RFID is a
communication technology by means of
radio waves to transfer data over a very
short distance between a reader and an
electronic tag or card.
Site operator
The entity is responsible for the day to day
control of the charger. The site operator
can be the owner, but not necessarily.
User
The owner of an electric vehicle, who uses
the Charge Station to charge that vehicle.
WiFi
A technology that allows electronic devices
to connect to a wireless LAN (WLAN)
network.