ABB SACE Emax 2 - Tmax XT User manual
E1.2 - XT7M - XT7
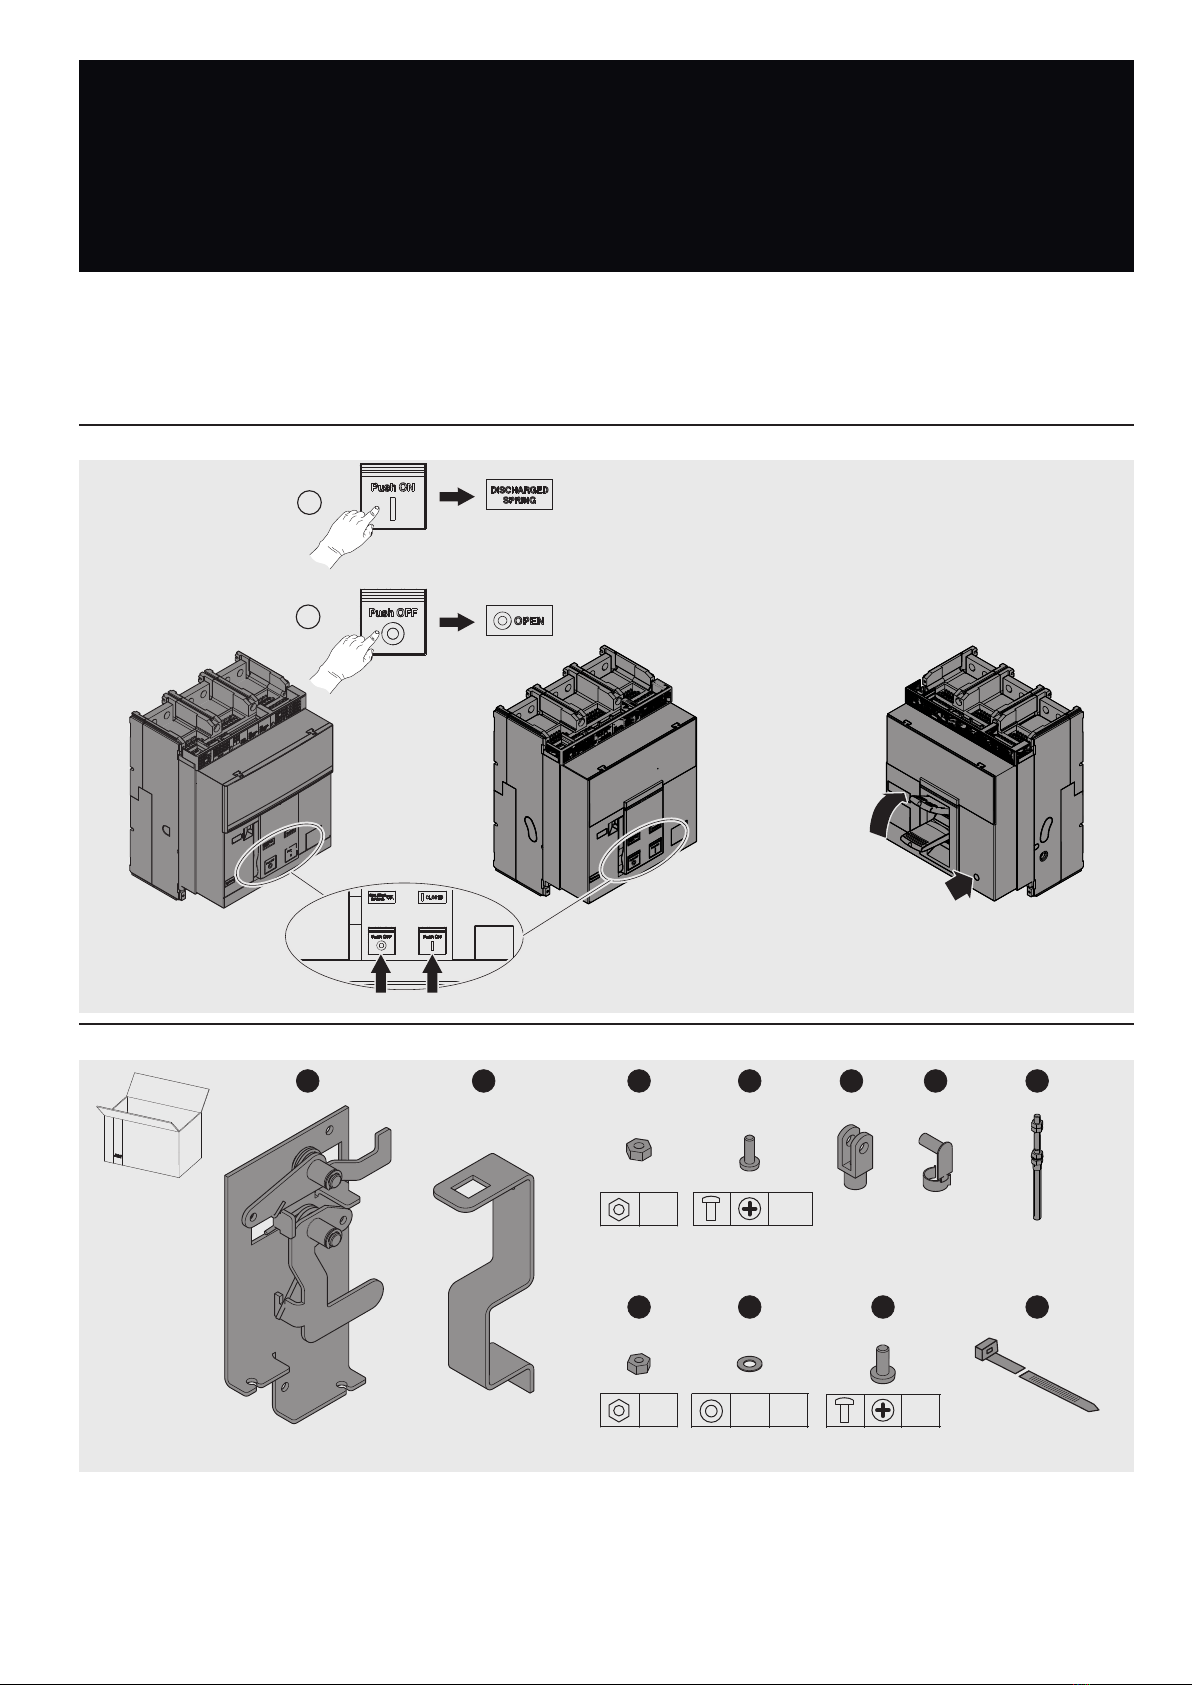
Blocco apertura della portella a cavi ad interruttore in chiuso DLC - E1.2 - XT7M - XT7
Door opening lock to cable when circuit-breaker in closed position DLC - E1.2 - E1.2 - XT7M - XT7
Verriegelung Türöffnung zu cable bei Leistungsschalter in EIN-Stellung DLC - E1.2 - E1.2 - XT7M - XT7
Verrouillage ouverture du portillon à câble avec disjoncteur en fermé DLC - E1.2 - E1.2 - XT7M - XT7
Bloqueo apertura de la puerta al cable con interruptor en posición cerrado DLC - E1.2 - E1.2 - XT7M - XT7
DLC - E1.2 - XT7M - XT7当断路器处于闭合位置时,门开启 电缆锁
Doc. N.° 1SDH000999R0712 - ECN000209346 - Rev. C
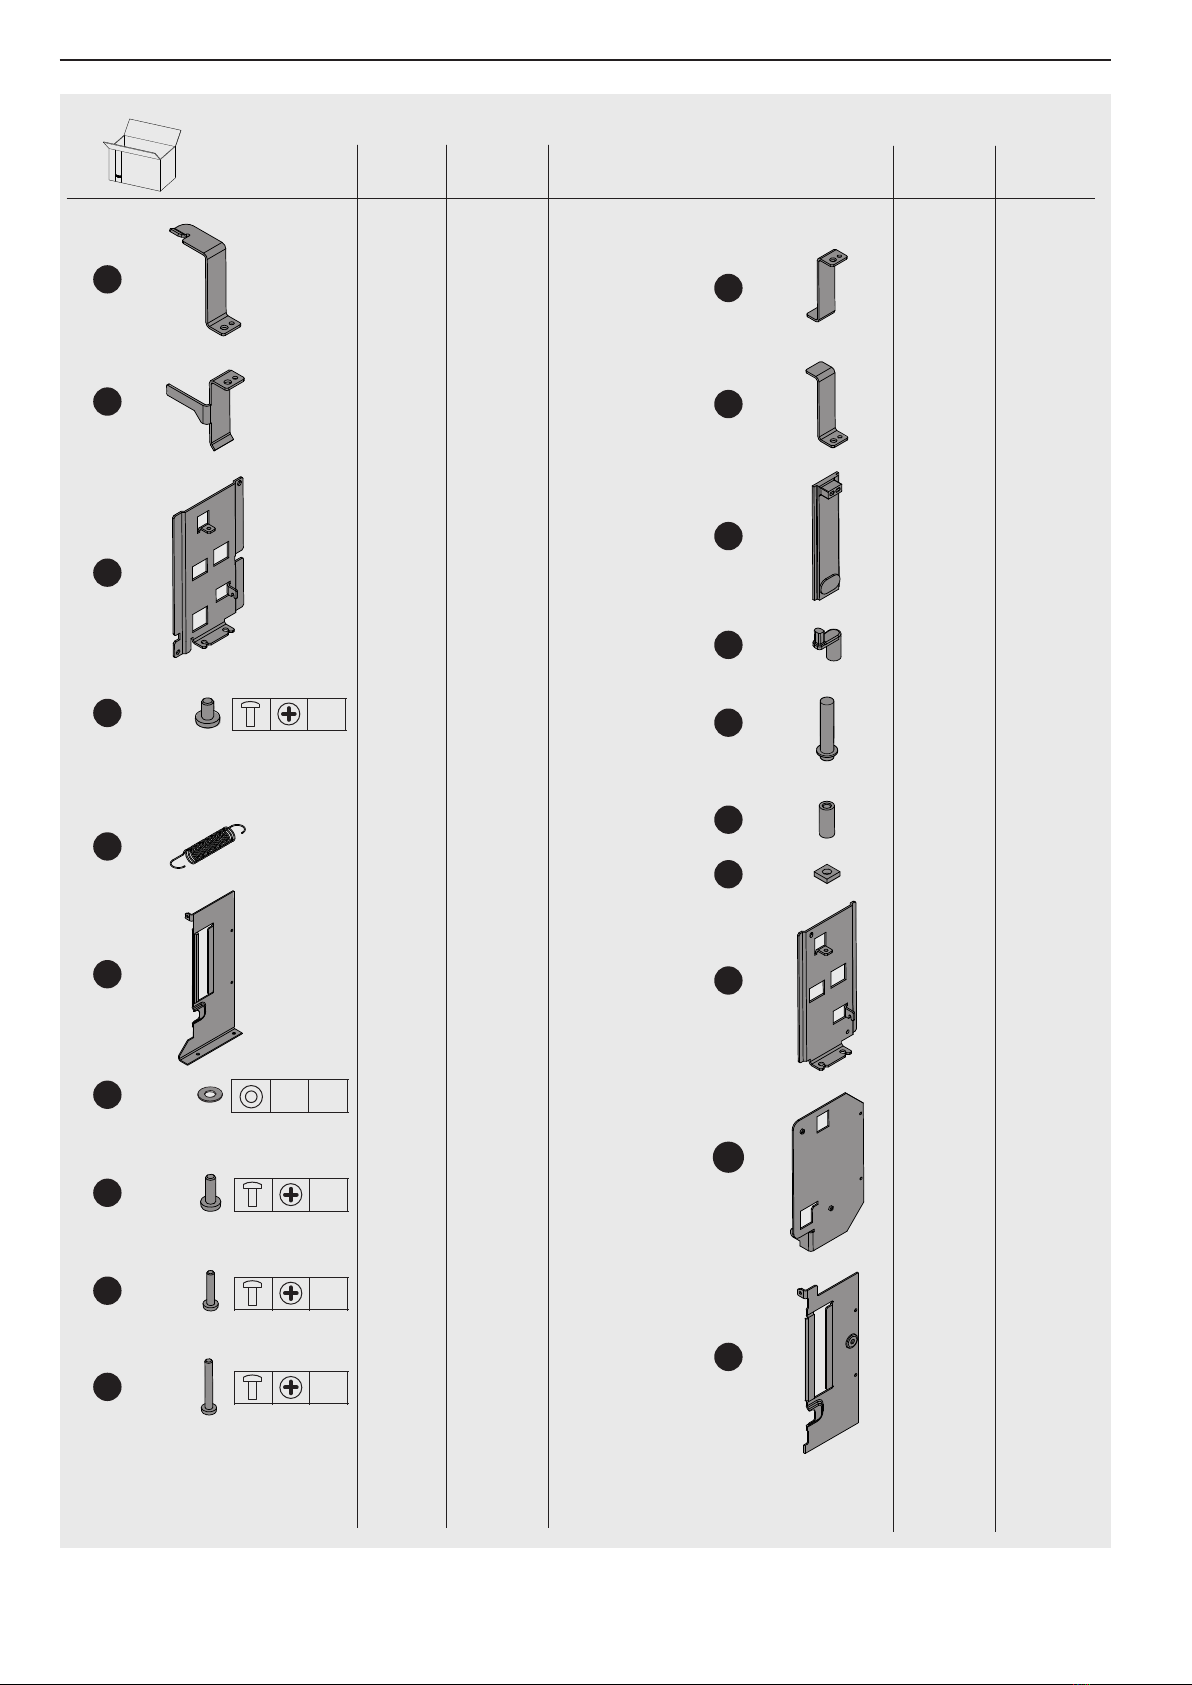
1B1A 1C 1D 1E 1F
1H 1I 1J
x2 x2 x2 x2
x10 x2 x2
M4 M4X12
Øint5Øext10
M5 M5x12
1G
x2
1K
x10
SACE Emax 2 - Tmax XT
OK
OK
1
2
2 1
1
2
ABB
2 2
2 2
1 1
2 2
1 1
1 1
1
2 2
26 6
2 2
1 1
1 1
1 1
1 1
1
2 2 2
1
1
1
2
SACE Emax 2 | ABB
Øint4Øext8
M5x8
M4x12
M4x20
M4x30
2A
2B
2C
2D
2E
2F
2G
2H
2I
2J
2K
2O
2Q
2R
2S
2T
Estraibile
Withdrawable
Ausfahrbar
débrochable
Extraíble
抽出式
Montaggio a parete
wall mounting
Wandanbau
montage sur paroi
montaje en la pared
壁式安装
Montaggio a pavimento
floor mounting
Fußbodenanbau
montage sur sol
montaje en el suelo
底面安装
Montaggio a parete
wall mounting
Wandanbau
montage sur paroi
montaje en la pared
壁式安装
Montaggio a pavimento
floor mounting
Fußbodenanbau
montage sur sol
montaje en el suelo
底面安装
2L
2M
2N
2P
1
Leggere attentamente le istruzioni ivi contenute.
Eseguire tutte le fasi descritte. L’applicazione insufficiente delle prescrizioni e regolazioni
indicate può compromettere il funzionamento normale dell’applicazione.
Read the enclosed instructions carefully.
Complete all the steps described. Failure to comply scrupulously with all the specified
instructions and adjustments can interfere with the proper operation of the application.
Enthaltene Anweisungen aufmerksam durchlesen.
Alle genannten Phasen ausführen. Die unzureichende Beachtung der angegebenen
Vorschriften und Regeln kann die Funktionsfähigkeit der Anwendung beeinträchtigen.
Lire attentivement les présentes instructions.
Effectuer toutes les phases décrites. L’application insuffisante des prescriptions et
réglages indiqués peut compromettre le fonctionnement normal de l’accessoire.
Lea atentamente las instrucciones y realice todas las operaciones descritas.
La inobservancia total o parcial de cualquier indicación puede comprometer el
funcionamiento del dispositivo.
NOTE GENERALI:
- Nel fissare i cavi flessibili agli interruttori ridurre al minimo il numero delle
curve (somma curve max 360°).
- Assicurarsi che la forma data ai cavi non possa essere modificata dopo la
regolazione.
GENERAL REMARKS:
- When attaching flexible cables to circuit-breakers, reduce the number of
curves as much as possible (maximum sum of curves 360°).
- Ascertain that the shape given to cables cannot be changed after the
adjustment.
ALLGEMEINE HINWEISE:
- Bei der Befestigung der flexiblen Kabel an den Schaltgeräten die Anzahl von
Kurven auf ein Minimum beschränken (Summer der Kurven max. 360°).
- Sicherstellen, daß die den Kabeln gegebene Form nicht nach der Einstellung
verändert werden kann.
REMARQUES GENERALES:
- Lorsqu’on fixe les câbles flexibles sur les disjoncteurs, réduire au minimum
le nombre de coudes (somme des coudes 360° maxi).
- S’assurer que la forme donnée aux câbles ne peut pas être modifiée après
le réglage.
NOTAS GENERALES:
- Al fijar los cables flexibles a los interruptores, reducir al mínimo el número
de codos (suma de codos máx. 360°).
- Asegurarse de que la forma dada a los cables no pueda modificarse
después de la regulación
一般备注:
- 当连接柔性电缆至断路器时,应减少弯曲点数量(弯曲总角度最大 360°)。
- 确保在完成调节后电缆线形态不会变化。
35
AA
109
157.5
Ø 4
55
21
(1.38") (2.16")
(0.83")
(4.29")
(6.2")
(Ø 0.16")
21
Ø 5
SECT. A-A
(Ø 0.2")
(0.83")
SACE Emax 2 | ABB
1K
仔细阅读发布的指导说明。
根据描述说明完成所有步骤。如未严格遵照确定的指导说明和调节步骤,可能会对应用的正常
运行造成干扰。
2
4
3
1A
2
1E
1
2 Nm
(2.95")
Quota importante
Important dimension
Wichtiger Wert
Cote importante
Cota importante
重要尺寸
2 Nm 4
3
3 Nm
26.5 lb in
17.7 lb in
17.7 lb in
75
1C
1B
1D
1R
1.5 Nm
13.3 lb in
SACE Emax 2 | ABB
1H
1G

8W
7W
5 6
FW
SACE Emax 2 | ABB
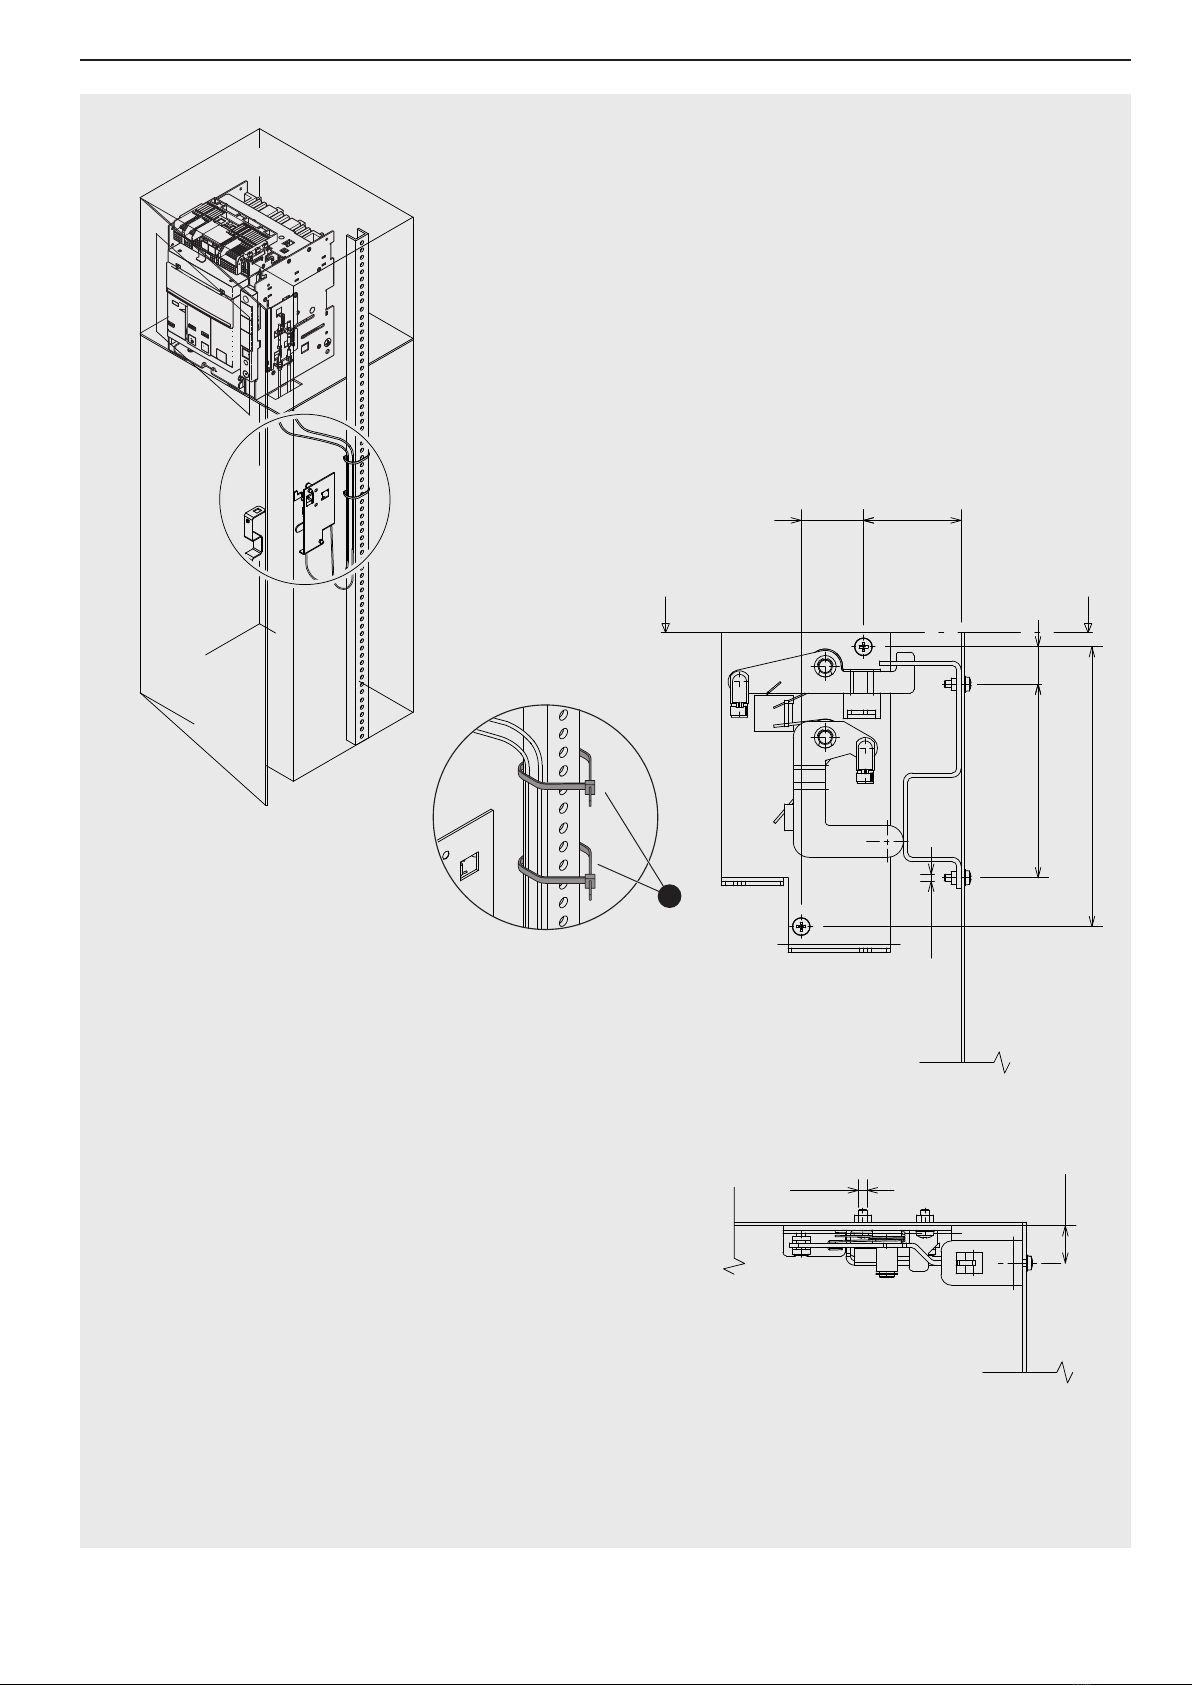
Foratura piano di appoggio per passaggio cavi
Mounting surface drilling for cable
Bohrung Auflagefläche für Kabel
Perçage plan d'appui pour le câble
Taladrado de la superficie de apoyo para el cable
电缆安装表面钻孔
Foratura piano di appoggio per passaggio cavi
Mounting surface drilling for cable
Bohrung Auflagefläche für Kabel
Perçage plan d'appui pour le câble
Taladrado de la superficie de apoyo para el cable
电缆安装表面钻孔
2E
12730
70 50
(1.18") (5")
(2.75") (1.97")
80 152
155.5
30
(6.12")
(1.18")
(3.15") (5.98")
3 Nm
2A
2B
2C
2D
26.5 lb in

9
10
SACE Emax 2 | ABB
FLOOR MOUNTING / WALL MOUNTING
F
E
D
1
2
4
3
1
2
3
E
D
FLOOR MOUNTING / WALL MOUNTING
FLOOR MOUNTING / WALL MOUNTING
11
12
SACE Emax 2 | ABB
1
2
4
35
6
2M
2O
2N

13
13
15
14
EXAMPLE FOR F WALL MOUNTING
EXAMPLE FOR F WALL MOUNTING
SACE Emax 2 | ABB
FLOOR MOUNTING / WALL MOUNTING
确保移动部件可自由滑移
2E
Verificare il libero scorrimento
delle parti in movimento.
Make sure the moving parts slide freely.
Ungehinderte Bewegung der
Bewegungsteile überprüfen.
Vérifier que les parties en mouvement
coulissent librement.
OK
2 Nm
17.7 lb in
OK
2R
2L
2G 2H
2K
2 Nm
2 Nm
2
3
3
1
17.7 lb in
17.7 lb in
2T
2H 2G
2Q
2J
2P
2H
2S
2I 2H
2F
Wall Mounting
Floor Mounting
Averiguar que las partes moviles
puedan deslizarse libremente
16
19
17 18 E1.2 - XT7M
XT7
2
1
2 Nm
17.7 lb in
SACE Emax 2 | ABB
W F
17.7 lb in
2 Nm
1G
1.5 Nm
13.3 lb in
1.5 Nm
13.3 lb in
1.5 Nm
13.3 lb in
0.8 Nm
7.1 lb in
3
2
1
1.5 Nm
13.3 lb in
0.8 Nm
7.1 lb in
3
2
1
20
21
SACE Emax 2 | ABB
22
ATTENZIONE: Stringere le fascette per assicurarsi che la forma dei
cavi non possa essere modificata dopo la regolazione.
WARNING: Tighten the bands to make sure that the shape of the
cables can not be changed after adjusting.
HINWEISE: Ziehen Sie die Schellen fest, um sicherzustellen, dass die
Form der Kabel nach der Einstellung nicht verändert werden kann.
REMARQUES: Serrez les collier de serrage pour vous assurer que la
forme des câbles ne peut pas être changée après le réglage.
NOTAS: Apriete los abrazaderas para asegurarse de que la forma de
los cables no se puede cambiar después de la regulación.
警告:紧固束带,确保完成调节后电缆形态不会出现变化。
OK!
1D
A
C B
C B
B
1D
C
1D
Non serrare
Do not tighten
Nicht anziehen
Ne pas serrer
No apretar
Other manuals for SACE Emax 2 - Tmax XT
1
Other ABB Lock manuals


