manuals.online logo
Brands
  1. Home
  2. •
  3. Brands
  4. •
  5. abc
  6. •
  7. Indoor Furnishing
  8. •
  9. abc L-Desk User manual

abc L-Desk User manual

NOTE: THIS INSTRUCTION
BOOKLET CONTAINS IMPORTANT
SAFETY INFORMATION.
PLEASE READ AND KEEP FOR
FUTURE REFERENCE.
Enlish p 1-38
Français p 39-43
Español p 44-48
L-Desk
Table of Contents Assembly Tools Required
Part Identification
Hardware Identification
Hardware Usage Guide
Assembly Steps
Français
Español
Safety
Warranty
Hammer
Not actual size
No. 2 Phillips Screwdriver
Tip Shown Actual Size
3
4
5
6-38
39-43
44-48
49-50
51
Pae 2
Part Identification
åWhile not all parts are labeled, some of the parts will have a label or an inked letter on the edge
to help distinguish similar parts from each other. Use this part identification to help identify similar parts.
Now you know
our ABCs.
A END (1)
B LEFT END (1)
C DESK TOP (1)
D UPRIGHT (1)
D14 RIGHT DRAWER SIDE (1)
D15 LEFT DRAWER SIDE (1)
D78 DRAWER BACK (1)
D716 DRAWER BOTTOM (1)
E SMALL MODESTY PANEL (1)
F SHELF/BOTTOM (2)
G SHELF MOLDING (1)
H BOTTOM M0LDING (1)
J DRAWER FRONT (1)
K DRAWER FRONT MOLDING (1)
L BACK (1)
M LEFT FRONT LEG (1)
N RIGHT FRONT LEG (1)
O UPRIGHT FRONT LEG (1)
P LONG TOP MOLDING (1)
Q RIGHT REAR LEG (3)
R LEFT REAR LEG (2)
S RETURN TOP (1)
T LARGE MODESTY PANEL (1)
U SHORT TOP MOLDING (1)
V RETURN END (1)
Pae 3
A
B
C
D
E
F
G
HJ
K
L
M
N
O
P
Q
R
S
T
U
V
D15 D716
F
D14D78
Q
Q
R
Hardware Identification
åScrews are shown actual size. You may receive extra hardware with your unit.
Pae 4
(EXTENSION SET SHOWN SEPARATED)
EXTENSION
RAIL - 2
35MA EXTENSION
SLIDE - 2
35MC 4B FILE GLIDE - 2
10A SLIDE CAM - 2
17F MOLDING
CONNECTOR - 2
8F CAM
SCREW - 31 15F WOOD
DOWEL - 17
1F HIDDEN
CAM - 55 2F CAM
DOWEL - 24
41G PLATE - 3 KNOB - 1
187K 1P GROMMET
CAP - 2 10P GROMMET - 2 17P SCREW
COVER - 4 19P CAM
COVER - 18
1S BLACK 9/16" LARGE HEAD SCREW - 12 3S GOLD 5/16" FLAT HEAD SCREW - 8
95S SILVER 1-1/2" MACHINE SCREW - 1 BLACK 1-15/16" FLAT HEAD SCREW - 3
113S
12S BROWN 1" FLAT HEAD SCREW - 6 30S BLACK 1-9/16" FLAT HEAD SCREW - 4
Hardware Usage Guide
HOW TO USE A HIDDEN CAM & CAM DOWEL
Cam Screw
Hidden Cam
Arrow
Push a HIDDEN CAM into
the part. The arrow in the
HIDDEN CAM must point
toward the hole in the
edge of the board.
Hole
2. 3.
1
2
Insert the CAM SCREW into the HIDDEN CAM.
Tighten the HIDDEN CAM.
HOW TO USE A HIDDEN CAM & CAM SCREW
Turn the CAM SCREW until
the shoulder is against the
surface of the part.
1.
2. Insert the metal end of the CAM
DOWEL into the HIDDEN CAM.
1. Push a HIDDEN CAM into
the part. The arrow in the
HIDDEN CAM must point
toward the hole in the edge
of the board.
Hole
Arrow
Metal end
Hidden Cam
Cam Dowel
Start Tighten
Arrow
Minimum
190 degrees
Caution
Risk of damage or
injury. HIDDEN CAMS
must be completely
tightened. HIDDEN
CAMS that are not
completely tightened
may loosen, and parts
may separate. To
completely tighten:
Arrow
Maximum
210 degrees
3.
Pae 5
Step 1
å Assemble your unit on a carpeted floor or on the empty
carton to avoid scratchin your unit or the floor.
å Push eiht HIDDEN CAMS (1F) into the END (A).
å Turn six CAM SCREWS (8F) into the LEGS (Q and R).
Pae 6
A
R
Q
1F
Arrow
1F
Arrow
1F Arrow
8F
Pro Tip: You will need
someone's help later
in assembly.
å Insert two WOOD DOWELS (15F) into the LEGS (Q and R).
å Fasten the LEGS (Q and R) to the END (A). Tihten six
HIDDEN CAMS.
å NOTE: Be sure the WOOD DOWELS in the LEGS insert
into the END.
Step 2
Pae 7
A
R
Q
Surface with
HIDDEN CAMS
These surfaces
should be even.
Ede with
HIDDEN CAMS
15F
15F
The LEGS will
overhan this ede.
Anled ede
Anled ede
å Push two HIDDEN CAMS (1F) into the lon ede of the
SMALL MODESTY PANEL (E).
å Push two HIDDEN CAMS (1F) into the short ede of the
SMALL MODESTY PANEL (E). Then, insert the metal
end of a CAM DOWEL (2F) into each HIDDEN CAM.
Step 3
Pae 8
Do not tihten the HIDDEN CAMS in this step.
Arrow
1F
2F
Metal end
E
1F
Arrow
å Fasten the SMALL MODESTY PANEL (E) to the END (A).
Tihten two HIDDEN CAMS.
Step 4
Pae 9
A
E
Surface with
HIDDEN CAMS
Surface with
HIDDEN CAMS
å Insert four CAM DOWELS (2F) into the DESK TOP (C)
exactly as shown with the metal end facin up.
å With someone's help, fasten the END (A) and SMALL
MODESTY PANEL (E) to the DESK TOP (C). Tihten
four HIDDEN CAMS.
Step 5
Pae 10
Metal end
2F
A
E
C
å Fasten the PLATES (41G) to the DESK TOP (C) exactly as
shown. Use six BLACK 9/16" LARGE HEAD SCREWS (1S).
å NOTE: The PLATES will overhan the ede of the TOP.
å Push four HIDDEN CAMS (1F) into the DESK TOP (C).
Step 6
Pae 11
BLACK 9/16" LARGE HEAD SCREW
(6 used in this step)
1S
41G
C
1F
Arrow
å Push sixteen HIDDEN CAMS (1F) into the LEFT END (B)
and UPRIGHT (D).
Step 7
Pae 12
B
D
(16 used)
1F
Arrow
1F
Arrow
1F Arrow
Step 8
Pae 13
å Separate the EXTENSION SLIDES (35MC) from the EXTENSION RAILS (35MA) as
shown in the upper diaram below. Be prepared, the parts are reasy.
å Fasten the EXTENSION RAILS (35MA) to the LEFT END (B) and UPRIGHT (D). Use four
GOLD 5/16" FLAT HEAD SCREWS (3S) throuh holes #1 and #3.
å NOTE: For each EXTENSION RAIL, turn a SCREW into the hole shown in the enlared
diaram. Then, slide the inner cartride of the EXTENSION RAIL in to find the other hole
that lines up with the hole in the END or UPRIGHT. Turn a SCREW into this hole.
å NOTE: The EXTENSION SLIDES (35MC) will be used later for the DRAWER.
Push the black lever in and pull the SLIDE from the RAIL.
35MA
35MC
3
2
1
1
2
3
B
D
Open end
Open end
GOLD 5/16" FLAT HEAD SCREW
(4 used for the RAILS)
3S
Short ede with
HIDDEN CAMS
å Turn six CAM SCREWS (8F) into the LEGS (O and Q).
Step 9
Pae 14
O
Q
8F
Step 10
Pae 15
O
Q
D
å Insert two WOOD DOWELS (15F) into the LEGS (O and Q).
å Fasten the LEGS (O and Q) to the UPRIGHT (D). Tihten
six HIDDEN CAMS.
å NOTE: Be sure the WOOD DOWELS in the LEGS insert
into the UPRIGHT.
Surface with
HIDDEN CAMS
These surfaces
should be even.
Ede with
HIDDEN CAMS
15F
15F
The LEGS will
overhan this ede.
Anled ede
Anled ede
å Insert two WOOD DOWELS (15F) into the UPRIGHT (D).
å Place the BACK (L) onto the WOOD DOWELS in the UPRIGHT (D).
Step 11
Pae 16
L
D
15F
Don't worry. It isn't
Rome. This can be built
in a day.
Step 12
å Push eiht HIDDEN CAMS (1F) into the SHELF/BOTTOMS (F).
Then, insert the metal end of a CAM DOWEL (2F) into each
HIDDEN CAM.
Pae 17
Do not tihten the HIDDEN CAMS in this step.
1F
2F
Arrow
Metal end
1F
2F
Metal end
Arrow
F
F
å Fasten the SHELF/BOTTOMS (F) to the UPRIGHT (D).
Tihten four HIDDEN CAMS.
Step 13
Pae 18
D
F
Notched ede
Surface with HIDDEN CAMS
F
Surface with HIDDEN CAMS
å NOTE: The BOTTOM MOLDING (H) is wider than the
SHELF MOLDING (G).
å Slide the SHELF MOLDING* (G) onto the notched ede
of the upper SHELF/BOTTOM (F).
å Slide the BOTTOM MOLDING* (H) onto the notched
ede of the lower SHELF/BOTTOM (F).
å *U.S. Patent No. 5,499,886
Step 14
Pae 19
Slide the MOLDING
onto the notched ede.
F
F
Notched ede
G
H
The roove
is closer to
this ede.
The roove
is closer to
this ede.
å Turn three CAM SCREWS (8F) into one LEFT REAR LEG (R).
å Insert one WOOD DOWEL (15F) into the LEFT REAR LEG (R).
å Fasten the LEFT END (B) to the LEFT REAR LEG (R). Tihten three
HIDDEN CAMS.
å NOTE: Be sure the WOOD DOWEL in the LEG inserts into the END.
Step 15
Pae 20
R
B
R
8F
15F
Surface with
HIDDEN CAMS
These surfaces
should be even.
Anled ede

Other abc Indoor Furnishing manuals

abc Wall-mounted Bookcase With Door User manual

abc

abc Wall-mounted Bookcase With Door User manual

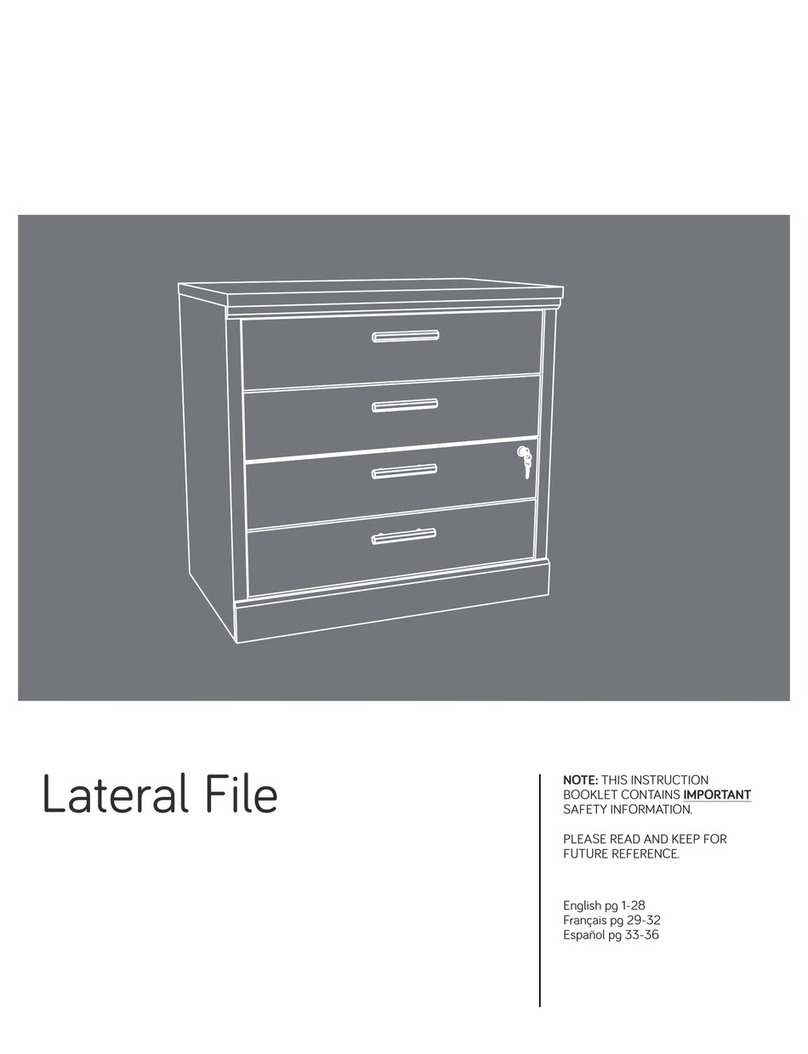
abc Lateral File User manual

abc

abc Lateral File User manual

abc 422197 User manual

abc

abc 422197 User manual

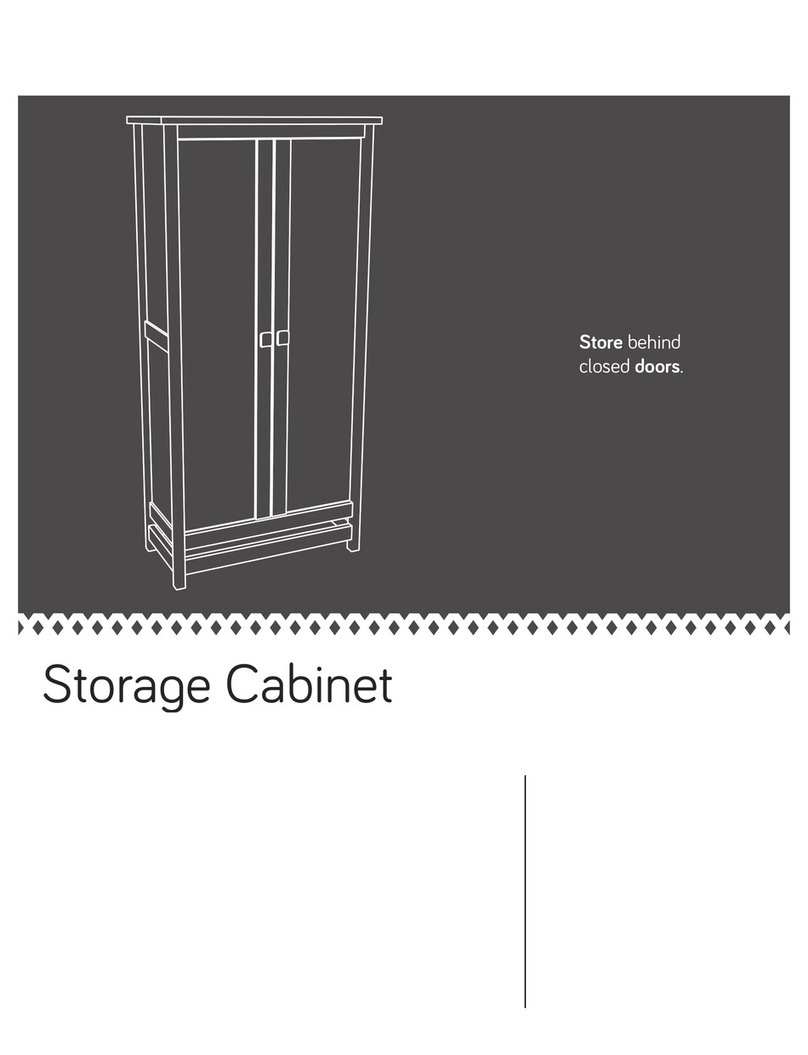
abc Storage Cabinet User manual

abc

abc Storage Cabinet User manual

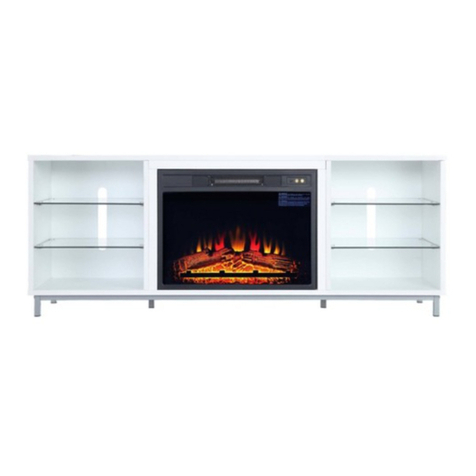
abc FP4 User manual

abc

abc FP4 User manual

Popular Indoor Furnishing manuals by other brands

U-Line H-8529 manual

U-Line

U-Line H-8529 manual

fantastic furniture Ashford Lowline Medium manual

fantastic furniture

fantastic furniture Ashford Lowline Medium manual

LDI Spaces SAFCO 6265 Assembly instructions

LDI Spaces

LDI Spaces SAFCO 6265 Assembly instructions

Whittier Wood 7018GDRC Assembly instructions

Whittier Wood

Whittier Wood 7018GDRC Assembly instructions

&Tradition DEVELIUS EV1 User instructions

&Tradition

&Tradition DEVELIUS EV1 User instructions

Villeroy & Boch My View 14 Installation instruction

Villeroy & Boch

Villeroy & Boch My View 14 Installation instruction

FUFU & GAGA KF210171-01 Product Instruction

FUFU & GAGA

FUFU & GAGA KF210171-01 Product Instruction

Million Dollar Baby 4426 Assembly and operation manual

Million Dollar Baby

Million Dollar Baby 4426 Assembly and operation manual

RiverRidge Ellsworth 06-031 Assembly instructions

RiverRidge

RiverRidge Ellsworth 06-031 Assembly instructions

Manhattan Comfort BMU 62 Assembly instructions

Manhattan Comfort

Manhattan Comfort BMU 62 Assembly instructions

hygena 656/4966 Assembly instructions

hygena

hygena 656/4966 Assembly instructions

Duo Collection TORONTO XXL Original instructions

Duo Collection

Duo Collection TORONTO XXL Original instructions

Modus Furniture International 9CR1L5 Assembly instruction

Modus Furniture International

Modus Furniture International 9CR1L5 Assembly instruction

Aspen ASP2180 2A instructions

Aspen

Aspen ASP2180 2A instructions

LD Seating Dateien manual

LD Seating

LD Seating Dateien manual

overstock S-103SW Assembly instructions

overstock

overstock S-103SW Assembly instructions

Evergreen Great Grand Daddy instructions

Evergreen

Evergreen Great Grand Daddy instructions

Canvas 088-2286-0 Assembly instructions

Canvas

Canvas 088-2286-0 Assembly instructions

manuals.online logo
manuals.online logoBrands
  • About & Mission
  • Contact us
  • Privacy Policy
  • Terms and Conditions

Copyright 2025 Manuals.Online. All Rights Reserved.