11 13
16 17
Klicken Sie nun auf das Kamerabild
in der Übersicht um das Livebild zu starten.
Click on the camera image in the
overview to start the live view.
12
Sicherheitscode ändern
•••••••
•••••••
Bei der Erstinstallation muss der werkseitige
Sicherheitscode 123456 geändert werden.
Es wird empfohlen eine Kombination aus
Zahlen sowie Klein- und Großbuchstaben
zu verwenden.
During the initial installation, the factory
default security code 123456 must be changed.
We recommend using a combination of
numbers and letters in lower and uppercase.
Schritt 4 – Einstellungen anpassen
Step 4 – Customise the settings
Die Verwendung von einigen Sonderzeichen
(siehe Abschnitt Systemvoraussetzungen) ist nicht möglich.
Sed quae nim reic tempor soles molo et dolore (ipitas volut pora que)
nonestecati ma est sum volo
PPIC36520
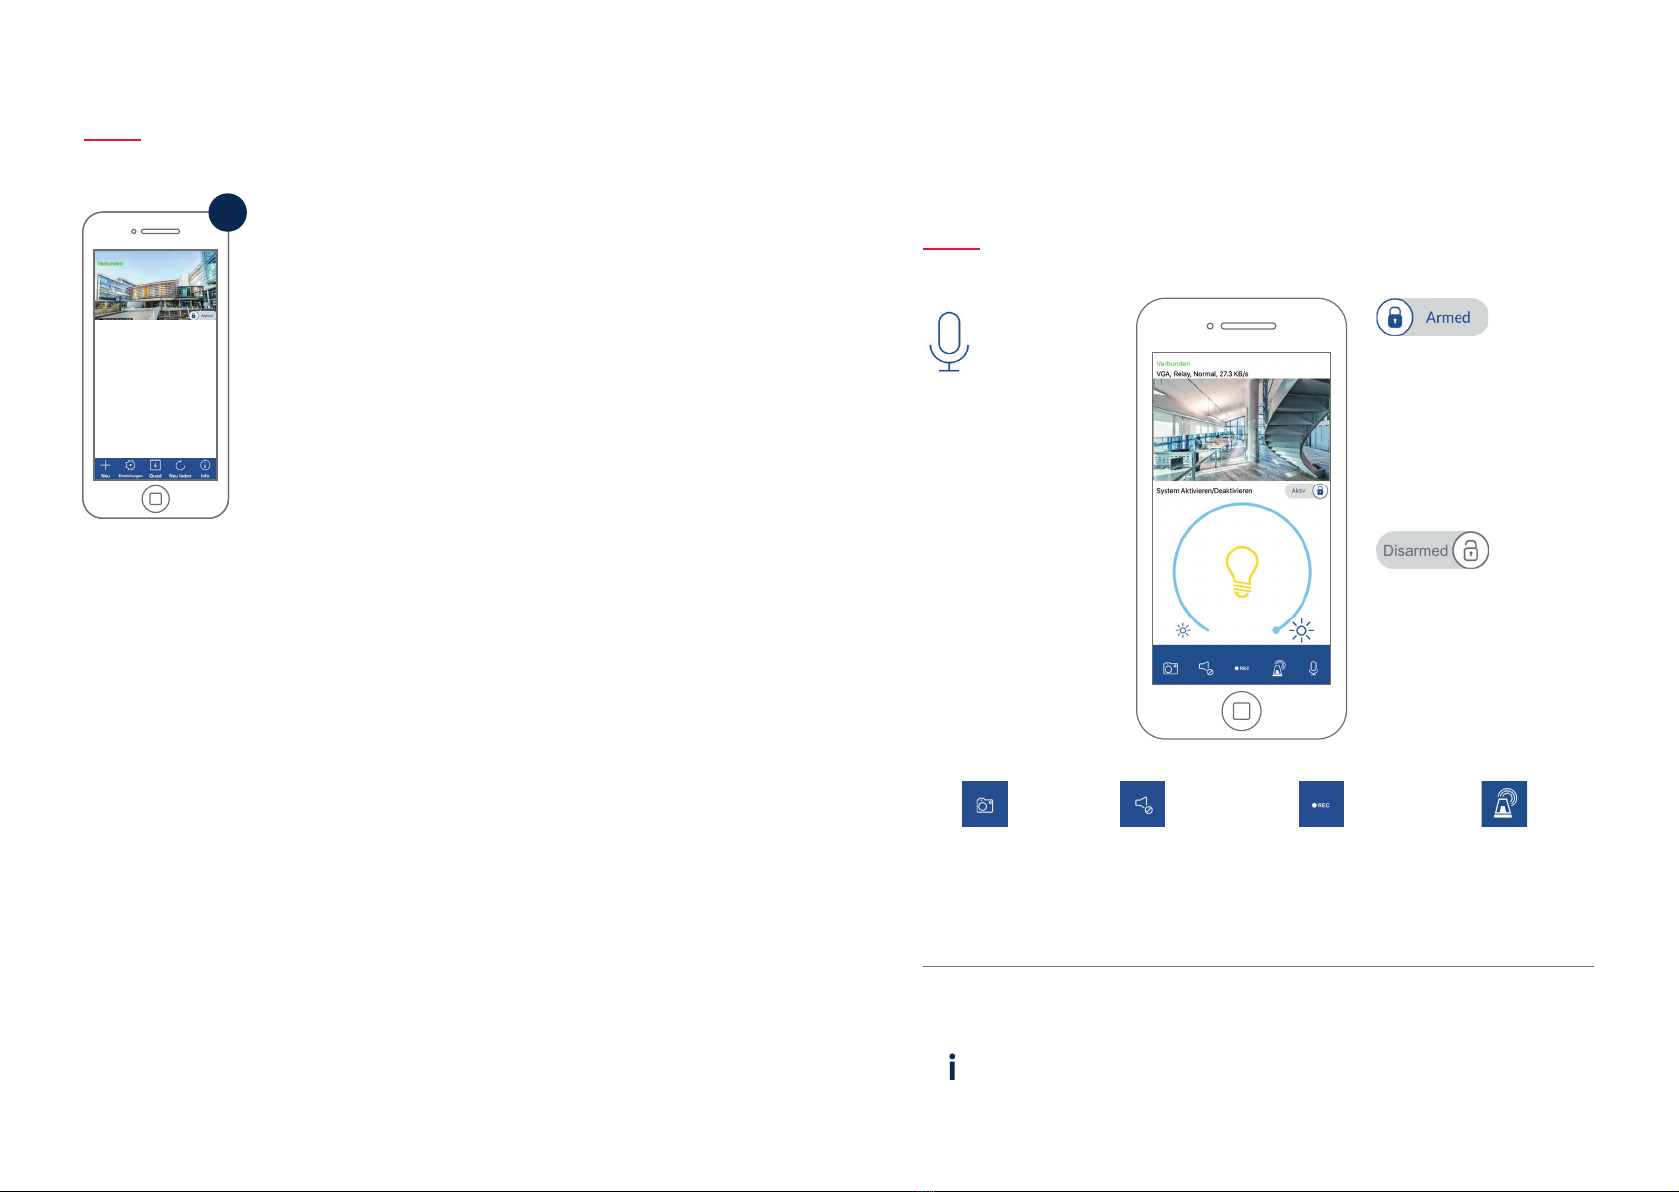
1) Einstellungssymbol unten
1) Settings symbol bottom
2) Einstellungsicon oben
2) Settings icon top
Um weitere Einstellungen an
der Kamera vorzunehmen, klicken
Sie auf das 1) Einstellungssymbol
unten und im Anschluss auf das
2) Einstellungsicon im Kamerabild.
In order to congure additional
settings for camera, click on the 1)
Settings symbol at the bottom and
then on the 2) Settings icon in the
camera image.
14
Bei der Erstinbetriebnahme muss das Admin
Passwort geändert werden. Geben Sie das werkseitige
Passwort „123456“ ein und aktivieren Sie „Auto Anmel-
dung“ um das Passwort auf dem Endgerät zu speichern.
Das Passwort muss aus 8 Zeichen – einer Kombination
aus Zahlen, Klein- und Großbuchstaben – bestehen.
The admin password must be changed during
commissioning. Enter the factory default password
„123456“ and activate „auto-registration“ in order
to save the password on the end device. The password
must consist of 8 characters – a combination of numbers
as well as lower and uppercase letters.