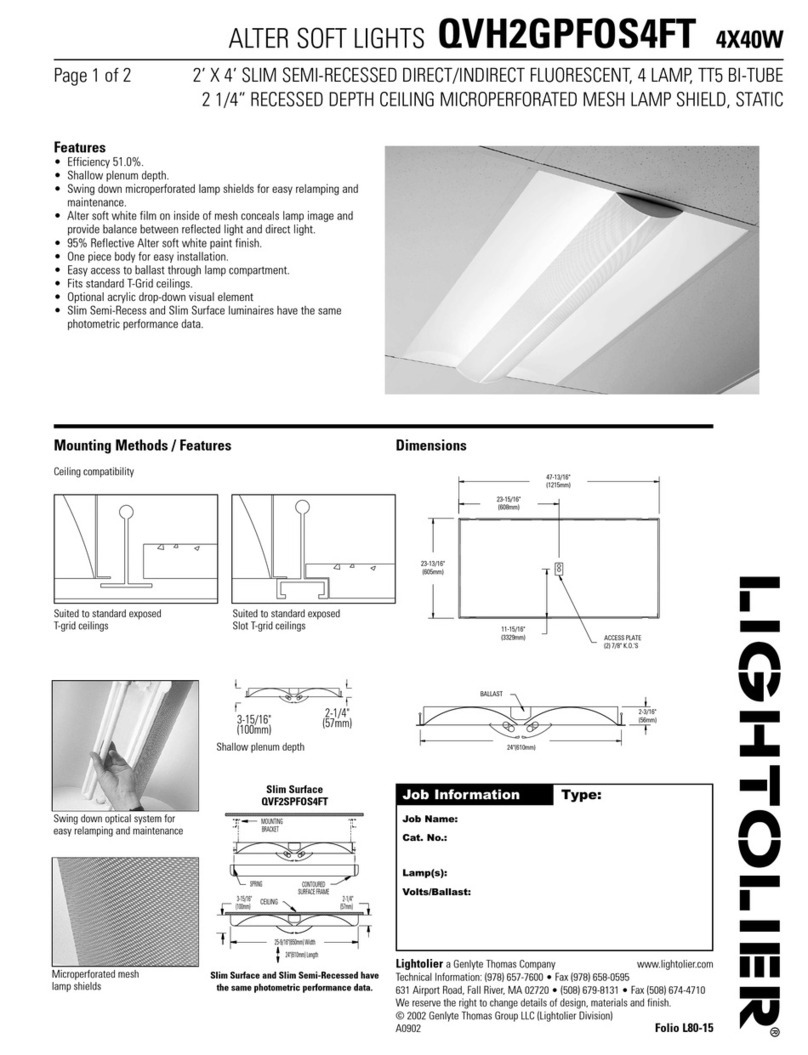
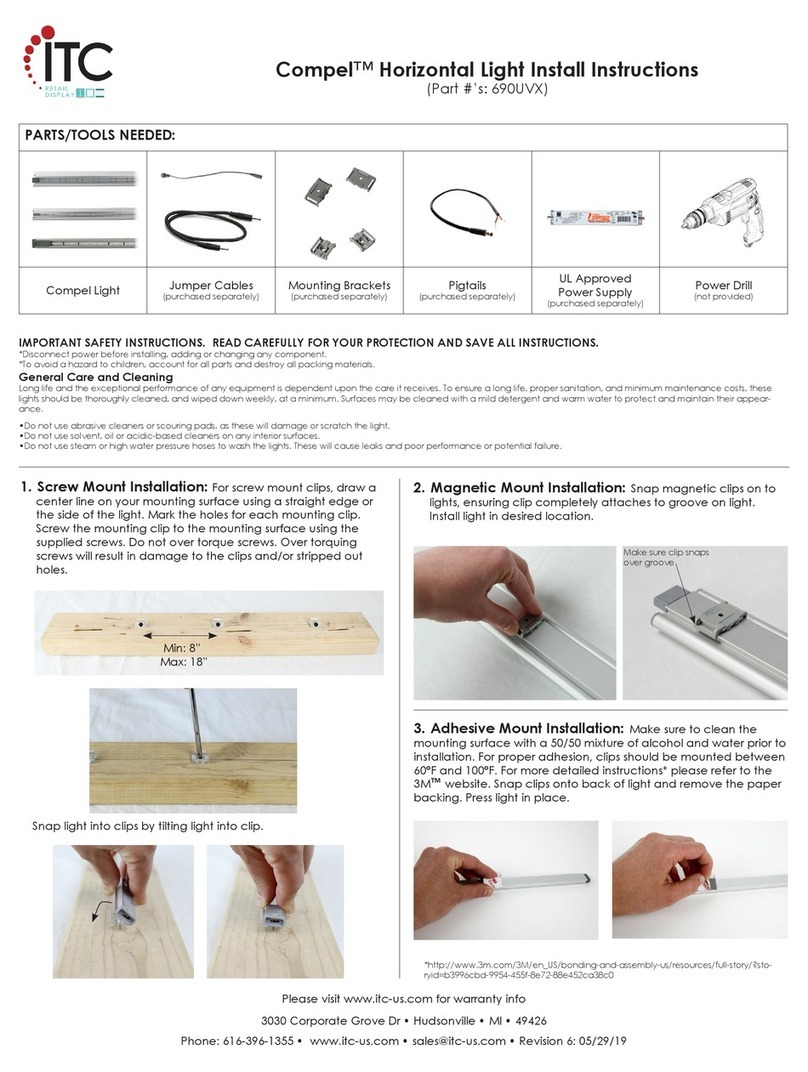
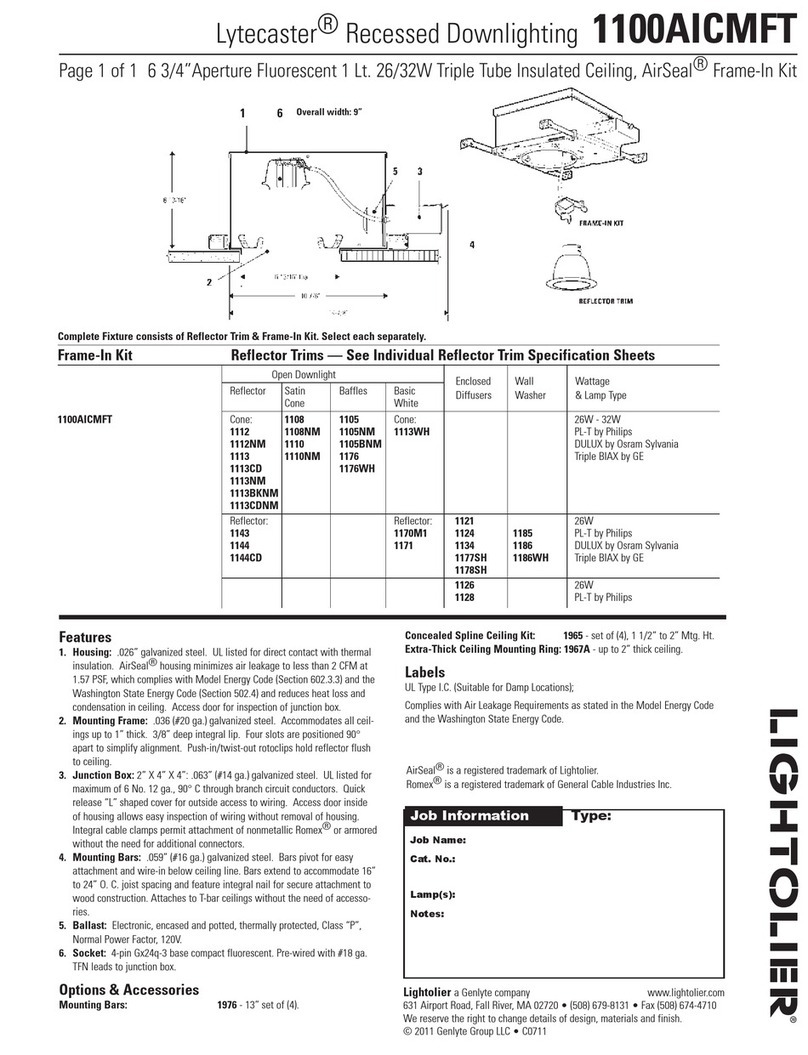
AcueLighting Legend 380 User manual

1
User Manual

2
TABLE OF CONTENTS
1. GETTING STARTED ..................................................................................................................... 3!
What’s In The Box?............................................................................................................... 3!
Powering Up! ............................................................................................................................ 3!
Getting A Hold Of Us ............................................................................................................... 3!
Safety Instructions..................................................................................................................... 4!
2. MEET THE LEGEND 380............................................................................................................. 5!
Main Features............................................................................................................................ 5!
Control .................................................................................................................................... 5!
DMX Channel Chart (16ch) .............................................................................................. 5!
Legend 380 Pin-Up Picture....................................................................................................... 9!
The Rear Connections ............................................................................................................. 10!
3. SETUP.......................................................................................................................................... 10!
Fuse Replacement ................................................................................................................... 10!
Connecting Multiple Fixtures ................................................................................................. 10!
Data/DMX Cabling ................................................................................................................. 11!
Cable Connectors .................................................................................................................... 11!
Take It To The Next Level: Setting Up DMX Control........................................................... 11!
Fixture Linking (M/S Mode)................................................................................................... 12!
Mounting & Rigging ............................................................................................................... 13!
4. OPERATING ADJUSTMENTS................................................................................................. 14!
The Control Panel ................................................................................................................... 14!
Control Panel Menu Structure................................................................................................. 15!
DMX Mode ............................................................................................................................. 16!
Run Mode................................................................................................................................ 17!
5. APPENDIX ................................................................................................................................. 17!
Keeping Your Legend 380 As Good As New......................................................................... 17!
Shipping Issues........................................................................................................................ 17!
Tech Specs .............................................................................................................................. 18!
This manual contains important information.
Please read before operating fixture.

3
1. GETTING STARTED
What’s In The Box?
• 1 x Legend 380 fixture
• 1 x Power cable
• 1 x DMX signal cable
• 2 x Omega brackets
Getting It Out Of the Box
Congratulations on purchasing the Legend 380, an ultra-bright and durable,
beam moving head fixture. Now that you’ve got your Legend 380, you should
carefully unpack the box/case and check the contents to ensure that all parts
are present and in good condition. If anything looks as if it has been damaged
in transit, notify the shipper immediately and keep the packing material for
Inspection. Again, please save the carton and all packing materials.
Powering Up!
All fixtures must be powered directly off a switched circuit and cannot be
run off a rheostat (variable resistor) or dimmer circuit, even if the rheostat
or dimmer channel is used solely for a 0% to 100% switch.
Warning! All fixtures must be connected to circuits with proper grounding.
Getting A Hold Of Us
If something happens to go wrong, please feel free to contact us. Even
though all fixtures go through a tedious testing process, products can still be
damaged during shipping.
Disclaimer: The information and specifications contained in this document are
subject to change without notice. We assume no responsibility or liability for
any errors or omissions that may appear in this user manual.
We reserve the right to update the existing document or to create a new
document to correct any errors or omissions at any time.

4
Safety Instructions
•Please keep this User manual for future use. Make sure all users of this
product have read the user manual thoroughly.
• ALWAYS make sure that you are connecting to an outlet with the proper
voltage, and that the line voltage you are connecting to is not higher than that
stated on the decal or rear panel of the fixture.
• Make sure there are no flammable materials close to the unit while operating.
• The unit must be installed in a location with adequate ventilation, at least
20in (50cm) from any adjacent surfaces. Be sure that none of the ventilation
slots are blocked prior to operating.
• ALWAYS disconnect from the power source before servicing.
• ALWAYS secure mounted fixtures with a safety cable. NEVER carry the
fixture by its head. Use its carrying handles.
• DO NOT operate at ambient temperatures higher than 104°F (40°C).
• In the event of a serious operating problem, stop using the unit immediately.
NEVER try to repair the unit by yourself. Repairs carried out by unskilled
individuals can lead to further damage or malfunction. Please contact the
nearest authorized service center.
• NEVER connect the device to a dimmer pack.
• Make sure the power cord is never crimped or damaged.
• Never disconnect the power cord by pulling or tugging on the cord.
• Avoid direct eye exposure to the light source while it is on.
Caution! There are no user serviceable parts inside the unit. Do not open the
housing or attempt any repairs yourself.
Please read the instructions carefully. They
include important information about the
installation, usage and maintenance of this
product.

5
2. MEET THE LEGEND 380
Main Features
lChannel mode: 16 DMX Channels
lPan scan: 540°(16bit) w/ Electric correction
lTilt scan: 270° (16bit) w/ Electric correction
lColor wheel: 14 colors + white, with one rainbow color wheel
lGobo: 17 gobos + white
l2x Rotating prisms, effect move, & frost filter
l0-100% mechanical dimming, mechanical dimming and free dimming available.
lStrobe macro control available.
lBeam angle 0~4°
lOver-heat protection
lPower Input: 100-240V,50/60Hz
lMax Power Draw:400W
lIP level :IP20
l3/5 Pin DMX in/out
lProduct Size:350×280×553mm
lPacking Size: 560×440×380mm,packing in carton (custom case sizes differ)
lNet weight:16.53KG (custom case weights differ)
Control
• Protocol: DMX-512
• DMX channels: 16ch
• 3-pin XLR DMX input/output
• Easy-to-use 5-button control panel with LCD display
• Operating modes: DMX512, master/slave, auto, sound
DMX Channel Chart (16ch)
CH
Channel
DMX
value
Description
1
Pan
0-255
0-540°

6
2
Tilt
0-255
0-270°
3
Pan 16bit
0-255
0-2°
4
Tilt 16bit
0-255
0-1°
5
Pan/Tilt Speed
Pan/Tilt Time
0-255
Fast àSlow
6
Frost/rainbow
0-127
Insert 7 colorful
128-255
Insert frost
7
Strobe
0-3
close
4-103
Strobe from slow to fast
104-107
open
108-207
Strobe from slow to fast
208-212
open
213-251
Free strobe
252-255
open
8
Dimmer
0-255
0-100% dimmer
9
Color wheel
0-4
White
5-9
White + Color 1
10-14
Color 1
15-19
Color 1+ Color 2
20-24
Color 2
25-29
Color 2+ Color 3
30-34
Color 3
35-39
Color 3+ Color 4
40-44
Color 4
45-49
Color 4+ Color 5
50-54
Color 5
55-59
Color 5+ Color 6
60-64
Color 6
65-69
Color 6+ Color 7
70-74
Color 7
75-79
Color 7+ Color 8
80-84
Color 8
85-89
Color 8+ Color 9
90-94
Color 9
95-99
Color 9+ Color 10
100-104
Color 10
105-109
Color 10+ Color 11
110-114
Color 11
115-119
Color 11+ Color 12
120-124
Color 12
125-129
Color 12+ Color 13

7
130-134
Color 13
135-139
Color 13+ Color 14
140-144
Color 14
145-149
Color 14+ White
150-200
Rotate forward (fast to slow)
201-255
Rotate forward (slow to fast)
10
Color wheel
0-4
White
5-9
Gobo 1
10-14
Gobo 2
15-19
Gobo 3
20-24
Gobo 4
25-29
Gobo 5
30-34
Gobo 6
35-39
Gobo 7
40-44
Gobo 8
45-49
Gobo 9
50-54
Gobo 10
55-59
Gobo 11
60-64
Gobo 12
65-69
Gobo 13
70-74
Gobo 14
75-79
Gobo 15
80-84
Gobo 16
85-89
Gobo 17
90-128
Gobos from fast to slow clockwise
129-170
Gobos counter-clockwise from slow to
fast
171-175
Gobo 1 shake ,from slow to fast
176-180
Gobo 2 shake ,from slow to fast
181-185
Gobo 3 shake ,from slow to fast
186-190
Gobo 4 shake ,from slow to fast
191-195
Gobo 5 shake ,from slow to fast
196-200
Gobo 6 shake ,from slow to fast
201-205
Gobo 7 shake ,from slow to fast
206-210
Gobo 8 shake ,from slow to fast
211-215
Gobo 9 shake ,from slow to fast
216-220
Gobo 10 shake ,from slow to fast
221-225
Gobo 11 shake ,from slow to fast
226-230
Gobo 12 shake ,from slow to fast
231-235
Gobo 13 shake ,from slow to fast
236-240
Gobo 14 shake ,from slow to fast
241-245
Gobo 15 shake ,from slow to fast
246-250
Gobo 16 shake ,from slow to fast

8
251-255
Gobo 17 shake, from slow to fast
11
Prism 1
0-127
Prism off
128-255
Insert prism 1
12
Prism 1 rotation
0-127
0-400°
128-187
Rotation Clockwise (fast to slow)
188-195
Stop
196-255
Rotation Clockwise (slow to fast)
13
Prism 2
0-127
Prism off
128-255
Insert prism 2
14
Prism 2 rotation
0-127
0-400°
128-187
From fast to slow clockwise
188-195
Stop
196-255
Counter-clockwise from slow to fast
15
Focus
0-255
From far to near
16
Reset
100-105
Turn off the light source. Hold 5
seconds
200-205
Turn on the light source. Hold 5
seconds
210-215
Reset XY. Hold 3 seconds
220-235
Reset effect motor. Hold 5 seconds
240-255
Reset All. Hold 5 seconds

9
Legend 380 Pin-Up Picture
Bulbs 380
Cast Aluminum
ABS Enclosure
5 buttons LCD display
Pan:540°
Tilt:2703

10
The Rear Connections
3. SETUP
Fuse Replacement
The Legend 380 utilizes a high-output automatic switching power supply with
an internal fuse. Under normal operating conditions, the fuse should not
require replacement. The fuse is field replaceable, however it is an advanced
procedure suited for qualified technicians. Should the fuse require replacement,
please contact your local service center.
Connecting Multiple Fixtures
You will need a serial data link (DMX Cable) to control the fixtures in DMX
Mode. To run built-in shows on two or more fixtures set to sync in master/slave
operating mode. The combined number of channels available in each universe
will determine how many fixtures you can link to each other via DMX cable.
Fixtures on a serial data link must be daisy chained in one single line or by
using a DMX data distribution panel. Connecting more than 8 fixtures on one
Before replacing a fuse, disconnect the power
cord.
ALWAYS replace with the same type and rating
of fuse.

11
serial data link without the use of a DMX optically - isolated splitter may result
in deterioration of the digital DMX signal. The maximum recommended
cable-run distance is 500 meters (1640 ft). The maximum recommended
number of fixtures on a single serial data link is 8 fixtures.
Data/DMX Cabling
To link fixtures together you will need DMX data cables. You should use
data-grade cables that can carry a high quality signal and are less prone to
electromagnetic interference.
In any event, the cable should have the following characteristics:
•2-conductor twisted pair plus a shield
•Maximum capacitance between conductors – 30 pF/ft.
•Maximum capacitance between conductor & shield – 55 pF/ft.
•Maximum resistance of 20 ohms / 1000 ft.
•Nominal impedance 100 – 140 ohms
Cable Connectors
Cables must have a male XLR connector on one end and a female XLR
connector on the other end.
CAUTION: Do not allow contact between the common and the fixture’s
chassis ground. Grounding the common can cause a ground loop, and your
fixture may perform erratically. Test cables with an ohm meter to verify correct
polarity and to make sure the pins are not grounded or shorted to the shield or
each other.
Take It To The Next Level: Setting Up DMX Control
Step 1: Connect the male connector of the DMX cable to the female connector
(output) on the controller.
Step 2: Connect the female connector of the DMX cable to the first fixture’s

12
male connector (input).
Note: It doesn’t matter which fixture address is the first one connected. We
recommend connecting the fixtures in terms of their proximity to the controller,
rather than connecting the lowest fixture number first, and so on.
Step 3: Connect other fixtures in the chain from output to input as above.
Place a DMX terminator on the output of the final fixture to ensure best
communication.
Fixture Linking (M/S Mode)
1. Connect the male connector side of the DMX cable to the output female
connector of the first fixture.
2. Connect the end of the cable coming from the first fixture which will have a
female connector to the input connector of the next fixture consisting of a male
connector. Then, proceed to connect from the output as stated above to the
input of the following fixture and so on.
NOTE: Often, the setup for
Master-Slave and Standalone
operation requires that the first
fixture in the chain be initialized for
this purpose via either setting in
the control panel. Second. the
fixtures that follow may also
require a slave setting.

13
Check the “Operating Adjustments” section in this manual for complete
instructions for this type of setup and configuration.
Mounting & Rigging
This fixture may be mounted in any SAFE position provided there is enough
room for ventilation and rotation clearance. The fan or vents pathway must
never be obstructed. The Legend 380 can be placed horizontally, diagonally or
upside down. Pay attention to the installation method when slanted and upside
down.
A mounting bracket assembly is provided that secures the bottom of the base,
Omega bracket, and the safety cable rigging point together. When mounting to
truss, be sure to secure an appropriately rated clamp to the omega bracket.
IMPORTANT: Regardless of the rigging option you choose for your fixtures,
always be sure to secure your fixture with a safety cable.
Attach the 2x ¼-turn quick
lock Omega brackets to the
base, and the clamps to the
brackets.

14
Mount the fixture using a suitable "C" or "O" type clamps. The clamps should
be rated to hold at least 10x the fixture’s weight to ensure structural stability.
Do not mount to surfaces of unknown strength, and ensure properly rated
rigging is used when mounting fixtures overhead.
Overhead mounting requires extensive experience, which includes calculating
working load limits, knowledge of the installation material being used, and
periodic safety inspections. If you lack these qualifications, do not attempt the
installation yourself. Improper installation can result in bodily injury.
4. OPERATING ADJUSTMENTS
The Control Panel
All of the features and modes possible with the Legend 380 can be accessed
through the control panel on the front of the fixture. There are 4 control buttons
next to the LED display, which allow you to navigate through the various
control panel menus.
<MENU> Is used to navigate to the previous higher-level menu item.
<UP>Scrolls through menu items and numbers in
ascending order.
<DOWN> Scrolls through menu items and numbers
in descending order.
<OK> Is used to confirm and go to the options.
<ENTER> Is used to left and right selection menu.
UP
MENU
ENTER
DOWN
OK

15
Pressing any button from the home screen will show the selectable menu
items from the menu map on page #15. When a menu function is selected, the
display will immediately show the first available option for the selected menu
function. To select a menu item, press <MENU>.
Use the <UP> and <DOWN> buttons to navigate the menu options. Press the
<OK> button to select the menu function currently displayed. If you want to
select the menu from left to right, press the < ENTER > button.
Control Panel Menu Structure
DMX
Address
001-512
Mode
DMX Ctrl
Auto Run
Sound Ctrl
Scene Mode
Auto/01/02…10
M/S Choose
Auto/Master/Slave
Light Switch
ON/OFF
Return
DISP
Language
中文
English
Screen Saver
Mode1/mode2…mode4/OFF
Screen Rot
Forward
DMX Indicate
Mode1/mode2/mode3
Screen Light
001-009
Return
SCENE
Scene Select
1-10
Scene Time
0.0S
Control Mode
ON/OFF
01. Pan
000-255
02. Tilt
000-255
03. Pan Fine
000-255
04. Tilt Fine
000-255
05. PT speed
000-255
06. Frost
000-255
07. Strobe
000-255
08. Dimmer
000-255
09. Color
000-255
10. GOBO
000-255
11. Prism1
000-255
12. Prism1 R
000-255
13. Prism2
000-255

16
14. Prism2 R
000-255
15. Focus
000-255
16. Reset
000-255
Return
ADVA
Pan Invert
ON/OFF
Tilt Invert
ON/OFF
P/T Rectify
ON/OFF
Pan Offset
000-150
Tilt Offset
000-048
Data Hold
ON/OFF
Scene Time
001-255
Lamp When
RSTDONE/Power ON manual1
Reset
Factory Setting
Return
STAT
Stepper Info
Error logging
Fixture status
Version C7.1.0
Light Time
Total Time
Serial Number
Exit Menu
DMX Mode
Allows the unit to be controlled by any universal DMX controller.
Starting DMX Address
1.) Navigate the main menu until you reach DMX, and press the
<OK>button.
2.) Then highlight Address, and press <OK>.
3.) Use the <UP/DOWN> buttons to select a starting DMX address
ranging from 001-512, and press the <OK>button to confirm.
DMX Channel Mode
1.) Navigate the main menu until you reach DMX, and press the
<OK>button.
2.) Then highlight Channel Mode, and press <OK>.
3.) Use the <UP/DOWN> buttons to select Channel 01~20, and press the
<E button to confirm.

17
Run Mode
Run Mode
1.) Navigate the main menu until you reach Run, and press the
<OK>button.
2.) Use the <UP/DOWN> buttons to highlight Auto , Sound ,Slave, and
press the <OK> button.
3.) To stop an Auto or Sound program, use the <UP/DOWN> buttons to
Highlight Slave, and press <OK>.
5. APPENDIX
Keeping Your Legend 380 As Good As New
The fixture you have purchased is a rugged, tough piece of pro lighting
equipment, and as long as you take care of it, it will take care of you. That said,
you would need to take care of it if you want it to operate as designed. You
should keep the fixture clean, especially if you are using it in an environment
with a lot of dust, fog, haze, or moisture.
Cleaning the optics routinely with a suitable glass cleaner will greatly improve
the quality of light output. Keeping the fans free of dust and debris will keep the
fixture running cool and prevent damage from overheating.
In transit, keep the fixtures in cases. Keeping the fixtures in cases during
transport will avoid any damage. The case also has ample space for
accessories to be transported with each fixture.
Shipping Issues
Damages incurred during shipping are the responsibility of the shipper,
and must be reported to the carrier immediately upon receipt of the
items. Claims must be made within seven (7) days of receipt.

18
Tech Specs
Power
Operating Voltage
100-240V 50/60Hz
Power Consumption
400w
Light Source
Osram Sirius HRI
371W lamp
Optical
Beam Angle
0~4°
Main Feature
Color Wheel
14 color +white
Gobos Wheel
17 gobos + white
Frost/Rainbow effect
0-100% linear frost + Rainbow effect
Focus
0-100% Motorized focus
Prism
8 prism, 3 layer prism
Movement Range
Pan
540° 16 bit
Tilt
270° 16 bit
Thermal
Maximum ambient temp
40° C (104℉)
Maximum surface temp
90° C (194℉)
Minimum operating temp
20° C (68℉)
Control
Protocol
DMX-512
DMX Channels
16CH
Input/output
3-pin XLR male/female
Other Operating Modes
DMX 512, Auto, Master-slave, Sound
Warranty
1-year limited warranty does not cover
malfunctions with lamp or caused by
damage to lamp or misuse. Lamps are
not covered under warranty.

19
6 AFTER SALES SERVICE
1. Our company offers technical consultation to all customers.
2. If the fixture is damaged and needs repair, please fill in the related fields and
return the form to your nearest service center with the fixture for repair.
"------------------------------------------------------------------
Warranty Card
Name Model Production Purchase
"------------------------------------------------------------------
Description: This form must be filled out truthfully & all information must be provided, or else the warranty
will not work (warranty period and terms, see the following)
Warranty period: One year from date of purchase. Purchase receipt required for purchase verification.
Warranty terms:All warranty work orders must be accompanied by original purchase receipt showing date of
purchase and location where the purchase was made. Failing to provide proof of purchase will result in work
done OUT OF WARRANTY. All out of warranty work performed will incur all costs to the user as a paid
service.
*The following will be the implementation of paid service:
(1) Without the effective warranty card
(2) There are blank or altered fields or no point-of-sale name
(3) Damage caused by misuse
(4) Damage caused by improper transportation or unloading
(5) Damage caused by not operating within the terms of this manual
(6) Damage caused by unauthorized repair
(7) Damage caused by unauthorized control methods
Note:
All content in this manual is subject to change without prior written notice.
For more information about this product as well as other products please visit www.AcueExpress.com
Or contact us directly:
End User
Company Name:
Add:
Purchase Location:
Salesperson:
Tel: Address:
Table of contents
Other AcueLighting Lighting Equipment manuals


