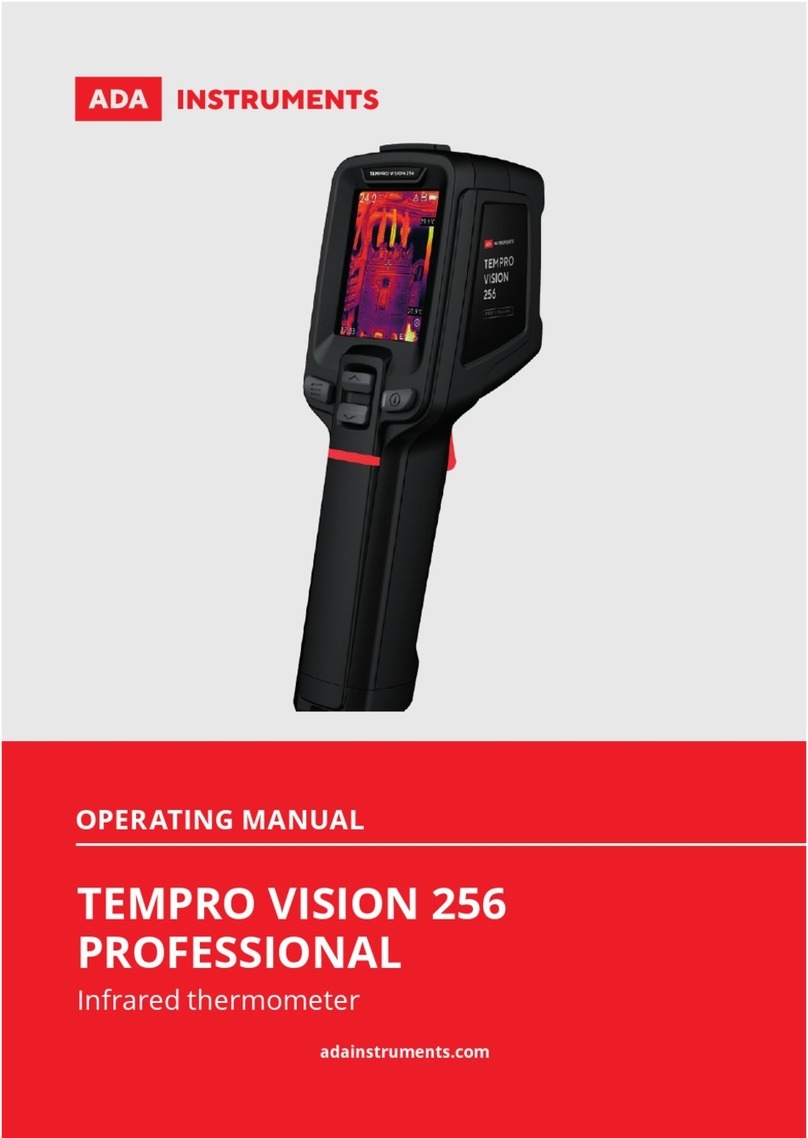
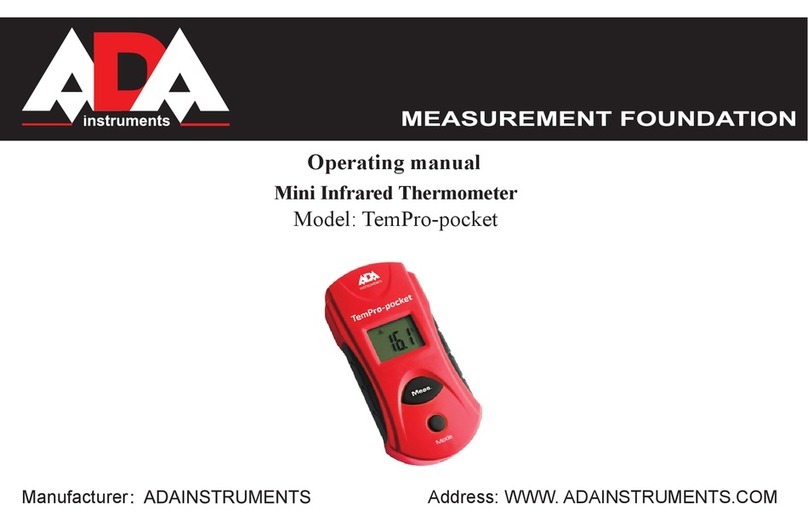
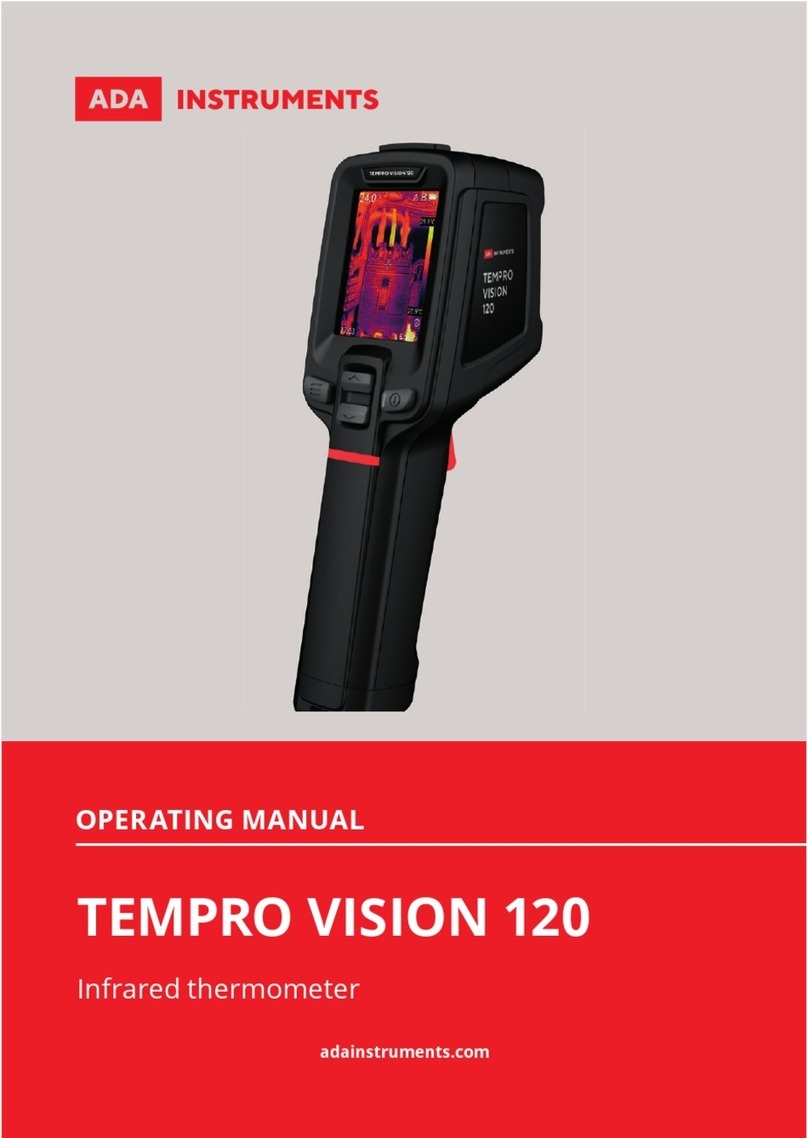
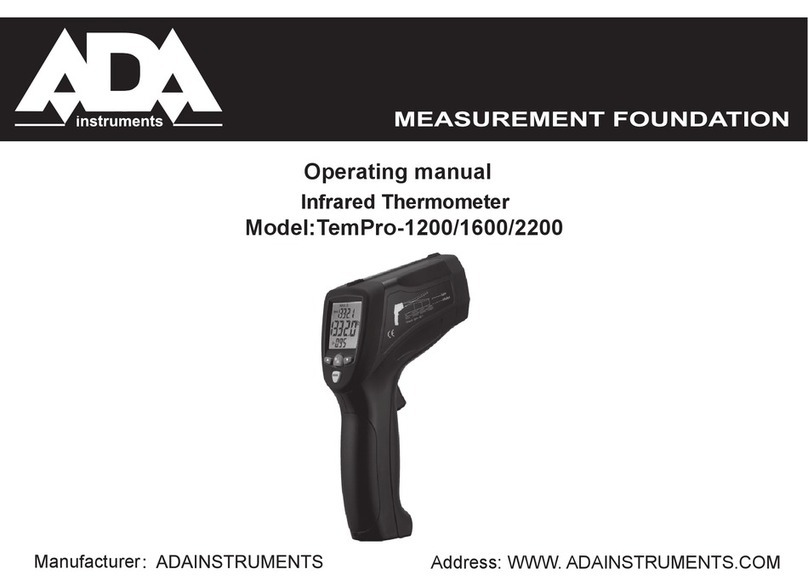
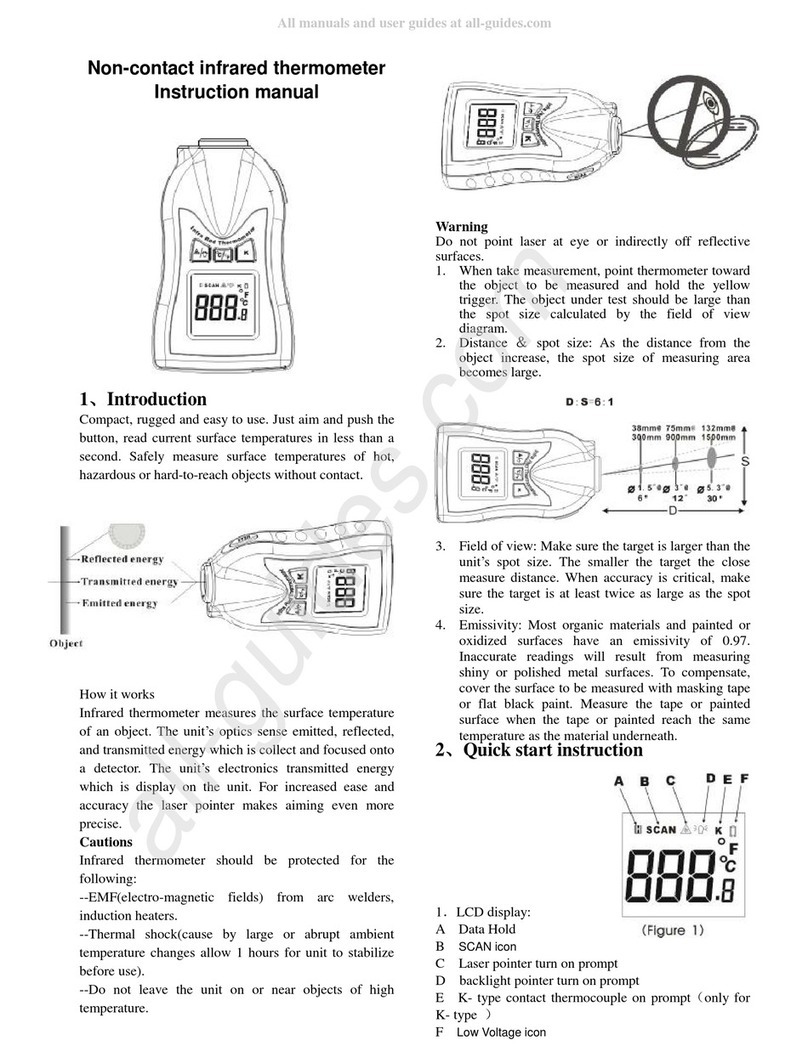
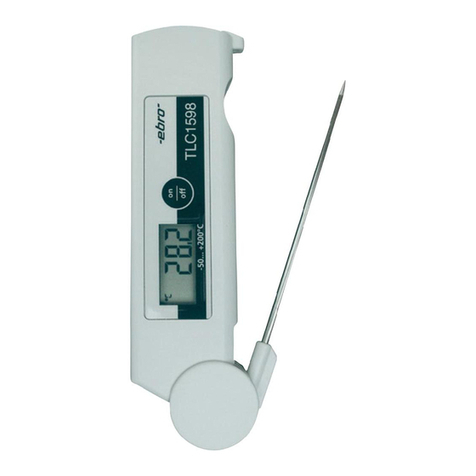
ADA INSTRUMENTS TEMPRO 650 HYGRO User manual

Infrared thermometer
OPERATING MANUAL
TEMPRO 650 HYGRO
adainstruments.com

2English
1 2
34
1
8
9
1
7
11
6
2
5
42
3
3
4
10
56
7
8
9
10
11
38mm@
300mm
75mm@
900mm
132mm@
1500mm
1.5"@
12"
3.0"@
36"
5.3"@
60"
D:S=12:1
䢧
MODE
C/ F
H

3
INTRODUCTION
Infrared pyrometer ADA TemPro 650 Hygro is used for measuring the tem-
perature of the object’s surface, which is applicable for various hot, hazardous
or hard-toreach objects without contact safely and quickly. This unit consist
of Optics, Temperature Sensor Signal amplier, Processing circuit and LCD
Display. The Optics collected the infrared energy emitted by object and focus
onto the Sensor. Then the sensor translates the energy into an electricity
signal. This signal will be turned out to be digital shown on the LCD after
the signal amplier and processing circuit.
SPECIFICATIONS
LCD ............................................................
Temperature measurement range ....
Temperature display accuracy ..........
Temperature measurement error ....
K-type thermocouple
measurement range ..............................
Repeatability ...........................................
Reponse time ..........................................
Emissivity .................................................
D:S ..............................................................
Response wavelength ...........................
Laser .........................................................
English
Colorful LCD
50°С~650°С (-58°F~1202°F)
0.1°С
-50°С~0°С(-58°F~32°F):±3°С(±5°F)
0°С~650°С(32°F~1202°F):±1.5% rdg
or±1.5°С(±2.7°F)Take the bigger
value
-40°С~500°С (-40°F ~ 932°F)
1% rdg or 1°С Take the bigger value
0.5s, 95% Response
0.10~1.00Adjustable(preset as 0.95)
12:1
5um~14 um
Ring light spot

4English
Flashlight .....................................
Ambient temperature
measurement range .................
Ambient temperature
measurement accuracy ...........
Relative humidity
measurement accuracy ...........
Dew point temperature
measurement .............................
Mildew alarm indicator ...........
Batteries ......................................
Low power indicator ................
Overload indicator ....................
Weight/dimensions ...................
SPECIFICATIONS OF K-TYPE THERMOCOUPLE
Measurement range ..................
Measurement error ...................
Thermal response time ............
WARNING
To avoid the potential situation may cause harm or damage to people, please
pay attention to the following items:
1. Do not point laser directly at eye or indirectly off reflective surfaces.
2. The unit cannot measure through transparent surfaces such as glass
UV light
-20°С~60°С (-4°F ~ 140°F)
±1°С(2°F)
±5% RH
-10°С~ 50°С(14°F~ 122°F):±1.5°С /3°F
v
1.5V AAA battery*2
Low power indicator for power below 2.4V
“Hi”/”Lo” displayed on LCD
202g(including batteries) /108*49*177 mm
0°С~250°С (300°С for short time)
±2.5°С or 0.75% rdg Take the bigger value
<10s

5English
or plastic. It will measure the surface temperature of these materials
instead.
3.
Steam, dust, smoke, or other particles can prevent accurate
measurement by obstructing by the units optics.
CAUTIONS
Infrared thermometer should be protected for the following:
1. EMF (electro-magnetic fields) from arc welders, induction heaters.
2.
Thermal shock (cause by large or abrupt ambient temperature changes
allow 30 minutes for unit to stabilize before use).
3. Do not leave the unit on or near objects of high temperature.
DISTANCE TO SPOT SIZE
1. When take measurement, pay attention to the Distance to Spot Size.
As the Distance (D) from the target surface increases, the spot size (S)
of the area measured by theunit becomes larger. The Distance to Spot
size of the unit is 12:1.(Figure 1)
2. Field of view: Make sure the target is larger than the unit’s spot size.
The smaller the target the closer measure distance. When accuracy is
critical, make sure the target is at least twice as large as the spot size.
EMISSIVITY
Emissivity: Most organic materials and painted or oxidized surfaces have
an emissivity of 0.95(preset in the unit). Inaccurate readings will result from
measuring shiny or polished metal surfaces.
To compensate for this, adjust the units emissivity reading or cover the surface
to be measured with masking tape or flat black paint. Measure the tape or
painted surface when the tape or painted reach the same temperature as
the material underneath.

6English
EMISSIVITY
Marterial Emissivity Marterial Emissivity
Aluminum ...............
Asbestos .................
Asphalt ...................
Basalt ......................
Brass .......................
Brick ........................
Carbon ....................
Ceramic ..................
Concrete..................
Copper ....................
Dirt ..........................
Frozen food ...........
Hot food .................
Glass (plate) ...........
Ice ............................
OPERATION
Operating the unit:
1. Open battery door and load two 1.5V AAA batteries.
2. Pull the trigger to turn on the unit.
3.
Aim at the target surface and pull the trigger, then temperature will be shown
on the LCD. This unit is equipped with a laser, which is only used for aiming.
Locating a Hot Spot:
To find a hot spot, aim the thermometer outside of interest, then scan
across with an up and down motion until you locate the hot spot. (Figure 2).
3. LCD DISPLAY
Infrared thermometer-50 C ~ 650 C (-58 F ~ 1202 F)
WT323C
0.30
0.95
0.95
0.70
0.50
0.90
0.85
0.95
0.95
0.95
0.94
0.90
0.93
0.85
0.98
0.70
0.50
0.98
0.94
0.93
0.95
0.95
0.95
0.90
0.98
0.90
0.80
0.94
0.93
0.94
Iron .......................
Lead ......................
Limestone ............
Oil .........................
Paint .....................
Paper ....................
Plastic ...................
Rubber .................
Sand .....................
Skin .......................
Snow ....................
Steel .....................
Textiles .................
Water ....................
Wood ....................

7English
1. Turning on state indicator of laser positioning
2. Temperature measurement units
3. K-type thermocouple
4. Data reading indicator
5. Emissivity
6. Data holding indicator
7. Low power indicator
8. Ambient temperature value
9. Ambient humidity value
10. Dew point temperature value
11. Surface temperature value (infrared temperature measurement)
4. NAMES AND FUNCTIONS OF PARTS
1. Measurement switch (trigger).
Pull trigger to display temperature value, and “SCAN” appears on screen at
the same time; when trigger is released, temperature reading is displayed,
and data is automatically maintained. The instrument automatically shut
down after about 30 seconds of operation.
2. Laser switch/Down button.
3. MODE (mode switch button) / temperature unit switch button
Press MODE button to cycle through four modes, MODE 1—MODE 2—MODE
3—MODE 4.
• Mode 1: Mildew alarm mode. Under this mode, the current ambient
temperature, humidity, dew point temperature and surface temperature
are displayed. Pull trigger to measure surface temperature.
•
Note: The instrument decides whether the measured object is easy
to mildew according to the surface temperature of the measured
object and the dew point temperature of the current environment.
Indicator light turns green for normal state. If the measured object
tend to mildew, the indicator light turns yellow; if already mildew,
the indicator light turns red.
• Mode 2: Temperature difference alarm mode. Unde this mode, pull
trigger to display the current ambient temperature and the surface
temperature of the measured object. When the surface temperature of
the measured object is close to ambient temperature, the indicator light
turns green; if much higher than or lower than ambient temperature,
the indicator light turns red. Otherwise, the indicator light turns yellow.

8English
•
Mode 3: K-type thermocouple temperature measurement mode.Under
this mode, the temperature of the K-type thermocouple is measured
and thermocouple icon is displayed. Before the measurement, insert
K-type thermocouple probe into thermocouple socket. Pull and hold
trigger, thermometer displays both surface emperature and K-type
thermocouple temperature.
•
Mode 4: Emissivity setting mode. Under this mode, press up/down
button to to set missivity within range of 0.10~1.00 by decreasing or
ncreasing value.
• Temperature units switch: Pul and hold trigger, then press this button
to switch units.
4. UV light button / Up button. Press this button to turn on/off UV light,
which can be used for fluorescent leakage detection.
5. Alarm light indicator
6. UV light
7. K-type thermocouple socket
8. Infrared temperature sensing area
9. Laser (assisted positioning)
10. Temperature/humidity sensing area
11. Battery door
MAINTENANCE
1.
Lens Cleaning: Blow off loose particles using clean compressed air.
Gently brush remaining debris away with a moist cotton swab. The
swab may be moistened with water.
2.
Case cleaning: Clean the case with a damp sponge/cloth and mild soap.
Note: Do not use solvent to clean plastic lens. Do not submerge the
unit in water.
WARRANTY
This product is warranted by the manufacturer to the original purchaser to
be free from defects in material and workmanship under normal use for a
period of two (2) years from the date of purchase. During the warranty pe-
riod, and upon proof of purchase, the product will be repaired or replaced
(with the same or similar model at manufactures option), without charge
for either parts of labour.

9
English
In case of a defect please contact the dealer where you originally pur-
chased this product. The warranty will not apply to this product if it has
been misused, abused or altered. Without limiting the foregoing, leakage
of the battery, bending or dropping the unit are presumed to be defects
resulting from misuse or abuse.
EXCEPTIONS FROM RESPONSIBILITY
The user of this product is expected to follow the instructions given in op-
erators’ manual. Although all instruments left our warehouse in perfect
condition and adjustment the user is expected to carry out periodic checks
of the product’s accuracy and general performance.
The manufacturer, or its representatives, assumes no responsibility of re-
sults of a faulty or intentional usage or misuse including any direct, indi-
rect, consequential damage, and loss of prots.
The manufacturer, or its representatives, assumes no responsibility for
consequential damage, and loss of prots by any disaster (earthquake,
storm, ood ...), re, accident, or an act of a third party and/or a usage in
other than usual conditions.
The manufacturer, or its representatives, assumes no responsibility for
any damage, and loss of prots due to a change of data, loss of data and
interruption of business etc., caused by using the product or an unusable
product.
The manufacturer, or its representatives, assumes no responsibility for
any damage, and loss of prots caused by usage other thsn explained in
the users’ manual.
The manufacturer, or its representatives, assumes no responsibility for
damage caused by wrong movement or action due to connecting with oth-
er products.

10
WARRANTY DOESN’T EXTEND TO FOLLOWING CASES:
1. If the standard or serial product number will be changed, erased, re-
moved or wil be unreadable.
2. Periodic maintenance, repair or changing parts as a result of their nor-
mal runout.
3. All adaptations and modications with the purpose of improvement
and expansion of normal sphere of product application, mentioned in the
service instruction, without tentative written agreement of the expert pro-
vider.
4. Service by anyone other than an authorized service center.
5. Damage to products or parts caused by misuse, including, without lim-
itation, misapplication or nrgligence of the terms of service instruction.
6. Power supply units, chargers, accessories, wearing parts.
7. Products, damaged from mishandling, faulty adjustment, maintenance
with low-quality and non-standard materials, presence of any liquids and
foreign objects inside the product.
8. Acts of God and/or actions of third persons.
9. In case of unwarranted repair till the end of warranty period because
of damages during the operation of the product, it’s transportation and
storing, warranty doesn’t resume.

11
WARRANTY CARD
Name and model of the product __________________________________________
Serial number___________________________Date of sale______________________
Name of commercial organization ________________________________________
stamp of commercial organization
Warranty period for the instrument explotation is 24 months after the
date of original retail purchase.
During this warranty period the owner of the product has the right for free
repair of his instrument in case of manufacturing defects.
Warranty is valid only with original warranty card, fully and clear lled
(stamp or mark of thr seller is obligatory).
Technical examination of instruments for fault identication which is un-
der the warranty, is made only in the authorized service center.
In no event shall manufacturer be liable before the client for direct or con-
sequential damages, loss of prot or any other damage which occur in the
result of the instrument outage.
The product is received in the state of operability, without any visible dam-
ages, in full completeness. It is tested in my presence. I have no complaints
to the product quality. I am familiar with the conditions of qarranty service
and i agree.
purchaser signature _______________________________
Before operating you should read service instruction!
If you have any questions about the warranty service and technical support contact
seller of this product

12 Russian
38мм@
300мм
75мм@
900мм
132мм@
1500мм
1.5"@
12"
3.0"@
36"
5.3"@
60"
D:S=12:1
1 2
34
1
8
9
1
7
11
6
2
5
42
3
3
4
10
56
7
8
9
10
11
䢧
MODE
C/ F
H

13
Russian
ВВЕДЕНИЕ
Пирометр инфракрасный ADA TemPro 650 Hygro используется
для измерения температуры поверхности объекта, в том числе
труднодоступных без контакта безопасно и быстро. Пирометр измеряет
влажность окружающего воздуха. Полученный результат отображается
на ЖК-дисплее.
ТЕХНИЧЕСКИЕ ХАРАКТЕРИСТИКИ
ЖК-дисплей .......................................
Диапазон измерения
температуры .....................................
Разрешение отображения
температуры .....................................
Погрешность измерения
температуры .....................................
Диапазон измерения
термопары K-типа ...........................
Повторяемость .................................
Время ответа .....................................
Коэффициент теплового
излучения ..........................................
Оптическое разрешение D:S .......
Длина волны .....................................
Лазер ....................................................
цветной
50°С~650°С
0.1°С
-50°С ~ 0°С: ±3°С
0°С ~ 650°С: ±1.5% ±1.5°С
(принимают большее значение)
-40°С~500°С
1% или 1°С принимают большее
значение
0.5 сек. 95% отклика
диапазон 0.10~1.00 (по умолчанию
0.95)
12:1
5 мкм~14 мкм
Лазерное кольцо

14 Russian
Тип подсветки ............................
Диапазон измерения
температуры
окружающей среды ................
Точность измерения
температуры
окружающей среды ................
Точность измерения
относительной влажности ...
Измерение температуры
точки росы .................................
Сигнализатор плесени ..........
Батареи .......................................
Индикатор низкой
мощности ...................................
Индикатор перегрузки ..........
Вес/размеры ..............................
ТЕХНИЧЕСКИЕ ХАРАКТЕРИСТИКИ ТЕРМОПАРЫ K-ТИПА
Диапазон измерений .............
Погрешность измерения .......
Время тепловой реакции ......
ПРЕДУПРЕЖДЕНИЕ
Чтобы избежать потенциальной ситуации, которая может причинить
Ультрафиолетовый свет
-20°С ~ 60°С
±1°С
±5% относительной влажности
-10°С ~ 50°С: ±1.5°С
Есть
Батарея 1,5 В AAA*2 шт.
Индикатор низкой мощности для
питания ниже 2,4 В
“Hi”/”Lo” отображается на ЖК-дисплее
202гр (вкл. батарейки) /108*49*177 мм
0°С~250°С (300°С в течение короткого
времени)
±2.5°С или 0.75% принимают большее
значение
<10 сек.

15Russian
вред или ущерб людям, пожалуйста, обратите внимание на следующие
пункты:
1. Не направляйте лазер прямо в глаза или косвенно с отражающих
поверхностей.
2. Устройство не может измерять через прозрачные поверхности,
такие как стекло или пластик. Вместо этого он будет измерять
температуру поверхности этих материалов.
3.
Пар, пыль, дым или другие частицы могут препятствовать точному
измерению, мешая оптике приборов.
ПРЕДОСТЕРЕЖЕНИЯ
Инфракрасный термометр должен быть защищен для следующих целей:
1. ЭДС (электромагнитные поля) от дуговых сварочных аппаратов,
индукционных нагревателей.
2.
Перегрев (вызванный большими или резкими перепадами темпе-
ратуры окружающей среды, позволяйте устройству стабилизиро-
ваться в течение 30 минут перед использованием).
3.
Не оставляйте устройство на объектах с высокой температурой
или вблизи них.
РАССТОЯНИЕ ДО ОБЪЕКТА
1.
При измерении обратите внимание на расстояние до объекта. По
мере увеличения расстояния (D) от целевой поверхности размер
(S) пятна области, измеряемой пирометром, становится больше.
Пропорция составляет 12:1 (расстояние : размера пятна). (рисунок 1)
2.
Поле зрения: Убедитесь, что поверхность объекта больше, чем
размер измеряемой области (пятна). Чем меньше объект, тем
ближе расстояние измерения. Когда точность имеет решающее
значение, убедитесь, что поверхность объекта, по крайней мере,
в два раза больше размера измеряемой области (пятна).

16 Russian
КОЭФФИЦИЕНТ ТЕПЛОВОГО ИЗЛУЧЕНИЯ
Большинство органических материалов и окрашенных или окисленных
поверхностей имеют коэффициент теплового излучения 0,95(задано
по умолчанию в настройках пирометра). Неточные показания могут
быть получены в результате измерения блестящих или полированных
металлических поверхностей. Чтобы компенсировать это, отрегулируйте
показания коэффициент теплового излучения или покройте измеряемую
поверхность клейкой лентой или черной краской. Измерьте ленту или
окрашенную поверхность, когда лента или окрашенная поверхность
достигнут той же температуры, что и материал под ней.
Материал Коэффициент Материал Коэффициент
Алюминий .............
Асбест .....................
Асфальт ..................
Базальт ..................
Латунь ....................
Кирпич ...................
Уголь ......................
Керамика ...............
Бетон ......................
Медь .......................
Грязь ......................
Замороженные
продукты ...............
Горячая еда ..........
Стекло (посуда) ....
Лед ..........................
ИЗМЕРЕНИЯ
Управление устройством
0.30
0.95
0.95
0.70
0.50
0.90
0.85
0.95
0.95
0.95
0.94
0.90
0.93
0.85
0.98
0.70
0.50
0.98
0.94
0.93
0.95
0.95
0.95
0.90
0.98
0.90
0.80
0.94
0.93
0.94
Железо ................
Свинец ................
Известняк ...........
Масло ..................
Краска .................
Бумага .................
Пластик ...............
Резина .................
Песок ...................
Кожа ....................
Снег .....................
Сталь ...................
Текстиль .............
Вода .....................
Древесина ..........

17Russian
1.
Откройте крышку батарейного отсека и установите две батарейки
типа ААА 1,5 В.
2. Нажмите на кнопку включения (1), чтобы включить устройство.
3. Прицелитесь в поверхность измеряемого объекта и нажмите на
кнопку включения (1), затем на ЖК-дисплее отобразится темпера-
тура. Пирометр оснащен лазерным прицелом, который помогает
точно навести пирометр.
Поиск горячей точки
Чтобы найти горячую точку, направьте термометр за пределы объекта,
затем сканируйте его движением вверх и вниз, пока не найдете горячую
точку. (рисунок 2).
3. ЖК-ДИСПЛЕЙ
1. Индикатор включения лазерного прицела
2. Единицы измерения температуры
3. Индикатор подключения термопары К-типа
4. Индикатор измерения
5. Коэффициент теплового излучения
6. Индикатор хранения данных
7. Индикатор разряженной батареи
8. Индикатор значения температуры окружающей среды
9. Индикатор значения влажности окружающей среды
10. Индикатор значения температуры точки росы
11.
Индикатор значения температуры поверхности (инфракрасное
измерение температуры)
4. НАЗВАНИЯ И ФУНКЦИИ ДЕТАЛЕЙ
1. Переключатель измерения.
Нажмите на кнопку включения (1), чтобы отобразить значение тем
-
пературы, и одновременно на экране появится надпись «SCAN» (СКА-

18 Russian
НИРОВАНИЕ). Когда кнопка включения (1) отпущена, отображается
значение температуры, и данные автоматически сохраняются. Прибор
автоматически выключается примерно через 30 секунд работы.
2. Кнопка включения/выключения лазерного прицела.
3. РЕЖИМ (кнопка переключения режима) / кнопка переключения
единицы измерения температуры. Нажмите кнопку MODE, чтобы пере-
ключиться между четырьмя режимами: РЕЖИМ 1—РЕЖИМ 2—РЕЖИМ
3—РЕЖИМ 4.
•
Режим 1: Режим измерения влажности окружающей среды. В этом
режиме отображаются текущая температура окружающей среды,
влажность, температура точки росы и температура поверхности.
Нажмите на кнопку включения (1), чтобы измерить температуру
поверхности.
•
Примечание: Прибор определяет параметры влажности окру-
жающей среды, в зависимости от температуры поверхности
измеряемого объекта и температуры точки росы. Индикатор
загорается зеленым для нормального состояния. Если изме-
ряемый объект находится в среде с повышенной влажностью,
индикатор загорается желтым цветом; если влажность опасна
для объекта (появление ржавчины, размокание, плесени и
т.д.) , индикатор загорается красным.
•
Режим 2: Режим сигнализации о разнице температур. В этом режи-
ме нажмите на кнопку включения (1), чтобы отобразить текущую
температуру окружающей среды и температуру поверхности из-
меряемого объекта. Когда температура поверхности измеряемого
объекта близка к температуре окружающей среды, индикатор
загорается зеленым цветом; если температура значительно выше
или ниже температуры окружающей среды, индикатор загорается
красным. В противном случае индикатор загорится желтым.
• Режим 3: Режим измерения температуры термопары тип-K.
• В этом режиме измеряется температура термопары тип-K и ото-
бражается значок термопары. Перед измерением вставьте датчик
термопары тип-K в гнездо термопары. Нажмите и удерживайте

19
Russian
кнопку включения (1), термометр отображает температуру по-
верхности и температуру термопары тип-K.
• Режим 4: Режим настройки коэффициента теплового излучения.
В этом режиме нажмите кнопку вверх/вниз, чтобы установить
коэффициент в диапазоне 0,10~1,00 путем уменьшения или уве-
личения значения.
•
Переключатель единиц измерения температуры: Нажмите и удер-
живайте кнопку включения (1), затем нажмите кнопку MODE, чтобы
переключить единицы измерения.
4. Кнопка ультрафиолетового излучения / кнопка вверх.
Нажмите эту кнопку, чтобы включить/выключить ультрафиолетовый свет,
который можно использовать для обнаружения флуоресцентных утечек.
5. Световой индикатор аварийной сигнализации
6. Ультрафиолетовый свет
7. Гнездо термопары K-типа
8. Инфракрасный датчик измерения температуры
9. Лазер прицел
10. Датчик измерения температуры/влажности окружающей среды
11. Крышка батарейного отсека
ТЕХНИЧЕСКОЕ ОБСЛУЖИВАНИЕ
1. Очистка линз: Сдувайте частицы пыли чистым сжатым воздухом.
Аккуратно смахните оставшийся мусор влажным ватным тампоном.
Тампон можно смочить водой.
2. Очистка корпуса: Очистите корпус влажной губкой/тканью и мяг-
ким мылом.
Примечание: Не используйте растворитель для очистки пласти-
ковых линз. Не погружайте устройство в воду.

20
ГАРАНТИЯ
Производитель предоставляет гарантию на продукцию покупателю
в случае дефектов материала или качества его изготовления во
время использования оборудования с соблюдением инструкции
пользователя на срок 2 года со дня покупки.
Во время гарантийного срока, при предъявлении доказательства
покупки, прибор будет починен или заменен на такую же или
аналогичную модель бесплатно.
Гарантийные обязательства также распространяются и на запасные
части.
В случае дефекта, пожалуйста, свяжитесь с дилером, у которого вы
приобрели прибор.
Гарантия не распространяется на продукт, если повреждения
возникли в результате деформации, неправильного использования
или ненадлежащего обращения.
Все вышеизложенные безо всяких ограничений причины, а также
утечка батареи, деформация прибора являются дефектами, которые
возникли в результате неправильного использования или плохого
обращения.
Table of contents
Languages:
Other ADA INSTRUMENTS Thermometer manuals
Popular Thermometer manuals by other brands
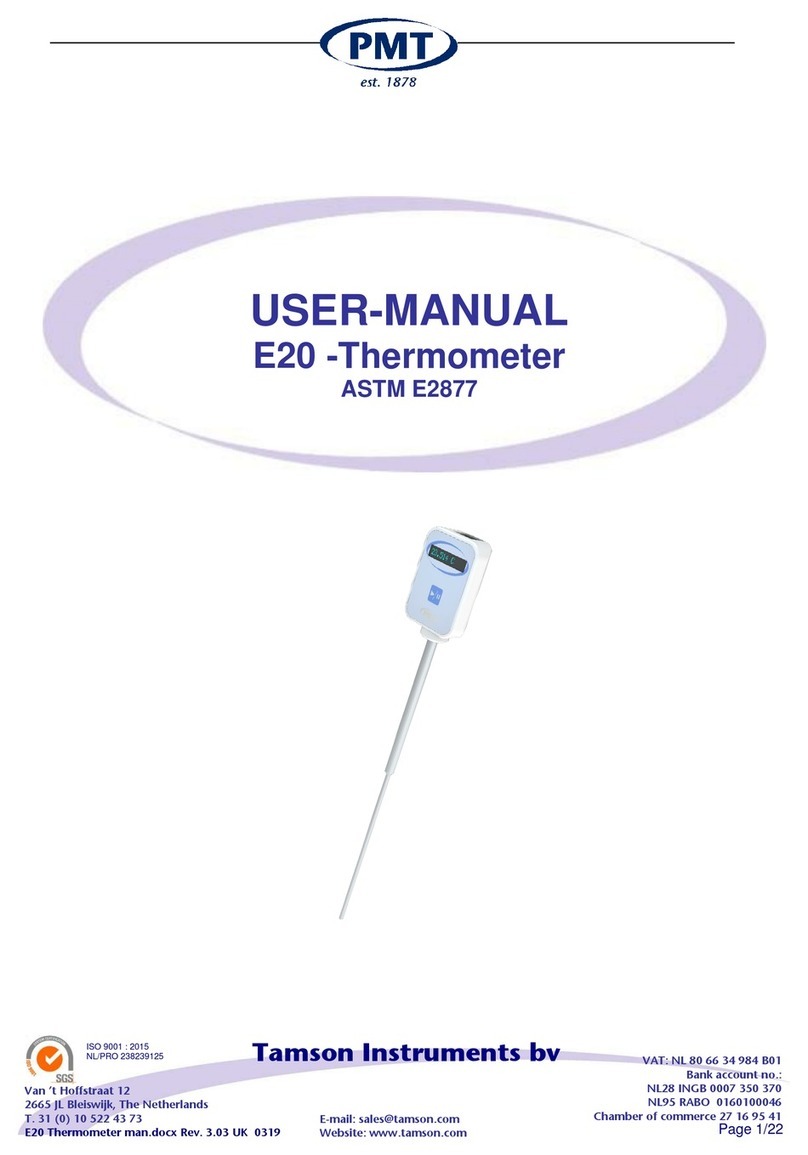
Tamson Instruments
Tamson Instruments E20 user manual
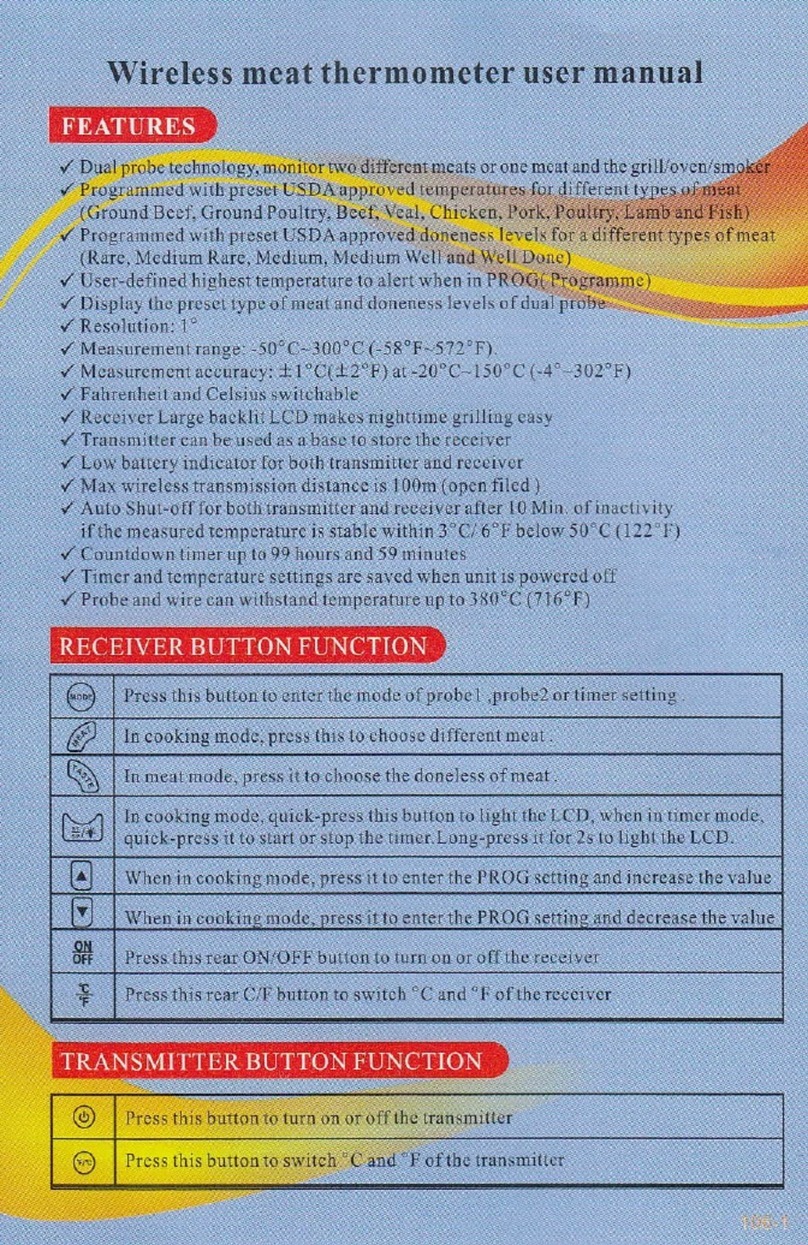
Aimilar
Aimilar Wireless Meat Thermometer user manual
Hanna Instruments
Hanna Instruments HI145-20 instruction manual
SP scienceware
SP scienceware H-B FRIO-Temp B61000-0700 instructions

Extech Instruments
Extech Instruments 421504 instruction manual

Hanna Instruments
Hanna Instruments HI 149-00 instruction manual
