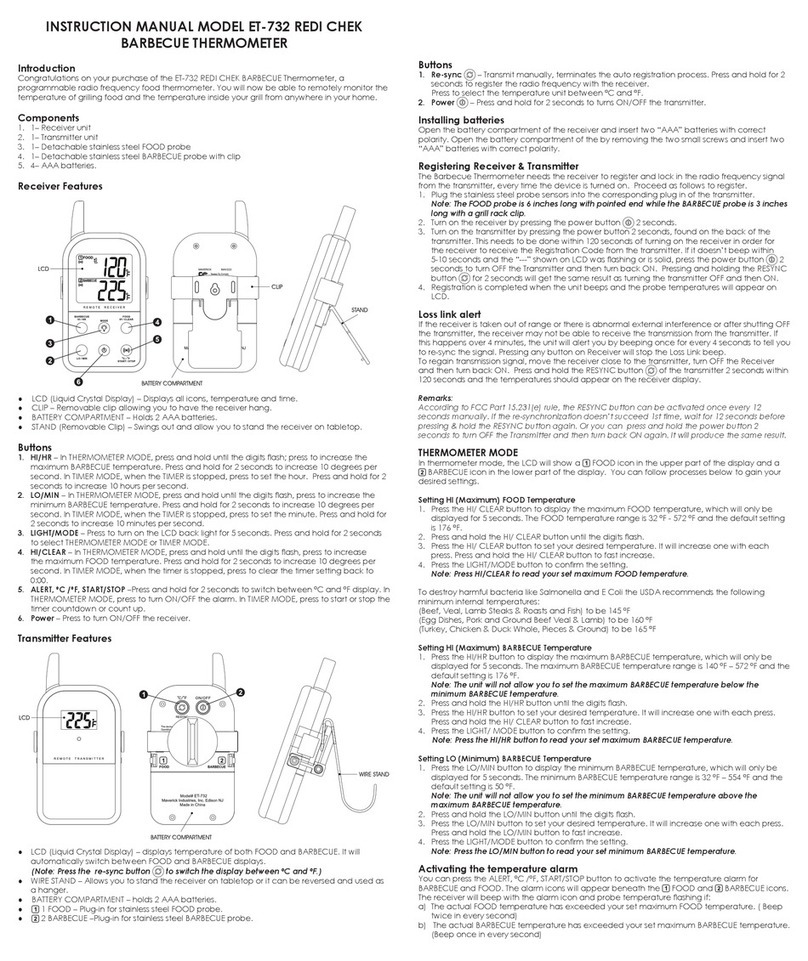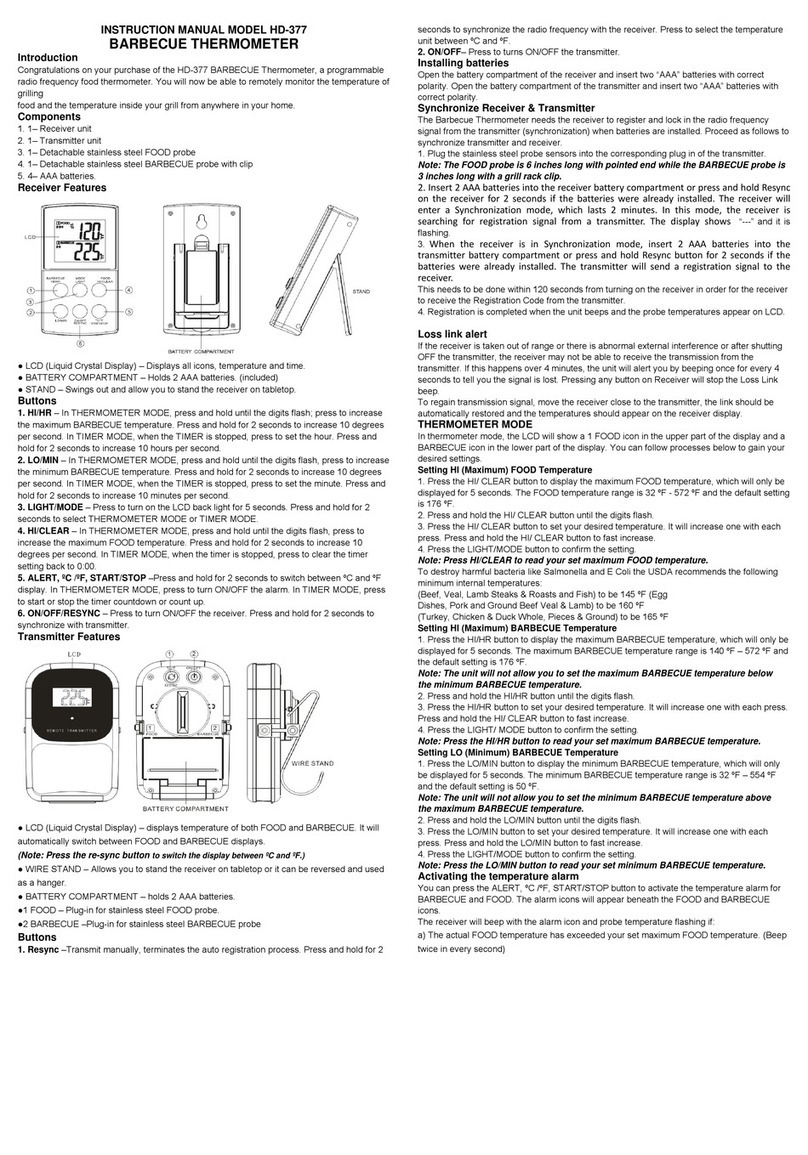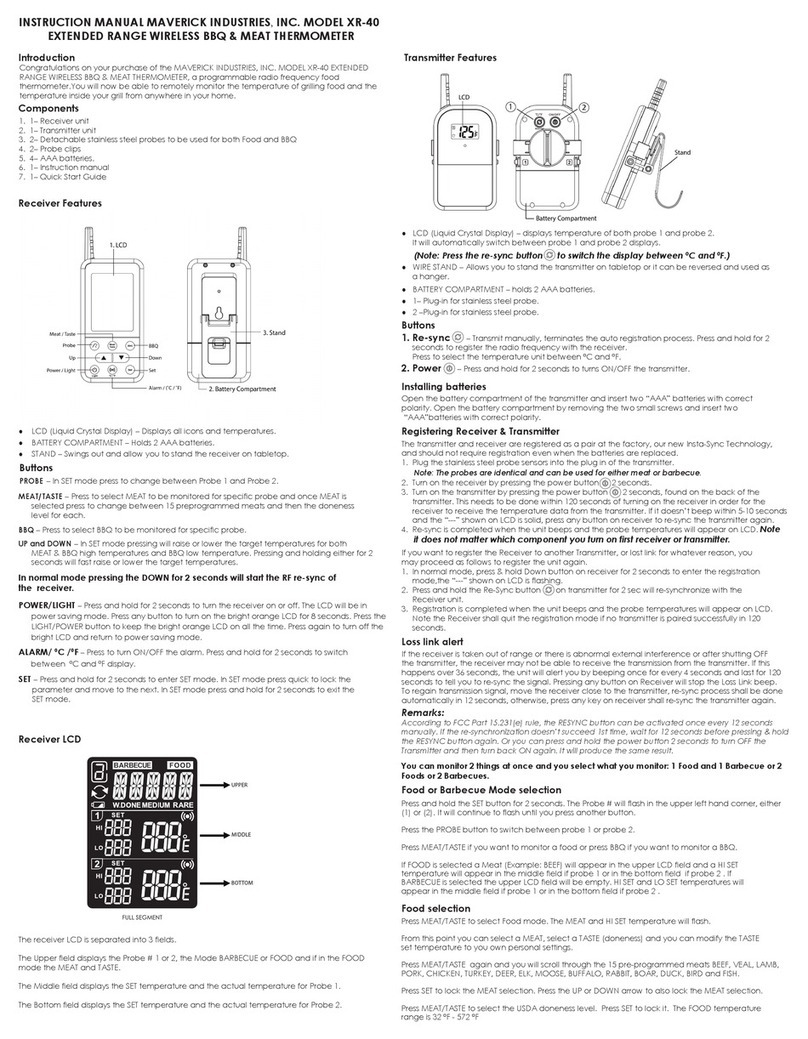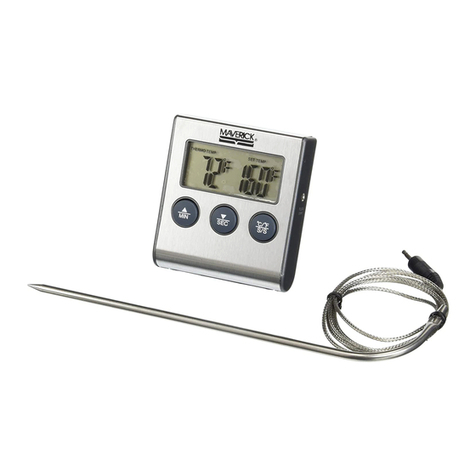
tronsmiiter. This needs to be done within 120 seconds 6f turning on the receiver in order for the
--reeeiver,-lo receive.Jhsiernperotur:e-deto fp6r.qJ[6 ]p415mitler-.-lJ-it doesn'i beep within5-l€-seeonds-*
ond the "--" shown on LCD is solid, press ony button on receiver to re-sync the tronsmitter ogoin.
4. Re-sync is completed when the unit beeps ond the probe temperolures will oppeor on LCD. Nole
if does nol mclter which componenl you lurn on firsf receiyer or ircnsmiiler.
lf you wont 1o register lhe Receiver to onother Tronsmitter, or losi link for whotever reoson, you
moy proceed os follows to register ihe unit ogoin.
l. In normol mode, press & hold Down button on receiver for 2 seconds to enter the registrotion
mode,the "---" shown on LCD is flosfi-ng.
2. Press ond hold the Re-sync button (9on tronsmitter for 2 sec will re-synchronize with ihe
Receiver unit.
3. Registrotion is compleied when the unit beeps ond the probe temperotures will oppeor on LCD.
Note the Receiver sholl quit the registroiion mode if no lronsmitter is poired successfully in 120
seconds.
Loss link olert
If the receiver is token out of ronge or there is obnormol externol interference or ofter shulting OFF
the tronsmitter, ihe receiver moy not be oble fo receive the tronsmission from the tronsmiiter. lf this
hoppens over 36 seconds, the unit will olert you by beeping once for every 4 seconds ond lost for 120
seconds to tell you to re-sync the signol. Pressing ony button on Receiver will stop the Loss Link beep
To regoin tronsmission signol, move the receiver close to the tronsmitter, re-sync process sholl be done
outomoticolly in l2 seconds, otherwise, press ony key on receiver sholl re-sync the tronsmitter ogoin.
Remorks:
According fo FCC Port 15.231(e) rule, the RESYNC butlon can be oclivoled once every l2 seconds
manuolly. If the re-synchronizotion doesn'f succeed lsl time. woif for 12 seconds before pressin g & hold
the RESYNC butfon ogoin. Or you can press ond hold the power butlon 2 seconds to f urn OFF the
Tronsmitter and then f urn back ON ogoin. It will produce fhe some resu/t.
You cqn monilor 2 lhings of once ond you selecl whof you monilor: 1 Food ond 'l Bqrbecue or 2
Foods or 2 Borbecues.
Food or Borbecue Mode seleclion
Press ond hold ihe SET button for2 seconds. The Probe # will flosh in the upper left hond corner, either
(1) or (2). lt will continue to f losh until you press onother button.
Press the PROBE butfon to switch between probe 1 or probe 2.
Press MEAT/TASTE if you wont io monitor o food or press BBQ if you wont to monitor o BBQ.
lf FOOD is selected o Meot (Exomple: BEEF) will oppeor in the upper LCD fieid ond o Hl SET
temperoture will oppeor in the middle field if probe I or in the bottom field if probe 2 . lf
BARBECUE is selected the upper LCD field will be empty. Hl SET ond LO SET temperotures will
oppeor in the middle field if probe I or in the bottom field if probe 2 .
Food selection
Press MEAT/TASTE to select Food mode. The MEAT ond Hl SET temperoture will flosh.
From this point you con select o MEAT, select o TASTE (doneness) ond you con modify the TASTE
set temperoture to you own personol settings.
Press MEAT/TASTE ogoin ond you will scroll through the l5 pre-progrommed meots BEEF, VEAL, LAMB,
PORK, CHICKEN, TURKEY, DEER, ELK, MOOSE, BUFFALO, RABBIT, BOAR, DUCK, BIRD ONd FISH.
Press SET to lock the MEAT selection. Press the UP or DOWN orrow to olso lock the MEAT selection.
Press MEAT/TASTE to select the USDA doneness level. Press SET to lock it. The FOOD temperoture
ronge is 32oF - 572"F


