manuals.online logo
Brands
  1. Home
  2. •
  3. Brands
  4. •
  5. ADTRAN
  6. •
  7. Controllers
  8. •
  9. ADTRAN NetVanta 5305 User manual

ADTRAN NetVanta 5305 User manual

Other manuals for NetVanta 5305

7

This manual suits for next models

1

Other ADTRAN Controllers manuals

ADTRAN D4 DS0 DP Instructions for use

ADTRAN

ADTRAN D4 DS0 DP Instructions for use

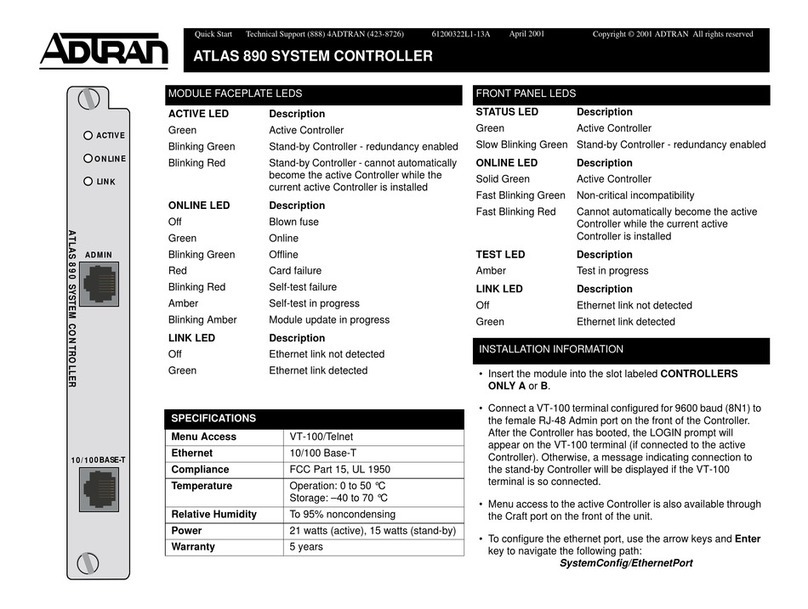
ADTRAN ATLAS 890 User manual

ADTRAN

ADTRAN ATLAS 890 User manual

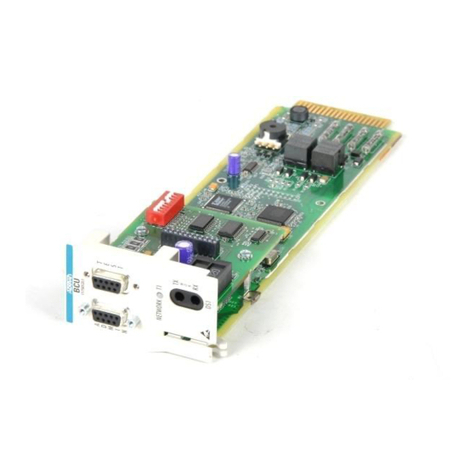
ADTRAN Total Access 750 BCU DSX-1 Instruction Manual

ADTRAN

ADTRAN Total Access 750 BCU DSX-1 Instruction Manual

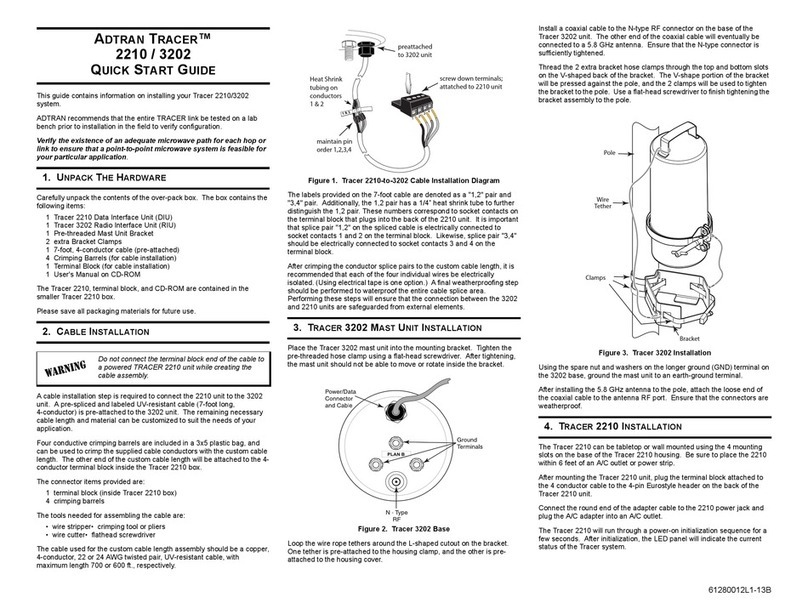
ADTRAN Tracer 2210 User manual

ADTRAN

ADTRAN Tracer 2210 User manual

ADTRAN Total Access OPTI-3 CPE OPTI-3 CPE User manual

ADTRAN

ADTRAN Total Access OPTI-3 CPE OPTI-3 CPE User manual

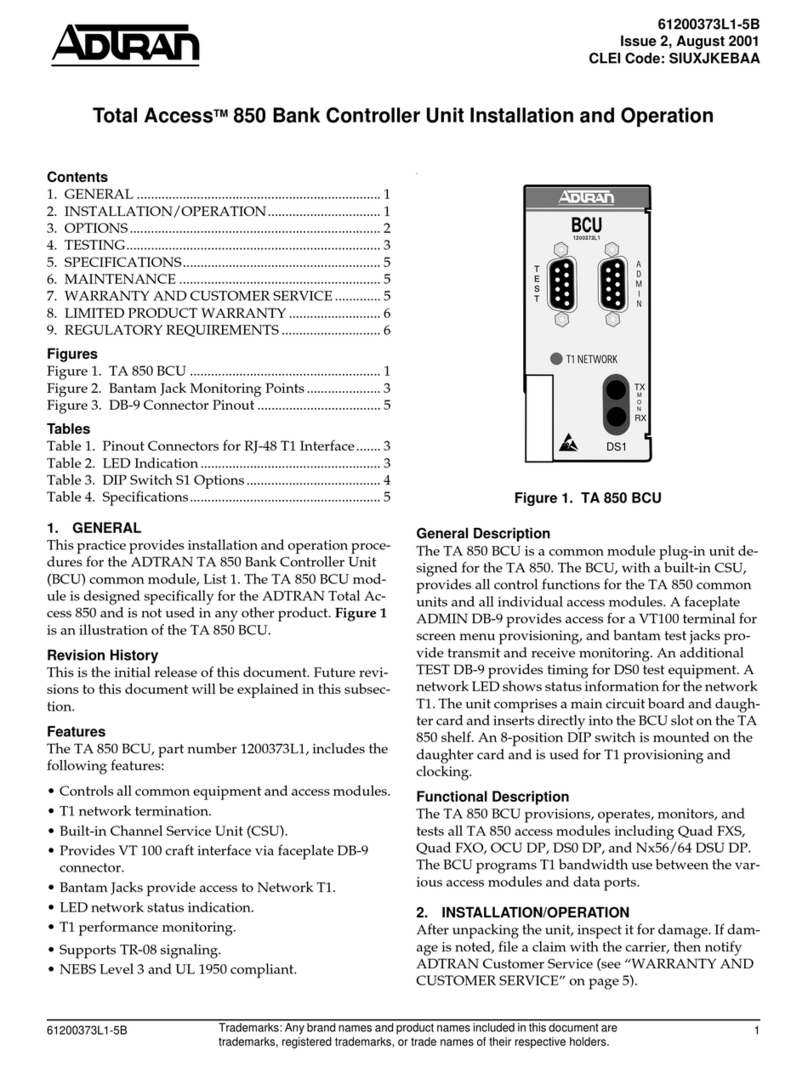
ADTRAN Total Access 850 Owner's manual

ADTRAN

ADTRAN Total Access 850 Owner's manual

ADTRAN Total Access 750 Owner's manual

ADTRAN

ADTRAN Total Access 750 Owner's manual

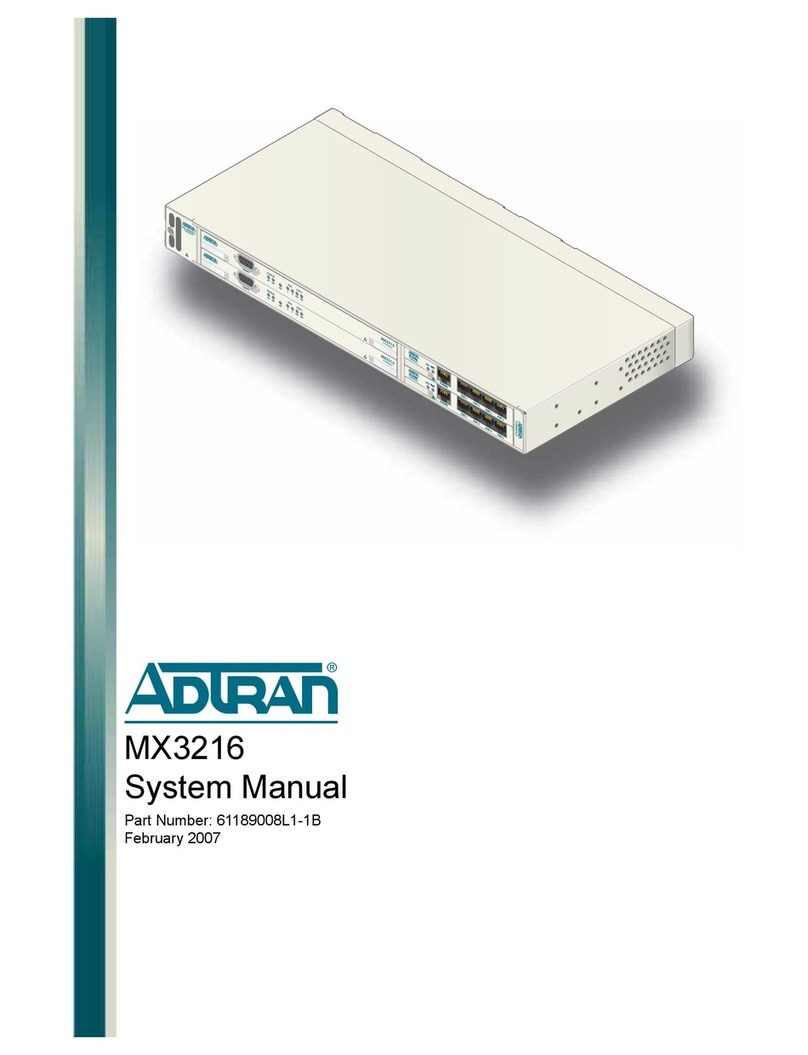
ADTRAN MX3216 User guide

ADTRAN

ADTRAN MX3216 User guide

ADTRAN BlueSecure Controller Instruction Manual

ADTRAN

ADTRAN BlueSecure Controller Instruction Manual

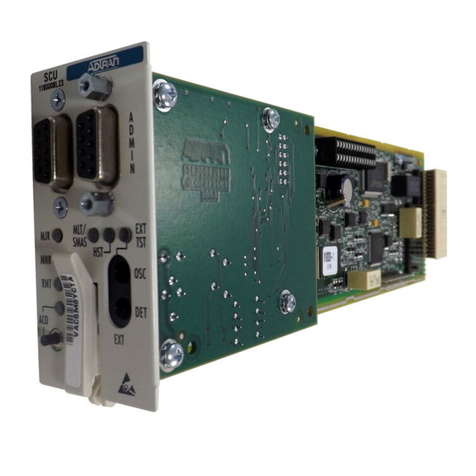
ADTRAN Total Access 1500 SCU Instruction Manual

ADTRAN

ADTRAN Total Access 1500 SCU Instruction Manual

ADTRAN NetVanta 5305 User manual

ADTRAN

ADTRAN NetVanta 5305 User manual

Popular Controllers manuals by other brands

Sunricher SR-ZV9003T3-RGBW-US Installation

Sunricher

Sunricher SR-ZV9003T3-RGBW-US Installation

Ksenia intro Installation and configuration manual

Ksenia

Ksenia intro Installation and configuration manual

Inovance CAN200 Series manual

Inovance

Inovance CAN200 Series manual

Gauzy LC6 FLEX Controller Installation and operation guide

Gauzy

Gauzy LC6 FLEX Controller Installation and operation guide

Viking SLP-1 Technical practice

Viking

Viking SLP-1 Technical practice

CKD KBX-30E-U Series instruction manual

CKD

CKD KBX-30E-U Series instruction manual

Sharp Energy Sun Flux User manual & installation guide

Sharp Energy

Sharp Energy Sun Flux User manual & installation guide

Yamaha RCX40 user manual

Yamaha

Yamaha RCX40 user manual

AB Quality PowerFlex 400 Frames D-H Service bulletin

AB Quality

AB Quality PowerFlex 400 Frames D-H Service bulletin

Yamaha MJC8 owner's manual

Yamaha

Yamaha MJC8 owner's manual

AL-KO ATC operating instructions

AL-KO

AL-KO ATC operating instructions

Savant SmartControl 2 Deployment guide

Savant

Savant SmartControl 2 Deployment guide

GameSir T3S user manual

GameSir

GameSir T3S user manual

Kostal inveor operating manual

Kostal

Kostal inveor operating manual

Emerson Yarway 20-55 Operating and safety instructions

Emerson

Emerson Yarway 20-55 Operating and safety instructions

CoCo ACM-LV24 Quick installation guide

CoCo

CoCo ACM-LV24 Quick installation guide

Brooks SLA5810/20 Installation and operation manual

Brooks

Brooks SLA5810/20 Installation and operation manual

SIGMA TEK SR 011 Technical manual

SIGMA TEK

SIGMA TEK SR 011 Technical manual

manuals.online logo
manuals.online logoBrands
  • About & Mission
  • Contact us
  • Privacy Policy
  • Terms and Conditions

Copyright 2025 Manuals.Online. All Rights Reserved.

Quick Start Guide, 61200831L1-13C, July 2005 Technical Support 1-888-4ADTRAN (1-888-423-8726) Copyright © 2005 ADTRAN, All Rights Reserved
For more detailed documentation, visit us online at www.adtran.com.
Quick Start Guide
®
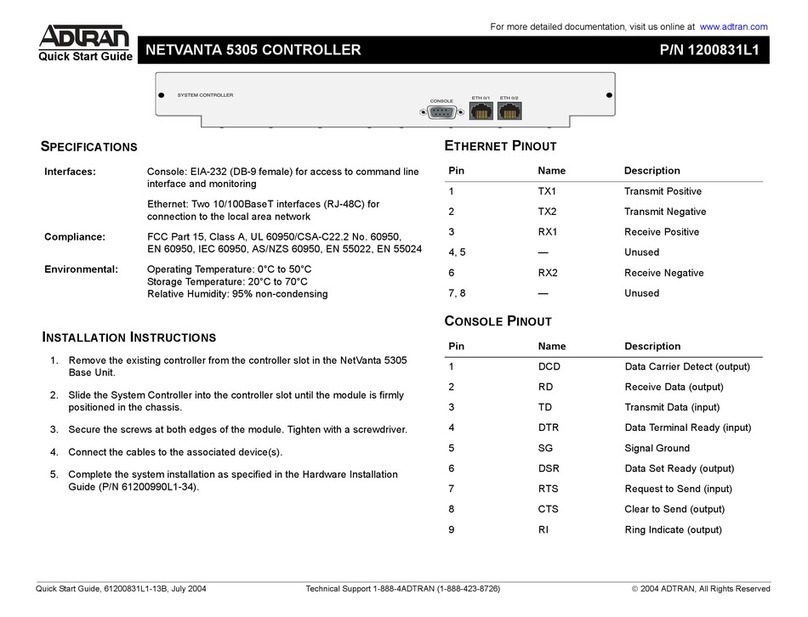
NetVanta 5305 System Controller Module P/N 1200831L1
ETHERNET PINOUTS
Pin Name Description
1 TX1 Transmit Positive
2 TX2 Transmit Negative
3 RX1 Receive Positive
4, 5 — Unused
6 RX2 Receive Negative
7, 8 — Unused
CONSOLE PINOUTS
Pin Name Description
1 DCD Data Carrier Detect (output)
2 RD Receive Data (output)
3 TD Transmit Data (input)
4 DTR Data Terminal Ready (input)
5 SG Signal Ground
6 DSR Data Set Ready (output)
7 RTS Request to Send (input)
8 CTS Clear to Send (output)
9 RI Ring Indicate (output)
INSTALLATION INSTRUCTIONS
1. Remove power from the NetVanta 5305 base unit.
1. Remove the existing system controller module from the controller slot in the base unit.
2. Slide the replacement system controller module into the controller slot until the module
is firmly seated against the chassis.
3. Secure the screws at both edges of the module. Tighten with a screwdriver.
4. Connect the cables to the associated device(s).
5. Complete the system installation as specified in the NetVanta 5305 Hardware
Installation Guide provided on your ADTRAN OS System Documentation CD.
SPECIFICATIONS
Interfaces Console: EIA-232 (DB-9 female) for access to command line
interface and monitoring
Ethernet: Two 10/100BaseT interfaces (RJ-48C) for connection
to the local area network
Compliance FCC Part 15 Class A, EN 55022 Class A, EN 55024,
EN 61000-3-2, EN 61000-3-3
UL/CUL 60950, EN 60950, IEC 60950, AS/NZS 60950
Physical Dimensions: 11.63-inch W x 8.63-inch D
Operating Temperature: 0°C to 50°C
Storage Temperature: -20°C to 70°C
Relative Humidity: Up to 95 percent, noncondensing
FImportant: For additional details on product features, specifications,
installation, and safety, refer to the appropriate Hardware Installation Guide on
the ADTRAN OS System Documentation CD shipped with the base unit and
available online at www.adtran.com.
Quick Start Guide, 61200831L1-13C, July 2005 Technical Support 1-888-4ADTRAN (1-888-423-8726) Copyright © 2005 ADTRAN, All Rights Reserved
For more detailed documentation, visit us online at www.adtran.com.
Quick Start Guide
®
NetVanta 5305 System Controller Module P/N 1200831L1
COMMANDS
More detailed documentation for configuring your ADTRAN unit is provided on the
ADTRAN OS System Documentation CD included in your shipment. For more
details on hardware setup, refer to the appropriate NIM Quick Start Guides and the
Hardware Installation Guide. For more detail on configuring your system, refer to
the ADTRAN Operating System (AOS) Command Reference Guide, configuration
guides, and technical support notes.
CONNECT THE CONSOLE INTERFACE
Before connecting to the NetVanta 5305 CONSOLE interface you will need the
following items: VT100 terminal or PC (with VT100 terminal emulation
software) and a straight-through serial cable with a DB-9 (male) connector on
one end and the appropriate interface for your terminal (or PC) on the other.
1. Connect the DB-9 (male) connector of your serial cable to the CONSOLE
port on the rear panel of the unit.
2. Connect the loose end of the serial cable to the VT100 terminal or PC (with
terminal emulation software).
3. Open a VT100 terminal session to the NetVanta 5305 using the following
settings: 9600 baud, 8 data bits, no parity bits, and 1 stop bit. Press
<Enter> to activate the ADTRAN Command Line Interface (CLI).