8
EMPFEHLUNGEN UND HINWEISE
Diese Gebrauchsanleitung gilt für mehrere
Kochmulde und Haube muss 650 mm
Raumbedarf und Installation).
auf dem im Haubeninneren angebrachten
Schild übereinstimmt.
dass die elektrische Anlage des
Erdung verfügt.
Durchmesser von 120 mm oder darüber
Die Haube darf an keine
werden, in die Verbrennungsgase
verwendet, muss für eine ausreichende
Belüftung gesorgt werden. Sollte die Küche
wenn der max. Unterdruck des Raums nicht
Ein schadhaftes Kabel muss vom Hersteller
oder vom technischen Kundendienst
ausgewechselt werden, damit jedes Risiko
vermieden wird.
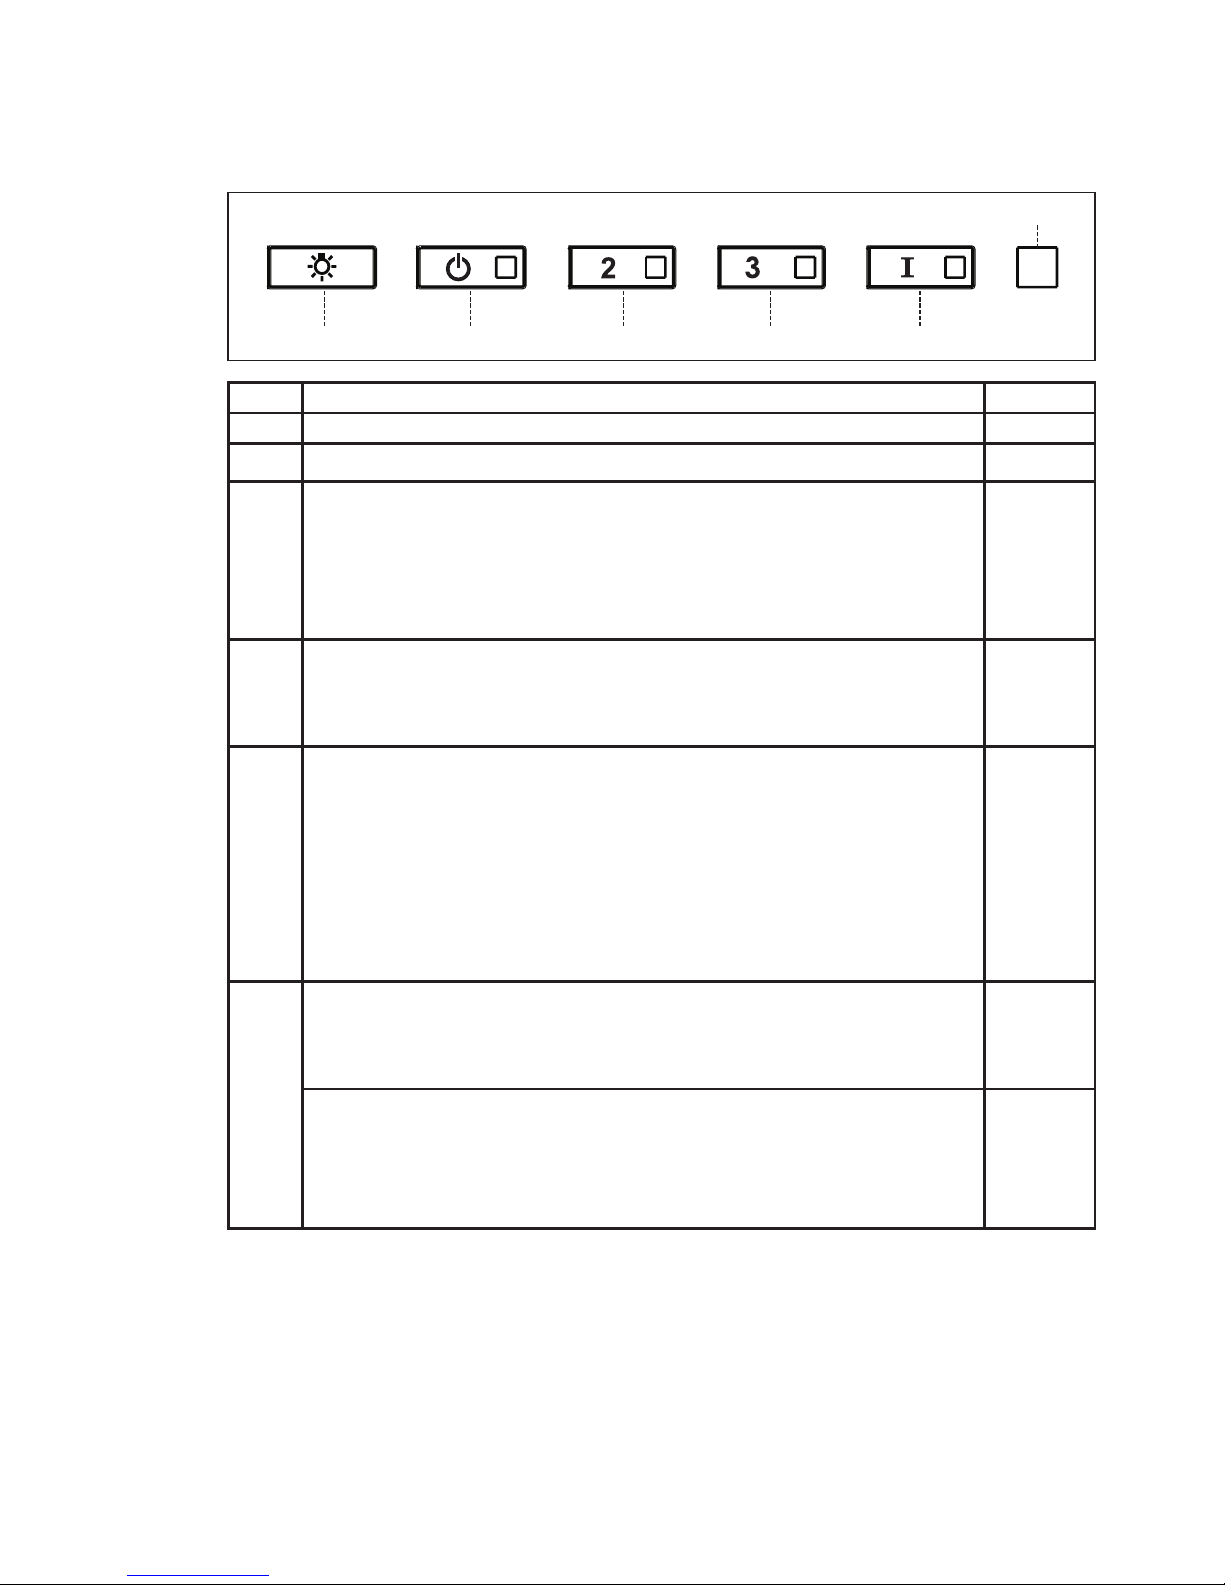
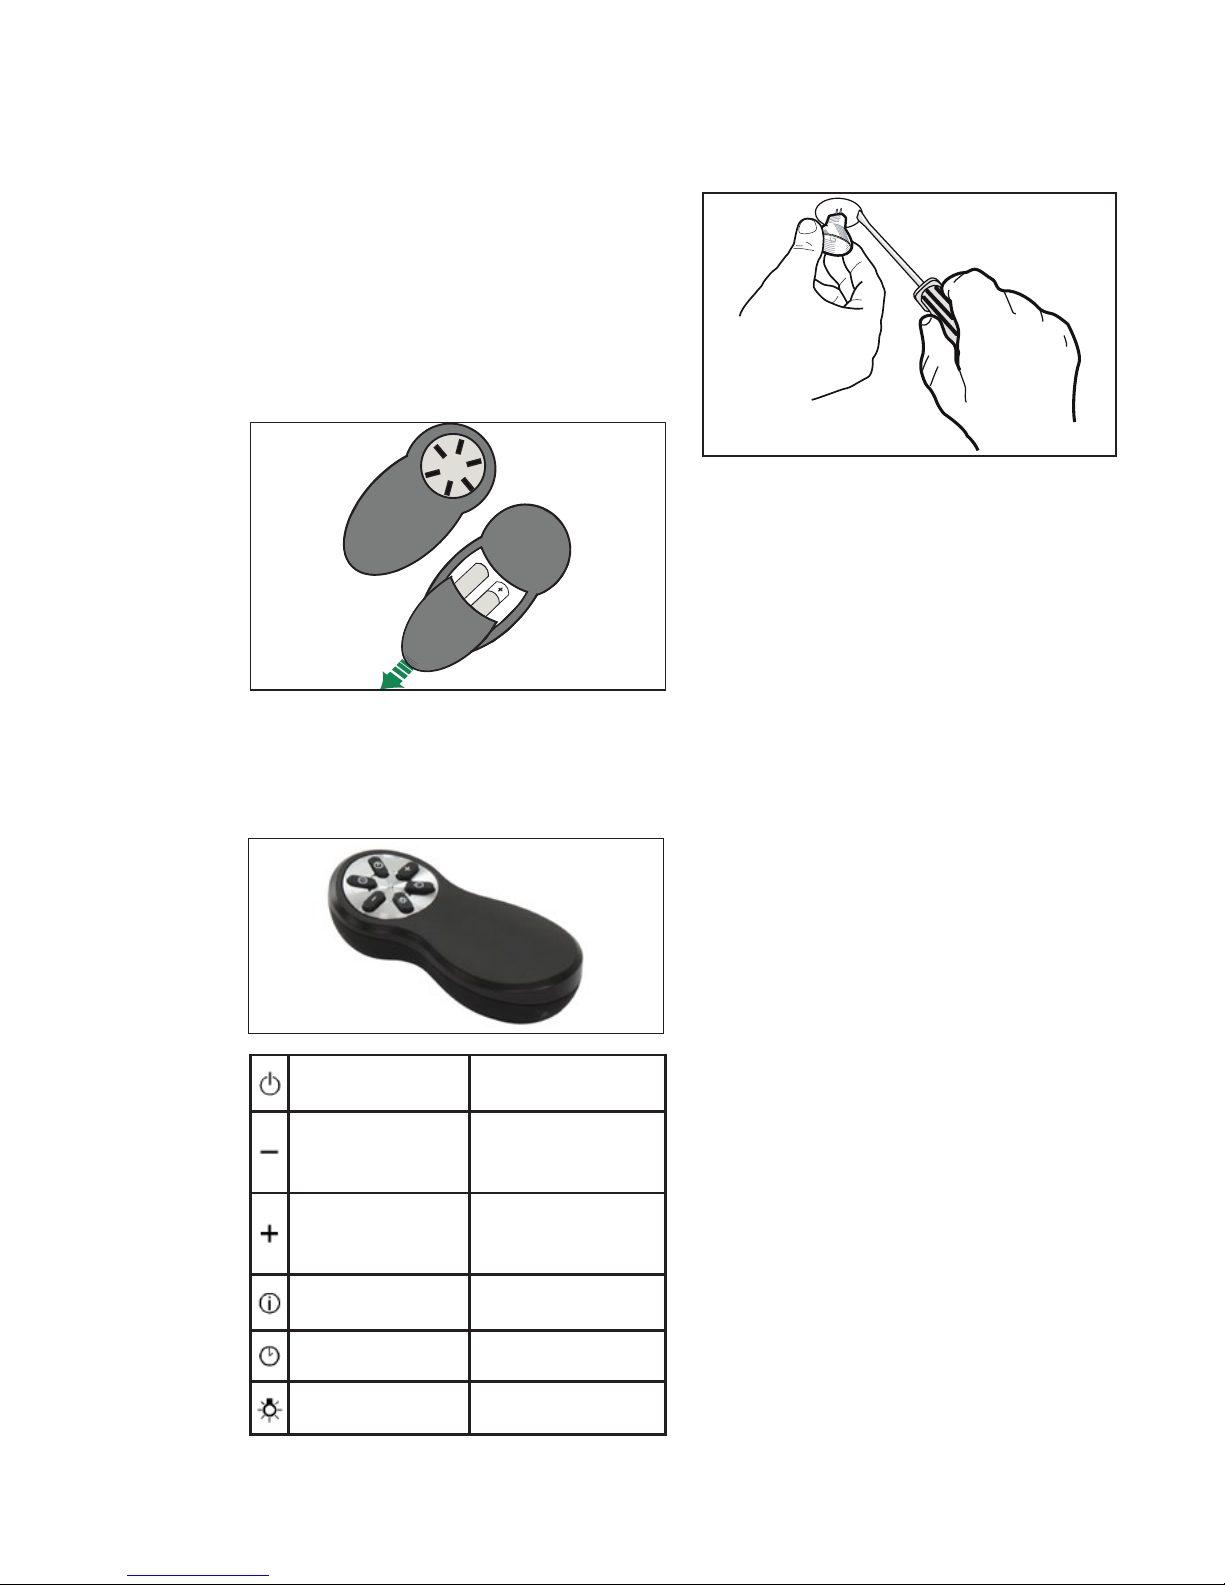
BEDIENUNG
vorgesehen.
unterlassen.
niemals unbedeckt lassen.
regulieren, dass sie den Topfboden nicht
überragt.
Gebrauchs stets beaufsichtigt werden:
Kindern, mit verminderten psychi-schen,
oder von Personen ohne Erfahrung und
von für ihre Sicherheit verantwortlichen
Personen beaufsichtigt und beim Gebrauch
Kinder dürfen sich nicht unbeaufsichtigt
WARTUNG
Bevor Wartungsarbeiten durchgeführt
Haube unterbrochen werden, indem der
abgeschaltet wird.
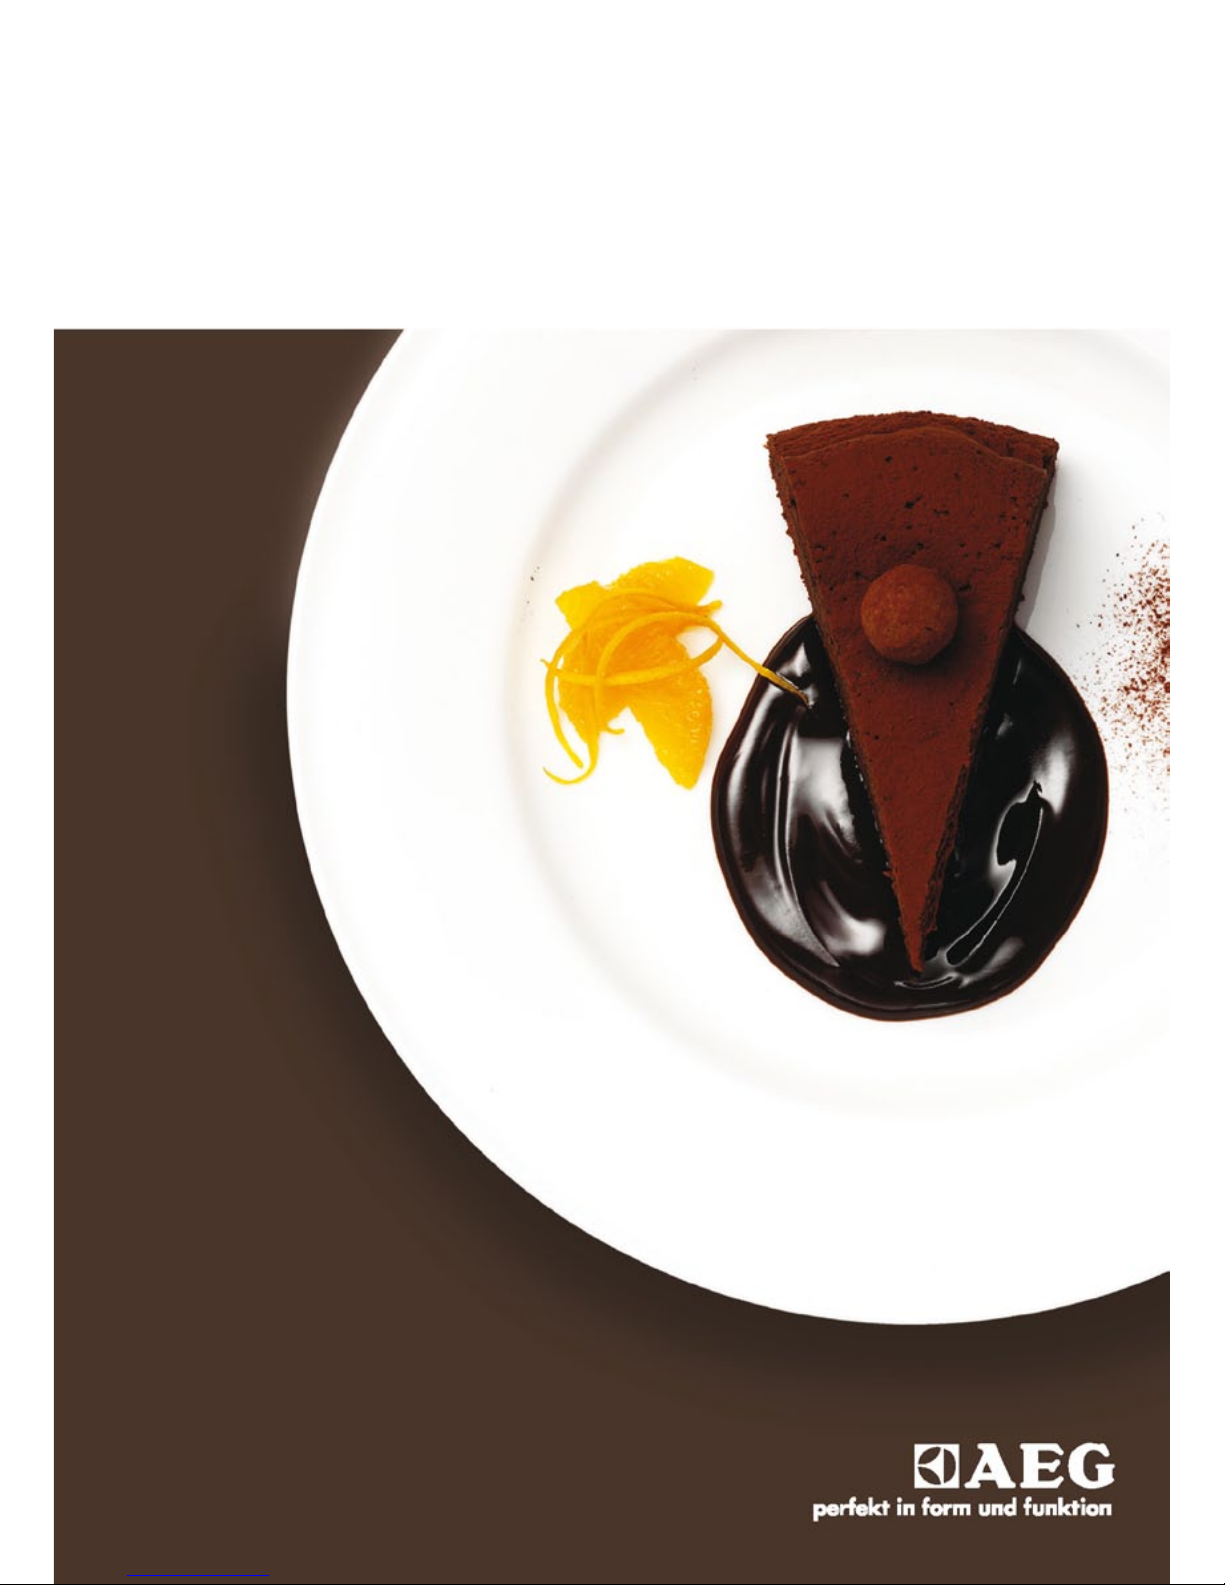
Bei der Filterwartung müssen die vom
Austauschen der Filter genauestens
eingehalten werden (Brandgefahr).
- W
gewaschen noch wiederverwendet
werden und sind alle 4 Betriebsmonate