Aesculap GT205 User manual

Aesculap Suhl GmbH
Instructions for use/Technical description
Add-On Set for Hybrid Shearing Machines
Gebrauchsanweisung/Technische Beschreibung
Nachrüstset für Hybrid-Schermaschinen
Mode d’emploi/Description technique
Adapté pour les tondeuses Hybrid
Instrucciones de manejo/Descripción técnica
Kit de accesorios para esquiladoras Hybrid
Istruzioni per l’uso/Descrizione tecnica
Set di riconfigurazione per tosatrici ibride
Gebruiksaanwijzing/Technische beschrijving
Revisieset voor hybride scheermachines
Инструкция по примению/Техническое
описание
Комплект дооснащения для гибридных машинок
для стрижки
Instrukcja u¿ytkowania/Opis Techniczny
Zestaw doposa¿aj¹cy do maszynek do strzy¿enia
hybrydowych


1
2
35 4
6
7

Aesculap Suhl GmbH
Add-On Set for Hybrid Shearing Machines
2
Legend
1Charger
2Mains power cord (with device plug)
3Charging bay (for Li-ion battery)
4Charge state indicator (for Li-ion battery)
5Li-ion battery
6Charge state indicator (for battery-powered shear-
ing machine FAV5 CL)
7Charge state indicator (for battery-powered shear-
ing machine FAV5 CL)
Symbols on product
Contents
1. Safe handling ........................................................... 3
2. Product description ................................................ 3
2.1 Package includes ..................................................... 3
2.2 Operating principle of charger GT203/Li-ion
battery GT201 .......................................................... 3
2.3 Intended use of charger GT203/Li-ion
battery GT201 .......................................................... 4
2.3.1 Charging principle .................................................. 4
2.3.2 Charging time .......................................................... 4
3. Preparation and setup ........................................... 4
4. Working with the battery-powered shearing
machine FAV5 CL, and the charger GT203/
Li-ion battery GT201 .............................................. 5
4.1 System set-up .......................................................... 5
4.1.1 Connecting the accessories.................................. 5
4.1.2 Connecting the charger/Charging the Li-ion
battery........................................................................ 5
4.2 Function checks of the charger .......................... 6
4.3 Li-ion battery ........................................................... 6
5. Reprocessing ............................................................ 6
5.1 Cleaning/disinfection ............................................. 7
6. Maintenance ............................................................ 7
7. Troubleshooting ....................................................... 8
7.1 Battery-powered shearing machine FAV5 CL . 8
7.2 Charger and Li-ion battery .................................. 8
8. Technical Service ..................................................10
9. Accessories/Spare parts ......................................11
10. Technical data ........................................................12
10.1 Charger ....................................................................12
10.2 Li-ion battery .........................................................12
10.3 Declaration of conformity ..................................12
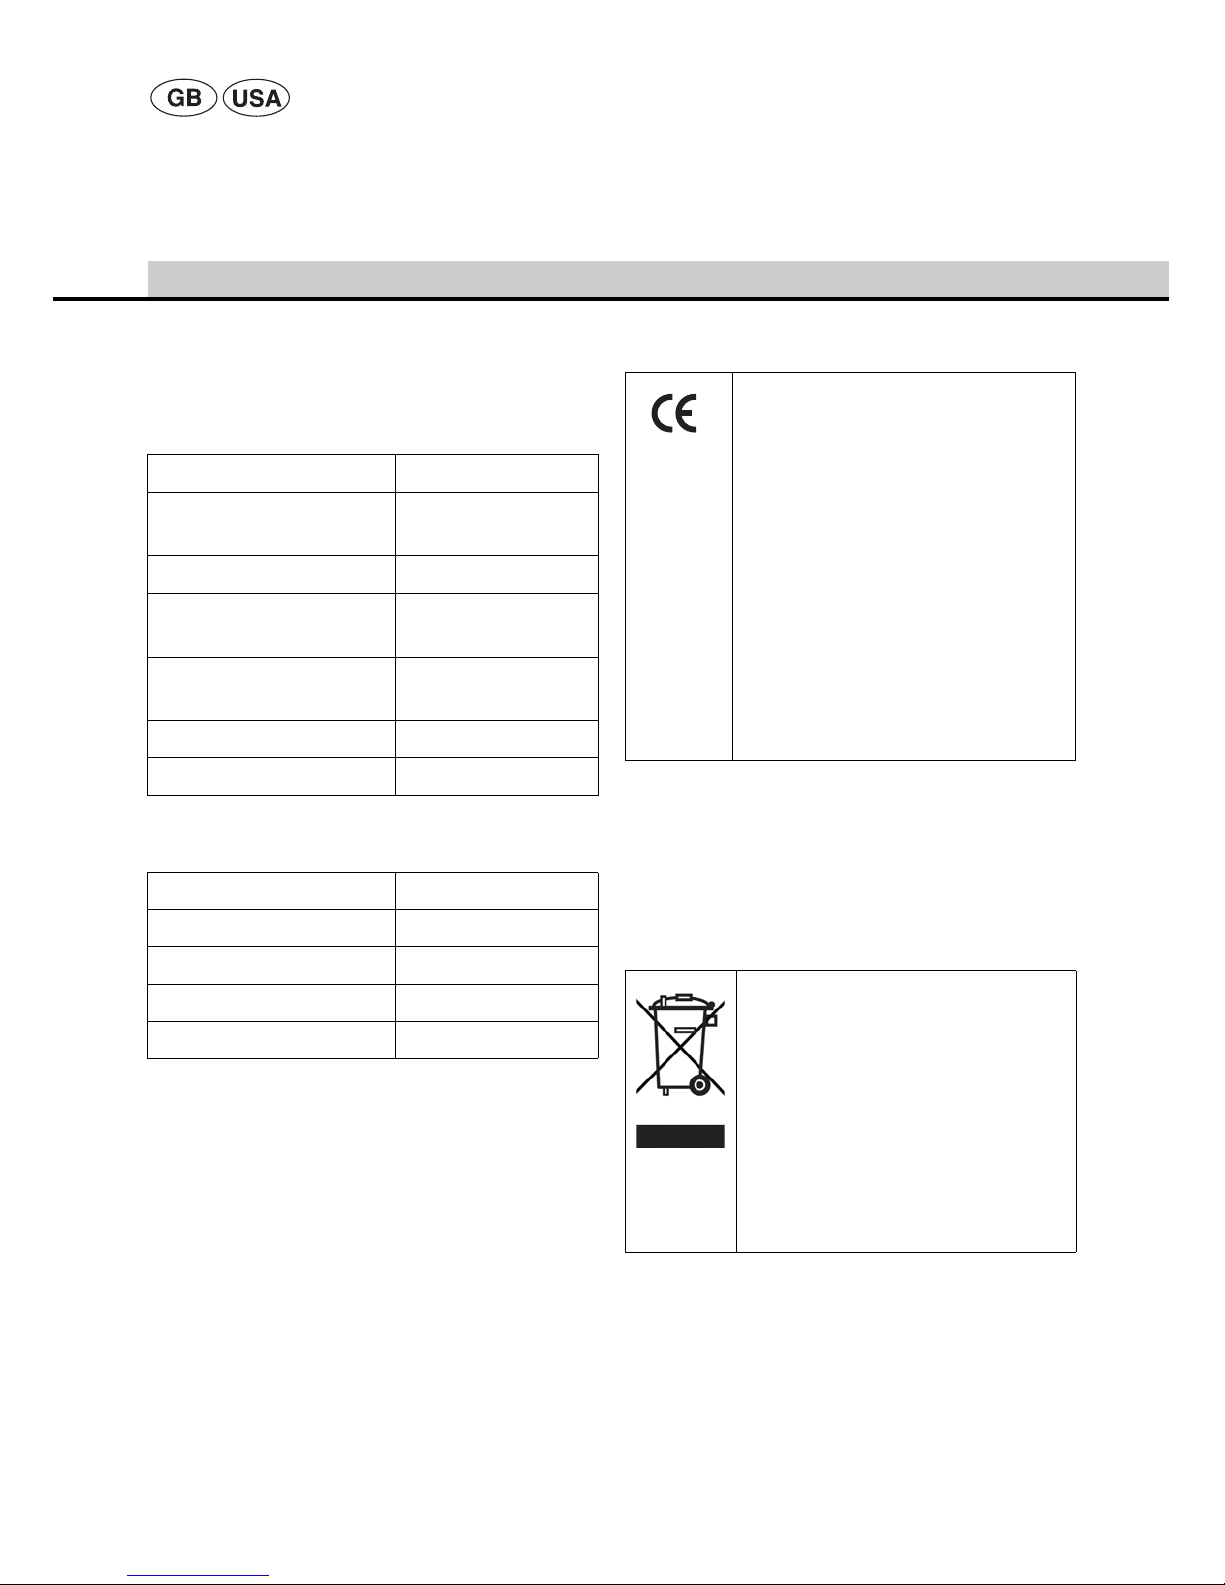
11. Disposal ...................................................................12
11.1 For EU countries only ..........................................12
11.2 Li-ion batteries ......................................................12
12. Two year guarantee ..............................................13
Adhere to instructions for use
Labeling of electrical and elec-
tronic devices according to
directive 2012/19/EU (WEEE),
see Chapter Disposal

3
1. Safe handling
CAUTION
Federal law restricts this device to sale by or on
order of a physician!
¾Prior to use, check that the product is in good
working order.
¾Store the charger and Li-ion batteries at room tem-
perature.
¾Keep dry the charger and Li-ion batteries.
¾Charge the Li-ion batteries prior to first use.
¾Observe our “Notes on Electromagnetic Compati-
bility (EMC)“.
¾To prevent damage caused by improper setup or
operation, and in order not to compromise war-
ranty and manufacturer liability:
– Use the product only according to these instruc-
tions for use.
– Follow the safety and maintenance instructions.
– Ensure the manufacturer's approval before using
accessories that are not mentioned in the instruc-
tions for use.
¾Ensure that the product and its accessories are
operated and used only by persons with the requi-
site training, knowledge, or experience.
¾Keep the instructions for use accessible for the
user.
¾Always adhere to applicable standards.
¾Ensure that the electrical facilities in the room in
which the device is being used conform to IEC
norms.
¾Unplug the device by pulling the plug, but never by
pulling the power cord.
¾Do not operate the product in explosion-hazard
areas.
¾Do not use the product if it is damaged or defec-
tive. Set aside the product if it is damaged.
2. Product description
2.1 Package includes
2.2 Intended use of charger GT203/Li-
ion battery GT201
The charger GT203 is used for charging the battery-
powered shearing machine FAV5 CL and the Li-ion
battery. There is one charging bay each for the two
components.
DANGER
Risk of fatal injury from electric
shock!
¾Do not open the product (except
for changing a charging bay).
¾Connect the product only to a
grounded power supply.
Designation Art. no.
2 x Li-ion batteries GT201
1 x Charger GT203
Mains power cord (with device
plug)
see Chapter
Accessories/
Spare parts

Aesculap Suhl GmbH
Add-On Set for Hybrid Shearing Machines
4
2.3 Operating principle of charger
GT203/Li-ion battery GT201
The charger GT203 is designed for a mains voltage/
frequency range of 100 V to 240 V and 50 Hz to 60 Hz.
To make the charger GT203 ready for operation, con-
nect it to mains power by plugging in the mains plug.
The charger GT203 is equipped with to charging bays.
The first charging bay is for charging the battery-pow-
ered shearing machine FAV5 CL, while in the second
charging bay the Li-ion battery is charged.
Each charging bay has an indicator field on the charger
front panel assigned to it.
Charging starts automatically, as soon as a Li-ion bat-
tery is inserted in the charging station.
The charging time in the charging bays depends on the
charge state and capacity of the Li-ion batteries.
2.3.1 Charging principle
The Li-ion batteries are charged by constant current
pulses.
The charge state of the Li-ion battery is monitored
during charging. Monitoring of the charging curve
ensures that the battery is fully charged without over-
charging.
Additionally, the battery temperature and charging
time are monitored as well.
The charger monitors the battery status and indicates
the charge state via two LED indicators.
LED indicators:
• green = Battery fully charged
• red = Battery completely discharged
2.3.2 Charging time
Charging is stopped as soon as the maximum charging
time is reached.
The charging time is approx. 50 min.
3. Preparation and setup
Non-compliance with these rules will result in com-
plete exclusion of liability on the part of Aesculap.
¾Always observe the following guidelines when set-
ting up and operating the product:
– national regulations for installation and opera-
tion,
– national regulations on fire and explosion protec-
tion.
– operating advisories according to IEC-/VDE regu-
lations.
DANGER
Fire and explosion hazard!
¾Do not operate the product in
explosion-hazard areas.
CAUTION
Malfunction of, or damage to the
product caused by improper setup!
¾Do not expose the product to
direct sunlight or moisture.
¾Do not cover the ventilation
slots of the product.
¾Connect the product to power
mains with a voltage range of
100 V to 240 V and a frequency
range of 50 Hz to 60 Hz.
¾Ensure that the mains power
socket used for supplying the
product is freely accessible.

5
4. Working with the battery-
powered shearing machine
FAV5 CL, and the charger
GT203/Li-ion battery GT201
4.1 System set-up
4.1.1 Connecting the accessories
Combinations of accessories that are not mentioned in
the present instructions for use may only be employed
if they are specifically intended for the respective
application, and if they do not compromise the perfor-
mance and safety characteristics of the products.
4.1.2 Connecting the charger/Charging the
Li-ion battery
Note
Switch off the battery-powered shearing machine
FAV5 CL before charging!
Note
Li-ion batteries heat up slightly during charging.
Note
Unplug the mains power cord at the mains socket when
the charger is not going to be used!
¾To connect charger 1: Plug in the device plug of
mains power cord 2in charger 1.
¾Plug in the mains plug of mains power cord 2at
the mains power socket.
WARNING
Fire hazard due to battery poles
shorted by fluids or metal compo-
nents!
¾Li-ion battery not inserted.
WARNING
Risk of injury and material damage
due to damaged Li-ion batteries!
¾Prior to charging, check the Li-
ion batteries for any damage.
¾Do not use or charge damaged
Li-ion batteries.
CAUTION
Loss of capacity/performance due
to prolonged storage of discharged
Li-ion batteries!
¾Store Li-ion batteries only in
fully charged condition and
recharge stored batteries once
every month.
CAUTION
Destruction of the product, charg-
ing bay or Li-ion battery when
inserting the wrong type of battery
in the charging bay!
¾Insert Li-ion batteries only in
the appropriate charging bay.
¾Insert the Li-ion battery in the
correct position.

Aesculap Suhl GmbH
Add-On Set for Hybrid Shearing Machines
6
¾Insert Li-ion battery 5in charging bay 3of
charger 1and charge the battery.
- or -
¾Insert the battery-powered shearing machine
FAV5 CL in charging bay 7of the charger 1and
charge the machine.
Charge state indicator 4or 6lights up red.
After charging, the charge state indicator 4/6
shines green and the battery-powered shearing
machine FAV5 CL with Li-ion battery 5is ready for
operation.
4.2 Function checks of the charger
¾Carry out a visual inspection.
¾Prior to connecting the product to mains power:
– Check mains power cord 2for possible damage.
– Check the product for any damage (e.g. bent con-
tacts of the charging bays).
¾Plug in mains power cord 2at the device socket of
the charging station.
¾Plug in the mains plug at the mains power socket.
¾Insert Li-ion battery 5in charging bay 3of
charger 1and charge the battery.
- or -
¾Insert the battery-powered shearing machine FAV5
CL in charging bay 7of the charger 1and charge
the machine.
Charge state indicator 4or 6lights up red.
After charging, the charge state indicator 4/6
shines green and the battery-powered shearing
machine FAV5 CL/Li-ion battery 5is ready for
operation.
The product is ready for operation.
4.3 Li-ion battery
Fig. 1
¾Hold battery-powered shearing machine FAV5 CL 8
and press battery release lock 9.
¾Pull out Li-ion battery 5from battery-powered
shearing machine FAV5 CL.
¾Insert the charged Li-ion battery 5in battery-pow-
ered shearing machine FAV5 CL 8as far as it will
go.
The battery-powered shearing machine FAV5 CL 8
is ready for operation.
5. Reprocessing
CAUTION
Damage to, or destruction of the
product caused by mechanical
cleaning/disinfecting or steriliza-
tion!
¾Only clean and disinfect the
product manually.
¾Do not sterilize the product
under any circumstances.
5
9
8
9

7
5.1 Cleaning/disinfection
Note
Always follow disposal and hygiene instructions and
regulations!
Cleaning/disinfection
¾Wipe the shell of the product with a lint-free cloth
moistened with a commercial disinfectant for wipe
disinfection.
¾If necessary, after the appropriate exposure time,
wipe off any residues of the cleaning/disinfecting
agent with a lint-free cloth moistened with clean
water.
¾Dry the product with a clean, lint-free cloth.
¾Clean the contacts in the charging bay with isopro-
panol or ethyl alcohol and a cotton swab. Do not
use corrosive chemicals.
¾If necessary, repeat the cleaning/disinfecting pro-
cess.
6. Maintenance
To ensure reliable operation, Aesculap recommends
servicing the product at least once a year.
Service addresses
In the UK
KG PRODUCTS
243-251 City Road, Fenton
Stoke-on-Trent, Staffs
ST4 2PX
United Kingdom
Phone: (44) - 01782 844 866
DIAMOND EDGE
126 Gloucester Rd.
Brighton, BN1 4BU
United Kingdom
Phone: (44) - 01273 605 922
Or in the US
A & J Sales and Service
42 - A Frame Drive
West Burke, VT 05871
USA
Phone: (800) 447-1957
Or in Germany
Albert Kerbl GmbH
Felizenzell 9
84428 Buchbach / Germany
Phone: +49 (0) 8086 933-100
Fax: +49 (0) 8086 933-500
E-Mail: info@kerbl.com
www.kerbl.com
Other service addresses can be obtained from the
address indicated above.
DANGER
Risk of electric shock and fire haz-
ard!
¾
Unplug the device before cleaning
.
¾Ensure that no fluids will pene-
trate the product.
¾Leave the product exposed to
air for at least 1 minute after
cleaning/disinfecting.
CAUTION
Damage to the product due to
incorrect cleaning or inappropriate
cleaning/disinfecting agents!
¾Use any commercial detergent
for surface cleaning.
¾Never immerse the product in
water or detergent.
¾Do not introduce any fluid into
the charging bays.
¾Clean the contacts in the charg-
ing bays, applying extreme care.

Aesculap Suhl GmbH
Add-On Set for Hybrid Shearing Machines
8
7. Troubleshooting
7.1 Battery-powered shearing machine FAV5 CL
7.2 Charger and Li-ion battery
Malfunction Detection Cause Remedy
Battery-powered shearing
machine FAV5 CL doesn't
start
Check switch position Li-ion battery not loaded Load Li-ion battery
– Li-ion battery defect Insert new Li-ion battery
– Li-ion battery not
inserted
Insert new Li-ion battery
Battery-powered shearing
machine FAV5 CL has
come to a stop
– Li-ion battery deactivated
through protective circuit
Deactivate and reacti-
vate the control unit
– Li-ion battery is empty Insert new Li-ion battery
Battery-powered shearing
machine FAV5 CL does not
load into the charging sta-
tion
LED indicators do not
light up
– see Chapter Charger and
Li-ion battery
Malfunction Detection Cause Remedy
Charger not working LED indicators do not
light up
Mains power cord not
plugged in
Plug mains power cord
into the device socket on
the charger and into the
socket of the mains
power supply
Li-ion battery not
loaded
Mains power cord defec-
tive
Replace mains power
cord
Charger defect Send product to manu-
facturer for repair

9
Li-ion battery cannot be
loaded
Li-ion battery in place,
charge state indicator
does not light up
Charger contacts dirty or
damaged
Clean contacts in the
charging bay, see Chap-
ter Cleaning/disinfection
or send to manufacturer
for repair
Li-ion battery defect Send Li-ion battery to
manufacturer for repair
Charger defect Send charger to manu-
facturer for repair
Excess temperature is
detected in the Li-ion
battery during charging
Remove Li-ion battery
from charging bay, leave
to cool and start the
charging process again.
If the problem occurs
again, send battery to
manufacturer for repair
Charging fault or
Li-ion battery defect
Remove Li-ion battery
from charging bay and
repeat charging process,
if necessary in another
charging bay.
If the problem occurs
again,
send Li-ion battery to
manufacturer for repair
Malfunction Detection Cause Remedy

Aesculap Suhl GmbH
Add-On Set for Hybrid Shearing Machines
10
8. Technical Service
Modifications carried out on medical technical equip-
ment may result in loss of guarantee/warranty rights
and forfeiture of applicable licenses.
Service addresses
In the UK
KG PRODUCTS
243-251 City Road, Fenton
Stoke-on-Trent, Staffs
ST4 2PX
United Kingdom
Phone: (44) - 01782 844 866
DIAMOND EDGE
126 Gloucester Rd.
Brighton, BN1 4BU
United Kingdom
Phone: (44) - 01273 605 922
Or in the US
A & J Sales and Service
42 - A Frame Drive
West Burke, VT 05871
USA
Phone: (800) 447-1957
Or in Germany
Albert Kerbl GmbH
Felizenzell 9
84428 Buchbach / Germany
Phone: +49 (0) 8086 933-100
Fax: +49 (0) 8086 933-500
E-Mail: info@kerbl.com
www.kerbl.com
Other service addresses can be obtained from the
address indicated above.

11
9. Accessories/Spare parts
Art. no. Design Power cord Li-ion bat-
tery
Charging sta-
tion
Accessories
(optional)
GT205 Europe
outside of Great
Britain
TA012170
Europe flat-pin plug,
black, L=1.8 m
GT201 GT200880 GT604800
Lubricator
bottle
GT205G Great Britain TA012169
GB plug, black,
L=1.8 m
GT201 GT200880 GT604800
Lubricator
bottle
GT205A Australia TA013657
2-pin connector plug,
black,
L=1.8 m
GT201 GT200880 GT604800
Lubricator
bottle
GT205K USA TA012168
2-pin connector plug,
black,
L=1.8 m
GT201 GT200880 GT604800
Lubricator
bottle
Aesculap Suhl GmbH
Add-On Set for Hybrid Shearing Machines
12
10. Technical data
10.1 Charger
10.2 Li-ion battery
10.3 Declaration of conformity
11. Disposal
Electrical tools, accessories and packaging should be
sent for environmentally responsible recycling.
11.1 For EU countries only
11.2 Li-ion batteries
Do not dispose of batteries in domestic waste, fire or
water. Defective or used batteries must be collected,
recycled or disposed of in an environmentally-friendly
way according to Directive 2006/66/EG.
Model GT203
Mains voltage ranges
(Current intake)
100-240 V
Frequency 50-60 Hz
Charging voltage/Output
voltage
max. 8.4 V
Charging current/Output
current
max. 1.2 A
Weight 495 g
Quality marks CE, UL
Model GT201
Cell type Li
DC voltage 7.4 V
Capacity approx.1.2 Ah
Charging time 50 min ±5 min
We declare under our sole responsibil-
ity that this product complies with the
following standards and regulatory
documents:
2006/95/EC EC Low Voltage Directive
DIN EN 60335-1
DIN EN 60335-2-8
DIN EN 60335-2-29
Safety of household and similar elec-
trical appliances
- general requirements
- for shearing machines
- for battery chargers
Aesculap Suhl GmbH
Do not dispose of electrical tools in
domestic waste!
According to European Directive
2012/19/EU on old electrical and
electronic appliances and its imple-
mentation in national law, electrical
tools that are no longer suitable for
use must be separately collected and
sent for environmentally responsible
recycling.

13
12. Two year guarantee
Dear Customer,
Many thanks for choosing one of our products.
For decades, the name Aesculap has stood for proven
quality and first-class service. We are known to pro-
vide innovative, high-performance products for our
customers. Aesculap manufactures high-quality
devices and can assure you that it uses high-quality
materials and careful manufacturing processes. We
would like to point out to you that we are not liable for
defects in our products, if these are caused by
improper use, normal wear or are caused by the prod-
uct being improperly used or if inappropriate or not
properly functioning third-party products are used.
Parts that are typically subject to wear, and for which
we are therefore not liable, are the battery and shear-
ing head. Material defects that do not affect or only
negligibly affect the value or function of the product
are also excluded from our warranty.
If we are liable under our warranty, we reserve the
right to repair or replace the product.

Aesculap Suhl GmbH
Nachrüstset für Hybrid-Schermaschinen
14
Legende
1Ladegerät
2Netzanschlussleitung (mit Gerätestecker)
3Ladeschacht (für Li-Ionen-Akku)
4Ladezustandsanzeige (für Li-Ionen-Akku)
5Li-Ionen-Akku
6Ladezustandsanzeige (für Akku-Schermaschine
FAV5 CL)
7Ladeschacht (für Akku-Schermaschine FAV5 CL)
Symbole am Produkt
Inhaltsverzeichnis
1. Sichere Handhabung ............................................15
2. Gerätebeschreibung .............................................15
2.1 Lieferumfang ..........................................................15
2.2 Verwendungszweck Ladegerät GT203/Li-
Ionen-Akku GT201 ................................................15
2.3 Funktionsweise Ladegerät GT203/Li-Ionen-
Akku GT201 ............................................................16
2.3.1 Ladeprinzip.............................................................. 16
2.3.2 Ladezeit.................................................................... 16
3. Vorbereiten und Aufstellen ................................16
4. Arbeiten mit der Akku-Schermaschine
FAV5 CL, dem Ladegerät GT203/Li-Ionen-
Akku GT201 ............................................................17
4.1 Bereitstellen ...........................................................17
4.1.1 Zubehör anschließen............................................ 17
4.1.2 Ladegerät anschließen/Li-Ionen-Akku laden 17
4.2 Funktionsprüfung Ladegerät .............................18
4.3 Li-Ionen-Akku austauschen ...............................18
5. Aufbereitung ..........................................................19
5.1 Reinigung/Desinfektion .......................................19
6. Wartung ..................................................................19
7. Fehler erkennen und beheben ...........................20
7.1 Akku-Schermaschine FAV5 CL ..........................20
7.2 Ladegerät und Li-Ionen-Akku ...........................20
8. Technischer Service ..............................................22
9. Zubehör/Ersatzteile ..............................................23
10. Technische Daten ..................................................24
10.1 Ladegerät ................................................................24
10.2 Li-Ionen-Akku ........................................................24
10.3 Konformitätserklärung ........................................24
11. Entsorgung ..............................................................24
11.1 Nur für EU-Länder ................................................24
11.2 Li-Ionen-Akkus ......................................................24
12. 2 Jahre Gewährleistung ......................................25
Gebrauchsanweisung einhalten
Kennzeichnung von Elektro-
und Elektronikgeräten entspre-
chend Richtlinie 2012/19/EU
(WEEE), siehe Kapitel Entsor-
gung

15
1. Sichere Handhabung
¾Vor der Anwendung des Produkts Funktionsfähig-
keit und ordnungsgemäßen Zustand prüfen.
¾Ladegerät und Li-Ionen-Akkus bei Raumtempera-
tur aufbewahren.
¾Ladegerät und Li-Ionen-Akkus trocken halten.
¾Vor dem ersten Einsatz Li-Ionen-Akkus aufladen.
¾„Hinweise zur elektromagnetischen Verträglichkeit
(EMV)“ beachten.
¾Um Schäden durch unsachgemäßen Aufbau oder
Betrieb zu vermeiden und die Gewährleistung und
Haftung nicht zu gefährden:
– Produkt nur gemäß dieser Gebrauchsanweisung
verwenden.
– Sicherheitsinformationen und Instandhaltungs-
hinweise einhalten.
– Zubehör, das nicht in der Gebrauchsanweisung
erwähnt wird, nur mit Zustimmung des Herstellers
verwenden.
¾Produkt und Zubehör nur von Personen betreiben
und anwenden lassen, die die erforderliche Ausbil-
dung, Kenntnis oder Erfahrung haben.
¾Gebrauchsanweisung für den Anwender zugäng-
lich aufbewahren.
¾Gültige Normen einhalten.
¾Sicherstellen, dass die elektrische Installation des
Raums den IEC-Anforderungen entspricht.
¾Netzverbindungen durch Ziehen am Gerätestecker
lösen, nie durch Ziehen am Kabel.
¾Produkt nicht in explosionsgefährdeten Bereichen
einsetzen.
¾Kein beschädigtes oder defektes Produkt verwen-
den. Beschädigtes Produkt sofort aussortieren.
2. Gerätebeschreibung
2.1 Lieferumfang
2.2 Verwendungszweck Ladegerät
GT203/Li-Ionen-Akku GT201
Das Ladegerät GT203 wird zum Laden der Akku-Scher-
maschine FAV5 CL und dem Li-Ionen-Akku eingesetzt.
Für beide Komponenten gibt es je einen Ladeschacht.
GEFAHR
Lebensgefahr durch elektrischen
Stromschlag!
¾Produkt nicht öffnen (hiervon
ausgenommen ist der Akku-
Wechsel).
¾Produkt nur an ein Versorgungs-
netz mit Schutzleiter anschlie-
ßen. Bezeichnung Art.-Nr.
2 x Li-Ionen-Akku GT201
1 x Ladegerät GT203
Netzanschlussleitung (mit Gerä-
testecker)
siehe Kapitel
Zubehör/Ersatz-
teile

Aesculap Suhl GmbH
Nachrüstset für Hybrid-Schermaschinen
16
2.3 Funktionsweise Ladegerät GT203/
Li-Ionen-Akku GT201
Das Ladegerät GT203 ist für einen Netzspannungs-
bereich von 100 V bis 240 V und von 50 Hz bis 60 Hz
konzipiert.
Zur Herstellung der Betriebsbereitschaft wird das
Ladegerät GT203 mit dem Netzstecker an das Versor-
gungsnetz angeschlossen.
Das Ladegerät GT203 verfügt über zwei Ladeschächte.
Im ersten Ladeschacht wird die Akku-Schermaschine
FAV5 CL geladen und im zweiten der Li-Ionen-Akku.
Die Ladeschächte sind dem jeweiligen Anzeigefeld an
der Ladegerätefront zugeordnet.
Mit dem Einstecken eines Li-Ionen-Akkus in die
Ladestation startet der Ladevorgang automatisch.
Die Ladezeit in den Ladeschächten hängt vom Ladezu-
stand und der Kapazität der Li-Ionen-Akkus ab.
2.3.1 Ladeprinzip
Die Li-Ionen-Akkus werden mit konstanten Strom-
impulsen aufgeladen.
Der Ladezustand des Li-Ionen-Akkus wird während der
Aufladung überwacht. Durch die Überwachung der
Ladekurve wird eine 100-%-Ladung ohne Überladung
sichergestellt.
Zusätzlich werden die Akku-Temperatur und die Lade-
zeit überwacht.
Das Ladegerät überwacht den Akkuzustand mit zwei
Ladezustandsanzeigen.
LED-Anzeigen:
• grün = Akku voll
• rot = Akku leer
2.3.2 Ladezeit
Bei Erreichen der maximalen Ladezeit wird der Lade-
vorgang abgebrochen.
Die Ladezeit beträgt ca. 50 min.
3. Vorbereiten und Aufstellen
Wenn die folgenden Vorschriften nicht beachtet wer-
den, übernimmt Aesculap insoweit keinerlei Verant-
wortung.
¾Beim Aufstellen und Betrieb des Produkts einhal-
ten:
– die nationalen Installations- und Betreiber-Vor-
schriften,
– die nationalen Vorschriften über Brand- und
Explosionsschutz.
– Anwendungshinweise gemäß IEC-/VDE-Bestim-
mungen.
GEFAHR
Brand- und Explosionsgefahr!
¾Produkt nicht in explosionsge-
fährdeten Bereichen einsetzen.
VORSICHT
Beeinträchtigung der Funktion oder
Beschädigung des Produkts durch
unsachgemäße Aufstellung!
¾Produkt keiner direkten Son-
neneinstrahlung oder Nässe
aussetzen.
¾Lüftungsschlitze des Produkts
nicht abdecken.
¾Nennspannung zwischen 100 V
bis 240 V und einem Netzfre-
quenzbereich von 50 Hz bis
60 Hz anschließen.
¾Sicherstellen, dass die Netz-
steckdose des Versorgungsnet-
zes, die zur Spannungsversor-
gung des Produkts genutzt wird,
frei zugänglich ist.

17
4. Arbeiten mit der Akku-
Schermaschine FAV5 CL, dem
Ladegerät GT203/
Li-Ionen-Akku GT201
4.1 Bereitstellen
4.1.1 Zubehör anschließen
Zubehörkombinationen, die nicht in der Gebrauchsan-
weisung erwähnt sind, dürfen nur verwendet werden,
wenn sie ausdrücklich für die vorgesehene Anwendung
bestimmt sind. Leistungsmerkmale sowie Sicherheits-
anforderungen dürfen nicht nachteilig beeinflusst
werden.
4.1.2 Ladegerät anschließen/Li-Ionen-Akku
laden
Hinweis
Vor dem Ladevorgang die Akku-Schermaschine
FAV5 CL ausschalten!
Hinweis
Die Li-Ionen-Akkus erwärmen sich leicht beim Ladevor-
gang.
Hinweis
Wenn nicht mit dem Ladegerät gearbeitet wird, muss
die Netzanschlussleitung von der Steckdose ausge-
steckt werden!
¾Ladegerät 1anschließen: Gerätestecker der Netz-
anschlussleitung 2in Ladegerät 1stecken.
¾Netzstecker der Netzanschlussleitung 2in Steck-
dose stecken.
WARNUNG
Brandgefahr bei Kurzschluss der
Pole durch Flüssigkeiten oder
Metallteile!
¾Li-Ionen-Akku nicht kurzschlie-
ßen.
WARNUNG
Verletzungsgefahr und Sachschäden
durch beschädigte Li-Ionen-Akkus!
¾Li-Ionen-Akkus vor dem Laden
auf Beschädigungen prüfen.
¾Beschädigte Li-Ionen-Akkus
nicht verwenden oder aufladen.
VORSICHT
Verlust der Kapazität/Leistungsfä-
higkeit der entladenen Li-Ionen-
Akkus durch längere Lagerung!
¾Li-Ionen-Akku bei längerer
Lagerung nur vollgeladen einla-
gern und einmal pro Monat
nachladen.
VORSICHT
Zerstörung von Produkt, Lade-
schacht oder Li-Ionen-Akku durch
Stecken eines falschen Akkutyps in
den Ladeschacht!
¾Li-Ionen-Akkus nur in die dafür
vorgesehenen Ladeschächte ste-
cken.
¾Li-Ionen-Akkus lagerichtig ein-
stecken.

Aesculap Suhl GmbH
Nachrüstset für Hybrid-Schermaschinen
18
¾Li-Ionen-Akku 5in Ladeschacht 3des Ladegeräts 1
stellen und aufladen.
- oder -
¾Akku-Schermaschine FAV5 CL in Ladeschacht 7des
Ladegeräts 1stellen und aufladen.
Ladezustandsanzeige 4oder 6leuchtet rot auf.
Nach dem Ladevorgang leuchtet die Ladezustands-
anzeige 4/6grün auf und die Akku-Schermaschine
FAV5 CL der Li-Ionen-Akku 5ist betriebsbereit.
4.2 Funktionsprüfung Ladegerät
¾Sichtprüfung durchführen.
¾Vor dem Anschluss des Produkts an das Versor-
gungsnetz:
– Netzanschlussleitung 2auf mögliche Beschädi-
gung prüfen.
– Produkt auf mögliche Beschädigungen prüfen
(z. B. Kontakte der Ladeschächte auf verbogene
Kontakte prüfen).
¾Netzanschlussleitung 2in Gerätestecker an der
Ladestation stecken.
¾Netzstecker in Steckdose des Versorgungsnetzes
stecken.
¾Li-Ionen-Akku 5in Ladeschacht 3des Ladegeräts 1
stellen und aufladen.
- oder -
¾Akku-Schermaschine FAV5 CL in Ladeschacht 7des
Ladegeräts 1stellen und aufladen.
Die Ladezustandsanzeige 4oder 6leuchtet rot auf.
Nach dem Ladevorgang leuchtet die Ladezustands-
anzeige 4/6grün auf und die Akku-Schermaschine
FAV5 CL/der Li-Ionen-Akku 5ist betriebsbereit.
Das Produkt ist betriebsbereit.
4.3 Li-Ionen-Akku austauschen
Abb. 1
¾Akku-Schermaschine FAV5 CL 8halten und Akku-
Entriegelungen 9drücken.
¾Li-Ionen-Akku 5aus Akku-Schermaschine FAV5 CL
herausziehen.
¾Geladenen Li-Ionen-Akku 5in Akku-Scherma-
schine FAV5 CL 8bis zum Anschlag einschieben.
Die Akku-Schermaschine FAV5 CL 8ist betriebsbe-
reit.
5
98
9
This manual suits for next models
3
Table of contents
Languages:
Other Aesculap Power Tools manuals


