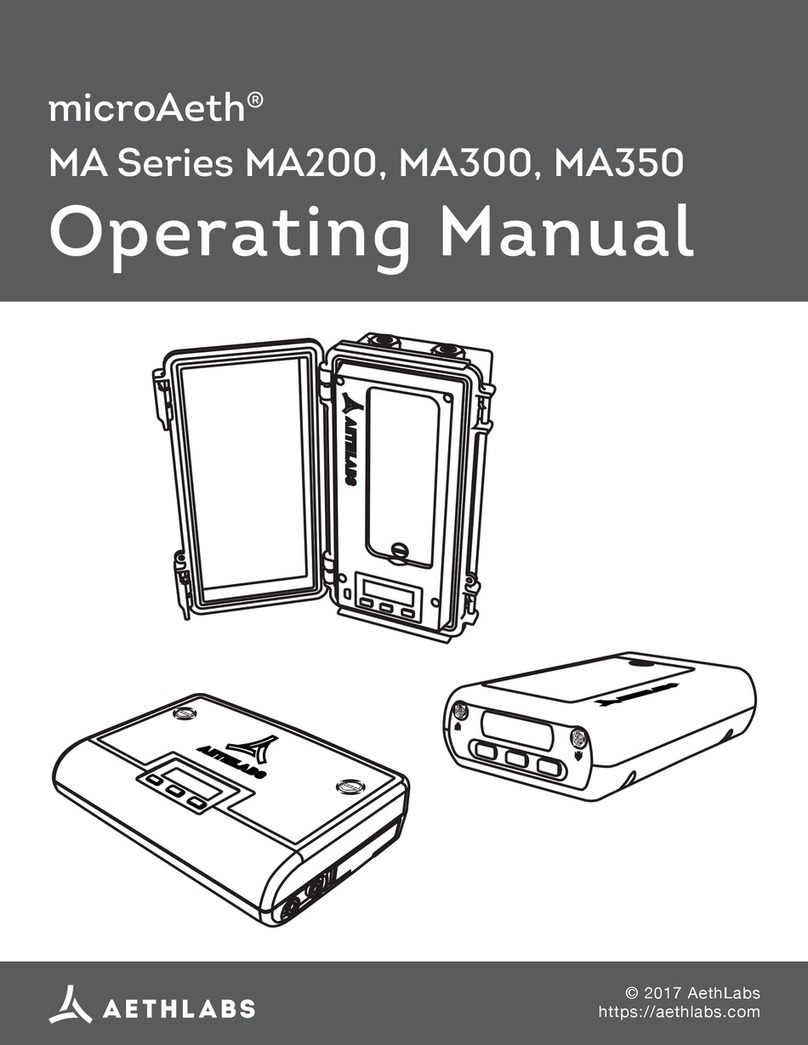
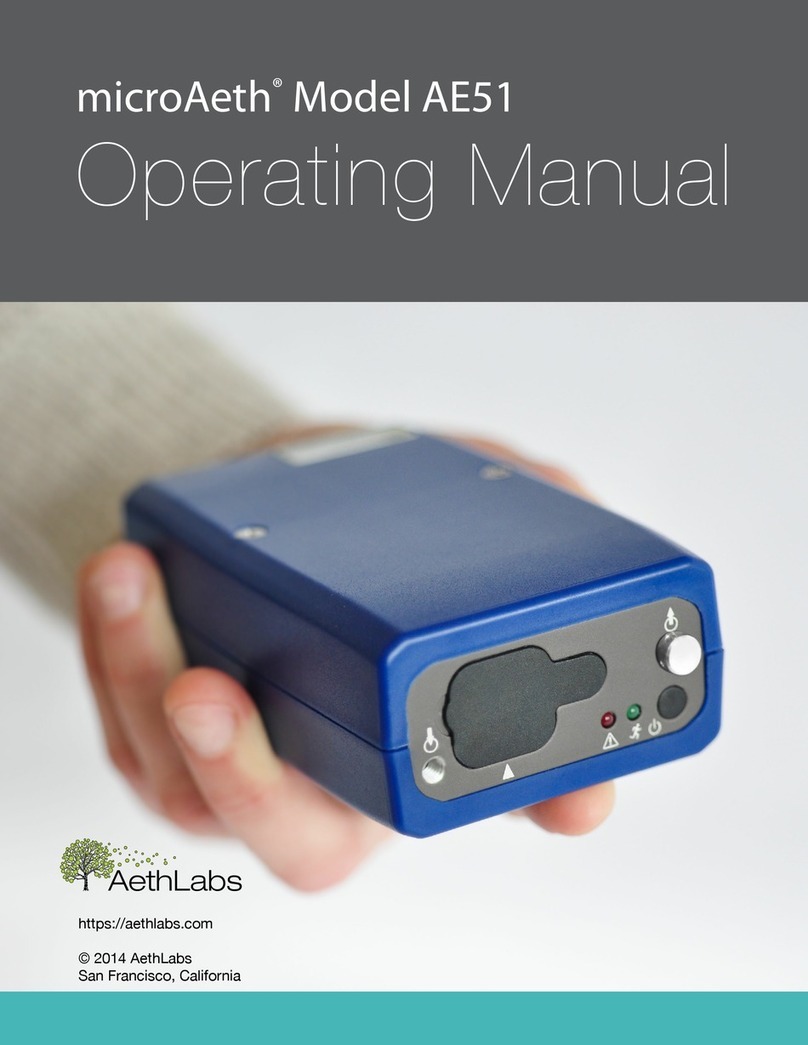
Aethlabs microAeth AE51 User manual

microAeth®AE51
Quick Start Guide
© 2016 AethLabs
https://aethlabs.com

2AethLabsAethLabs 3
microAeth®AE51 Quick Start Guide microAeth®AE51 Quick Start Guide
Recommendations for Best Use Practices
The small size and light weight of the microAeth® AE51 allow it to be used to gather data
in a wide range of operational scenarios, not always possible using larger instruments.
Optimization of performance across this breadth of applications requires an understanding
of operational settings, precautions, and maintenance procedures. The following
recommendations provide general guidelines.
Instrument Settings: Measurement Timebase and Flow Rate
In order to get the best data from the microAeth AE51 for the sampling campaign, we
highly recommend that the instrument warm up for approximately 10-15 minutes so
that it can equilibrate to its environment. The microAeth can aquire data on ve timebase
settings: 1, 10, 30, 60, and 300 seconds. The 1 second timebase should only be used
under special circumstances where a decreased signal-to-noise ratio is acceptable. At
this setting, instrumental noise is larger and typically requires post-processing. The AE51
pump can operate at four sampling ow rate settings: 50, 100, 150, and 200 ml/min. The
choice of these parameters affects the operation and data as follows.
Battery Run Time on Single Charge: Affected by ow rate and timebase.
NOTE: Battery life will gradually diminish after many cycles (~ 1 year of use). The following
are approximate runtimes which can vary based on individual AE51 instruments and
specic environments.
50 ml/min 100 ml/min 150 ml/min 200 ml/min
1 second > 21 hours > 18 hours > 14 hours > 12 hours
10 seconds > 21 hours > 19 hours > 15 hours > 12 hours
30 seconds > 23 hours > 19 hours > 15 hours > 13 hours
60 seconds > 28 hours > 24 hours > 20 hours > 15 hours
300 seconds > 30 hours > 24 hours > 21 hours > 15 hours
Individual Data Point Noise: At 150 ml/min, primarily affected by timebase setting.
1 second 60 seconds 300 seconds
< 5 ug/m3< 0.1 ug/m3< 0.05 ug/m3
Effects of Contamination, Vibration, and Impact: Primarily affected by timebase setting.
1 second 10 seconds 30 seconds 60 seconds 300 seconds
very large large moderate moderate least effect
Recommended Settings of microAeth® AE51 for Different Scenarios
Different Black Carbon measurement scenarios require different operational settings
for optimum performance. The 1 second timebase setting is a ‘Data Acquisition Mode’
intended for subsequent processing, and should NOT be used for routine monitoring. Data
collected on a 1 second timebase should always be smoothed or averaged over longer
periods, in order to optimize the signal-to-noise ratio at the desired time resolution.
Longest Filter Life Shortest
50 ml/min 100 ml/min 150 ml/min 200 ml/min
1 s
‘Data Acquisition
Mode’ for
immediate
emissions and
impacts at high
concentrations.
‘Data Acquisition
Mode’ for
emissions and
impacts in typical
urban and trafc
environments.
‘Data Acquisition
Mode’
for higher time
resolution at lower
BC concentrations.
‘Data Acquisition
Mode’
for higher time
resolution at lower
BC concentrations
or shorter sampling
durations.
10 s
Trafc and
transporation
impacts in high BC
concentrations.
Trafc and
transporation
impacts.
Trafc and
transporation
impacts at lower
BC concentrations.
Trafc and
transporation
impacts at lower
BC concentrations.
30 s
Personal Exposure
Monitoring in high
BC concentrations.
Occupational
Exposure.
Recommended
Setting for General
Applications.
Personal Exposure
Monitoring. Trafc
impact. High time
resolution ambient
monitoring.
Personal Exposure
Monitoring. Trafc
impact. High time
resolution ambient
monitoring.
Personal Exposure
Monitoring. Trafc
impact. Ambient
monitoring. Higher
sensitivity for low
BC concentrations.
60 s
Personal Exposure
Monitoring.
Occupational
Exposure. High BC
concentrations.
Personal Exposure
Monitoring. Indoor
Air Quality.
Personal Exposure
Monitoring. Indoor
Air Quality. Low BC
concentration.
Personal Exposure
Monitoring. Higher
sensitivity for low
BC concentrations.
300 s
Epidemiology.
Area monitoring.
Indoor air
quality. High BC
concentration.
Epidemiology.
Area monitoring.
Indoor air quality.
Epidemiology.
Area monitoring.
Indoor air
quality. Low BC
concentration.
Epidemiology.
Area monitoring.
Indoor air quality.
Lowest BC
concentration.
Lowest data noise.

4AethLabsAethLabs 5
microAeth®AE51 Quick Start Guide microAeth®AE51 Quick Start Guide
Install/Exchange Filter Strip
1. Always make sure that a lter strip is
installed in the microAeth AE51 when
it is operating.
2. When exchanging a lter strip in the
microAeth AE51, make sure that it is
turned off.
3. The sample deposit side of the lter
strip is the white side. When the lter
strip is installed in the sample chamber,
the white side of the lter strip should
be facing the same direction as
indicated by the white arrow on the
faceplate of the AE51.
4. Hold the AE51 in one hand, with the
release button on the bottom.
5. Loosen the rubber cover on the front of
the AE51 by pulling the tab away from
the instrument. This will expose the
lter strip slot.
6. If there is a lter strip already installed,
depress the release button with your
thumb and pull the lter strip out of the
sampling head.
7. Install a new lter strip by pressing and
holding the release button and then
inserting the new lter strip into the
sample chamber opening.
8. Make sure to push the new lter strip
all the way into the slot, and that the
locating pinhole on the lter strip is not
visible.
9. Release the button.
10. Replace the rubber cover. A tight t
is essential to prevent the entry of
contamination and stray light into the
sample chamber.
Top of microAeth AE51 Bottom of microAeth AE51
White sample deposit side of lter strip faces the top.
Metal side of lter strip faces the bottom.
PC Software Installation
1. Do not connect the microAeth AE51
to the computer until the software
installation is complete.
2. Make sure that you have the necessary
user privileges on your computer to
install software.
3. Locate and double click
microAethCOM Install.exe to start the
install. The installer will prompt you
through the setup.
4. In order to install the microAethCOM
software, please read and accept the
license agreement.
5. Please review changes to
microAethCOM and rmware.
6. Select the directory location where
microAethCOM and the rmware le
should be installed on the computer.

6AethLabsAethLabs 7
microAeth®AE51 Quick Start Guide microAeth®AE51 Quick Start Guide
7. The communication drivers will need
to be installed next. The installer will
prompt you through this section of the
setup.
8. Once all the correct drivers are
installed, the setup will be complete.
Operation & Communication
1. Make sure that a lter strip is installed
in the microAeth AE51. Turn on the
AE51 by depressing the power button
for 4 seconds until the instrument
beeps for the second time and the red
and green LEDs illuminate together.
2. Release the power button and wait for
a few seconds. The pump will turn on
and the LEDs will then begin to blink on
and off in unison about every second
until the beginning of the next minute.
When the LEDs stop blinking, the
instrument will chirp indicating the start
of data collection.
3. While the unit is operating, the green
LED will blink periodically. If the unit is
set to store data to its internal memory,
the green LED will emit single blinks
every few seconds. If it has been set to
store data internally and stream data,
the green LED will blink twice every few
seconds.
4. Start the microAethCOM software.
5. Connect the USB cable to the
AE51 and your computer.
6. After the AE51 establishes
communication with the microAethCOM
software, the connection status in the
bottom left corner of the main screen
will change to Connected and the
microAeth AE51 serial number, status,
and settings will be displayed.
7. If the serial number, status, and settings
are not displayed, disconnect the USB
cable and reinsert it.
8. To download the data stored on the
internal memory of the AE51, click the
Download data button.
9. Select .DAT or .CSV data le type to
download.
10. Select the directory to save the data.
11. Wait until the download has completed.

8AethLabsAethLabs 9
microAeth®AE51 Quick Start Guide microAeth®AE51 Quick Start Guide
Settings Conguration
1. Turn on the microAeth AE51.
2. Start the microAethCOM software.
3. Connect the USB cable to the
microAeth AE51 and your computer.
4. Click Options then Settings
5. On the Settings screen, the AE51 can
be congured.
• Time & time sync
The time on the AE51 is displayed. In
order to sync the time on the AE51 with
the PC time, click the Sync with PC
time check box.
• Flow set point
Select a 50, 100, 150, or 200 ml/min
ow rate.
• Timebase
Select a 1, 10, 30, 60, or 300 second
timebase.
• Operating mode
Select the data output function.
- Store to ash saves data to the
internal memory only.
- Flash and streaming saves data
to the internal memory and outputs a
continuous data stream through the
USB port.
• Shutdown mode
Select the shutdown mode.
- Simple mode will allow the AE51 to
be shutdown by depressing the power
button for 3 seconds.
- USB only mode will only allow
the AE51 to be shutdown using the
microAethCOM software.
- Secure mode will allow the AE51
to be shutdown by pressing and
releasing the power button three
times in succession. The smoothly-
timed sequence is coordinated by a
simultaneous beep and blink of the red
and green LED indicator lights.
Each cycle of the Secure mode takes
about 1 second as follows:
1. Press and hold the power button.
2. When you hear/see the rst ‘beep/blink’
release the button quickly.
3. When you hear/see the next ‘beep/blink’
quickly press and hold the power button.
4. When you hear/see the next ‘beep/blink’
release the button quickly.
5. When you hear/see the next ‘beep/blink’
quickly press and hold the power button.
6. When you hear/see the next ‘beep/blink’
release the button quickly.
7. The microAeth will then shut down.
• Sound notications
Select if sound notications are On or
Off.
6. When all settings are selected as
desired, click the Save settings button.
7. Once the settings have been saved,
you will be prompted to shut down the
AE51. The AE51 will not collect data
with the new saved settings until it
has been restarted.
Contamination, Maintenance

10 AethLabsAethLabs 11
microAeth®AE51 Quick Start Guide microAeth®AE51 Quick Start Guide
Contamination, Maintenance & Cleaning of Sample Chamber
If a loose particle of contamination enters the microAeth AE51’s sample chamber or the
instrument experiences vibration or impact, the data will be degraded. Shaking or tapping
a “dirty” instrument will create data excursions that are far larger than those of a “clean”
unit. These effects are amplied greatly at the shorter timebase settings. Cleaning intervals
will vary based on the sampling environment and concentrations.
Contamination Probability for Various Use Scenarios
Sampling Scenario Contamination Probability
Dry, dusty environment High
Occupational settings with combustion exhaust High
Exposure to “oily” smokes such as biomass-burning
plumes, 2-cycle engine exhaust High
Presence of suspended uff, bers, pollen High
Immediate vicinity of trafc and roadways Medium
Outdoor urban environments Medium
Outdoor rural environments (without dust, uff, pollen) Low
Residential indoor environments Low
Recommended Hours of Operation Between Cleaning & Maintenance
Sampling Scenario Contamination
Probability
High Medium Low
Mobile sampling with impacts: on person or in vehicle 100 200 400
Mobile sampling on cushioned support 150 300 500
Stationary sampling, relocated during operation 500 800 1200
Stationary sampling, not moved during operation 800 1200 2000
NOTE: If a microCyclone™ is being used with your microAeth AE51, please clean it
on a frequent basis, depending on sampling environment and concentrations.
Operational Summary
• Always use a new lter strip for each measurement period.
• In order to get the best data from the microAeth AE51 for the sampling campaign, we
highly recommend that the instrument warm up for approximately 10-15 minutes so that
it can equilibrate to its environment.
• Leave the microAeth AE51 connected to the wall charger when not in use, to be sure
the battery is always fully charged and ready for use.
• Instrumental noise contributes a random perturbation to the ‘ideal’ BC data. Its
magnitude is inversely proportional to the operational parameters of timebase and
ow rate. These parameters should be set to values appropriate to the measurement
requirements and scenario.
• If the data exhibits noise that is unacceptable relative to the BC level being measured,
the noise may be reduced proportionally by taking the arithmetic average of successive
data values.
• Data collected on a rapid timebase is useful for identifying transient events of rapidly
changing BC concentration. Data collected on a 1 second timebase will almost always
require some subsequent smoothing and averaging. The 1 second timebase should be
considered as a ‘Data Acquisition Mode’.
• Vibration and impact may contribute transient changes to the light signal
measurements. These changes will appear as noise on the data, which may be
amplied if the instrument is operating at the shortest timebase setting.
• The instrument’s sample chamber should be kept clean and free of contamination in
order to minimize electronic noise and the possible effects of vibration and impact.
• Minimize transitions between environments of substantially different humidity. Avoid
placement near the vents of cycling air conditioning systems.

12 AethLabs
microAeth®AE51 Quick Start Guide
https://aethlabs.com
San Francisco, California
LED Indicator Status
Run Modes
Green 1 long blink & beep sound Start of data storing to internal memory.
Green 1 blink every 3 sec Acquiring data to internal memory.
Green 2 blinks every 3 sec Acquiring data to internal memory and streaming.
Green 1 long blink every 1 or 5 min Data write to internal memory (1, 5 min timebase).
Status Warnings during Run Modes (see above)
Green indicates Run Mode (see above), Red indicates Warning (see below)
Red 1 blinks every 1 sec Warning - Change lter strip
Red 2 blinks every 1 sec Warning - Battery low
Red 3 blinks every 1 sec Warning - Flow error
Stop Modes
Red &
Green
synchronous 1 blink every 1
sec
Startup - Beeping, Not collecting data until ready.
Idle - No Beeping, Not collecting data, Restart
Req’d
Red Only
Repeat blink on/off
sequence; on time is same
as off time. Emits one series
of 3 triple beeps.
Critical hardware error:
• Main supply voltage too high or too low
• Light source current too high or too low
• Light source feedback circuit error.
Quick Start Guide - microAeth AE51, Jul 2016, Rev 05
Other manuals for microAeth AE51
2
Table of contents
Other Aethlabs Measuring Instrument manuals
Popular Measuring Instrument manuals by other brands

Hanna Instruments
Hanna Instruments HI 254 instruction manual

Kistler
Kistler 4021B Series Quick Start Installation
Probuilder
Probuilder 56157 instruction manual

Dakota Digital
Dakota Digital Odyssey ODY-19-4 installation manual
LaserLiner
LaserLiner LaserRange-Master T4 Pro manual
Opsens
Opsens F2300 Series Instructions for use

