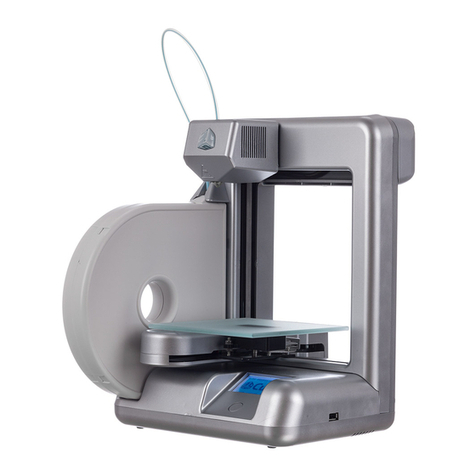
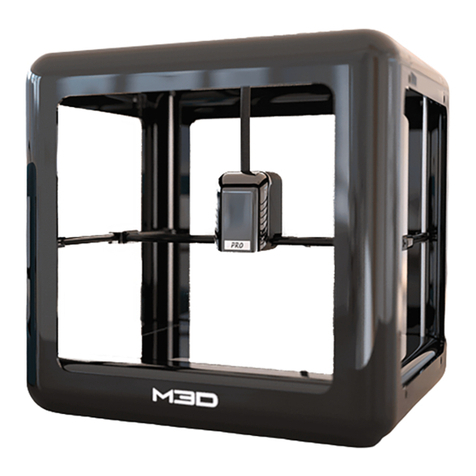
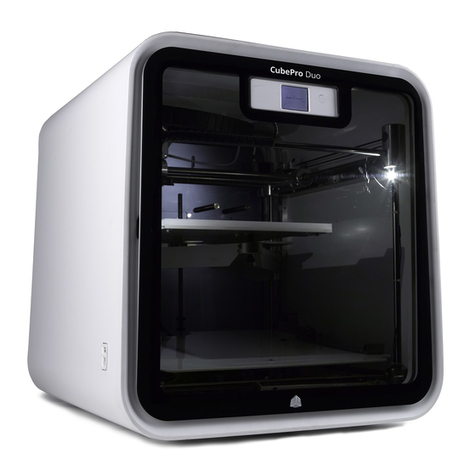
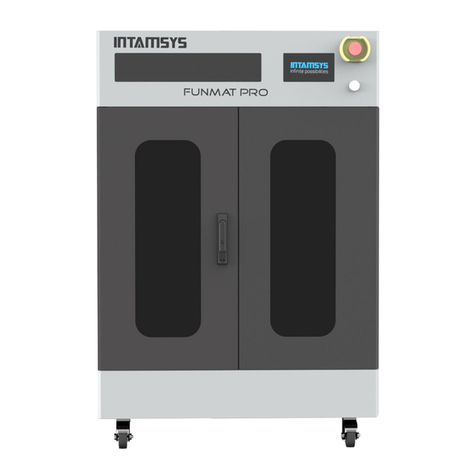
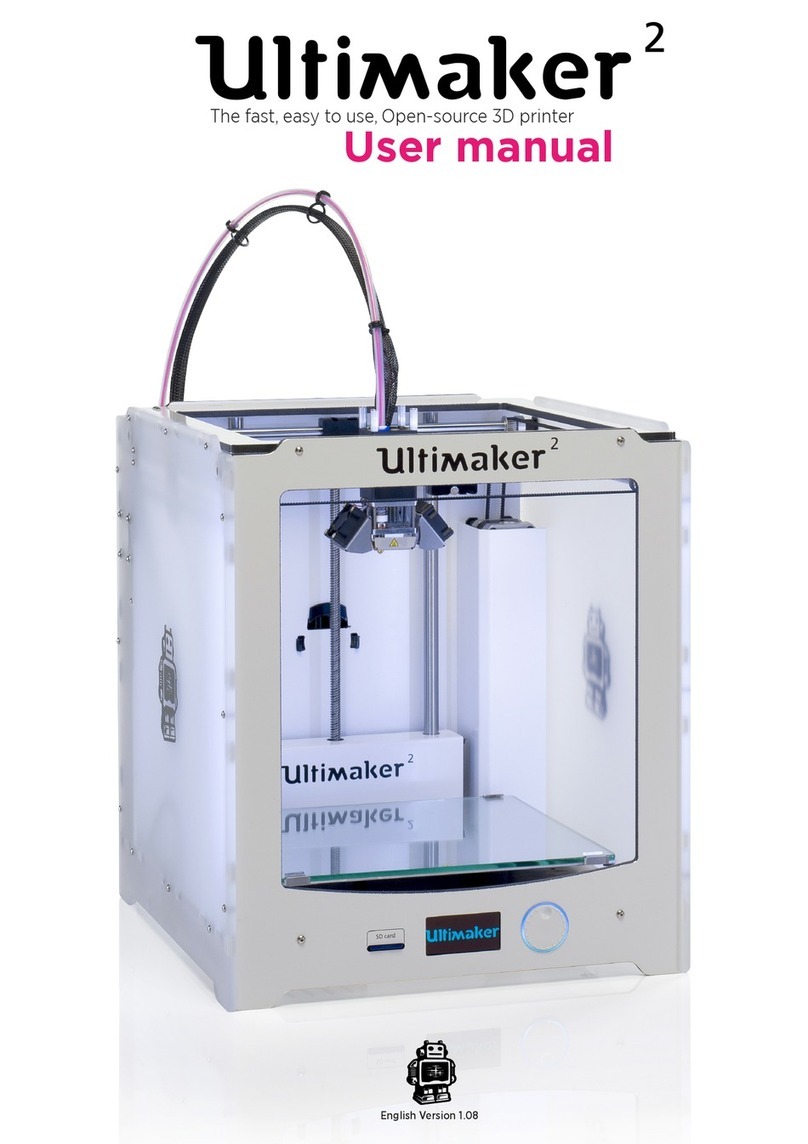
AFINIBOT A1 User manual


Step 1 Assemble motor_end
M3*14mm inner
hexagon screws*6
Put six M3*14mm inner hexagon screws and
M3 cushion rings into the Motor_end , lock
with M3 nuts but do not tighten ,as picture.
Put the motor on the motor_end , locking
with four M3*10mm and M3 cushion rings.
Another two motor_ends are the same
assembly
M3 cushion
rings*6 M3 nuts
M3*10mm inner
hexagon screws*4
Motor_end
Motor
The motor wires is on this side

M3*14mm inner
hexagon screws
Step 2 Assemble idler_end
Put fouaaaaar M3*14mm inner
hexagon screws and M3 cushion
rings into the idler_end , lock
with M3 nuts but do not
tighten ,as picture.
Put a limit switch on the
idler_end, locking with two black
M2.5*10mm self_tapping screws.
Install Ball bearing , Use 1pcs
M5*25mm inner hexagon
screw ,2pcs M5 Cushion ring ,
3pcs M5 small cushion ring and
1pcs M5 nut.
Another 2pcs idler_ends are the
same assembly .
M5 cushion ring*2
M5 small
cushion ring*3
M5*25mm inner
hexagon screw
M2.5*10mm
self_tapping screws*2
Limit switch
M3 cushion rings
M5 nut
Ball bearing
Idler_end

Step 3 Assemble Cooling fan 1
Assemble the Cooling fan and the Fan_mount 1
together, locking with 2pcs M3*14mm inner
hexagon screw and M3 nuts.
M3 nut*2
Fan_mount 1
Cooling fan
M3*14mm Inner
hexagon screw*2
The fan wire is out of this side

Step 4 Assemble Cooling fan 2
Assemble the Cooling fan and the Fan_mount 2
together, locking with 2pcs M3*14mm inner
hexagon screw and M3 nuts.
M3 nut*2
Fan_mount 2
Cooling fan
M3*14mm Inner
hexagon screw*2
The fan wire is out of this side

Step 5 Assemble Extruder_Mount
Insert Extruder into Extruder_Mount
Assemble Extruder_Buckle with the
extruder as picture , locking with 3ps
M3*14mm inner hexagon screws
and 3pcs nuts.
The fan wire is out of this side Extruder_Mount
Extruder_Buckle
M3*14mm inner
hexagon screws *3
M3 nuts
Extruder

Step 6 Assemble Fan mounts
Put Fan_mount 1 and Fan_mount 2
to the Extruder_mount as picture,
locking with 1pcs M3*14mm inner
screw each
Fan_mount 2
Fan_mount 1
Extruder_mount
M3*14mm inner
hexagon screw

Step 7 Assemble Aluminum plate
Firstly install Copper pillar on the Acrylic
board , locking with 3pcs M3*10mm
Flat_head screws from bottom to up, as
picture.
Through Aluminum plate and Pressure
spring which used M3*14mm flat_head
screws ,locking to the copper pillar.
M3*10mm
Flat_head screws*3
M3*14mm
Flat_head screws*3
Aluminum plate
Acrylic board
Pressure spring
Copper pillar

Step 8 Assemble Base plate
Put 3pcs Motor_ends under
the Base plate, Locking with
M4*30mm inner hexagon
screws and M4 cushion rings
Put LCD display to the Base
plate , locking with 2pcs
M3*16mm Round head cross
screws and M3 nuts
Put control board assembly to
Base plate , locking with 2pcs
M3*16mm round head cross
screws and M3 nuts
LCD display Motor_ends
M4*30mm inner
hexagon screw
M3*16mm round
head cross screws
Control board
assembly
Base plate
M4 cushion ring

Step 9 Assemble Carbon fibre hollow tubes
Lock one end of the Carbon fibre hollow tube
to the Carriage with 1pcs M3*25mm inner
hexagon screws and 2pcs M3 nuts as picture.
The other two carriage are the same assembly
Carriage
M3 nuts
Carbon fibre
hollow tube
M3*25mm inner
hexagon screws

Step 10 Connect Extruder & Carriage
Lock the other end of the Carbon fibre hollow tube to the
Extruder with 1pcs M3*25mm screws and 2pcs M3 nuts as
picture. Others end are the same assembly.
M3 nut
M3 nut
M3*25mm inner
hexagen screw
Carriage
Extruder
Magnified

Cooling fan 1 is on the right side
Step 11 Insert the Sliding Rods.
Insert the 6pcs Sliding rods to the Motor_end, ensure
the same height of each sliding rods. Then locking the
18pcs M3*14mm screws.
Through the Carriage to each sliding rod, attention
the cooling fan 1 is on the right side.
Ensure the same
height of each sliding
Motor_end
M8*525mm
Sliding rod
M3*14mm inner
hexagon screws*18
Base plate
Carriage

Feeder
Step 12 Assemble Top Plate
Install the 3pcs Idler_ends to the Top plate
as picture, locking with 2pcs M4*30mm
inner hexagon screws and M4 cushion rings
Put Feeder on the Top plate ,locking with
2pcs M3*14mm hexagon screws from
bottom. See the picture.
M3*14mm inner
hexagon screw*2
Idler_end
M4*30mm inner
hexagon screw*6
M4 cushion ring
Top plate

Idler_end
Step 13 Install Top plate
Insert the Sliding rod to the Idler_end hole
one by one.
Locking the M3*14mm screws on the
idler_end.
M3*14mm inner
hexagon screws
Feeder
Top plate

Step 14 Install Timing belt
Bearing
Carriage
Timing belt
synchronizing
wheel
Put one end of the Timing belt into the
Carriage tooth.
Another end through motor_end and
idler_end , tense the belt and then insert to
the carriage tooth.

Step 15 Connect the Cables
Connect the DC power cable and
On_off switch as picture .
DC power jack
On_off switch

Attention the Flat cable ,the
red wire is on the top

Filament spool
Filament
support frame
Fixed Link
Steel Pipe
M3*20mm Round
head screws
M3 nuts
Steel Pipe
holder
Step 16 Assemble Filament Feeder
Separately put two Steel Pipe holder on
two Filament support frame, locking with
four M3*20mm Round head screws.
Connect the two Filament support frames
with two Fixed links , locking with four
M3*20mm Round head screws & nuts

Step 17 Install Filament holder
Put the Filament holder on the top of the
machine, as picture.
Other AFINIBOT 3D Printer manuals
