Utimaker 2 User manual

User manual
The fast, easy to use, Open-source 3D printer
English Version 1.08


Table of Contents
A. Welcome to the Ultimaker 2
A1. The Ultimaker experience
A2. Specications of the Ultimaker 2
B. Get started and unpack your Ultimaker 2
B1. Unboxing your Ultimaker 2
B2. What’s in the box
B3. Ultimaker 2 at a Glance
C. Installing parts on your Ultimaker 2
C1. Installing power supply
C2. Installing lament: spool holder and guide
C3. Switch on/o the Ultimaker 2
D. First use of your Ultimaker 2
D1. First time startup
D2. Leveling the build plate
D3. Loading lament material
D4. Make your rst 3D print
D5. 3D Printing and print removal
E. MakeaprintlewithCurasoftware
E1. Downloading and installing Cura
E2. Cura software interface
E3. From YouMagine.com to load le in Cura
E4. Preparing a 3D model
E5. From SD-card to print your le
F. Maintenance for your Ultimaker 2
F1. In General
F2. The glass plate
F3. Change lament and material feeder
F4. Lubricating the axes
G. Troubleshooting and support for the Ultimaker 2
G1. Simple Troubleshooting tips
G2. Contact support
G3. Terminology
G4. Safety and Compliance
Terms of service
4
5
6
7
8
12
13
14
15
16
17
18
19
20
22
24
25
26
27
28
30
31
32
33
34
35
36
37
38
39
41
42
43
44
Table of content User manual

WELCOME
TO THE
ULTIMAKER 2
4

This User manual is designed to help you start your
experience with Ultimaker 2. Within these pages, we want to
show you how simple and easy it is to produce great prints.
You might be familiar with earlier types of Ultimakers or other
3D-printers. It is essential that your read this manual carefully
as there are a lot of new procedures with Ultimaker 2.
A1. The Ultimaker Experience
The Ultimaker experience Welcome to the Ultimaker 2 5

A2.SpecicationoftheUltimaker2
Printing
Print technology Fused lament
fabrication (FFF)
Build volume 23 x 22,5 x 20,5 cm
Layer resolution Ultra high
High
Medium
Low
Position precision X 12,5 micron
Y 12,5 micron
Z 5 micron
Filament diameter 2.85 mm (generally
known as 3 mm lament)
Nozzle diameter 0.4 mm
Print speed 30 mm/1 - 300 mm/s
Travel speed 30 mm/1 - 350 mm/s
Software
Software package Cura - Ocial Ultimaker
File types STL / OBJ / DAE / AMF
Supports Windows (XP 32 bit/7+)
Ubuntu Linux (12.04+)
Mac OS X (10.6 64bit +)
Electrical
AC INPUT 100 – 240 V,
~4 AMPS,
50 – 60 HZ
221 watt max.
Power Requirements 24 V DC @ 9.2 AMPS
Connectivity Stand-alone printing
from SD-card
USB (rmware)
WIFI ready
Physical dimensions
Frame Dimension X 35.7 cm
Y 34.2 cm
Z 38.8 cm
With all parts attached
and the max height
lament guide tube X 49.2 cm
Y 34.2 cm
Z 55.8 cm
Shipping box X 42.0 cm
Y 42.0 cm
Z 57.8 cm
Weight 11.2 kg
Total Shipping weight 15.6 kg
Temperature
Ambient Operating
Temperature 15°- 32° C
Storage Temperature 0° - 32° C
Operating nozzle
temperature 180° - 260°
Operating heated build
plate temperature 50° - 100°
Sound
Average operational
noise 49 dBA.
WARNING: The Ultimaker 2 generates high temperatures and has hot moving parts that can cause injury.
Never reach inside of the Ultimaker 2 while it is in operation. Always control the Ultimaker 2 from the push
wheel on the front or with the power-switch on the back. Allow the Ultimaker 2 to cool down for 5 minutes
before reaching inside.
CAUTION: When opening the Ultimaker 2 for service, ensure that the power supply is turned o and the
cord is disconnected from the wall socket.
CAUTION: Only use power supply provided with your Ultimaker 2.
20 micron
60 micron
100 micron
200 micron
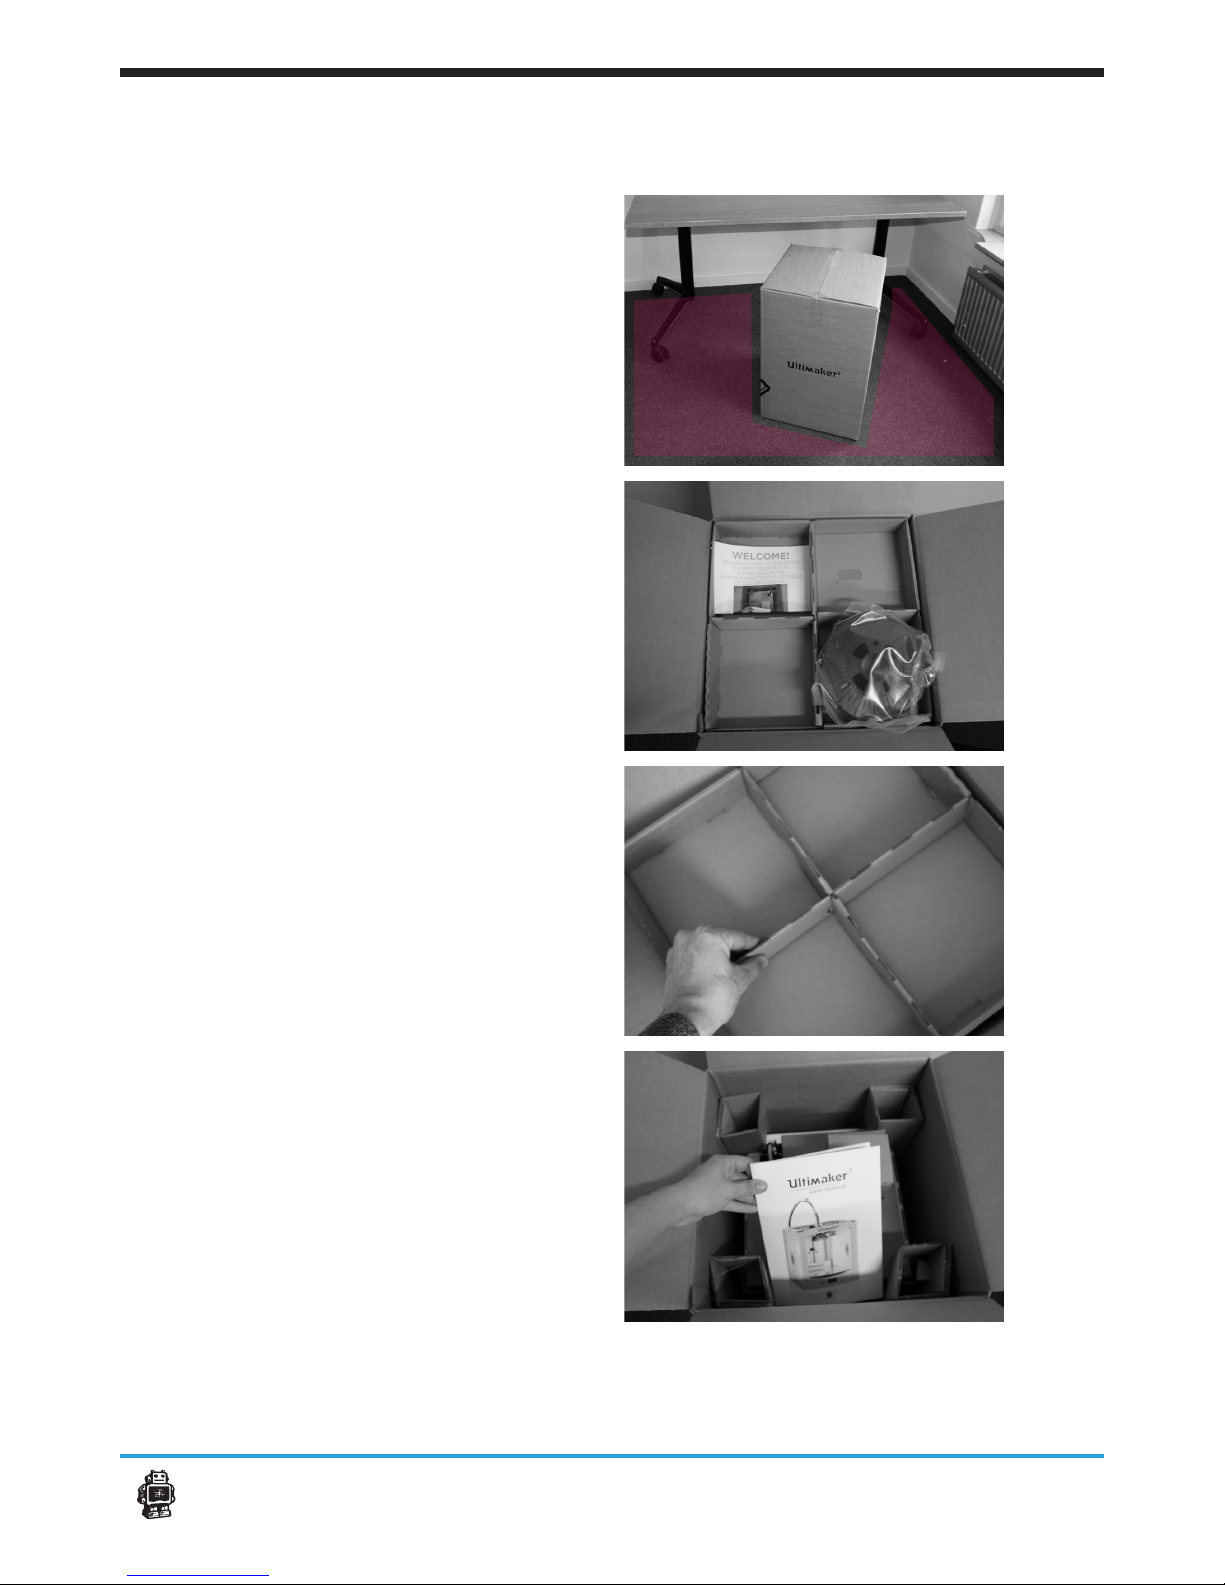
6A2. Specication of the Ultimaker 2 Welcome to the Ultimaker 2

GET STARTED &
UNPACK YOUR
ULTIMAKER 2
7

B1. Unboxing your Ultimaker 2
1. Place the Ultimaker 2 box on a stable
surface, Placing it centrally on the oor
will provide the best accessible position
for unpacking.
2. Open the box. Here you will see the rst
cardboard layer with a spool with PLA
lament material and a welcome sheet.
3. Remove the rst cardboard layer.
4. Take out the Ultimaker 2 User manual
which is placed at the side of the box.
We recommend that you use the User
manual to guide you through the
setup process rst.
NOTE: You can download a PDF copy of this User
manual under manual at the support page:
h t t p s : / / u l t i m a k e r . c o m / p a g e s / s u p p o r t
8B1. Unboxing your Ultimaker 2 Get started & unpack your Ultimaker 2

5. Now remove the four cardboard
corner pieces.
6. Now take out the box with the essential
accesoires.. (check out the next chapter
for content of this box)
7. Remove the cardboard sheet on top of
the Ultimaker 2.
8. Now lift it gently up with 2 hands on
the top of the Ultimaker 2
Caution: Make sure you lift ONLY by the
frame DO NOT TOUCH any internal parts
of ultimaker 2
9. Position it on a sturdy table to
optimise the approach and with plenty of
space surrounding it.
NOTE: Please do not use excessive force when
unpacking your Ultimaker 2. Excessive force may
lead to damage to the Ultimaker 2 and its compo-
nents.
9B1. Unboxing your Ultimaker 2 Get started & unpack your Ultimaker 2

10. Now carefully remove the cardboard
piece at the top back of the ultimaker 2,
they are folded around the axis and the
rubber belts.
Caution: Do NOT use anything sharp to
remove the cardboard, this could damage
the rubber belts.
11. Uncut & remove the 2 plastic
tiewraps that strap the XY axis and
sliderblock together in the corners of the
frame.
Do NOT use anything sharp to remove the
cardboard, this could damage the rubber
belts.
13. Now Remove the glass plate that is
because of transport positioned on the
left inside of the Ultimaker 2.
15. Unwrap the glass from the bubble
plastic.
10B1. Unboxing your Ultimaker 2 Get started & unpack your Ultimaker 2
9. Remove the packing cardboard from
inside the Ultimaker 2.

16. Now gently slide the glass plate over
the buildplate so that it snaps into the
metal clamps at the back side of the
build plate.
17. At last, close the metal clamps at the
front to lock the glass plate in it’s position.
11B1. Unboxing your Ultimaker 2 Get started & unpack your Ultimaker 2

B2. What’s in the box
Spool holder & lament
guide
Filament spool
USB cable (only for
rmware update)
Glue stick
Hex wrenches Grease User manual
Power supply and
cable
Test print done by this
Ultimaker 2
Besides your Ultimaker 2 supplied with SD card in the 3D printer, there are a lot of
essential accesoires that comes with this 3D printer. All the following parts should
be in the box, please check contents.
1 x
1 x
1 x
1 x 1 x
1 x
1 x
1 x
1 x
12B2. What’s in the box Get started & unpack your Ultimaker 2

1. Display
2. SD-card slot
3. Push and rotate
button
4. Build plate
5. Glass clamps
6. Build plate screws
7. Print head
8. Filament guide tube
9. Print head cable
10. Material feeder
11. Spool holder
12. Power Socket
13. USB Socket
14. Power switch
15. Filament guide
hole
B3. Ultimaker 2 at a glance
* Front view
* Back view
1
2
1212 11 13
3
4
5
10
14
7
8
9
6
9
8
13B2. Ultimaker 2 at a Glance Get started & unpack your Ultimaker 2

INSTALLING
PARTS
ON YOUR
ULTIMAKER 2
14

C1. Installingpowersupply
Attaching power supply
Now the next step is to give the Ultimaker 2 power. This is done by attaching the
external power supply.
Detaching the power supply
1. If the power supply has to be detached, the
rst step is to make sure the Ultimaker 2
turned o. This is done by pressing the power
switch to 0.
1. First make sure the power switch is in the
OFF position, this is when the button at the
back is pressed to [0].
2. The corresponding power cable (for your
country) has to be inserted in the power brick
of the power supply.
3. The connector has to be inserted at the back
of the Ultimaker 2, in the round hole next to the
on/o switch and USB slot. The at side of the
power plug has to face towards the top of the
Ultimaker 2.
4. Now plug the external power supply into the
wall socket.
2. Next take the power plug out of the wall
socket.
3. The plug has a sliding collar. When removing
the plug from the machine, gently slide the collar
outwards which will release the plug and allow it
to come out with ease.
CAUTION: Please make sure not to pull the cable. Exces-
sive force may result in breaking this component.
4. The main cable in the power brick can be
detached by pulling it out gently.
15C1. Installing power supply Installing parts on your Ultimaker 2

C2. Installinglament:spoolholderandGuide
Attaching the spool holder
1. The spool holder attaches to the back of the
Ultimaker 2.
2. Take the spool holder and insert the top
through the hole [2] in the middle of the back.
3. Now press it further down [3] until it snaps
into place. The lament can now be added.
When facing towards the back of the
Ultimaker 2 the lament has to turn counter-
clockwise around the spool. The lament spool
can now be pushed over the spool holder until
it “clicks”. This means that the lament spool is
tted. To detaching the spool holder the
lament has to be removed
Detaching the spool holder
4. Take the spool holder and squeeze it at both
sides [3], now you can easily swivel it up.
Now reverse steps [3] and [2] The top side of
the spool holder is the pivot point. The spool
holder should detach easily. Now it can be taken
away completely.
Attaching lament guide
5. It works like a key. Orientate it so that it will t
in the hole [4], put it in [5] and rotate counter-
clockwise 90 degree’s so that the little pin clicks
into the tiny hole above [6].
2
3
4
5
16C2. Installing lament spool holder Installing parts on your Ultimaker 2
6

C3. Switchon/otheUltimaker2
Switch on the Ultimaker 2
Switch o the Ultimaker 2
The on/o button (a.k.a. ‘ – | O ’) of the
Ultimaker 2 is located at the back. The ‘ O ’ re-
presents o and the ‘ – ’ represents on.
When it’s switched to the ‘ – ’ the Ultimaker 2 is
turned on and should start up.
After the Ultimaker 2 has been turned on, the
front LED display should light up and the sides
should glow.
The Ultimaker 2 can be turned o by
pressing the power switch to ‘ O ‘ at any time, it
is recommended to only turn o the
Ultimaker 2 when it is NOT in use.
When the Ultimaker 2 is switched o, the
display and lights will automatically turn
themselves o.
17C3. Switch on/o the Ultimaker 2 Installing parts on your Ultimaker 2

FIRST USE
OF YOUR
ULTIMAKER 2
18

D1. First time startup
2/21.
After the Welcome Notication on the LCD
screen, click [CONTINUE] to go to the next step.
3/21.
When you read this step conrm the
[CONTINUE] to go the next step: Leveling the
build plate
NOTE: If you don’t see the rst run wizard, navigate to [MAINTENANCE], [ADVANCED] and con-
rm for a [Factory reset] You can use this function for the rst run wizard at any time
This chapter guides you through the steps and the rst run of the
Ultimaker 2. After you switch on your Ultimaker 2, the display will light up
and guide you through “The First Run Wizard”.
Use of the display
1/21.
You can navigate through the display by using the button. This button can be
pushed and rotated. By rotating you can select or control an action. By pushing
you can conrm an action. When pushing the button you hear a “beep” sound to
conrm your chosen action. A blinking button means the Ultimaker 2 is waiting for
user input.
19D1. First time startup First use of your Ultimaker 2

If the build plate is too far away from the
nozzle your 3D-print might not stick to the build
plate. Equally, if you adjust the build plate too
close to the nozzle, the build plate can block the
lament from extruding from the nozzle.
It can also scratch the build plate.
When leveling the build plate you must follow
the step 4/21 until 10/21 on the display where the
rst step 4/21 control the height by
rotating this button.
In the step 5/21 you rotate this left build
plate screw under the build plate to control the
height between the nozzle and the build plate.
In 6/21 you adjust a similar build plate screw on
the right hand side.
Rotating left means closer to the nozzle.
Now, follow the display instruction 4/21 and, 5/21, [CONTINUE] when nished.
How to level the build plate
NOTE: After transportation you might want to level your
build plate to ensure your 3D prints stick well to the build
plate
CAUTION: In these steps the print head will
automatically move through the Ultimaker 2. Also the
Build plate will determine its destination by going up and
down again.
D2.Leveling the build plate
20D2. Leveling the build plate First use of your Ultimaker 2
Table of contents