manuals.online logo
Brands
  1. Home
  2. •
  3. Brands
  4. •
  5. BCN3D
  6. •
  7. 3D Printer
  8. •
  9. BCN3D Smart Cabinet User manual

BCN3D Smart Cabinet User manual

We would like to thank all users for trusting BCN3D, for helping us to reach our
dreams and to create a better product every day.
Unboxing
Once the upper box is removed, follow these instructions:
1. Remove the top protective foams.
2. Cut the white strap around the bottom box Aand pull the plastic bag all the
way down.
3. Lift the unit using the side handle while another person removes this side’s
bottom foam and the center bottom foams B. Gently release the device to rest
on the ground.
4. Carefully pull the unit using the handle. Retire the bottom foam from the other
side C.
5. Keep pulling the unit to its nal position.
Quick Start Guide
Smart Cabinet
Full system setup
1. Unload any material loaded on the printer and turn it off.
2. Unplug the power cable and keep it to use it later.
3. Carefully place the BCN3D printer on top of the Smart Cabinet seated in the
metal corners.
Quick Start Guide in your
own language
Unboxing
Watch our video to see
how to correctly unbox
the Smart Cabinet.
Unboxing video
Full system setup
Watch our video to see
how to correctly do the
full system setup.
Set up video
The device is heavy and it is recommended that this step is performed by two people.
For more detailed
information about the
processes, read the User
Manual.
User Guide
The initial indications of the unboxing are indicated on the box itself, with the
following drawings:
The printer is heavy and therefore this step needs to be performed by two people. Make
sure that the Smart Cabinet where the printer is being installed, is close enough.
Retain packaging and pallet for warranty service.
Remove the
red pallet
straps
Remove the
pallet
Cut the white
box straps
Lift the upper
box
Open the
plastic bag
and read the
documentation
A B C
4. On the back, take out the teon tubes from the FRS quick connector D.1 .
5. Take the correct set of extension teon tubes from the upper foam.
There are two sets, one suitable for Epsilon W50 and another for Epsilon W27/Sigma D25. Use
the ones that adapt to your printer.
i
x2
BCN3D Technical
Assistance Services
If you do not nd a solution to your
problem in this manual, please
contact the BCN3D Technologies
support team through Contact
Support.
What is in the box?
•BCN3D Smart Cabinet
•2 x BCN3D Spool Cartridge
•1 x USB Link cable
•2 x Extension teon tube for
Epsilon W50
•2 x Extension teon tube for
Epsilon W27 / Sigma D25.
•4 x Coupling clip
•6 x Spool holder for Smart
Cabinet
•Quick start guide and warranty
1. Dehumidier chamber
2. Storage area
3. Maintenance tray
4. Push to open latch
5. Wheels with brakes
6. Power extension cable
7. USB Link connector
8. WiFi Dongle USB port
9. Free USB port
10. Power socket
11. External outlets
(for extruder 1 and 2)
12. Metal corners
13. Side handle
14. Dehumidier unit
15. Dehumidier chamber lid with lock
handles
16. Internal outlets (for extruder 1 and 2)
17. Central pillar
18. Spool holder for Smart Cabinet
Diagram
Using the system
Watch our video to see
how to Load lament
from the Smart Cabinet.
Using the system
12. Place the unit in its nal position and use the brakes to hold it in place.
13. Turn on the printer.
8. If installed on the printer, remove the
USB Wi Dongle and connect it to the
“WiFi” port E.
9. Connect the USB Link cable: the USB
Type B end of the cable is connected
to the “CONN” port while the USB Type
A end of the cable is connected to the
printer E.
10. Plug the printer with the power
extension cable.
11. Use the power cable that comes with
the printer to plug in the Smart Cabinet.
The other end of the cable is connected
to a power outlet.
Remember that these steps would
cancel the possibility to insert the
lament from inside the printer. From
now on, the printer is fed with lament
coming from the Smart Cabinet.
9
7
8
12
6
10
15
16
17
18
14
3
2
5
1
11
13
6. Using the plastic bridge as reference,
connect the short side of the extension
teon tubes to the external outlets on the
Smart Cabinet and the long side to the
FRS inlet connector D.2 .
7. Secure the teon tubes with the
coupling clips on the four ends.
Specications subject to change. EN-QSG-SC-2021-v1.0
i
At this point, the lights of the Smart Cabinet turn on. The Smart Cabinet stays always ON
when power is supplied, allowing the dehumidier to continuously control humidity.
i
D
E
12
4
2
2
1
1
2
2

Other BCN3D 3D Printer manuals

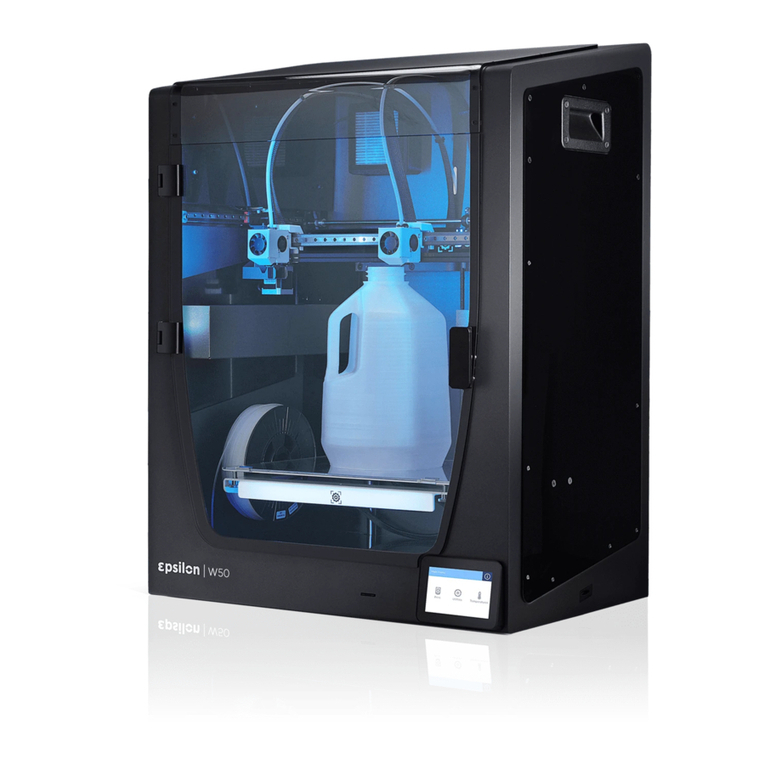
BCN3D Epsilon Series User manual

BCN3D

BCN3D Epsilon Series User manual

BCN3D Sigma Series User manual

BCN3D

BCN3D Sigma Series User manual

BCN3D ignis User manual

BCN3D

BCN3D ignis User manual

BCN3D BCN3DR User manual

BCN3D

BCN3D BCN3DR User manual

BCN3D Sigma R16 Parts list manual

BCN3D

BCN3D Sigma R16 Parts list manual

BCN3D Epsilon Series User manual

BCN3D

BCN3D Epsilon Series User manual

BCN3D Epsilon User manual

BCN3D

BCN3D Epsilon User manual

BCN3D sigma R19 User manual

BCN3D

BCN3D sigma R19 User manual

BCN3D Sigmax R19 User manual

BCN3D

BCN3D Sigmax R19 User manual

BCN3D Sigma Series User manual

BCN3D

BCN3D Sigma Series User manual

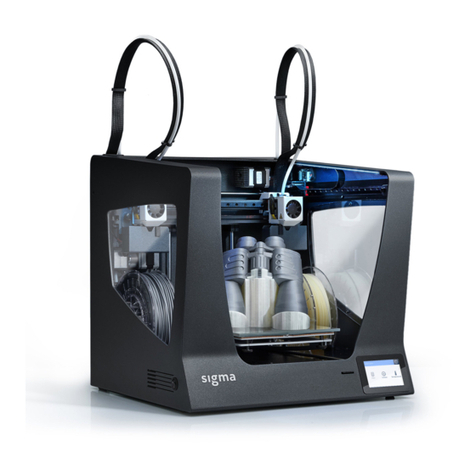
BCN3D Sigma User manual

BCN3D

BCN3D Sigma User manual

BCN3D Sigma Series User manual

BCN3D

BCN3D Sigma Series User manual

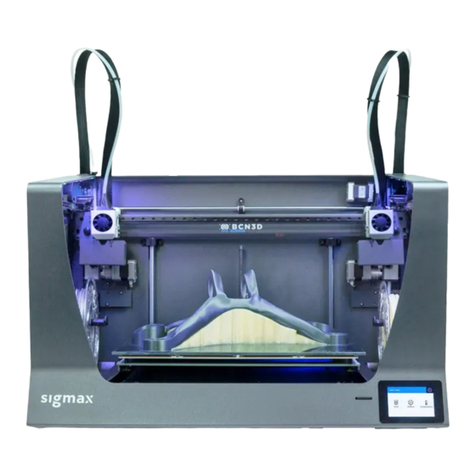
BCN3D Sigmax User manual

BCN3D

BCN3D Sigmax User manual

BCN3D Epsilon Series User manual

BCN3D

BCN3D Epsilon Series User manual

BCN3D Epsilon Series User manual

BCN3D

BCN3D Epsilon Series User manual

BCN3D Epsilon Series User manual

BCN3D

BCN3D Epsilon Series User manual

BCN3D Sigma User manual

BCN3D

BCN3D Sigma User manual

BCN3D Sigma Series User manual

BCN3D

BCN3D Sigma Series User manual

Popular 3D Printer manuals by other brands

SHAREBOT BIG quick start guide

SHAREBOT

SHAREBOT BIG quick start guide

3D Printing Systems UP Mini Heater Bed v2 installation instructions

3D Printing Systems

3D Printing Systems UP Mini Heater Bed v2 installation instructions

MakerPi M1 quick start guide

MakerPi

MakerPi M1 quick start guide

Locoop Y user manual

Locoop

Locoop Y user manual

XYZ Printing PartPro200 xTCS user manual

XYZ Printing

XYZ Printing PartPro200 xTCS user manual

Ender Ender-3 Pro Instructions for assembly

Ender

Ender Ender-3 Pro Instructions for assembly

Dremel DIGILAB 3D40 quick start guide

Dremel

Dremel DIGILAB 3D40 quick start guide

Ultimaker S5 Material Station Installation and user manual

Ultimaker

Ultimaker S5 Material Station Installation and user manual

Monoprinter Mono2 manual

Monoprinter

Monoprinter Mono2 manual

Magbot SE-10 user manual

Magbot

Magbot SE-10 user manual

VACUCU3D A4 user manual

VACUCU3D

VACUCU3D A4 user manual

Phaetus Dragonfly BMO Hotend Assembly instructions

Phaetus

Phaetus Dragonfly BMO Hotend Assembly instructions

Ultimaker ORIGINAL+ Assembly manual

Ultimaker

Ultimaker ORIGINAL+ Assembly manual

Snapmaker CAN Hub A150 quick start guide

Snapmaker

Snapmaker CAN Hub A150 quick start guide

3D Systems CubePro manual

3D Systems

3D Systems CubePro manual

TierTime UP300 Service manual

TierTime

TierTime UP300 Service manual

Kuhling&Kuhling HT500 operating manual

Kuhling&Kuhling

Kuhling&Kuhling HT500 operating manual

BIGREP STUDIO Original operating manual

BIGREP

BIGREP STUDIO Original operating manual

manuals.online logo
manuals.online logoBrands
  • About & Mission
  • Contact us
  • Privacy Policy
  • Terms and Conditions

Copyright 2025 Manuals.Online. All Rights Reserved.