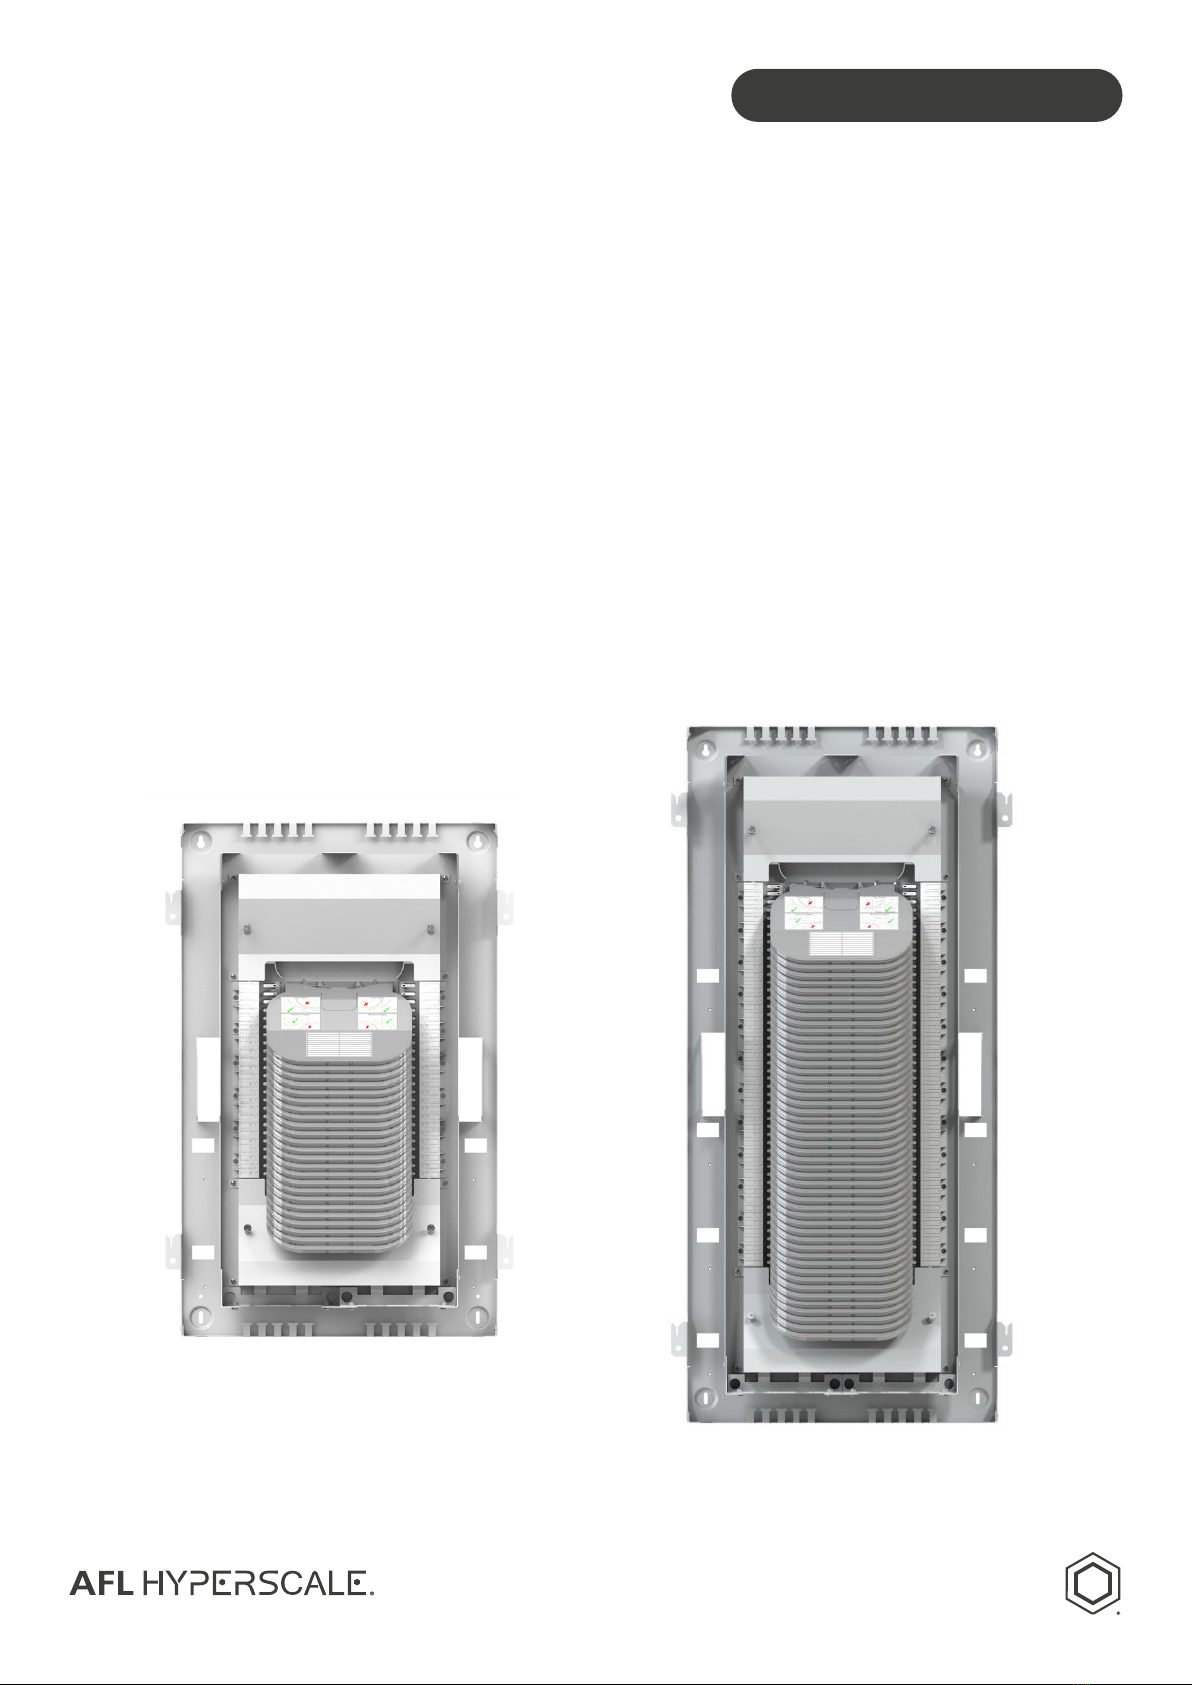
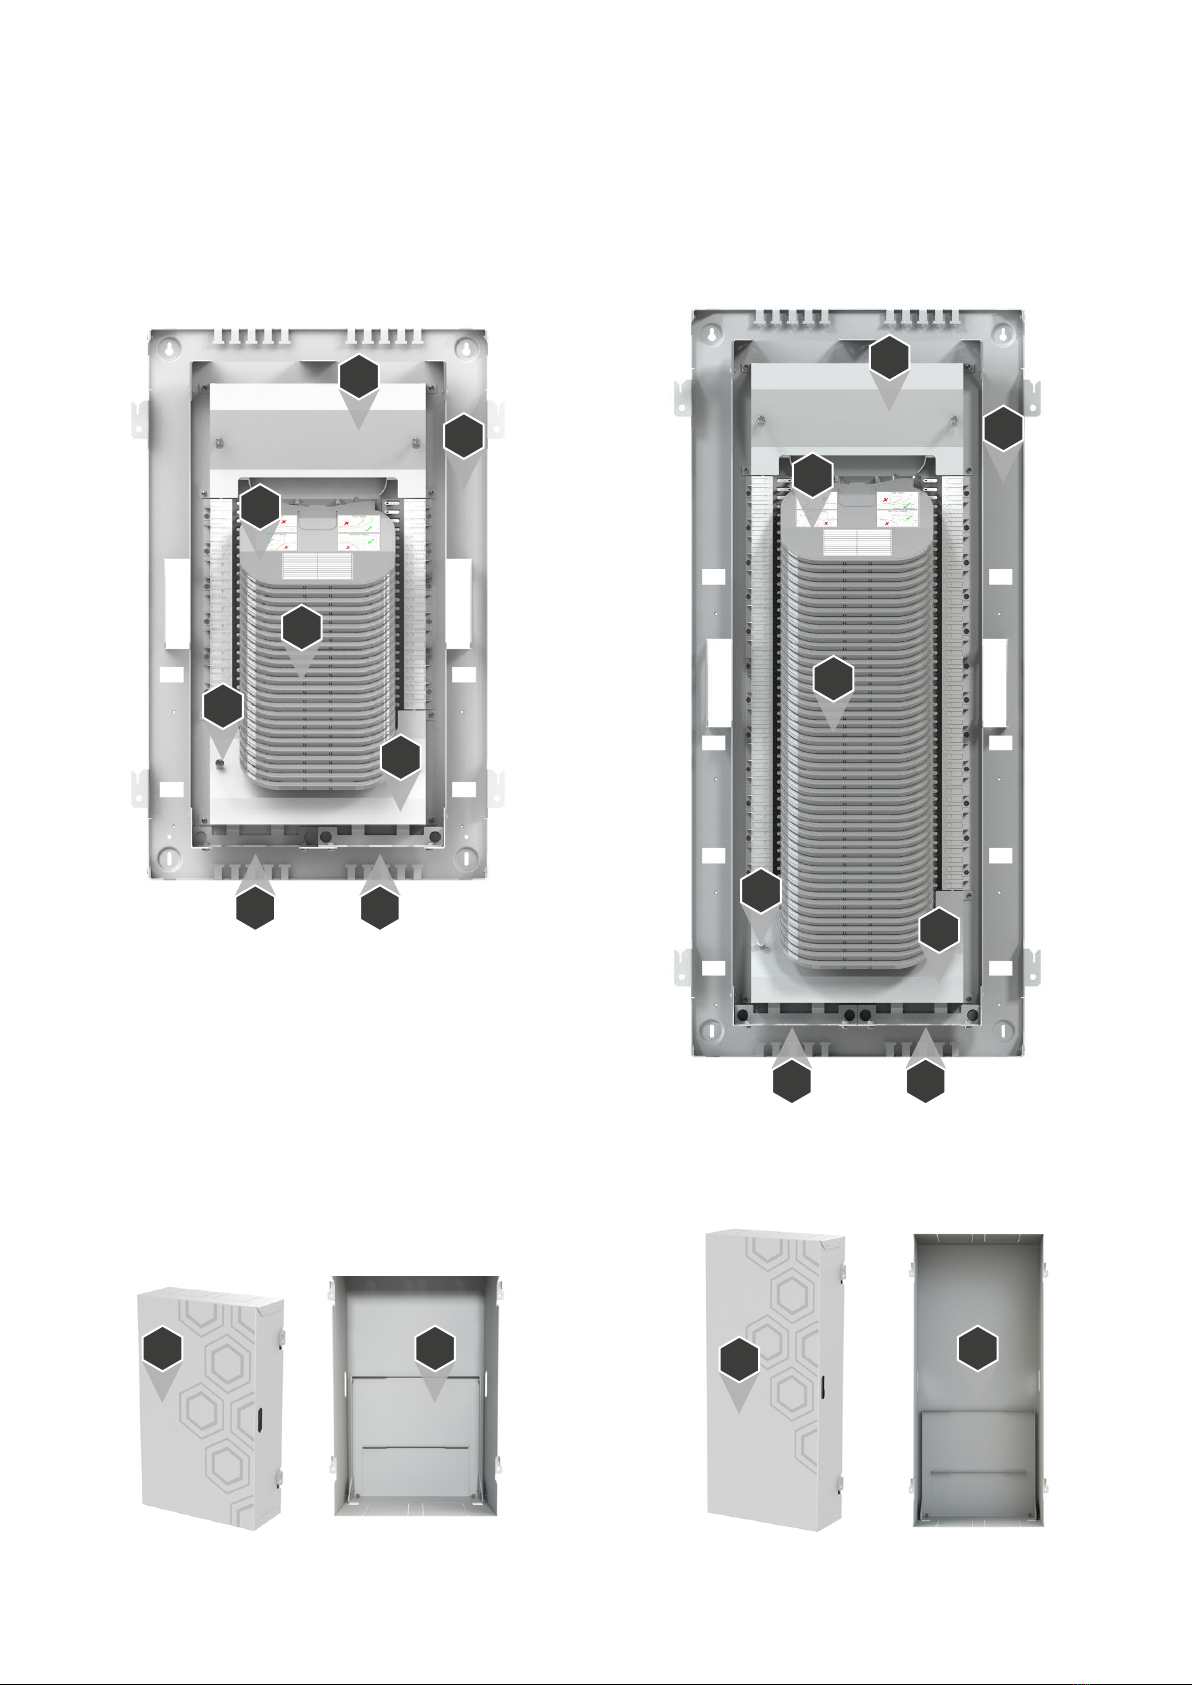
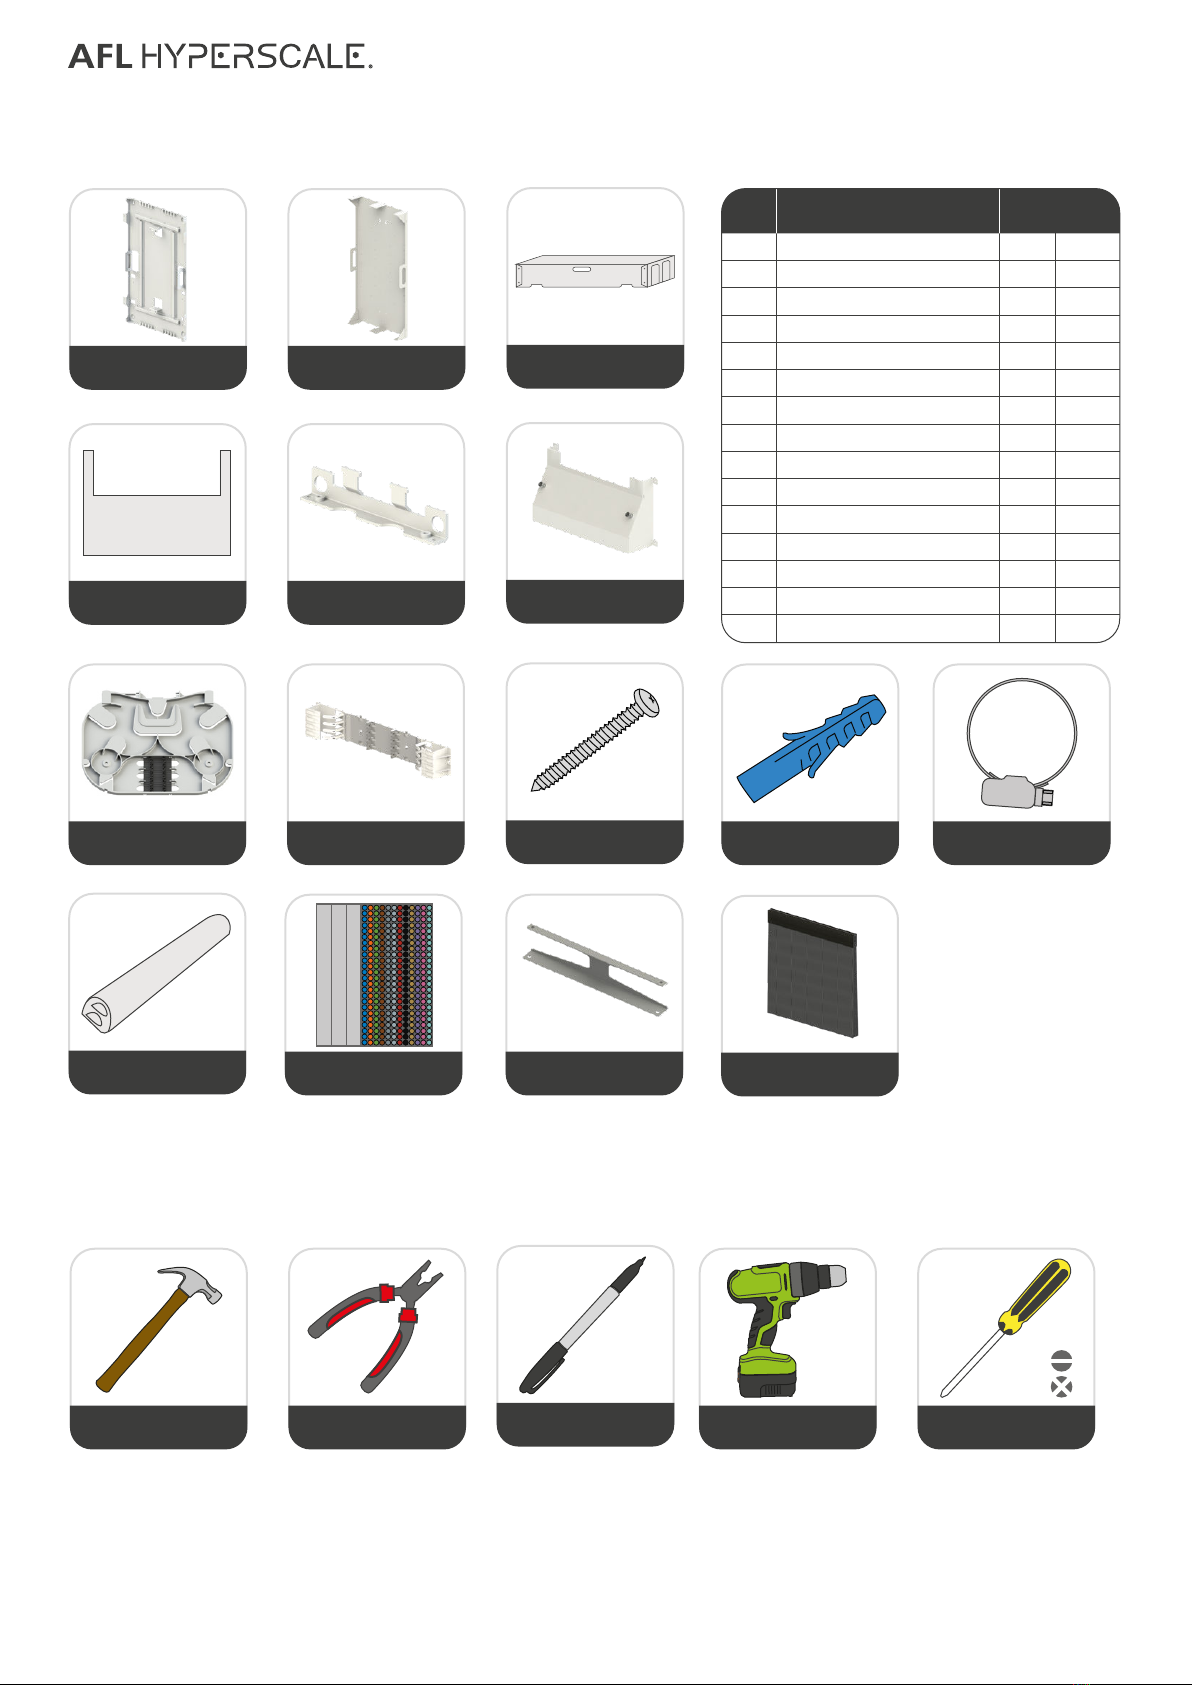
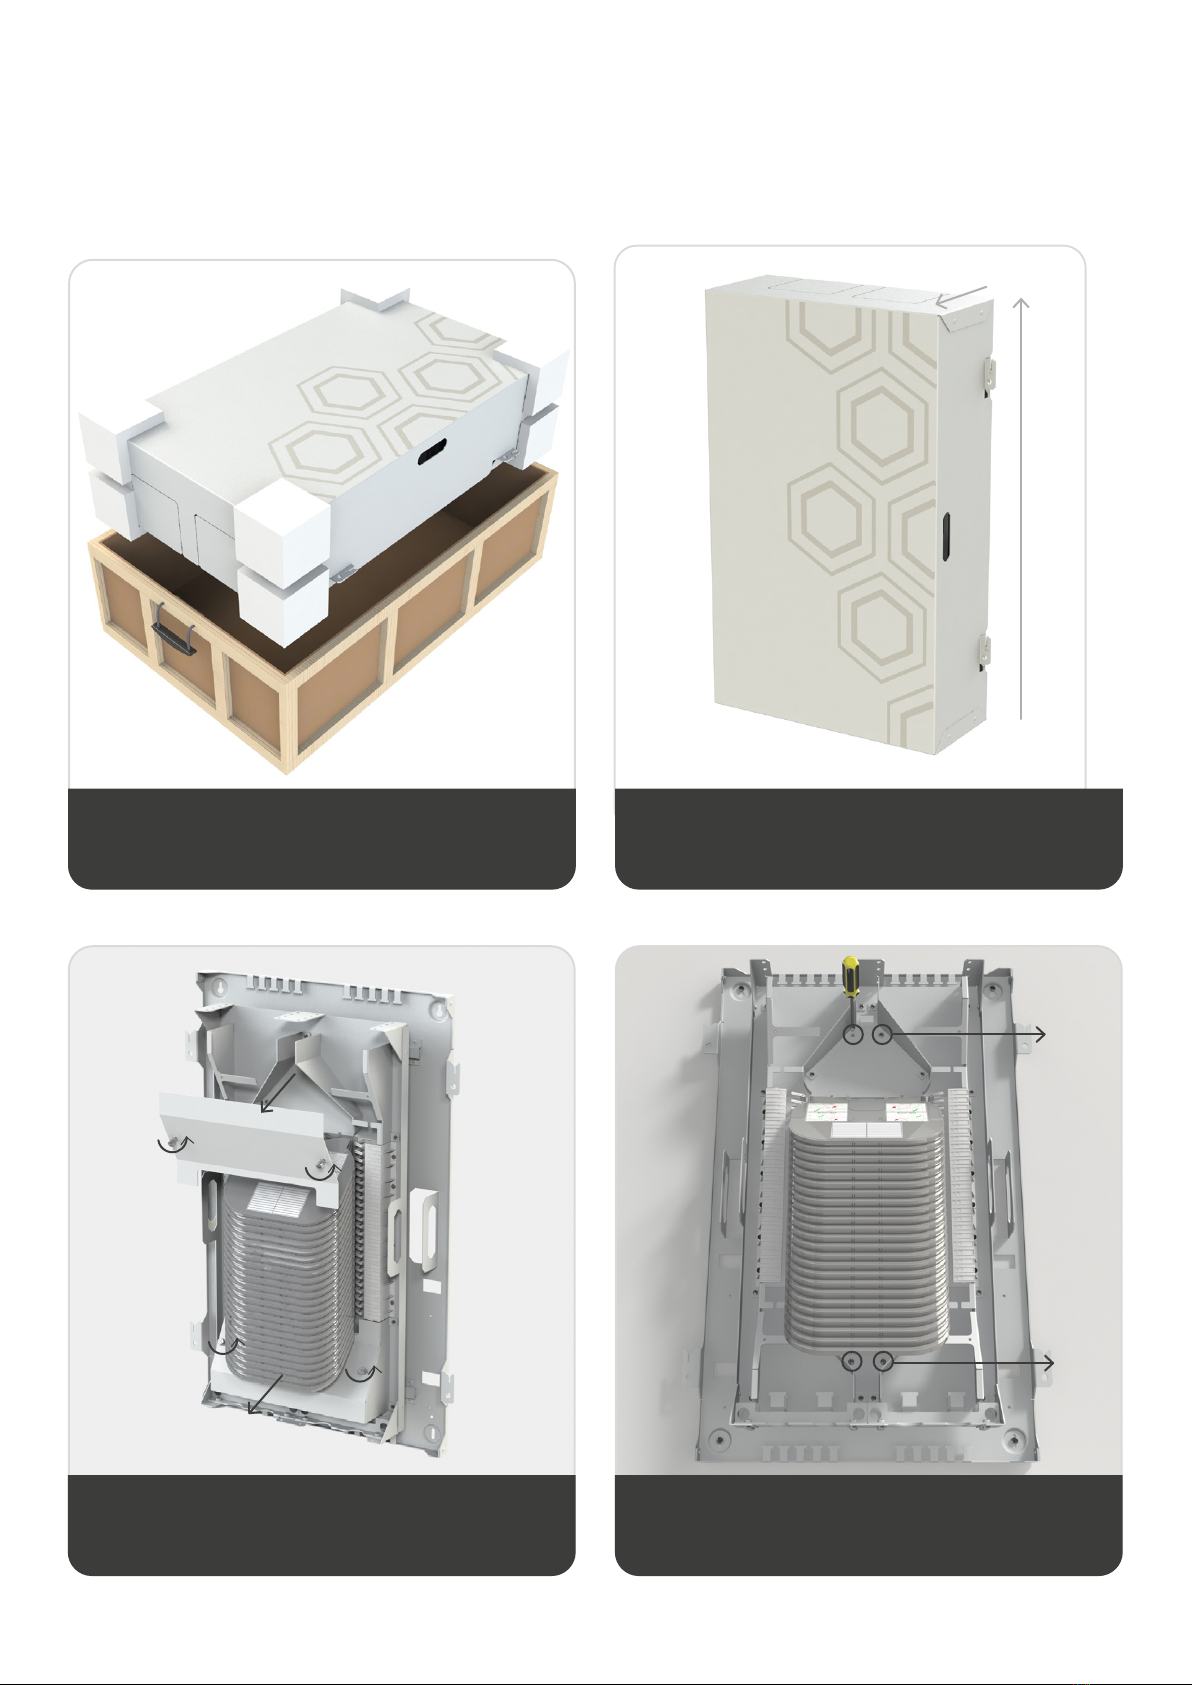
AFL Hyperscale 20RU User manual

20RU & 37RU Mass-Fusion Splice Cabinets
Mass-Fusion
Splice Cabinets
Installation Guide

2© AFL Hyperscale. All rights reserved
Safety Precautions
Laser Precautions
Warning: The laser light used to transmit information over optical ber cables can cause severe eye
damage. Because this light is invisible, it will not cause the iris of the eye to contract involuntarily as when
viewing a bright visible light, and no pain is felt as the retina is burned.
Never look into the end of a ber or connector which may have a laser coupled to it. Should accidental
eye exposure to laser light be suspected, arrange for an eye examination immediately.
General Precautions
Personnel must be thoroughly familiarized with all applicable Occupational Health and Safety (OH&S)
regulations, local regulations, and your company safety practices and policies.
Warning: To reduce the chance of accidental injury:
Before work begins, all personnel must be thoroughly familiar with the operation of all equipment
and procedures to be used during the installation.
Before use, all equipment, especially safety gear, must be inspected and tested for proper operation.
Replace and repair as necessary.
20RU & 37RU Mass-Fusion Splice Cabinets
Before installing or adjusting this product, please read these instructions carefully.
Please keep this guide for future reference.

20RU & 37RU Mass-Fusion Splice Cabinets
3
© AFL Hyperscale. All rights reserved
Component Overview
B
B
CC
D D
F
F
FF
G
G
H
H
E
E
E
E
20RU - 3456f 37RU - 6912f
AA

4© AFL Hyperscale. All rights reserved
In the Box
Item Item 20RU 37RU
A Mounting Plate 1 1
B Modular Splice Backboard 1 1
C Cover 1 1
D Work Tray 1 1
E Cable Tie Bracket 4 4
F Cable Entry/Exit Manifold 2 2
G 144f Mass Fusion Splice Tray 24 48
H Modular Fiber Raceway 12 24
I 14 x 2.5” Self Tapping Screw 4 4
J 14 x 2” Anchor/Rawlplugs 4 4
K Ø23 to Ø35mm Hose Clip 8 8
L 12f Ribbon Splice Protector 288 576
M Labelling Card Set 1 1
N Standoff Mounting Bracket 2 2
O Brush Strip 2 2
(A) Mounting Plate
(D) Work Tray
Hammer
(G) 144f Mass Fusion
Splice Tray
Drill with Ø8mm
(5/16”) Bit
(B) Modular Splice
Backboard
(E) Cable Tie Bracket
Pliers Marker Pen
(H) Modular Fiber
Raceway
Flat + Cross-Head
Screwdriver
(C) Cover
(F) Cable Entry/Exit
Mainfold
(I) 14 x 2.5” Self
Tapping Screw
What You Will Need
(J) 14 x 2” Anchor/
Rawlplugs
(O) Brush Strip
(K) Ø23 to Ø35mm
Hose Clip
(N) Standoff Mounting
Bracket
(L) 12f Ribbon Splice
Protector (M) Labelling Card Set
Tray 1
Tray 2
Tray 3
Tray 4
Tray 5
Tray 6
Tray 7
Tray 8
Tray 9
Tray 10
Tray 11
Tray 12
Tray 13
Tray 14
Tray 15
Tray 16
Tray 17
Tray 18
Tray 19
Tray 20
Tray 21
Tray 22
Tray 23
Tray 24
Tray 1
Tray 2
Tray 3
Tray 4
Tray 5
Tray 6
Tray 7
Tray 8
Tray 9
Tray 10
Tray 11
Tray 12
Tray 13
Tray 14
Tray 15
Tray 16
Tray 17
Tray 18
Tray 19
Tray 20
Tray 21
Tray 22
Tray 23
Tray 24
Tray 1
Tray 2
Tray 3
Tray 4
Tray 5
Tray 6
Tray 7
Tray 8
Tray 9
Tray 10
Tray 11
Tray 12
Tray 13
Tray 14
Tray 15
Tray 16
Tray 17
Tray 18
Tray 19
Tray 20
Tray 21
Tray 22
Tray 23
Tray 24

20RU & 37RU Mass-Fusion Splice Cabinets
5
© AFL Hyperscale. All rights reserved
Cabinet Mounting
Loosen the two top screws.Remove the manifold covers (F).
Remove the Cover (C).Remove the cabinet from the box.
Loosen
Loosen
1.
3.
2.
4.
As demonstrated with the 20RU Mass-Fusion Splice Cabinet. Same instructions apply to the 37RU.

6© AFL Hyperscale. All rights reserved
Insert the wall anchors (J).Drill the Ø8mm (5/16”) mounting holes.
Using the mounting plate as a template mark
off the mounting holes.
Cabinet Mounting
See page 17 for standoff mounting bracket installation
Remove the modular splice backboard (B).
5.
7.
6.
8.

20RU & 37RU Mass-Fusion Splice Cabinets
7
© AFL Hyperscale. All rights reserved
Cabinet Mounting
Hang the modular splice board (B).
Screw in the bottom screws and tighten the
top screws (I).
Hang the mounting plate.Partially screw in the top 2 screws (I).
9.
11.
10.
12.

8© AFL Hyperscale. All rights reserved
Cabinet Mounting
Screw in the four backplate screws.
13.

20RU & 37RU Mass-Fusion Splice Cabinets
9
© AFL Hyperscale. All rights reserved
Cable Installation
Fix the cable to the tie bracket (E) with the hose
clamp (K). ALWAYS START IN THE REARMOST
POSITION.
Strip cable jacket approx. 2.5m (8.2ft) according
to cable manufacturer’s guidelines.
Slide the hose clamp over cable end (K).Remove the cable tie bracket (E).
NOTE: 6 Way, up to Ø12mm cable tie
off bracket available - P/N: CTB612 -
max.4 per manifold allowing 24 cables
16.
14.
17.
15.

10 © AFL Hyperscale. All rights reserved
Slot the work tray (D) into mounting plate (A)
and tighten the thumb screws. Multiple
positions are available.
Loosen the thumb screws and remove the work
tray (D) from cover (C).
NOTE: Cables can feed from both the top
and the bottom.
Cable Installation
Repeat the cable prep for the outbound cables.
19.
18a.18b.
20.

20RU & 37RU Mass-Fusion Splice Cabinets
11
© AFL Hyperscale. All rights reserved
Cable Installation
Route the incoming/outgoing ber as per above image - up to 1.5m (5ft) of 144f Ribbon ber per side.
Splice according to the splice schedule.
Remove the splice tray (G) cover
Splice Schedule
Label
Fiber Retainer
Clips
Latch / TabLatch / Tab
5 coils, approx.
1.5m (5ft) (both
144f ribbon
and 36f single
element)
21.
22.

12 © AFL Hyperscale. All rights reserved
Cable Installation
Accessories - Single Splicing Options - UP TO 36 FIBERS PER TRAY
Cabinets pre-loaded with Ribbon Trays
Accessory Ordering Information
Heatshrink Splice Protector Tray 36f
P/N: FXSAXXDXXX-15ZZ
Crimp Splice Protector Tray 36f
P/N FXSAXXDXXX-16ZZ
23.

20RU & 37RU Mass-Fusion Splice Cabinets
13
© AFL Hyperscale. All rights reserved
Using the labelling card (M), label both the front of tray and the raceway with the tray numbers.
The stick on color labels are positioned on raceway and on the front of the tray. The left hand side
raceway should match the left hand side of the tray, the same for the right hand side. (Color the label to
match the cable sub-unit or binder with appropriate splice tray - 2 color positions are available on each
side)
A.
B.
Labelling
A A
A
B
B B
B
24.

14 © AFL Hyperscale. All rights reserved
Cable pass-through.
Replace all the covers - (Optional padlock(s) to
be added for extra security)
Finishing Up
Remove the knockouts where cables feed in, insert brush strips (O) as shown.
RECOMMENDED
MINIMUM. DISTANCE
BETWEEN CABINETS;
Cables up to Ø23mm
(.91”) - 250mm (9.8”)
gap
Cables over Ø23mm
(.91”) - 500mm (19.7”)
gap
The cable can pass
through, behind the
splice trays, into the wall
cabinets above or below.
25.
26. 27.

20RU & 37RU Mass-Fusion Splice Cabinets
15
© AFL Hyperscale. All rights reserved
808mm
465mm
773mm (Standoff Mounting Bracket Holes)
465mm (18.3”)
808mm (31.8”)
773mm (30.4”) (Standoff Mounting Bracket Holes
Dimensions
20RU Mass-Fusion Splice Cabinet

16 © AFL Hyperscale. All rights reserved
465mm
1119mm
1084mm (Standoff Mounting Bracket Holes)
465mm (18.3”)
1119mm (44.1”)
1084mm (42.7”) (Standoff Mounting Bracket Holes
Dimensions
37RU Mass-Fusion Splice Cabinet

20RU & 37RU Mass-Fusion Splice Cabinets
17
© AFL Hyperscale. All rights reserved
Mount the standoff brackets (N) with a screw
(I) and a washer.
Insert the wall anchors (J).
Drill the mounting holes using 8mm (5/16”)
drill bit.
Standoff Bracket Assessory Installation
Mark off the mounting holes holes using the
mounting plate as a guide.
1.
3.
2.
4.

18 © AFL Hyperscale. All rights reserved
Cable pass-through.
Screw in the bottom screws and tighten the
top screws.
Hang the mounting plate.
Standoff Bracket Assessory Installation
Partially screw in the top mounting-plate
screws.
Recommended Minimum
Distance Between
Cabinets;
Cables up to Ø23mm
(.91”) - 250mm (9.8”)
gap
Cables over Ø23mm
(.91”) - 500mm (19.7”)
gap
The cable can pass
through, behind the
splice trays, into the wall
cabinets above or below.
5.
7.
6.
8.

20RU & 37RU Mass-Fusion Splice Cabinets
19
© AFL Hyperscale. All rights reserved
Notes

Thank you for choosing AFL Hyperscale
AFLHS20RU37RUSCAB170323
AFL Hyperscale reserves the right to make changes in this Installation Guide at any time without notice
www.aflhyperscale.com
This manual suits for next models
1
Other AFL Hyperscale Industrial Equipment manuals
Popular Industrial Equipment manuals by other brands

DeLaval
DeLaval MA200 Instruction book

Versum Materials
Versum Materials GASGUARD AP10 Installation, operation & maintenance manual

HYDROLAB
HYDROLAB Surveyor HL user manual

Trox Technik
Trox Technik QL-WF-EO installation manual

IEMCA
IEMCA MASTER 880 MP-E Manual for use and maintenance

Rodix
Rodix FEEDER CUBE VF-9-3 manual

woodmizer
woodmizer OS96 SAFETY, OPERATION, MAINTENANCE AND PARTS MANUAL

Powerplus
Powerplus POWX903 manual

BilJax
BilJax Multi-Stage AS-2100 How to replace

FRONIUS
FRONIUS FlexTrack 45 operating instructions

woodmizer
woodmizer Incline Log Deck Safety, operation and maintenance manual

Gema
Gema OptiFlex Pro Base Kit Quick reference guide