6© 2022 • Advanced Healthcare Technology Ltd. • BabyPod 2 ®
Outer Shell
The outer shell of BabyPod 2 is constructed of carbon bre, producing a strong yet lightweight and durable
material.
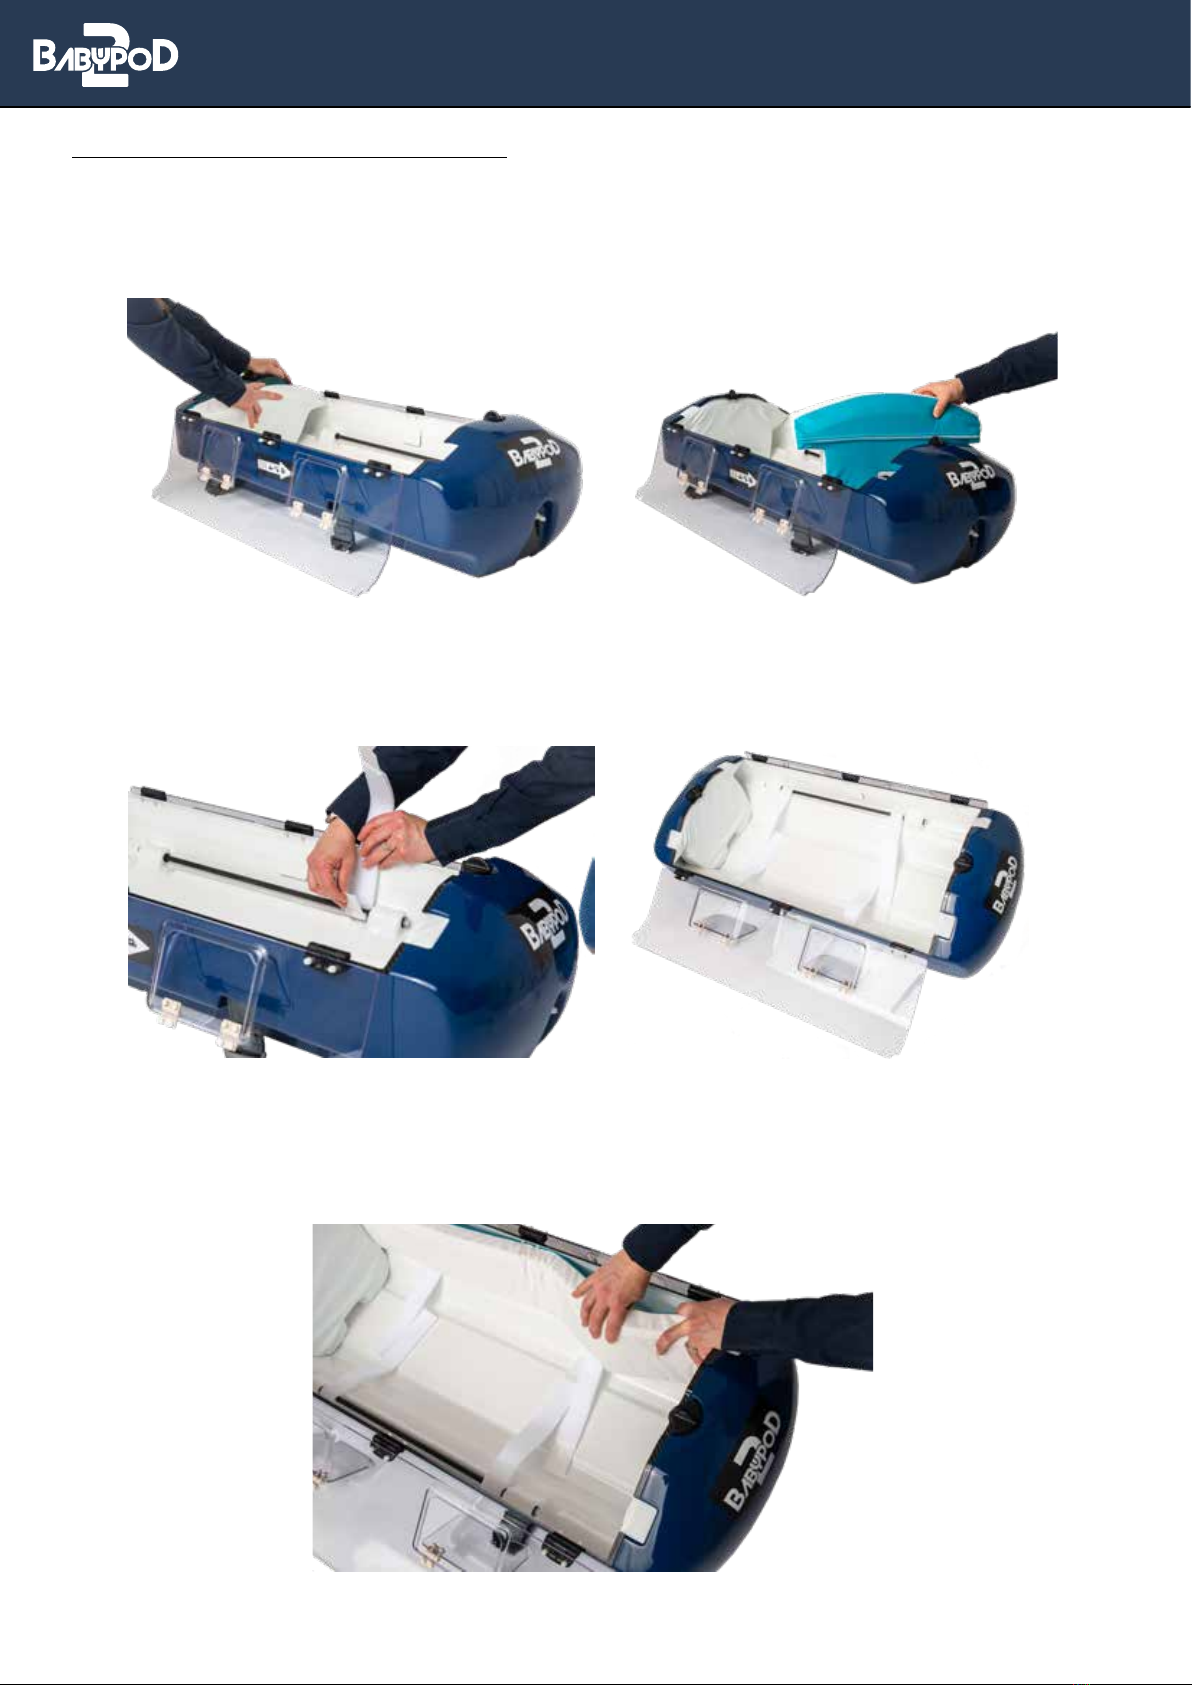
Shock Absorbent Foam
BabyPod 2’s internal shock absorbent foam is constructed of polyurethane foam with a PUNL® removable cover,
which remains breathable yet impervious to liquids and solutions. The foam interior surrounds the infant’s head,
feet and sides during transport and is designed to help protect the infant in event of impact, and reduce vibrations
that might reach the patient from movements of the transporting vehicle. The covers can be removed and washed,
allowing for increased infection control.
Vacuum Mattress
BabyPod 2’s vacuum mattress is manufactured from a soft foil and is lled with ame-retardant polystyrene beads.
Removal of the air from the vacuum mattress via the attached valve allows positioning of the baby within the
BabyPod 2.
TransWarmer Infant Transport Mattress (Accessory)
BabyPod 2 incorporates the Transwarmer Infant Transport Mattress which is designed to provide radiant heat
and shock absorption to the infant during transport. TransWarmer is manufactured using the patented WarmGel
technology, which provides even heating via non-migrating gel in a non-electric infant transport mattress. Infants
may be placed directly on the TransWarmer’s soft, non-woven surface.
Infant Positioning Straps
BabyPod Infant Positioning Straps are manufactured from bands of soft foam which are attached using a hook and
loop system. Each set is SINGLE PATIENT USE ONLY. BabyPods contains one set of 4 Infant Positioning Straps, 2
straps with pre-stitched hook tabs at each end and 2 straps with pre-stitched hook tab at one end only.
Stretcher Fixing Straps
The Stretcher Fixing Straps come in a set of two Side Straps, for xing the BabyPod 2 width-wise to any stretcher or
gurney, and one End Strap, for xing the device length-wise to a stretcher or gurney. BabyPod 2’s Stretcher Fixing
Straps are composed of a high-tensile polyester webbing with attached metal quick-connect and release buckles.
Viewing Lid
The BabyPod 2’s viewing lids are made from formed PETG with non-metallic hinges, allowing them to easily be
cleaned and maintain durability. The large viewing area allows good visibility of the patient during transport. For
additional access, there are four access ports on the top of the Viewing Lid. When stationary, the entire viewing lid
can be opened, allowing total access to the entire patient compartment.
Co2 Evacuation System
If concerned about Co2 build-up in the patient compartment, this can be evacuated from the BabyPod 2 via the
Entrainment System. An air supply can be attached to the inlet on the ‘front end ‘ of the BabyPod 2, which, using
only low pressure and jet ow and mixing principles, will draw the Co2 from the BabyPod 2 interior and evacuate it
via an outlet at the base of the BabyPod 2 ‘front end’ section.
Section 3.2 - Component descriptions
Section 3
Getting to know BabyPod 2 cont.